KW Homestead

Pasture Raised Poultry & Edible Landscaping Plants Since 2013

Tag: recipes (page 2 of 4)

Pekin Duck Recipe 4: Lower Heat, Longer Time

We’ve been experimenting with Pekin duck recipes over the last few weeks, learning about the best ways to cook our new favorite meal! We want to offer you some of our thoughts about our simple recipes, in case you are new to cooking duck and wonder how it should be done. So far we’ve cooked 4 ducks in 4 different ways, and we do have our favorite techniques! The exciting thing that we’ve learned from all this cooking, is that it’s really hard to ruin duck, short of burning it. There is so much fat that the meat never dries out the way chicken or turkey does when overcooked. Knowing this should help quell your fear about cooking duck… Just go for it!

Here is the fourth recipe we tried!

Lower Heat, Longer Time (and a Pan Seared Breast): 250 degrees for 3 hours, 350 for 45 minutes, and a quick broil

First, cut out the breast! When you remove the breast before you cook the meat for any length of time, it allows you to choose your desired meat temperature/color when you cook it. This is our favorite way of dealing with the bird, since the skin gets all crispy in the pan! Yummy!

Then, score the skin on both sides so that the fat will cook out of the bird and pool in the bottom of the dish. This allows the meat to stay moist but the skin to get crispy!

Cover the duck liberally with salt and garlic powder.

Place the duck, breast down, in a dish and cook for 3 hours at 250 degrees. Then continue cooking the duck at 350 degrees for 45 minutes longer. If you desire even crispier skin, finish off the bird in the oven for a few minutes on broil.

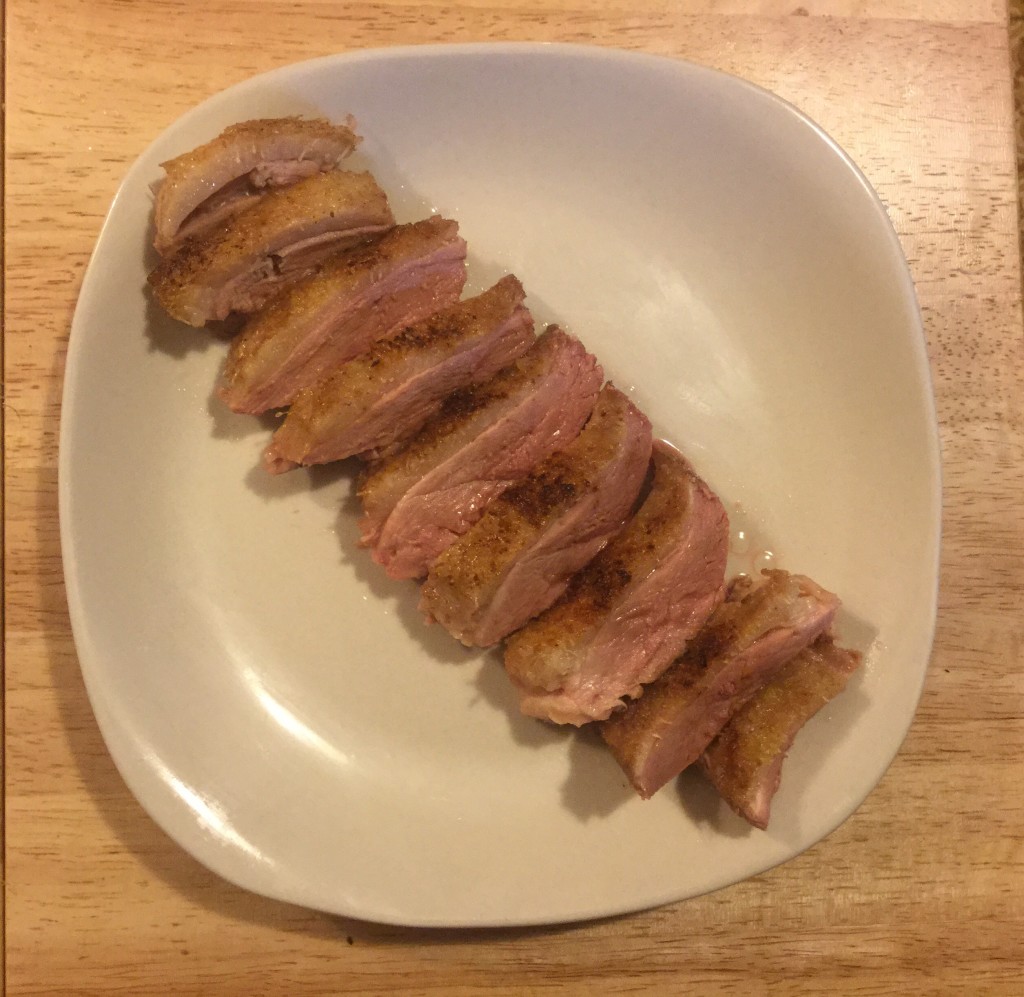
At any point in time, cook the breast in a skillet on the stove. Cook it on medium heat, skin side down so the skin becomes crispy and the fat runs out into the pan! Cook it to the desired color (we think pink is the best)!

IMG_1403.PNG

Taste Test:

The breast was moist and delicious, with crispy skin! It tasted like a tender cut of beef and was very pink and juicy. This was our favorite breast, since we didn’t cook it in the oven before pan searing it!

The legs were moist and falling off of the bone! These were our favorite thighs to date. Also, the rest of the bird stayed moist and didn’t dry out even though it was cooked for almost 4 hours!!

The skin was super crispy, Jason’s favorite!

Yum!

Through all of this taste testing, we learned that duck can withstand a lot of weirdness and still be great! So don’t be afraid to try out your own recipes. And if you do… Let us know about them here!

.:.

Pekin Duck Recipe 3: Medium Heat, Pan-Seared Breast

We’ve been experimenting with Pekin duck recipes over the last few weeks, learning about the best ways to cook our new favorite meal! We want to offer you some of our thoughts about our simple recipes, in case you are new to cooking duck and wonder how it should be done. So far we’ve cooked 4 ducks in 4 different ways, and we do have our favorite techniques! The exciting thing that we’ve learned from all this cooking, is that it’s really hard to ruin duck, short of burning it. There is so much fat that the meat never dries out the way chicken or turkey does when overcooked. Knowing this should help quell your fear about cooking duck… Just go for it!

Here is the third recipe we tried!

Medium Heat, Pan-Seared Breast: 325 degrees for 1.75 hours

Score the skin on both sides so that the fat will cook out of the bird and pool in the bottom of the dish. This allows the meat to stay moist but the skin to get crispy! Do not score the skin over the breast!

Cover the duck liberally with salt and garlic powder.

Place the duck in a dish and cook for 1 hour. At the end of the hour, remove duck from oven and cut out the breast. Return the rest of the bird to the oven and continue cooking 45 minutes longer. Be sure to flip the bird a few times during the total cooking period.

Now, finish off the breast in a skillet on the stove. Cook it on medium heat, skin side down so the skin becomes crispy and the fat runs out into the pan! Cook it to the desired color (pink is the best)!

duck breast

Pan-seared duck breast!

Taste Test:

The breast was moist and delicious, with crispy skin! It tasted like a tender cut of beef, and was best served pink. Our second favorite breast, since we thought that we could have cut it out of the bird earlier, around 30 minutes…. Then pan-seared it.

The legs were moist and very good, but not our favorite thighs to date. In fact, the entire bird remained moist (just like with the second recipe)!

The skin was crispy–perfect for me! Jason thought that we could have cooked the bird maybe 30 minutes longer for even crispier skin.

Stay tuned for the fourth recipe we tried!


.:.


Pekin Duck Recipe 2: Medium Heat, Roasted Breast

We’ve been experimenting with Pekin duck recipes over the last few weeks, learning about the best ways to cook our new favorite meal!We want to offer you some of our thoughts about our simple recipes, in case you are new to cooking duck and wonder how it should be done. So far we’ve cooked 4 ducks in 4 different ways, and we do have our favorite techniques! The exciting thing that we’ve learned from all this cooking, is that it’s really hard to ruin duck, short of burning it. There is so much fat that the meat never dries out the way chicken or turkey does when overcooked. Knowing this should help quell your fear about cooking duck… Just go for it!

Here is the second recipe we tried!

Medium Heat, Roasted Breast: 325 degrees for 2.5 hours with veggies

Score the skin on both sides so that the fat will cook out of the bird and pool in the bottom of the dish. This allows the meat to stay moist but the skin to get crispy!

Cover the duck liberally with salt and garlic powder.

Place the duck, breast up, in a dish filled with your favorite veggies (we used carrots, celery, and onion). The great thing about this is that the veggies will soak up the duck fat and become the most delicious veggies you’ve ever tasted! Add as many veggies as you’d like… There is plenty of duck fat to go around!

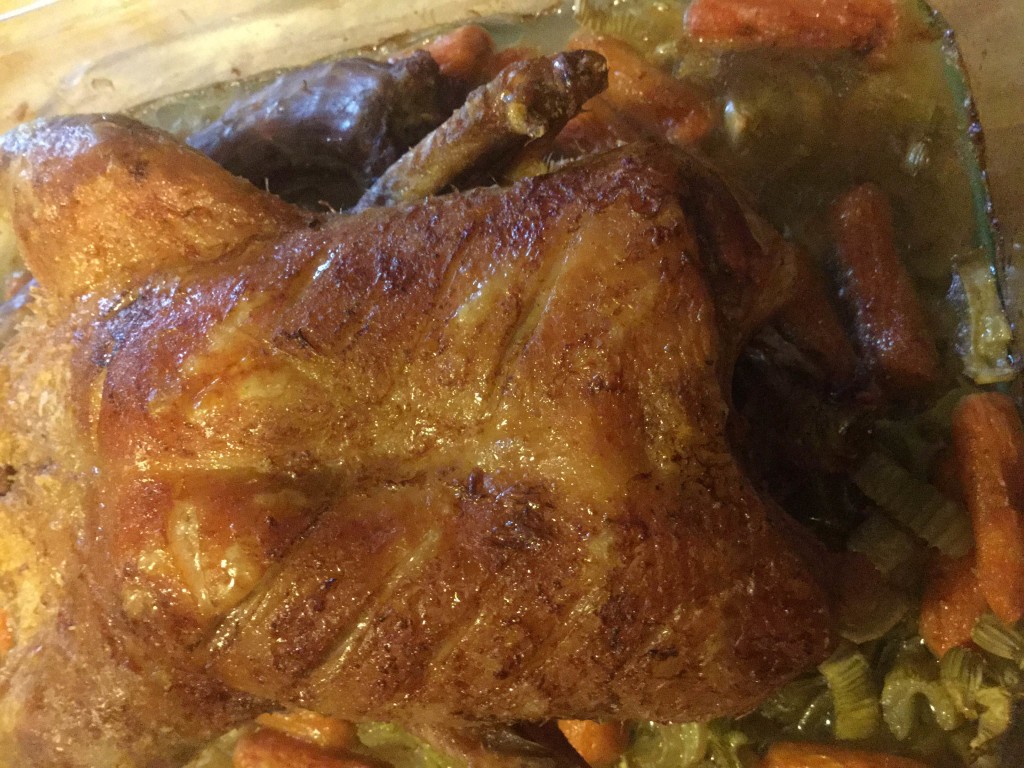
duck

The finished product!

Taste Test:

The breast was moist and delicious, but it wasn’t our favorite technique to date!

The legs were a moist and very good, but not our favorite thighs to date.

The skin on the top of the bird was crispy, and my favorite skin overall! But, since the bird was not flipped during the cooking time, the skin adjacent to the veggies was not crispy!

Stay tuned for the third recipe we tried!

.:.


Pekin Duck Recipe 1: High Heat, Low Time

We’ve been experimenting with Pekin duck recipes over the last few weeks, learning about the best ways to cook our new favorite meal!We want to offer you some of our thoughts about our simple recipes, in case you are new to cooking duck and wonder how it should be done. So far we’ve cooked 4 ducks in 4 different ways, and we do have our favorite techniques! The exciting thing that we’ve learned from all this cooking, is that it’s really hard to ruin duck, short of burning it. There is so much fat that the meat never dries out the way chicken or turkey does when overcooked. Knowing this should help quell your fear about cooking duck… Just go for it!

Here is the first recipe we tried!

High Heat, Low Time: 425 degrees for 2 hours

Score the skin on both sides so that the fat will cook out of the bird and pool in the bottom of the dish. This allows the meat to stay moist but the skin to get crispy!

Cover the duck liberally with salt and garlic powder.

Flip the bird 2 or 3 times during the cooking time, spaced evenly throughout the 2 hour time period.

Cut the breast out of the bird after 1 hour and 15 minutes and continue cooking the rest of the meat for another 45 minutes.

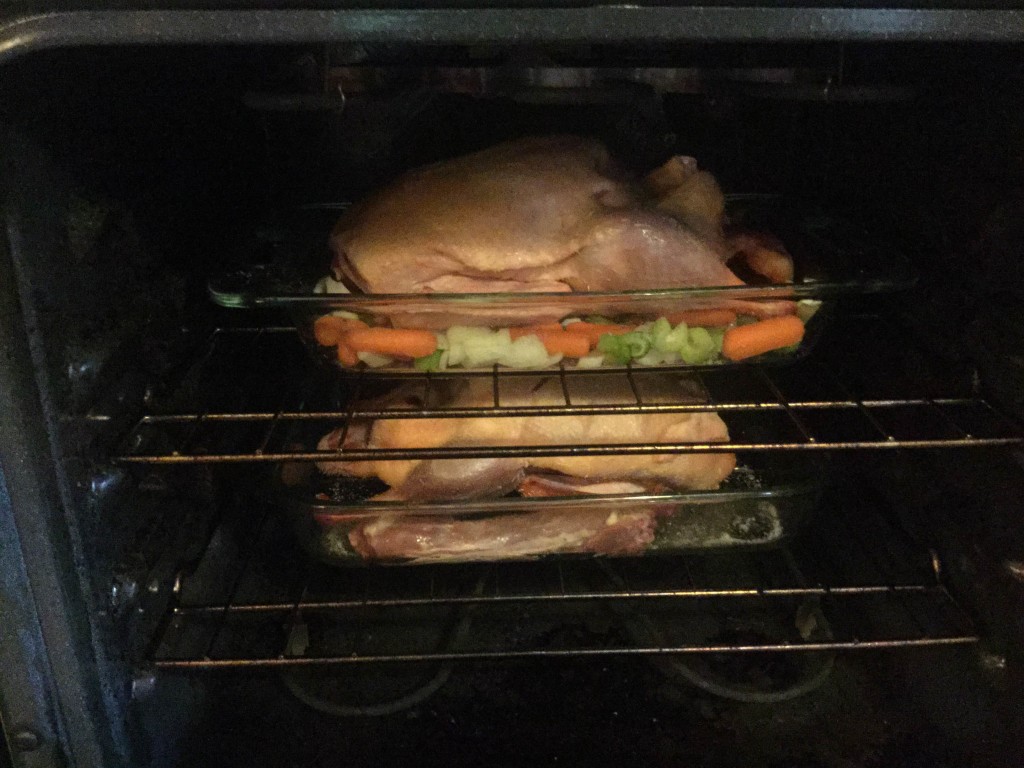
ducks

Ducks going in the oven!

Taste Test:

The breast was overcooked and a little dry. We learned that we should have cut it out much sooner!

The legs were a perfect moistness.

The skin was partially crispy, which was great for me but Jason would have preferred it crispier!

Stay tuned for the second recipe we tried!

.:.

Duck Feet Soup: Medicine in Broth

Jason injured his hand about 3 weeks ago and he had surgery 2 weeks ago. He cut himself butchering a pig and sliced through the nerve, artery, and nicked the tendon sheath of his right hand’s pointer finger.

It’s been a slow road to recovery… He hasn’t been able to move around much because of the pain/discomfort and it’s always hard to do very much for yourself with only one hand in operation.

So… We’ve been looking for ways for him to heal faster. Your diet, of course, is really the most important component of healing!

And what better meal to eat than a meal made of the very organic materials that are healing? Tendons, muscles, and nerves!

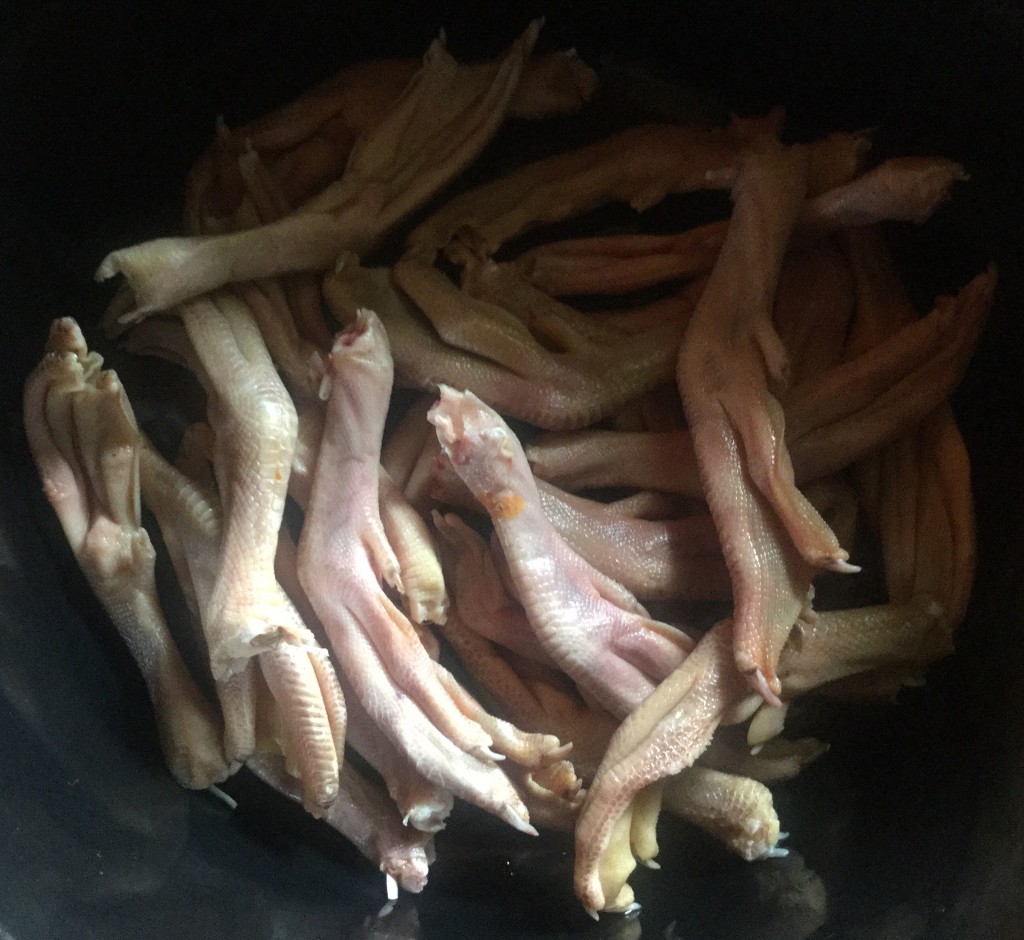
duck feet

24 duck feet waiting in the pot!

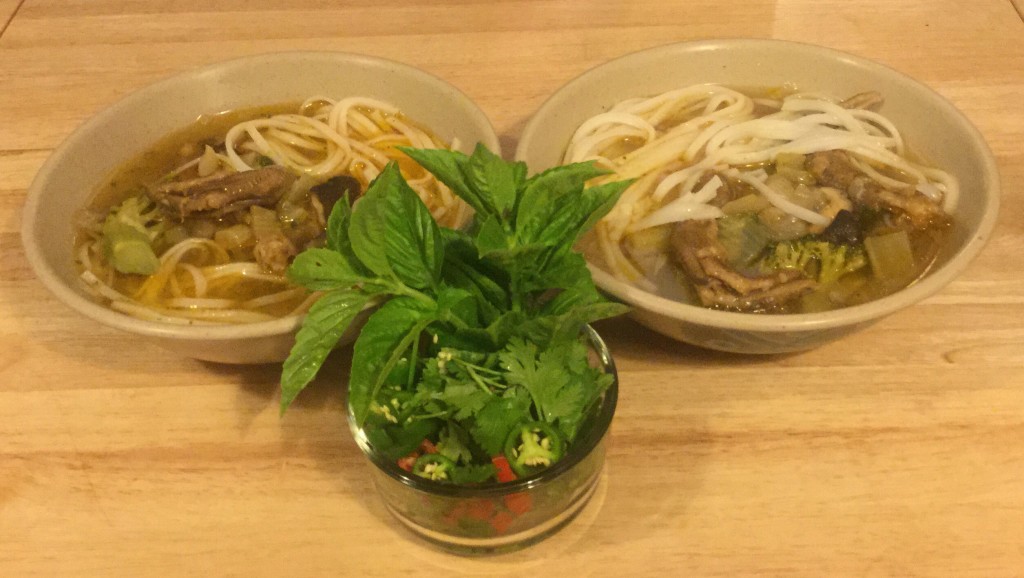
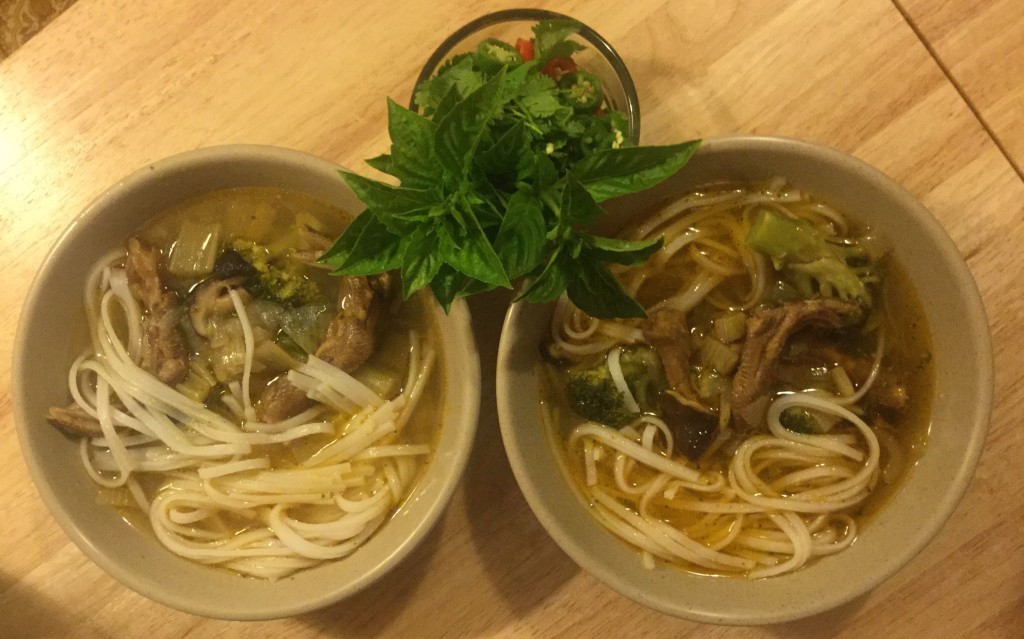
So we made the most delicious duck foot soup! We had 24 feet from our duck butchery a few months ago. We made it Vietnamese style, with spicy peppers, soy sauce, carrots, garlic, onions, celery, and tons of shiitake mushrooms! Shiitake mushrooms have numerous health benefits: they fight “bad” bacteria, viruses, and contain tons of B vitamins and many other micronutrients that are essential to life and healing. To this soup we added rice noodles and fresh cilantro and basil.

It was perhaps the most delicious meal we’ve had in months… And it’s gone now. We ate it for lunch and dinner every day until there was no more!

The feet of birds are often very fatty (unprocessed animal fat from healthy, organic animals is good for you!!!) and filled with awesome gelatin and nutrients! We moaned in enjoyment while we ate!

soup

Yummy soup!

IMG_0790.JPG


Let’s see how he heals now!!!

.:.

Farm Food Friday: Venison Meatballs

We’ve gotten a little tired of the same old venison dishes, so we decided to make some venison meatballs!

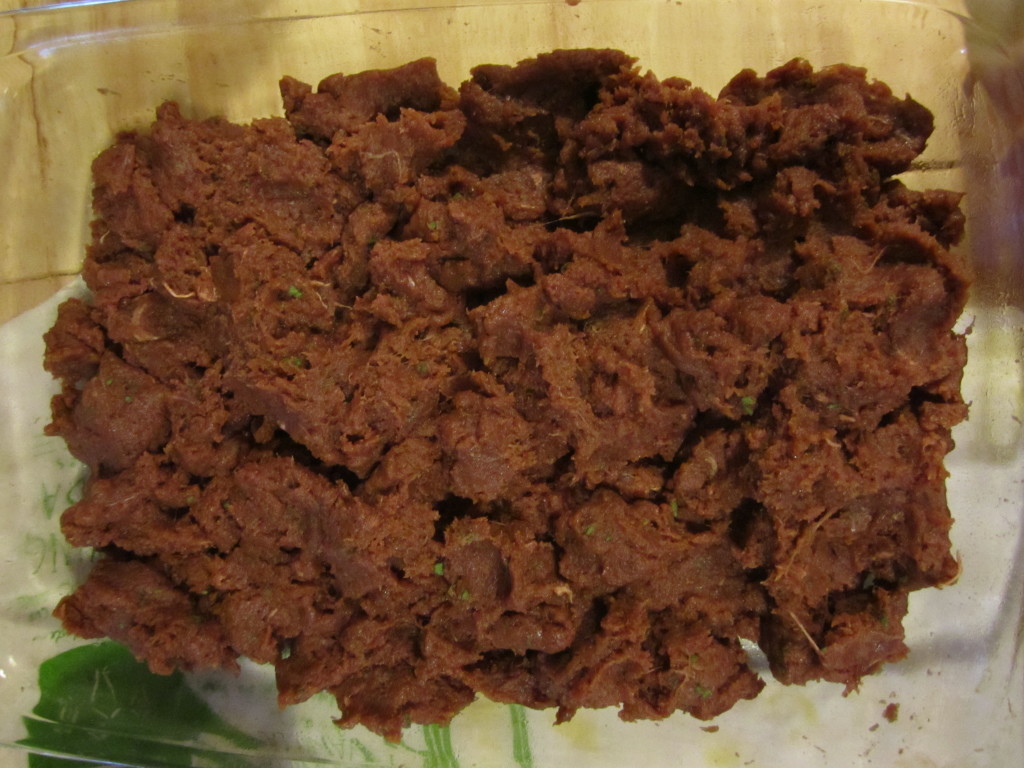
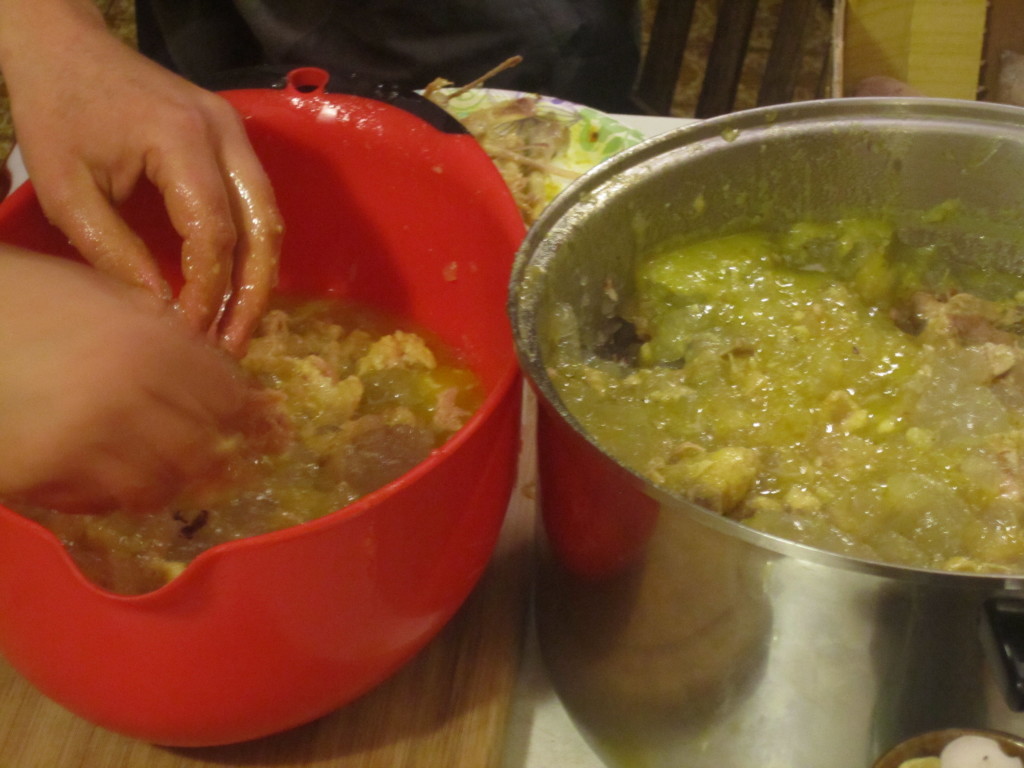
We pulled out the old meat grinder, and after cutting the venison into smaller chunks, we started grinding away.

We added some duck fat that we saved from our last roast duck, since venison is not very fatty and we didn’t want to meatballs to be too dry!

This is what our ground venison looked like after we were done:

IMG_0844

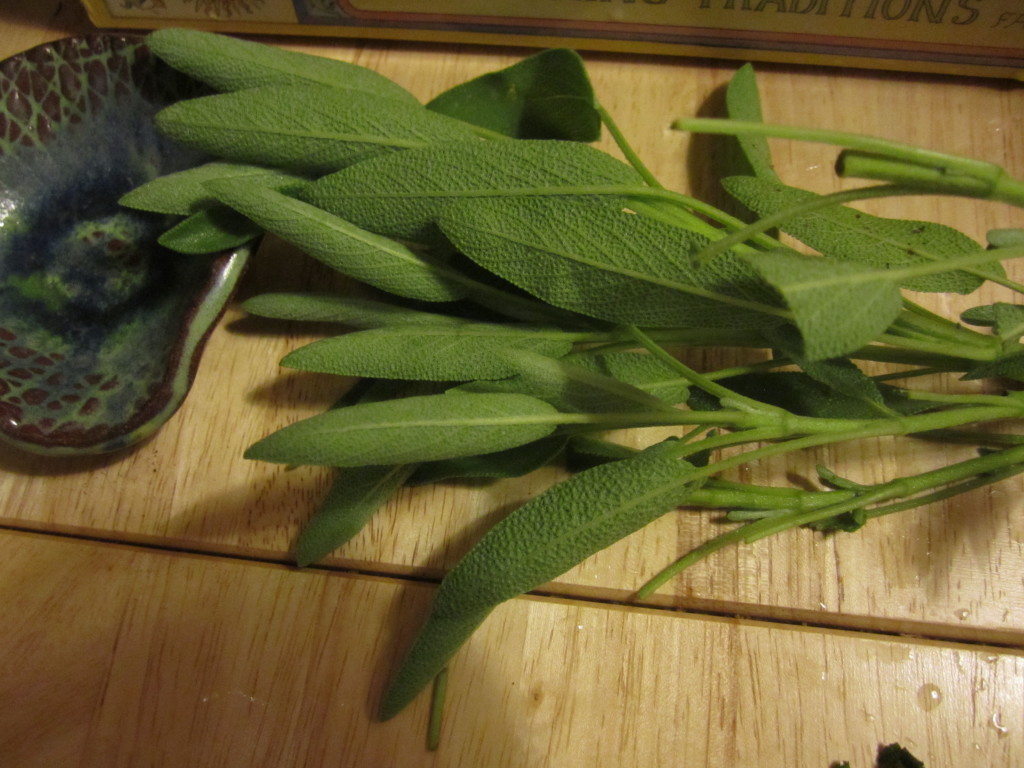
Then we added some of our sage:

sage

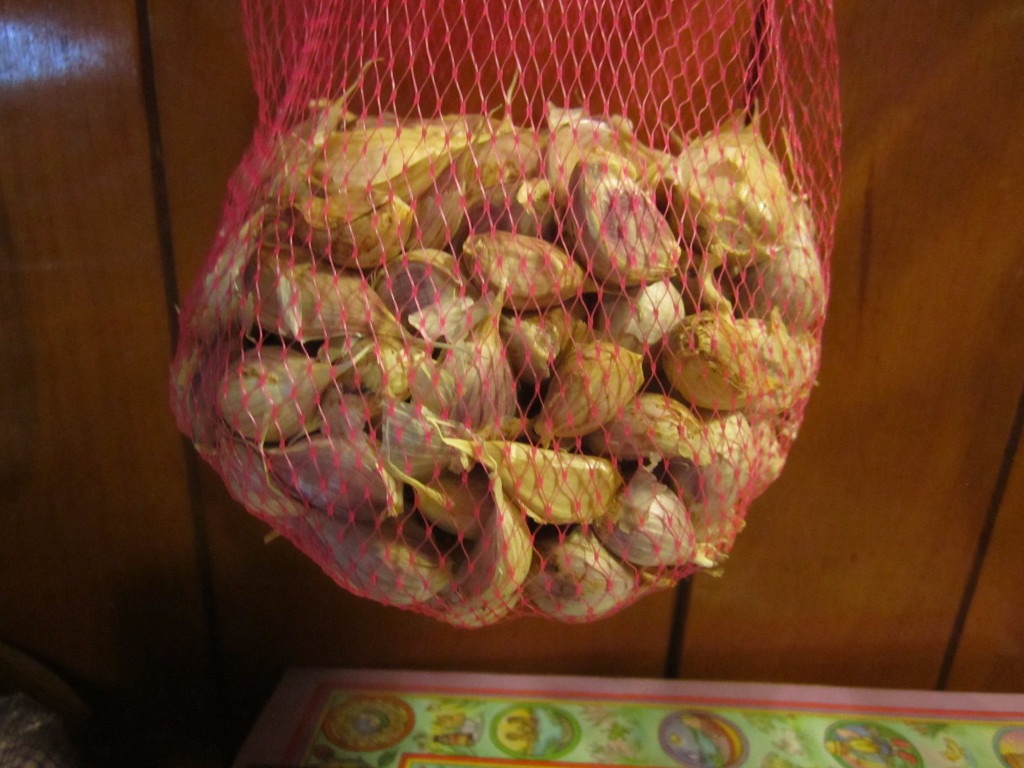
And our garlic:

garlic

And a couple of our eggs and some bread crumbs for texture.

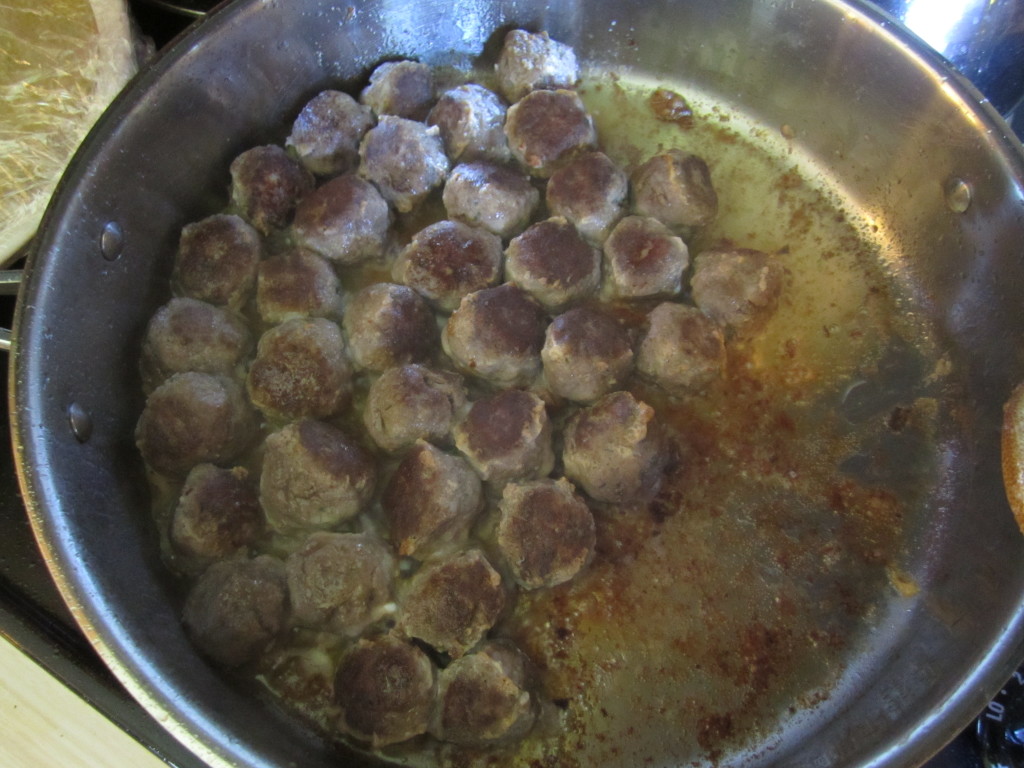
Then we cooked them up in a little olive oil:

meatballs

We cooked up a rue (after the removing the meatballs from the pan) using the oils and fats from the pan, coconut milk, flour, and olive oil. We added some more garlic, salt, and pepper and once the rue was almost finished we added the meatballs back in to let the flavors meld.

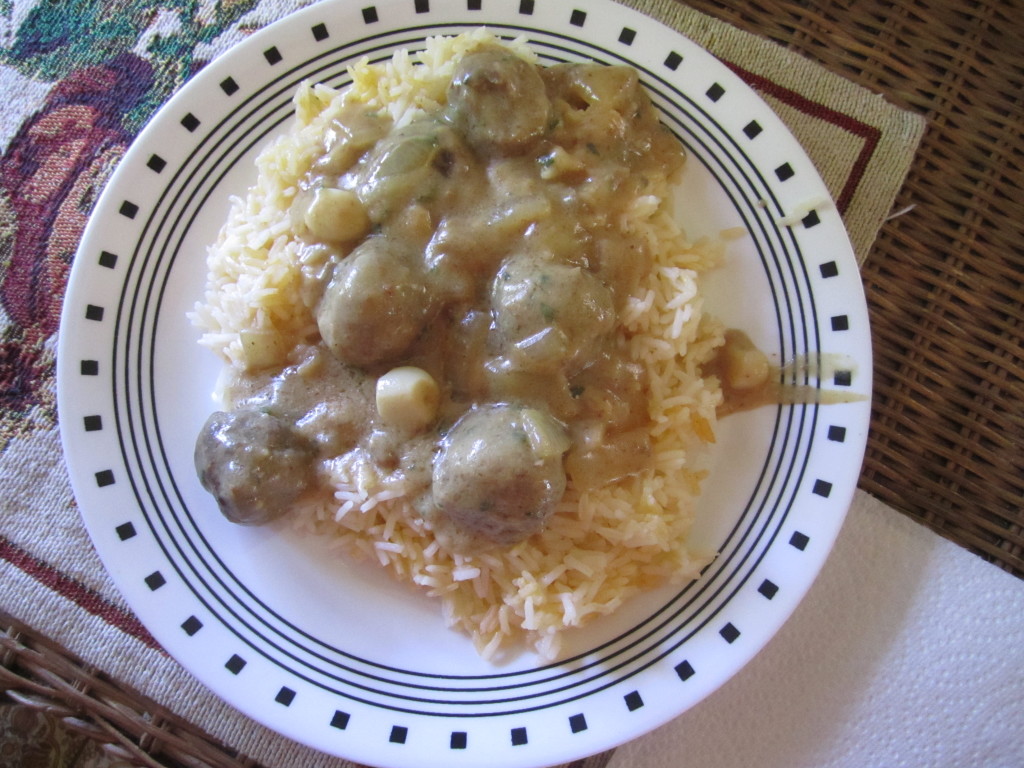
We served it over rice and then promptly inhaled it:

meatballs and rice


Yummy!

.:.

Farm Food Friday: Rooster, Potato, and Tomato Soup!

The great thing about this soup, is that we raised almost all of the the ingredients!

Let me start by saying that the photographs do not do it justice… And you are going to need either a huge pot or two pots!

Ingredients:

  • Bones and the partial meat of 3 teenage roosters
  • Lots of sweet potatoes
  • Lots of Irish potatoes
  • About 25 garlic cloves
  • 2 quarts of cubed tomatoes
  • 2 Large onions
  • Celery
  • 1 pint of corn
  • Basil, parsley, oregano, garlic powder, jalapeños

Directions:

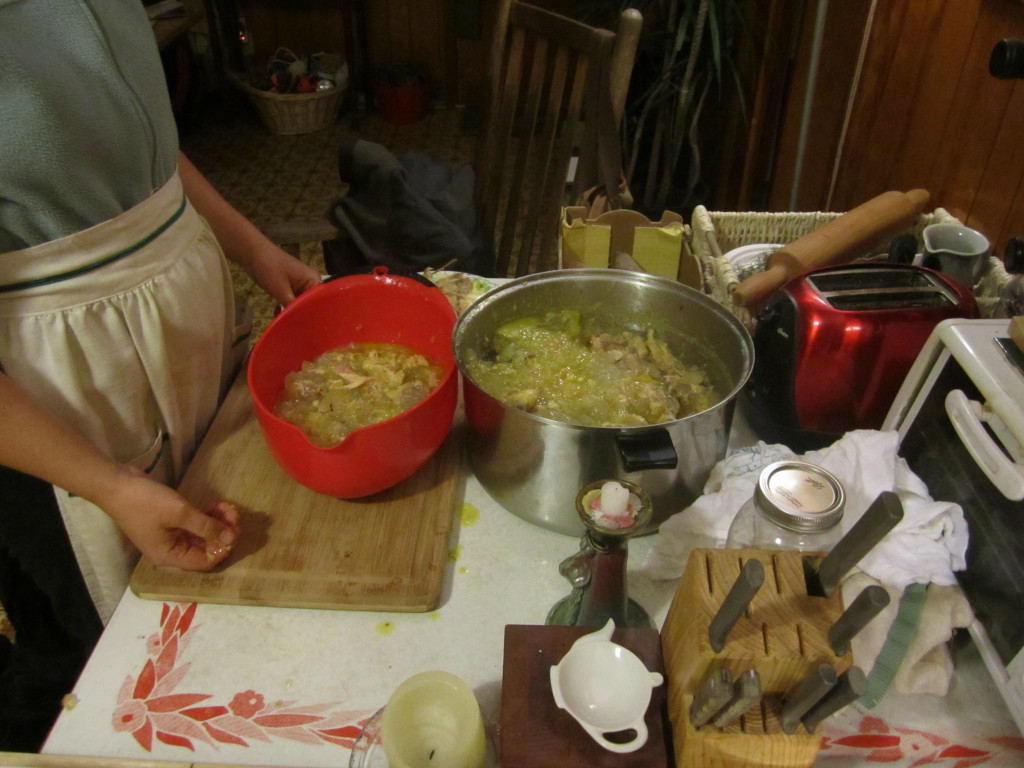
The first thing we did was butcher our roosters, and since that would take forever to explain, we’ll save that story for another time. We roasted and ate some of the roosters and left part of the meat on the bones for our soup.

We cooked the roosters in a large pot with water and a little salt to make the broth. We included all of the bones, even the feet (which had already been peeled). The next day is when we had planned to start the soup, and when we removed the pot from the fridge to de-bone the meat, we found that the entire concoction was gelatinous! Talk about good, healthy, fat! Even though these roosters were not fully matured and they are not a breed that is bred just for their meat, they had so much delicious fat on them!

soup

Yummy, fatty, chicken!


broth

Best broth ever!

I de-boned the meat and placed the bones in the crockpot so we could cook these down further and make bone broth.

Then we sauteed diced onions, the garlic cloves, and celery in some of the fat. The onions and the garlics were from my dad’s garden!

The rest of the fat/meat/broth jelly was added to the pot and it started to melt and become true broth again. We added some of our diced and frozen basil, parsley, and jalapeño from the garden and let this melt and mix together.

Next in was  the corn.

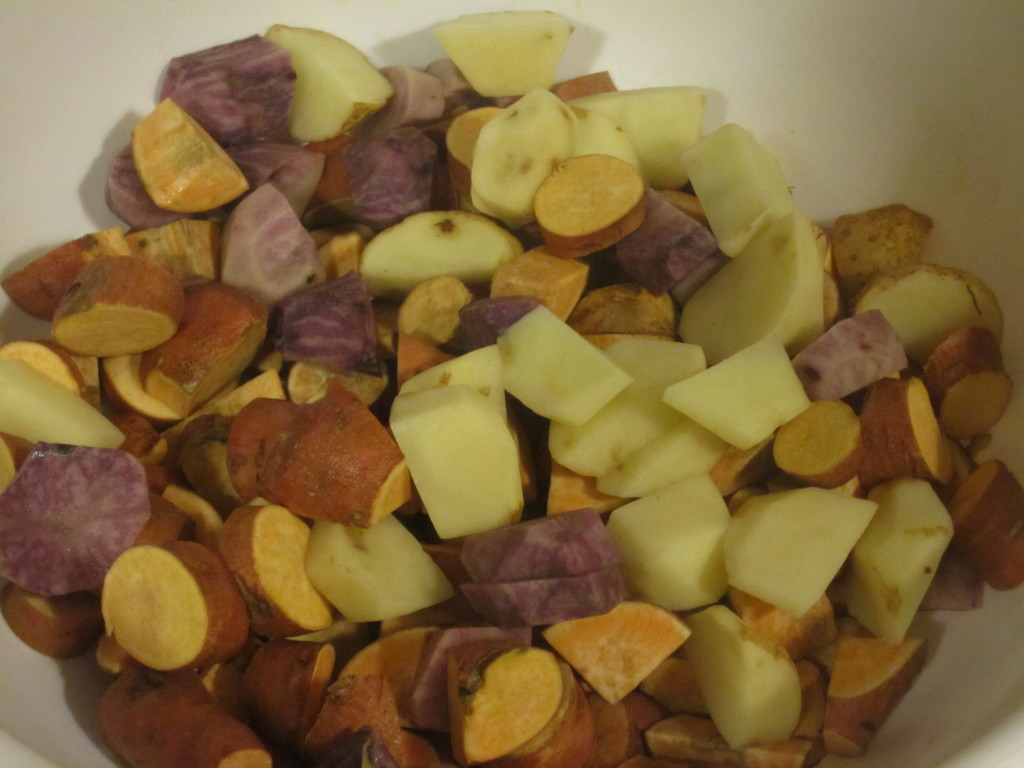
potatoes

A lovely potato medley!

Then we added the potatoes (all from our garden) and once the soup was up to temperature again, we added the tomatoes. The tomato mix we used was a frozen bunch of cubed Cherokee Purples, San Marzanos, and Black Plums.

Then we added more basil, some oregano,salt, and garlic powder and continued to let it cook until the potatoes proved to be done!

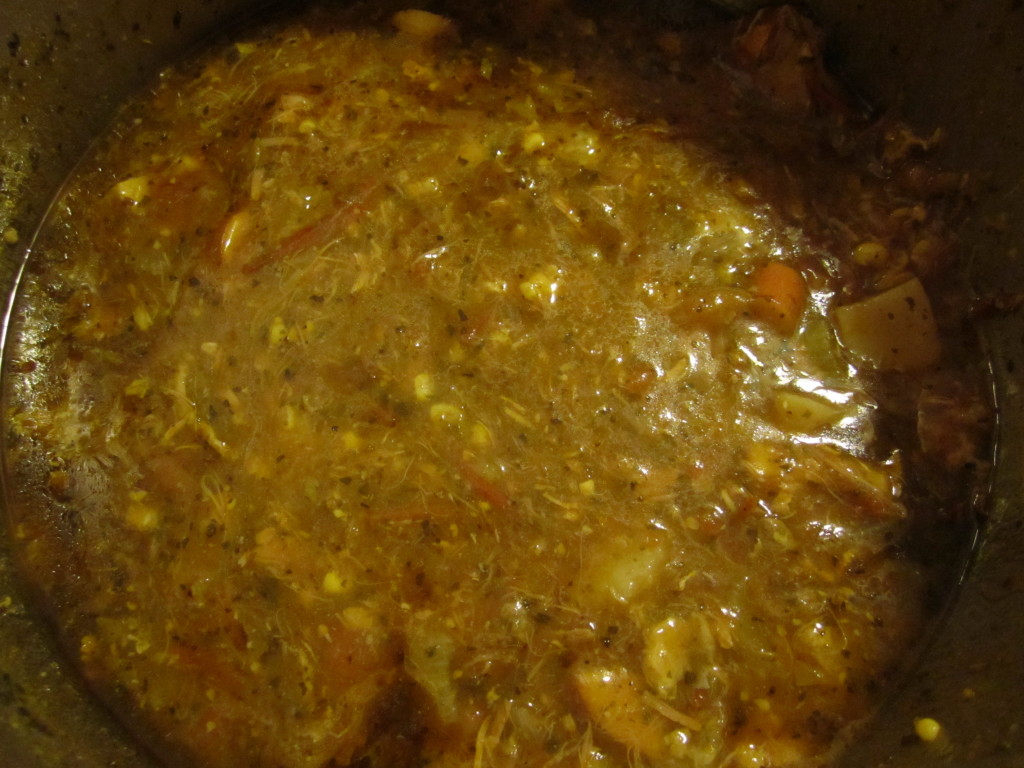
soup

The finished product!

And then we ate it! Last night for dinner and today for lunch and tonight for dinner… This soups is one of our favorites so far!

.:.

Farm Food Friday: Sausage Breakfast Casserole

This recipe is one of Jason’s favorites, and he insists on calling it “eggs” even though eggs are the least of its important ingredients. Oh, boys. :)

It is a variation on my Aunt Jill’s recipe. Here it is (a double batch, of course):

In a pot, cook 2 cups of dried grits (follow the directions on the bag to see how much water you need). Be sure to add salt to the water!

In a large pan, cook 1 or 2 pounds (it’s really up to you, meat-eaters) of Neese’s sausage. Once the sausage is nearly cooked, add a large onion (diced) to the pan. Also add 2 diced peppers.

Then add a lot of sliced mushrooms to the pan. Be sure to add salt, pepper, basil, and oregano (or whatever your favorite spices are).

When all this is done and the grits are also cooked, mix these ingredients and the grits together in a large mixing bowl.

Add 12 ounces of shredded cheddar cheese, 1/2 cup of butter, and 2/3 cups of milk to the warm mix. Stir all of this in thoroughly so that everything melts and blends together.

This is when I also add more of my spices: extra salt, pepper, basil, oregano, and some cayenne peppers for spice! Add more than you think of all of your spices (except maybe the cayenne)!

Beat 6 eggs well, and once the large, hot mixture cools down a bit, stir in the eggs. Be sure that the mix is not so hot that it cooks the eggs!

Butter your casserole dish(es) and pour in the mixture.

Bake at 350 degrees for at least 45 minutes but for less than 1 hour. Enjoy!

P.S. This recipe is so hearty that we usually eat it for dinner. But it’s also so easy to warm up for any quick meal, like breakfast. Just never freeze it! We tried that once and the texture was horrible!!!

.:.

New Dog Food for Bolt

After a period of itchy skin and irrirability for Bolt, we decided that it just had to be someting more than the weather. A few months ago he went through the same sort of “spell” and then seemed to get better… His hair grew back on his back and he seemed less annoyed.

And then out of nowhere, really, he got itchy again and seemed less happy about everything.

There is a chance that he has allergies due to the season, but we really think he needs a new diet, one that is better suited for him! We’ve talked before about homemade dog food for Bolt, but since posting our dog food recipe, we found a dry food that seemed to have healthy, natural ingredients. So, since it was much easier to give him the dry food, we started giving him that (with some supplements and meat sometimes).

During his most recent itchy/annoyed period we realized that something had to be done! So we decided to start from the ground up… With his food!

We checked out Dr. Pitcairn’s Complete Guide to Natural Health for Dogs and Cats again to see if there were any easy diets we could find that would help us determine if he was allergic to any ingredients in regular dog food. We found one that is perfect for us, and really easy to make. We’ve tweaked it a bit ourselves to make sure that he’s getting extra protein and fat (since dogs don’t need any carbs anyway). Dr. Pitcairn calls it the Dog Allergy Diet 1, and for the past few days we’ve been giving him only that. We haven’t noticed if he’s gotten less itchy yet, but he is certainly less irritable!

Bolt the dog

Bolt, Captain of the Clean Plate Cub!

Also, we realized that he really needed a food change when he wouldn’t eat his kibble! He would sit and wait for us to tell him to go to his bowl, but then he wouldn’t go over and eat once we told him to. After a few minutes he would check out the food but then only eat a few bites and go lay down. He wasn’t acting sick in any other ways, so we figured he was fasting since he know the food wasn’t right for him anymore.

This new recipe has him racing to the food bowl when we tell him to go, and eating every single grain of rice! This is great news to us!

Here is our take on Dr. Pitcairn’s Dog Allergy Diet 1:

  • Breakfast:
    • 1 cup of cooked brown rice
    • 1 cup of cooked or raw venison (depending on what we have on hand)
    • 1 tablespoon of olive oil
  • Dinner:
    • 1 cup of cooked brown rice
    • 1 cup of venison
    • 1 tablespoon of melted coconut oil
    • a pinch of holy basil (an herb that promotes calm)
    • 1/8 teaspoon of Vitamin C powder

We’ll also be adding two more things to his dinner plate: a complete multi-vitamin for adult dogs and some bone meal (food grade and safe for dogs), but we’re waiting on these to come in the mail. We give him bones sometimes and we plan to make more bone broth, but just in case, we’re getting bone meal as  a backup if we’re short on bones or broth for a while.

We’ll see how the diet works out over time, but for now we’re feeling much better about him feeling better!

.:.

Farm Food Friday: Jalapeño Jasmine Rice

Tired of having the same old kind of rice with your meals? Well, we certainly were, so we decided to do something about it! We spiced up our rice!

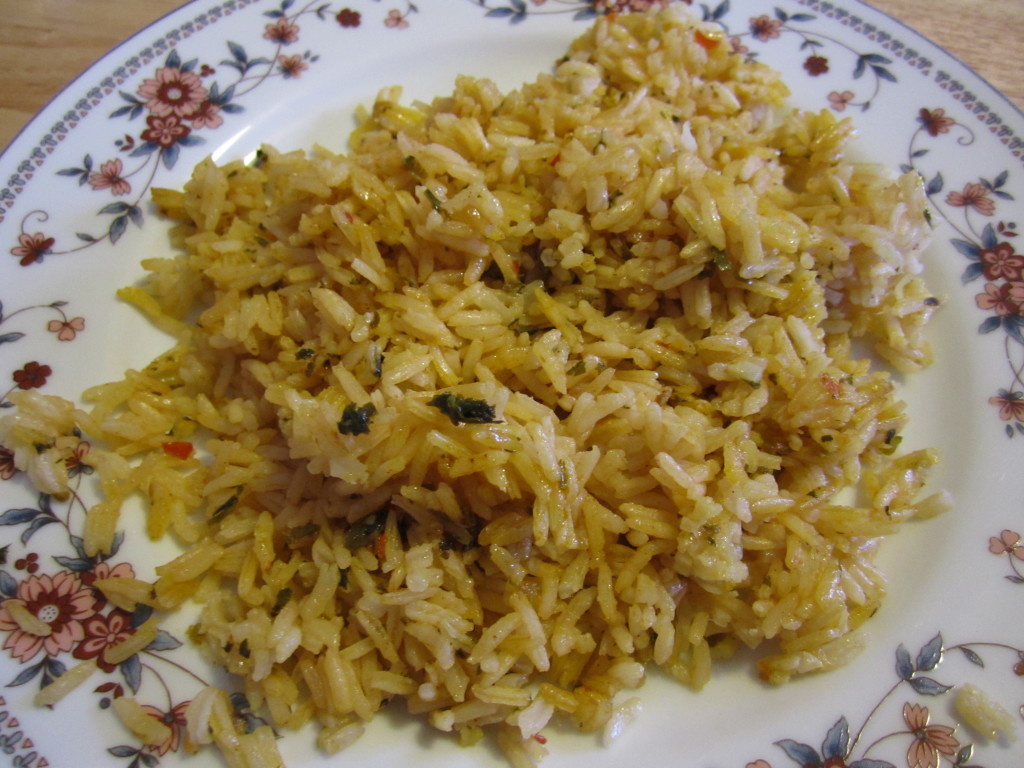
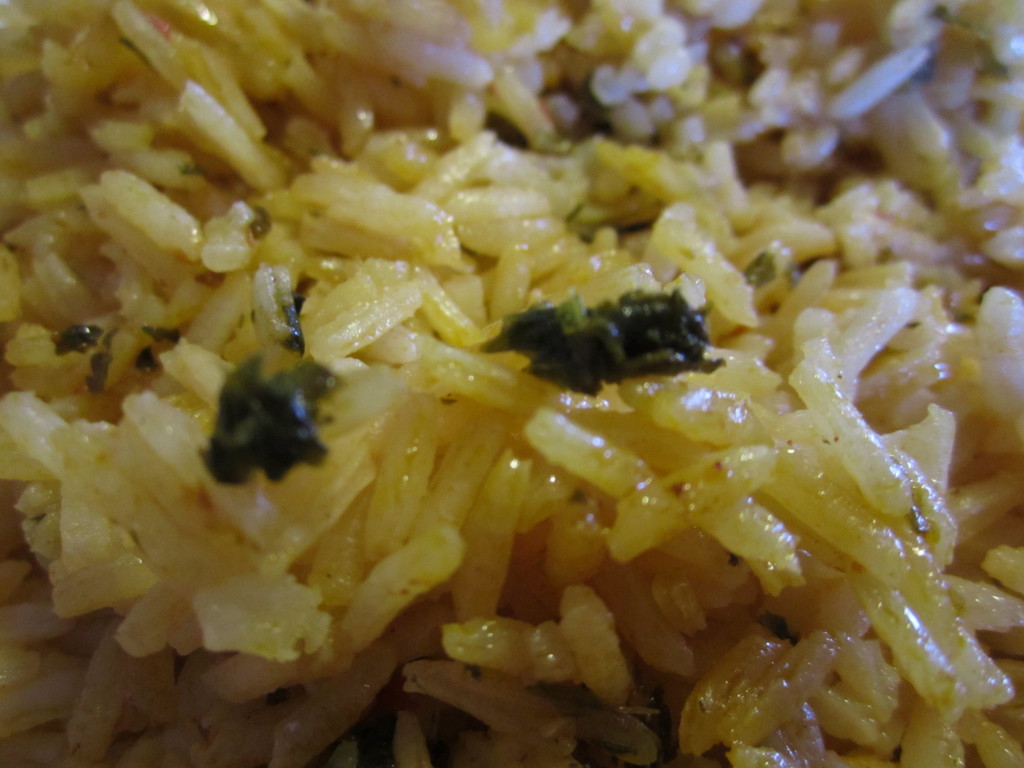
rice

Jalapeño Jasmine Rice!

This recipe came about because we had extra spices in our freezer. We’ve taken to putting different vegetables and herbs in the food processor and then putting the puréed concoction in ice cubes to freeze. Once they freeze, we take them out of the trays and store them in bags. It’s a great way to keep herbs on hand all throughout the year!

Here is the fun and easy recipe for Jalapeño Jasmine Rice (we made a huge pot!):

  • Put 4 cups of beef broth, 8 cups of water, 3 ice cubes of puréed jalapeño, 1 cube of puréed parsley, 1 cube of puréed cilantro, salt, garlic powder, and ground annatto in a large pot. Bring to a boil.
  • Once pot is boiling, add 8 cups of jasmine rice. Stir the pot and turn the temperature on low to medium-low so the pot simmers.
  • After about 20 minutes, check to see that the rice is done, and turn off the heat!

And that’s it! Enjoy!

Yummy!

Yummy!

.:.

Older posts Newer posts

© 2024 KW Homestead

Theme by Anders NorenUp ↑