KW Homestead

Pasture Raised Poultry & Edible Landscaping Plants Since 2013

Tag: events

A Fantastic Farm to Your School Day!

KW Homestead’s first Farm to Your School experience was a great one, with another school visit coming up on July 9th!

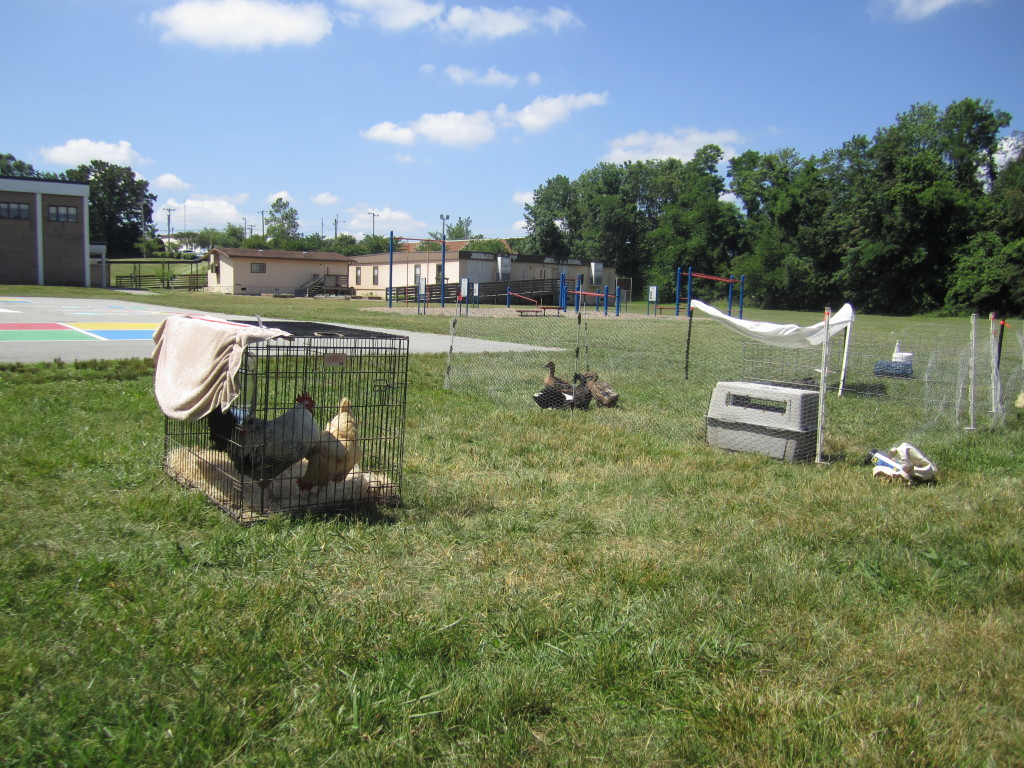
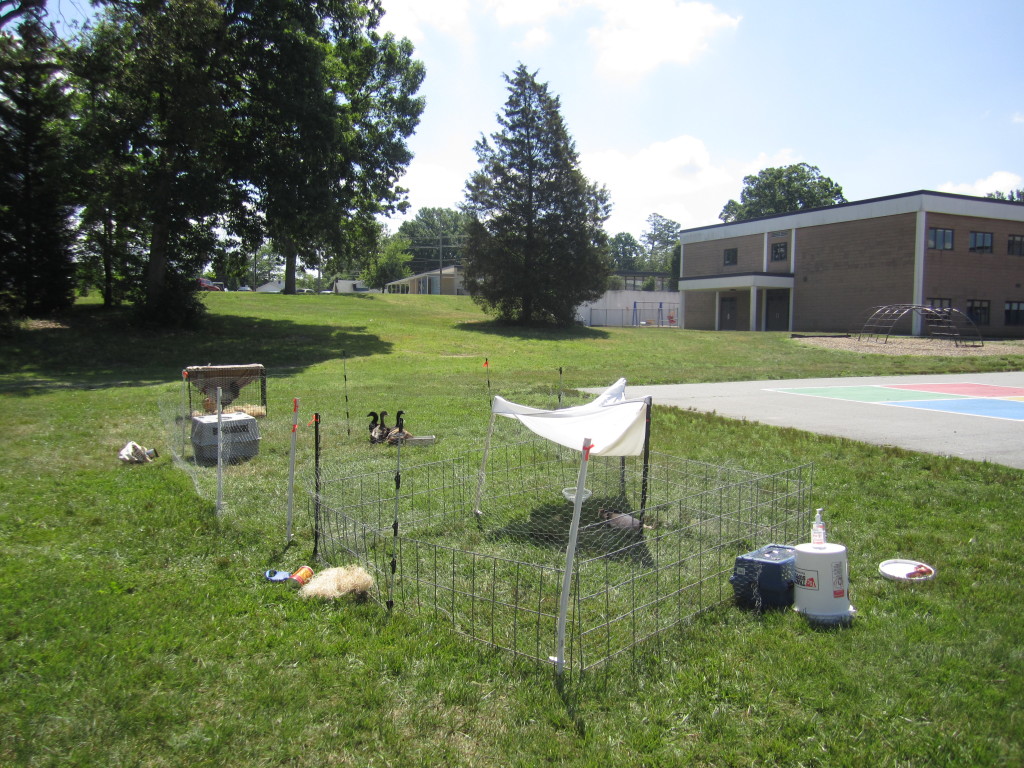
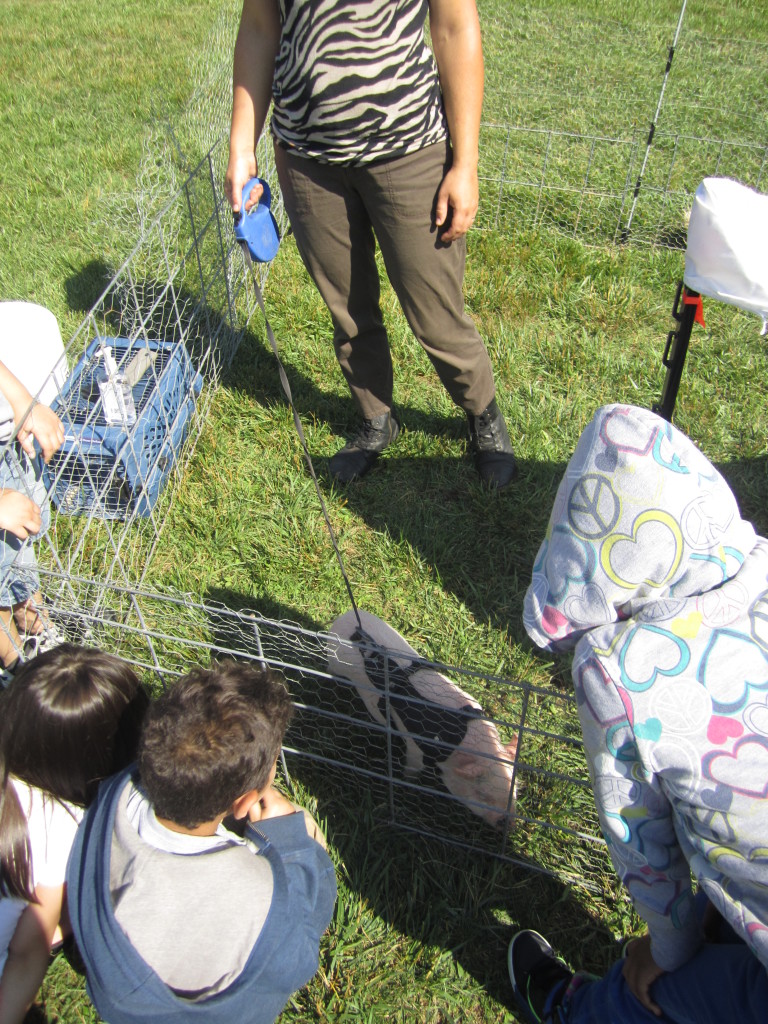
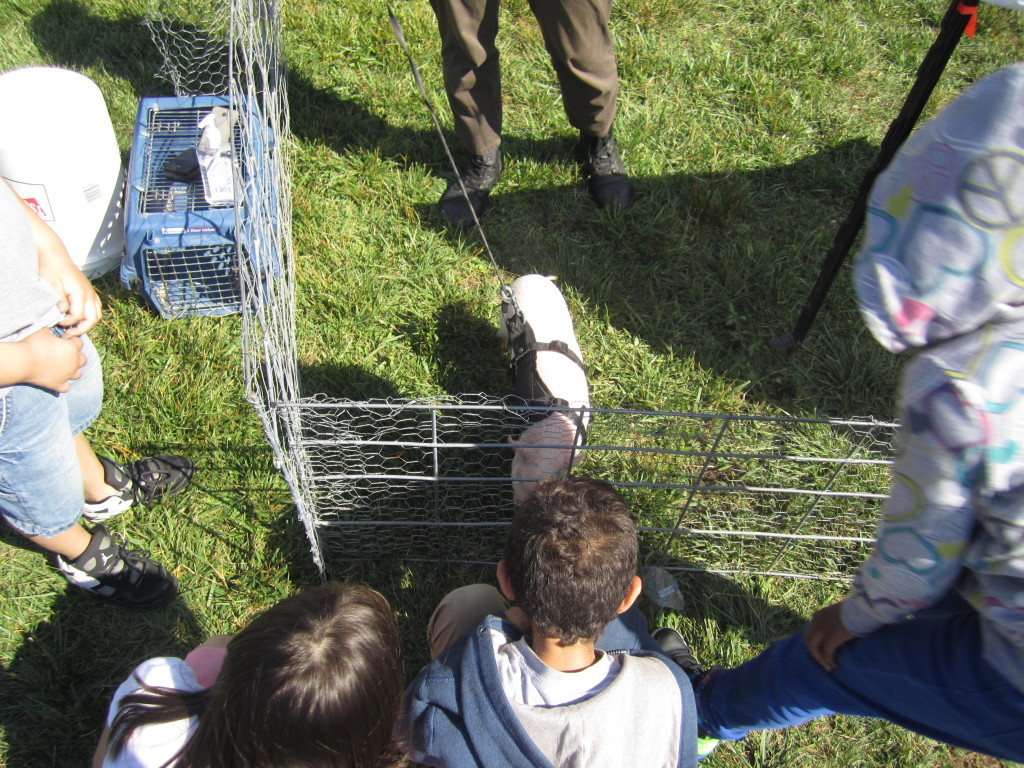
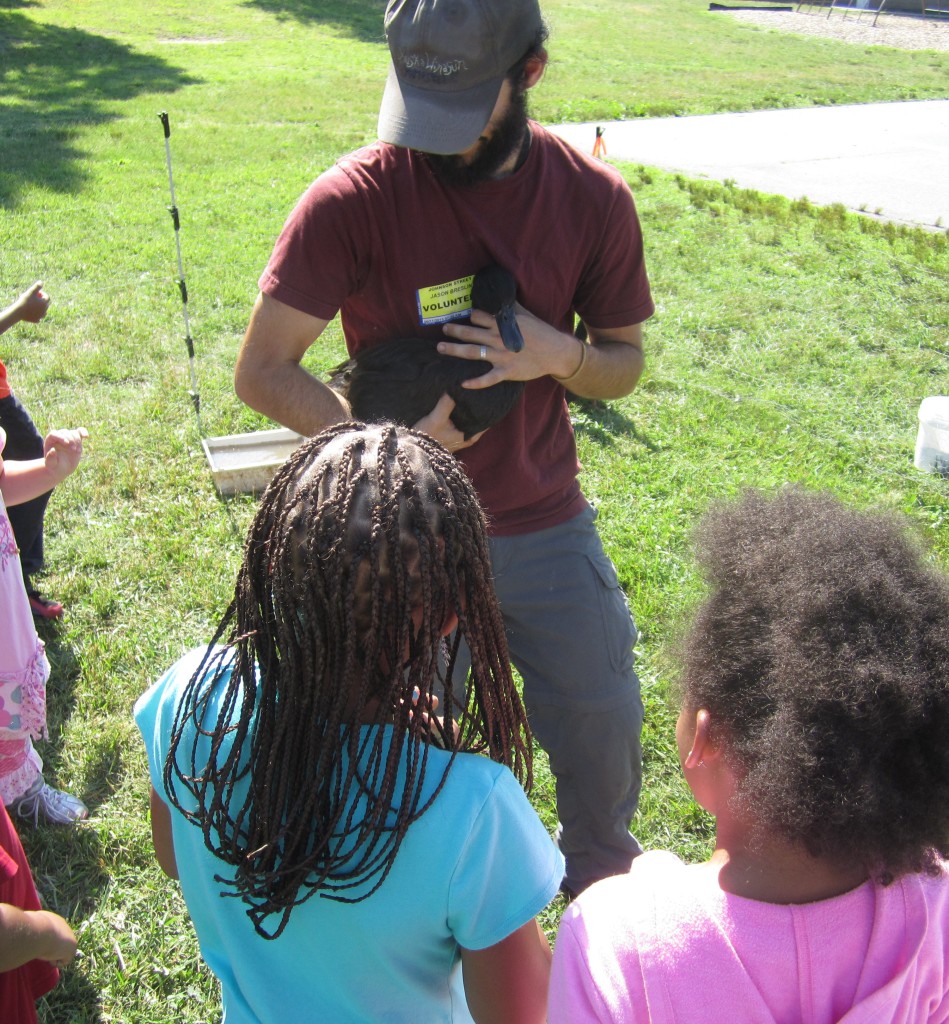
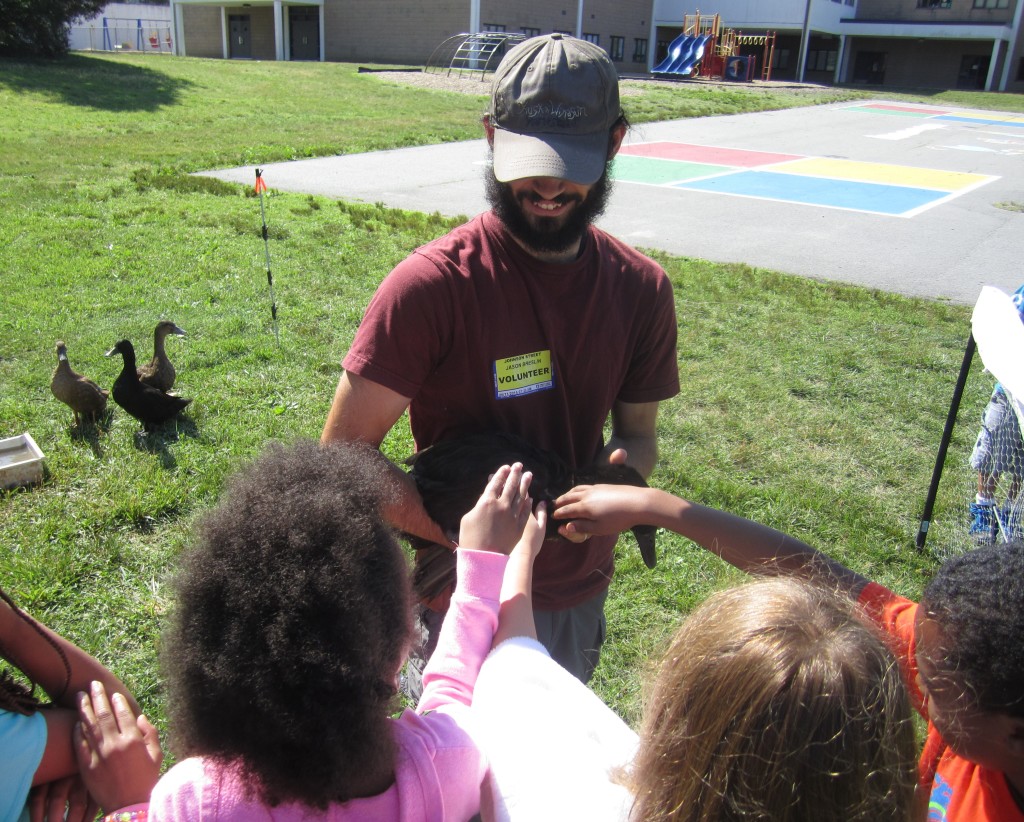
I just wrapped up the 2014-2015 school year as a Teacher’s Assistant at a school in High Point, and Jason and I decided to offer a free Farm to Your School adventure to the kindergarten, first, and second grade kids that I worked with everyday. A few days before the last day of school, we packed up our chickens, ducks, and a really friendly piglet named Half Nose and carted them over to Johnson Street Global Studies K-8 Magnet School.

IMG_0800

IMG_0798

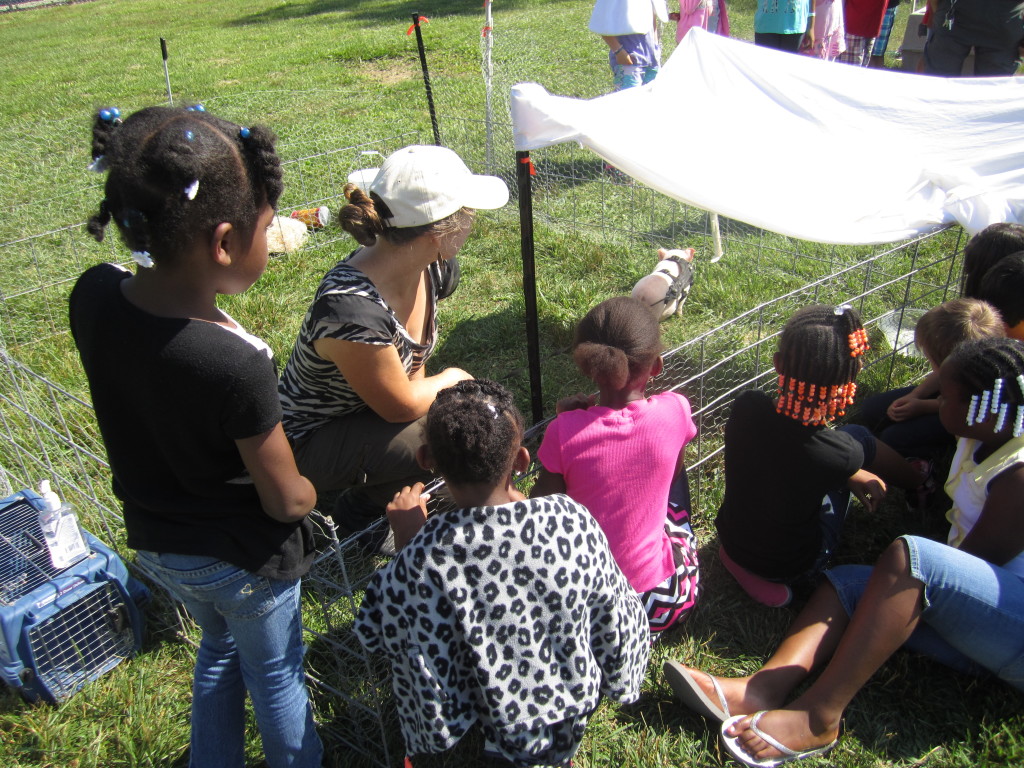
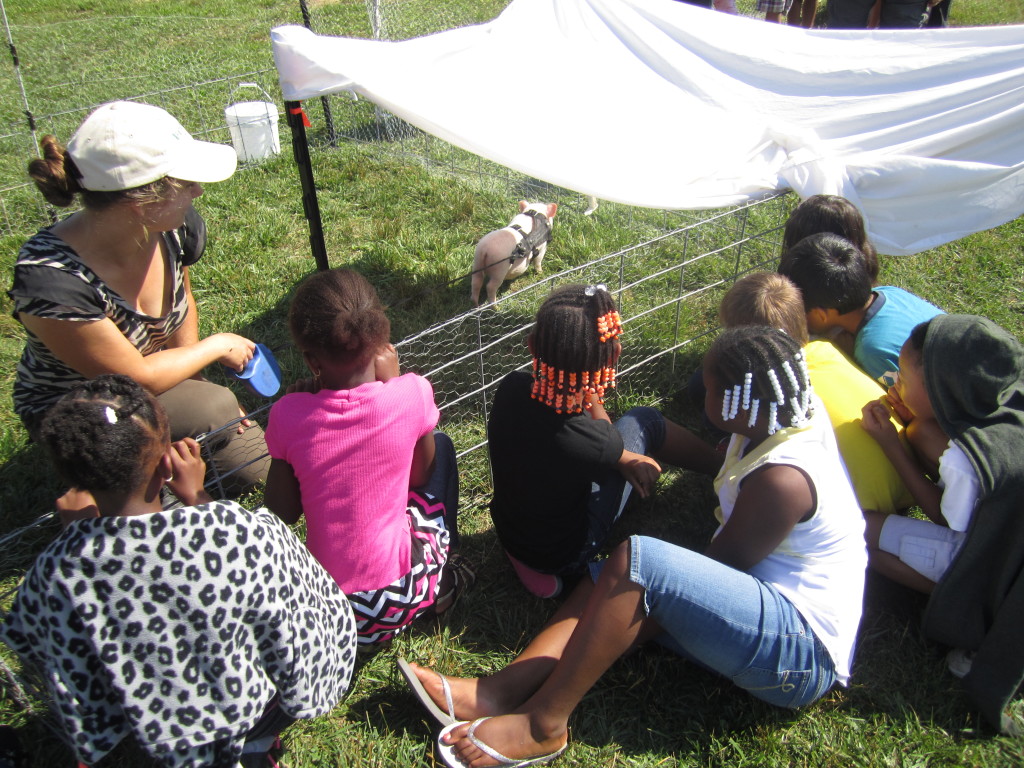
Each of the 6 classes had 30 minutes to enjoy the animals… A perfect amount of time for the kids to get quality time with each set of animals. I ran the Pig Station, where students got to pet and scratch our piglet. They were lucky enough to get to her some of her piggy noises, and some of our favorite questions were:

“Is she wagging her tail because she is happy?”

“Why her her hair so scratchy but her skin so soft?”

IMG_0787

IMG_0788

IMG_0797

IMG_0795


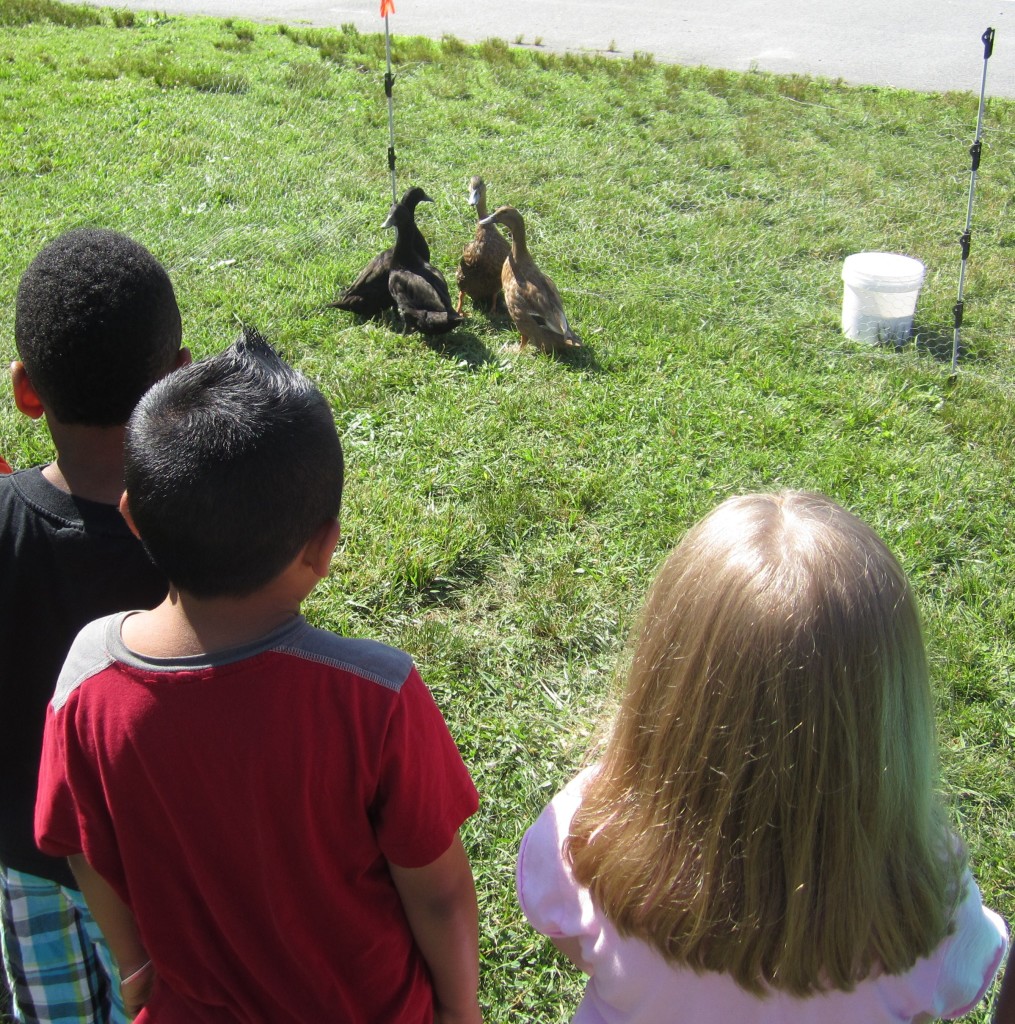
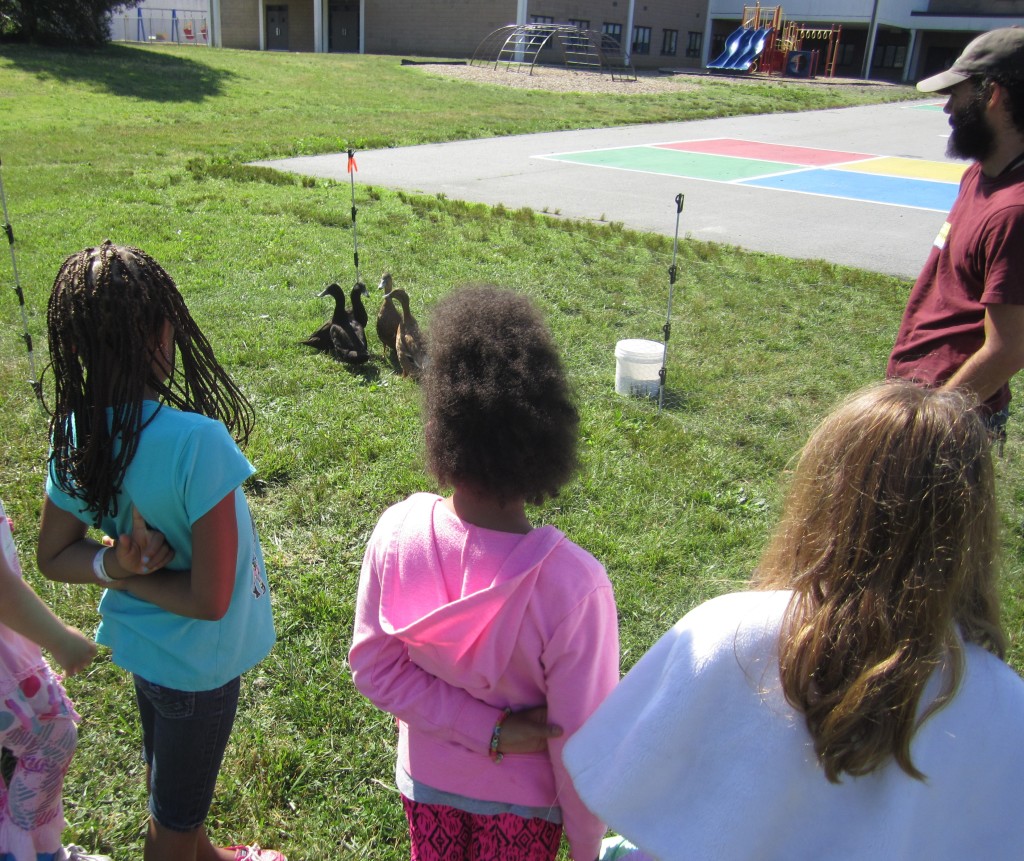
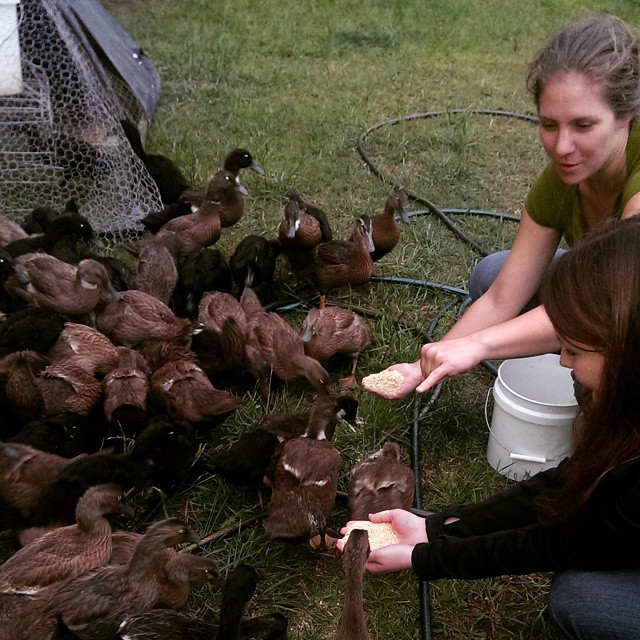
Jason ran the Duck Station and the kids were able to feed the ducks and watch Jason employ some of his ninja skills while catching a duck for them to pet. Some of our favorite questions from the Duck Station were:

“Why do they sit in the water and then drink it?”

“Why do they always walk together?”

IMG_0789

IMG_0790

IMG_0792

IMG_0791

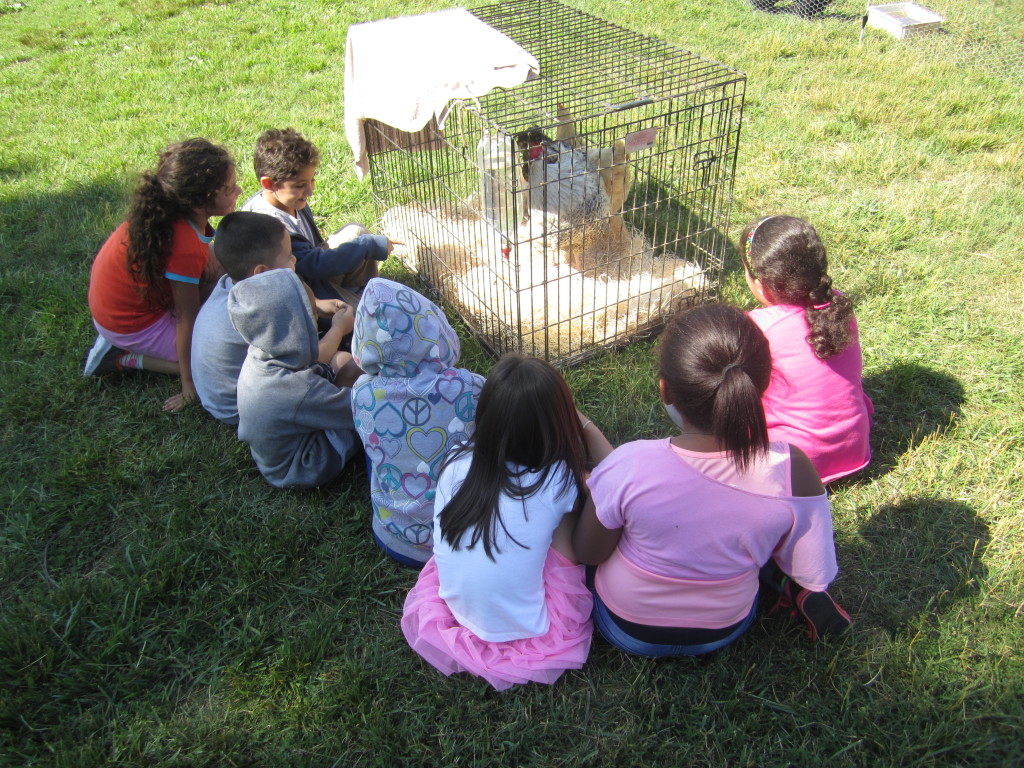
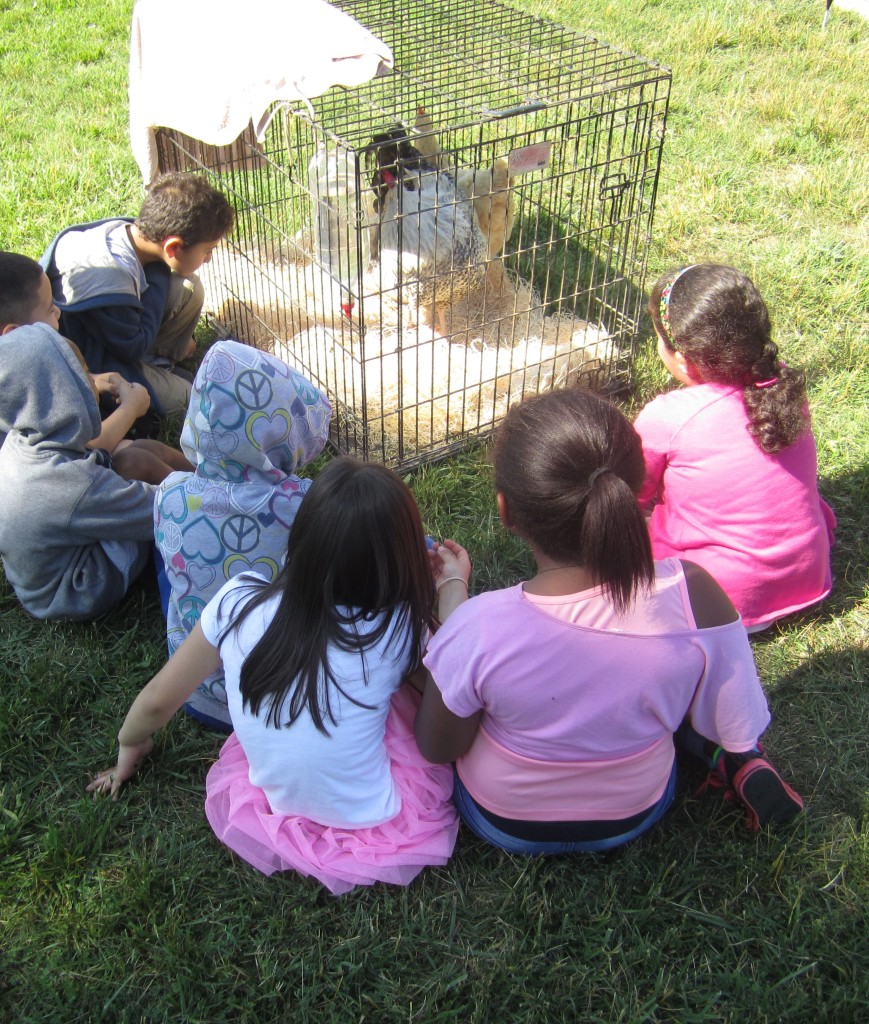
Each classroom teacher supervised the kids while they looked at the rooster and hen, and they loved hearing the rooster crow and (their favorite) watching both chickens poop!

IMG_0794

IMG_0793

We had a fantastic day, and the time we spent sharing our animals with the kids really flew by… I think we found one of our passions!

If you are interested in booking Farm to Your School at your school, church or family get-together, send us an email at ourochreway@gmail.com and check out our Farm to Your School pricing page!

.:.

Farm to Your School!

Everyone’s heard of farm to fork, the local food movement that brought farmers and consumers closer together, but we want to go one step further.

Farm to Your School!

Kuska Winasun Homestead is now offering a way for students, teachers, and parents to interact with a young pair of farmers and their livestock.

What exactly does a farm to school visit entail?

The Pig Package

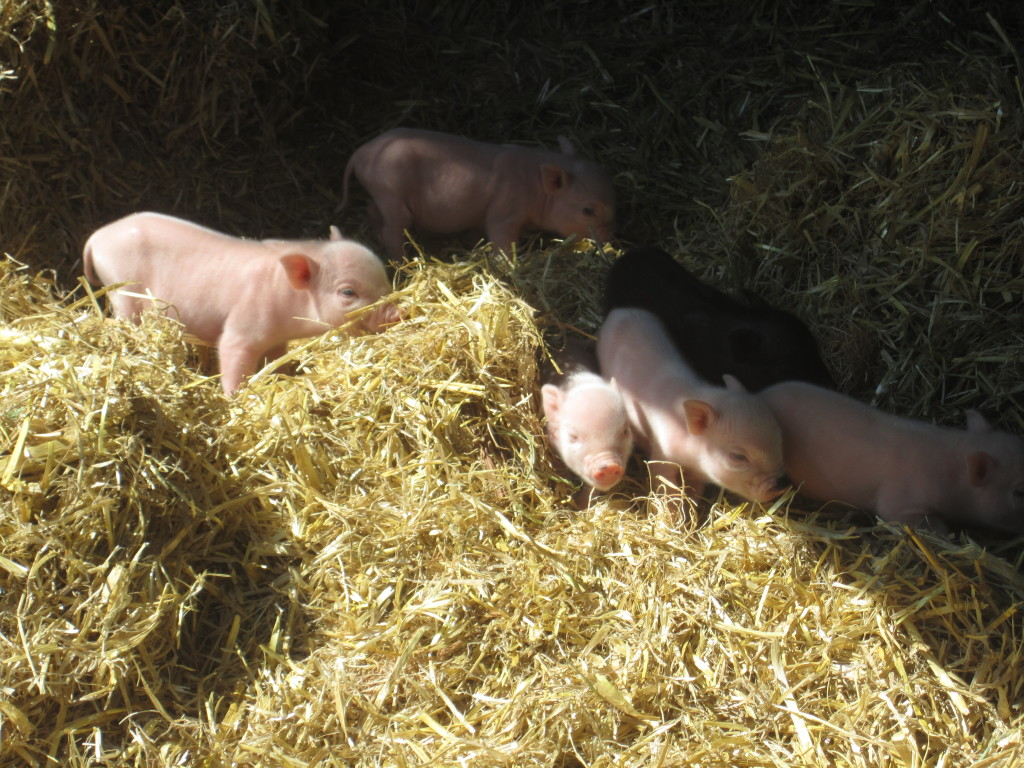
Students will get to pet and scratch a friendly pot-bellied pig. These cute pigs are much smaller than standard pigs, and are sometimes kept as pets.

piglets

Pot Belly Piglets

$60 per hour (2 hour minimum)

The Poultry Package

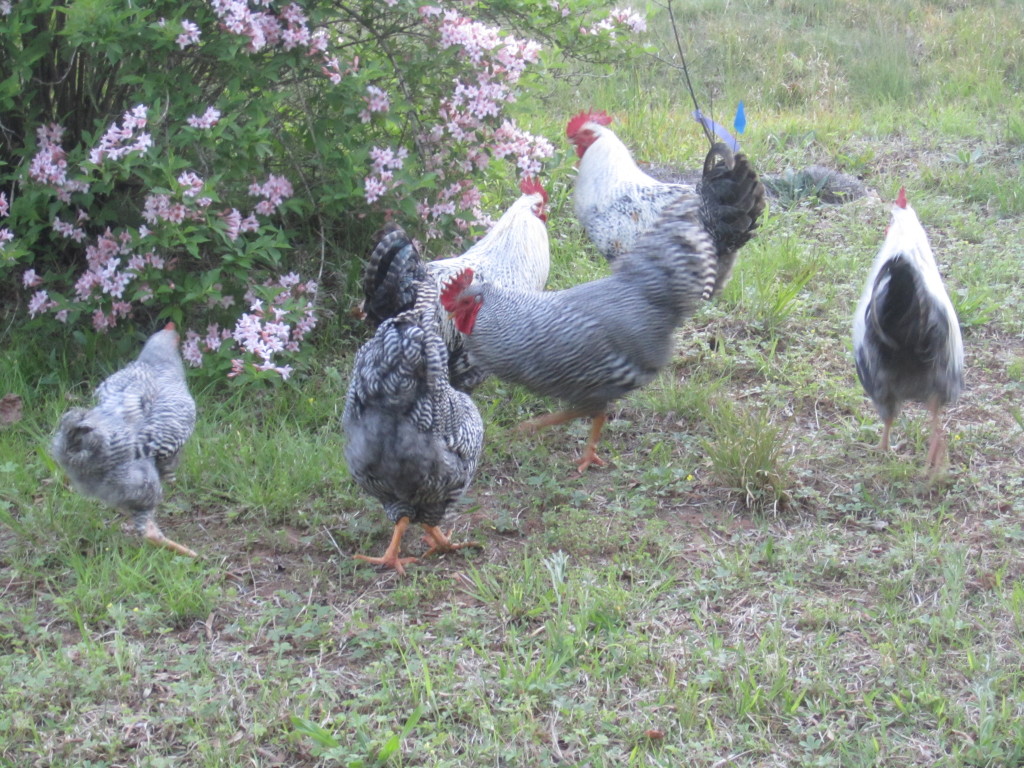
This add-on gives students a chance to feed some friendly ducks and enjoy seeing how distinct the different varieties can be. They also get to compare the difference between a rooster and a hen, and hear the cockle-doodle-doo firsthand.

feeding ducks

Some of our ducks, lining up to be fed

roosters

A flock of roosters!

+$25 per hour

What do you need to provide?

Nothing really, just an outside area somewhat out of the way where the event can take place. And of course, the children.

We recommend a minimum of 15-20 minutes per class, and in order to keep the animals calm, we like to limit the number of kids taking part to 20 at a time. You can schedule the visits however you like, but please keep these limits in mind.

What do we provide?

We will provide the animals and everything they need for comfort (cages, water, food etc.). We will also have some hand sanitizer available to keep all the animals healthy.

We will answer questions, tell stories, and direct the entire event.

Parents and teachers will also have the chance to purchase some of our farm products at a discounted price after the visit.

If you would like to schedule a visit, or have any questions, feel free to email us at  ourochreway@gmail.com.

homestead wedding tips: using straw bales and boards to make wedding seats!

when we got married 5 weeks ago, we really wanted to make the whole ceremony, including what would be under our guests’ butts, as representative of jason and me as possible.

we started brainstorming what wedding “gear” we would need early on in the year, but since we were on the fence about whether we should have our reception at our house or another venue, we didn’t commit to renting any seats and tables. this just didn’t seem quite right to us, for some reason. we really wanted to make even this portion of the ceremony personal and “homemade” in some way and so once we decided to hold our reception elsewhere, we felt more open to other ideas since we no longer needed to rent 100 chairs and tables to seat everyone at the house. we decided that the primary seating would be set up for the ceremony, with other seating around the yard. time to get creative…

we thought about things that were important to us, making the seating:

  • fun and homemade
  • meaningful
  • reusable
  • as inexpensive as possible

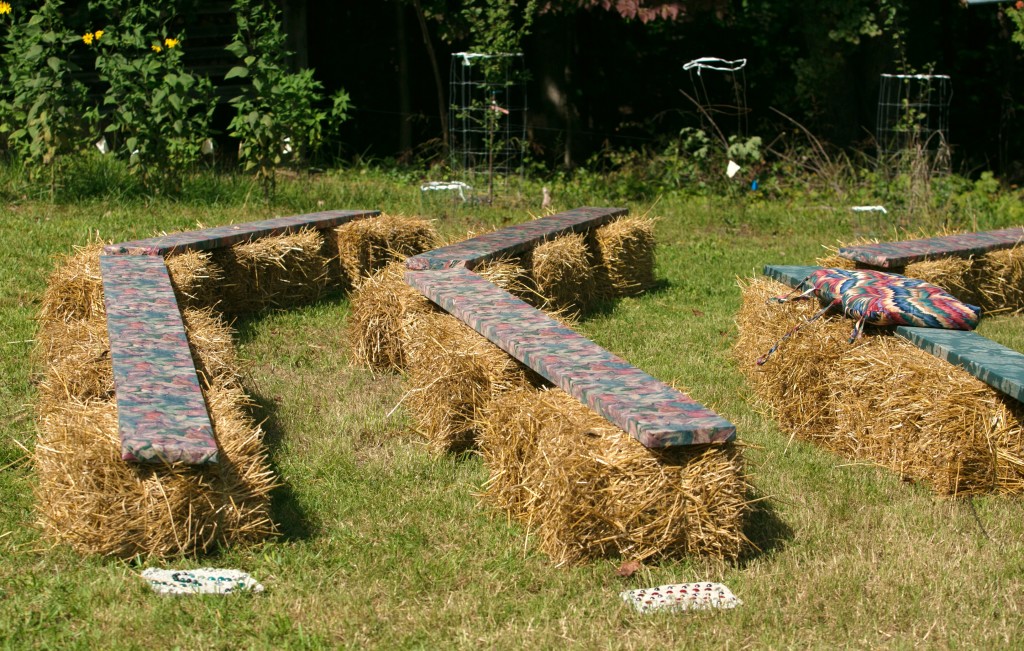
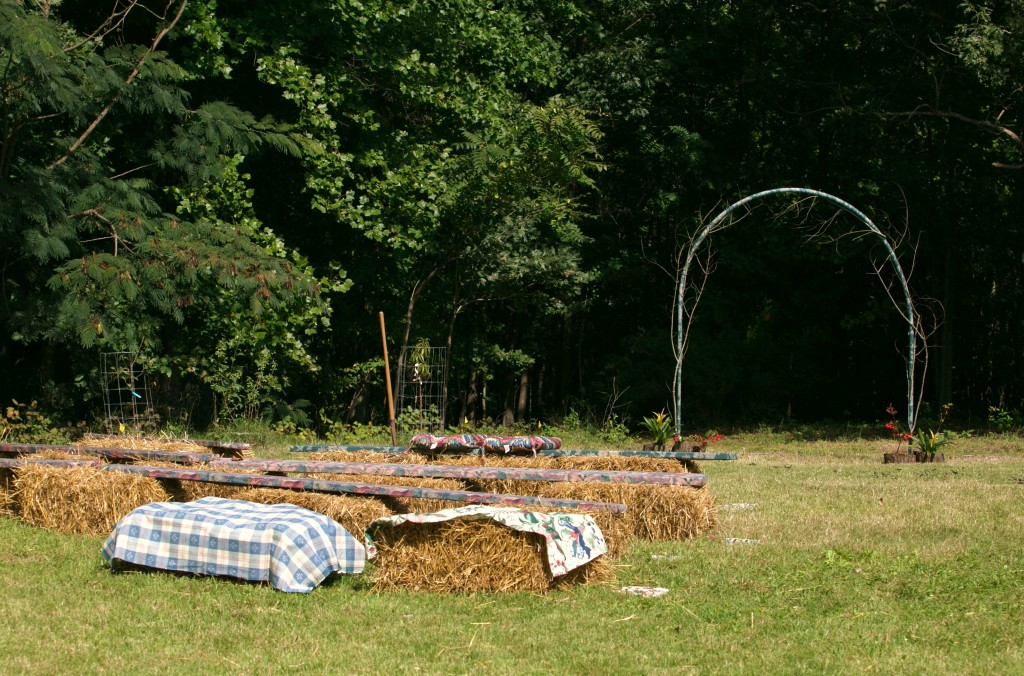
we settled on wrapping boards in fabric and laying them on top of straw bales in a semi-circle pattern. after doing some shopping around it became clear that the boards that were the best deal for the footage and were also sturdy enough to support 6-7 butts, were 10 foot boards that were 8 inches wide. the store clerk that approached my mom and me as we were measuring our butt sizes and averaging them, certainly was a bit confused.

we also did the math on how many straw bales we would need under each board to make the boards sturdier and less movable, determining that 3 under each board was sufficient. jason found a local farmer and he delivered our bales to us a few weeks before the wedding. it was serendipitous when the farmer showed up and told us that our house and land had been owned by his grandparents. the person who sold us our home was his mother!


we were really excited about using the wood and straw as seats because we knew that we would reuse these materials later; the wood for building or repairing structures, and the straw for mulching beds or providing padding for the chickens’ nest boxes. right now actually, some of the straw bales are weighing down sheets that we’ve laid down in the garden to keep the sweet potatoes from freezing before we harvest them all this week.

we were concerned about wedding guests sitting on bare boards (who knows what could stain a light colored dress?), so we decided to wrap them in colorful fabric. since the wedding colors were loosely “fall colors,” my mom dug out some of her old bolts of fabric and we were able to choose some patterns that suited the wedding colors. my mom helped me cut the fabric to length and wrap the boards tightly. i used a hammer stapler to secure the fabric on the bottom side on the board, and after a lot of stapling and one mashed toe (mine) we had the boards done. two of the boards were wrapped in a different pattern than the others, and these were the two boards placed in the front-right-center and front-left-center of the seating arrangement and meant for our parents and grandparents.

i also placed the awesome stepping stones that we made at my bridal shower on each end of all of the rows, placing the ones made by my mom and jason’s mom, right beside where they would be sitting during the ceremony. they noticed this addition, and it made me feel great that the decorations were made by some of my closest loved ones!

the day of the rehearsal dinner, our family used the board/bale seats as places to sit, eat pizza, and get to know one another.

the day of the wedding, our family used the board/bale seats to watch jason and i walk out of the woods and get married and afterwards the benches were once again seats for sitting and chatting with family. other smaller straw bale seats around the yard were used too, and blankets spread out on the grass served as nice places to stretch out and watch the trees and the garden before the ceremony began.

3 cheers for board/straw bale seats: a homemade, cheap, and reusable option for your own wedding!
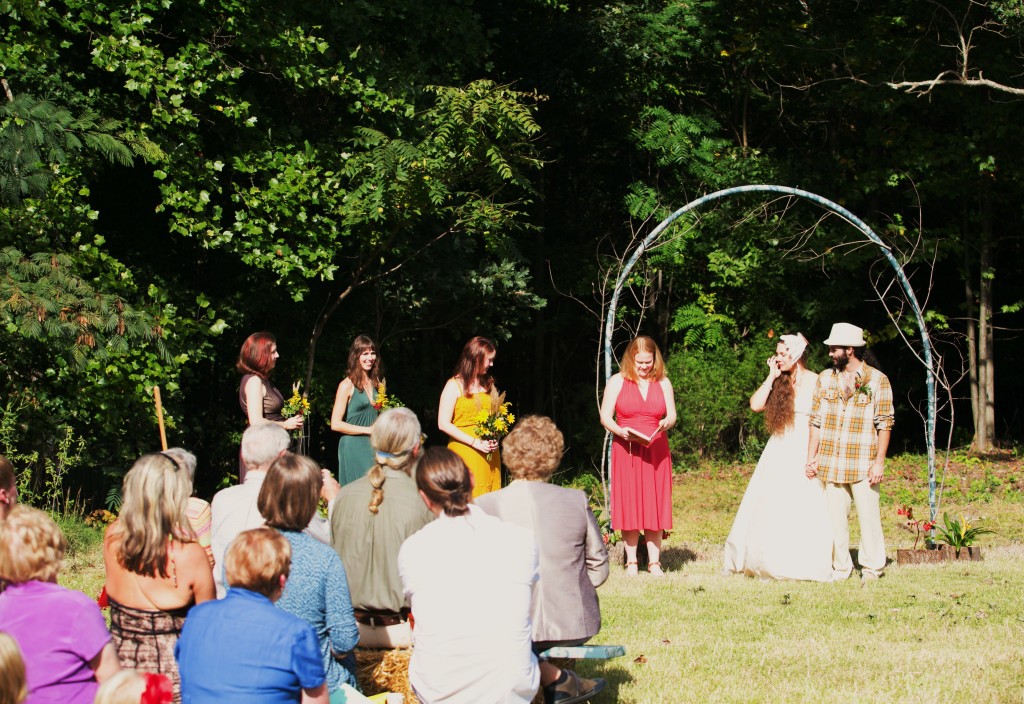
 

fall homestead wedding

photo by heidi’s dad

.:.
homestead wedding tips: how to make your own fun, funky, and cheap food and cocktails tables!

our wedding was last weekend (wow! we can’t believe it’s already over!), and so much of what we accomplished was due to our re-usage of many things that we already had at our home. we were determined to get through or wedding without spending too much, and i think we were successful!

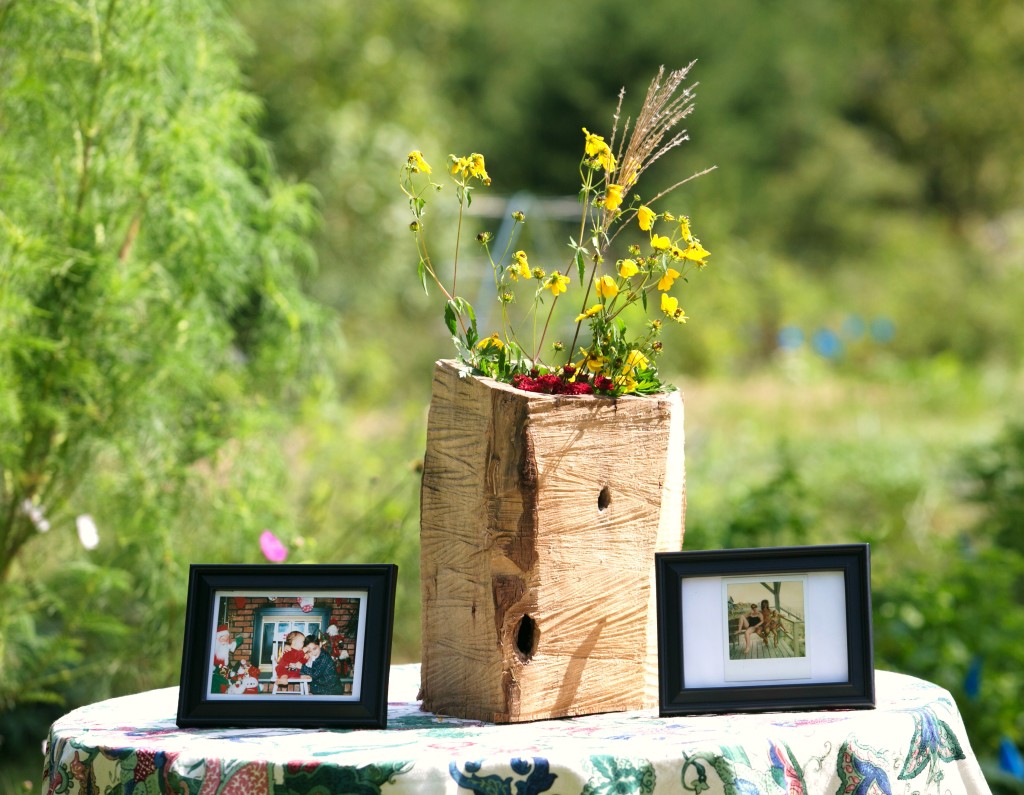
we had 2 parts to our wedding: a pre-reception here at our house that led right into the ceremony and a true reception at a separate location about 20 minutes from our house. we served snacks and beverages at our house before the ceremony, and wanted to have cocktail tables set around the yard near the garden beds for people to put their drinks on. we also decided that we wanted to put pictures of jason and i as kids on each table to encourage folks to move around the garden and see the different crops and areas of the yard.

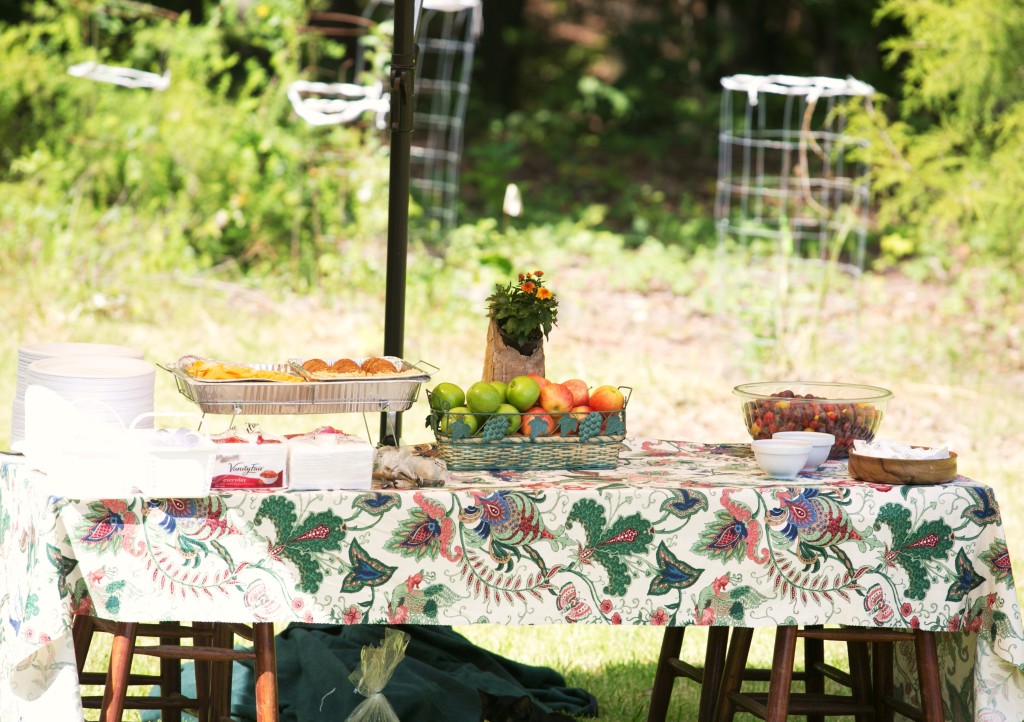
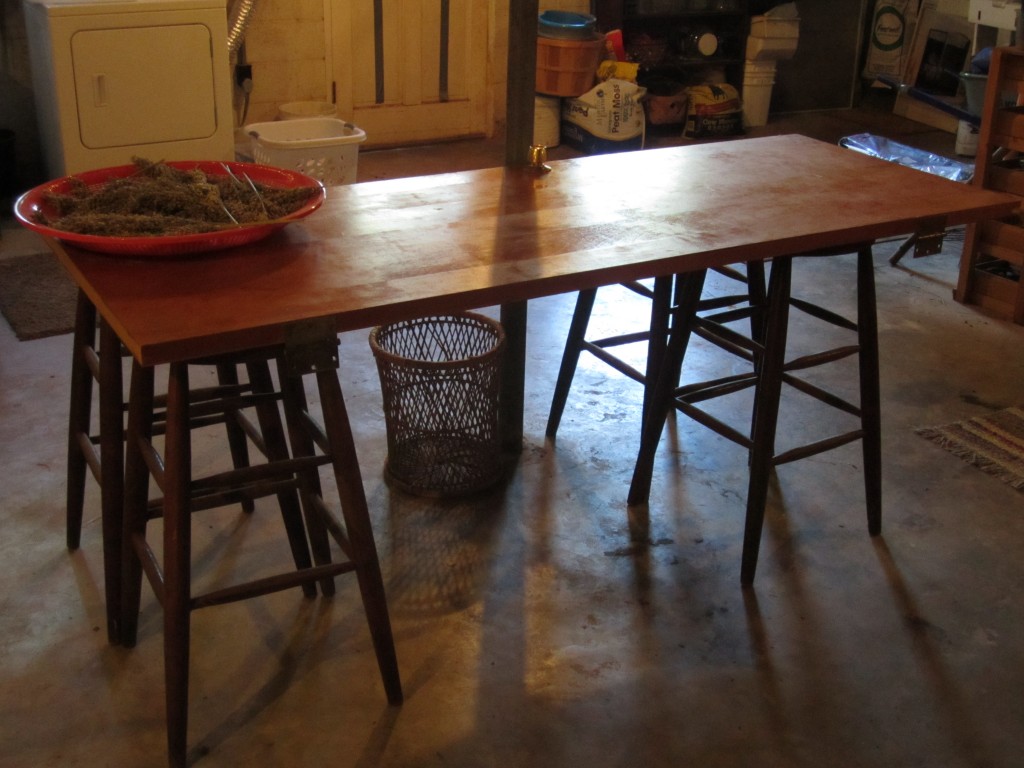
first of all, we needed a table to use for serving the snacks, but we did not want to buy another folding table and the three folding tables that my parents were letting us borrow were already to be for the reception food and dessert tables. i remembered that a door that we took down from our upstairs hallway was being stored, unused in the basement. 4 high bar stools later and that same table laid down flat on top of the stools, we had a table! a sturdy, free table! add some bolts of fabric borrowed from my mom, this pieced-together table looked very presentable and very “us.”

here is the table... back in the basement and without its table cloth

here is the table… back in the basement and without its table cloth

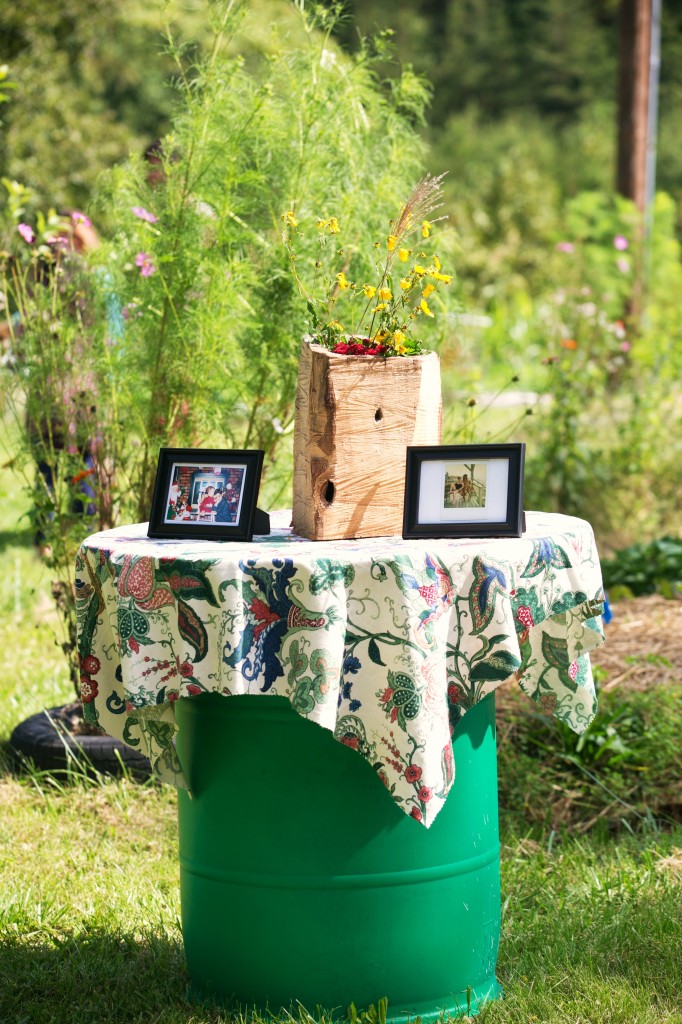
the cocktail tables were also simple and fun to make. we chose our prettiest 2 plastic rain barrels, turned them upside down, and added an old sign and an old table top that we found in our woods as we were cleaning up for the wedding! more fabric from the same bolt on top, and a lovely wooden vase made by my father to keep the fabric from blowing off just in case of wind, and you’ve got a unique and free cocktail table perfect for a homestead wedding!


another table that held the water cooler and cups was really more bolts of fabric on top of an old washing machine! you never would have guessed!

needless to say… it is definitely possible to create tables and seats (more on this later!) from materials you have around your homestead. and, if you are anything like us, you’ll love making creative, memorable, and cheap surfaces for your wedding guests to use as tables!

.:.
our (ochre) wedding on the homestead was a success!

we’re back!

finally our posting will return to our normal 5-posts-a-week-schedule  since we’ve gotten married!

two days ago we got hitched in the backyard, and there will certainly be more information coming soon about just how we pulled it off!

thanks so much to the  many who pitched in and helped us out on our big day (which was everyone who came!!!). we appreciate all of the well wishes  and we are overwhelmed with gratitude and joy.

it was a great, emotional day, and now our married life begins!

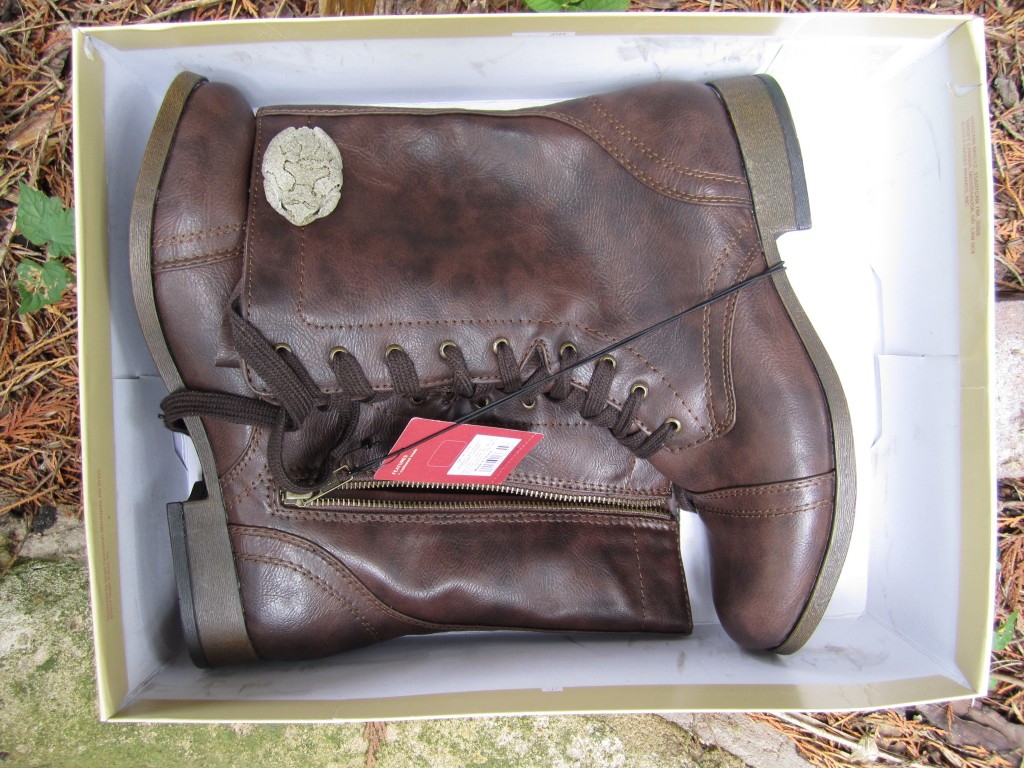
wedding shoes (meet a good luck frog)

when my mom and i went shopping yesterday after altering more of my wedding dress, i found the shoes i’m going to wear for the wedding! they were a cheap $35 at target, and i am so excited about them!

i didn’t want to wear anything too fancy and since my dress is already traditional enough, i decided that a good, old-fashioned pair of boots would fit in perfectly for our fun-filled, dance-craze, outdoor, walking-in-the-woods, homestead wedding.

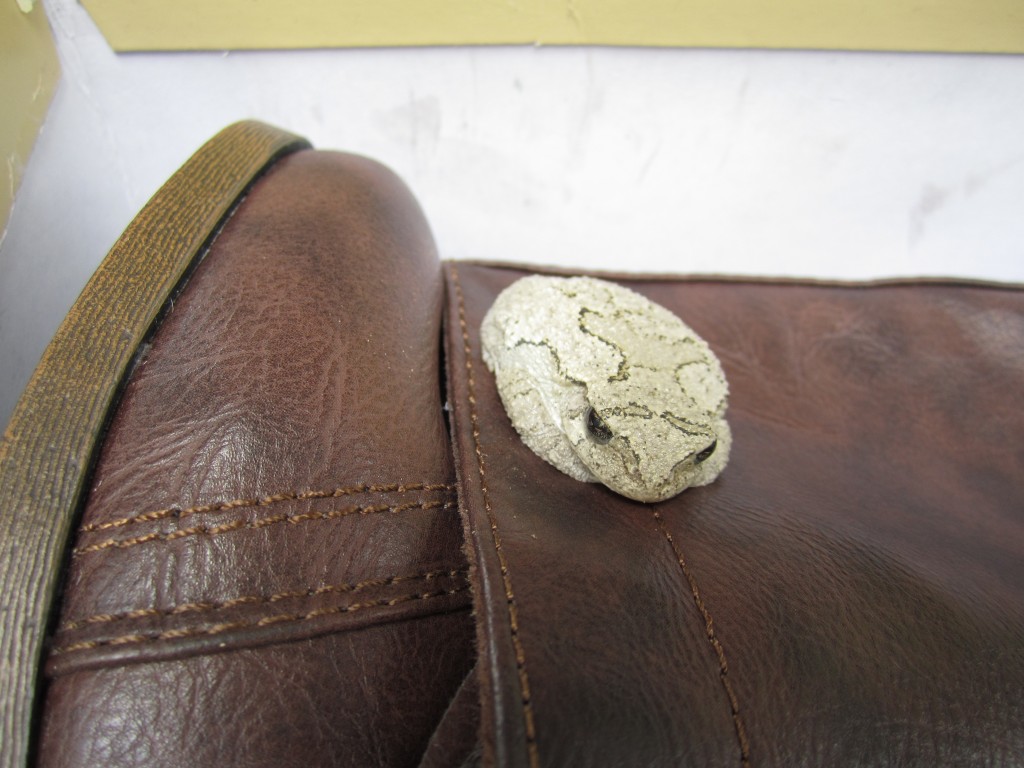
as we were leaving the store, we spotted the grayest frog i’ve ever laid eyes on, sitting on top of a cement column outside the store (in the middle of a concrete jungle). mom and i agreed that he had little chance of living in the middle of a shopping center on a hot day, so we collected him (which he allowed) and put him in… the shoe box, since we had nothing else.

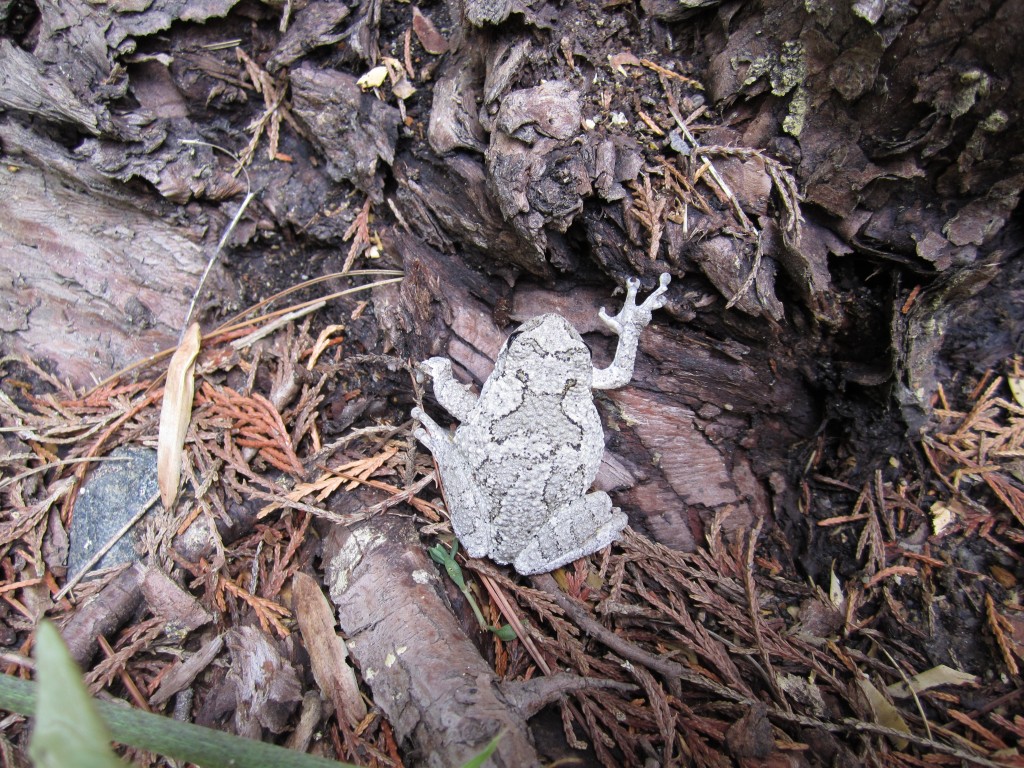
we made a quick trip to the grocery store, with the boots and frog along for the ride, and then took him to my parents’ house and let him go in their back yard. later, we looked up what species he was, and we learned that he was a gray tree frog (hyla versicolor). what a cool guy! they are harmless and very common in our area and throughout much of the united states.

my wedding boots; just enough heel and just enough frog luck.

my wedding boots; just enough heel and just enough frog luck.

i was super excited to have met him, and to have carried him in my shoe box. somehow, it seems like a very good marriage omen to me! what do you think?

have you ever seen a frog so gray?

have you ever seen a frog so gray?

freedom!  thanks, wedding-luck frog!

freedom!
thanks, wedding-luck frog!

.:.
homestead bridal shower: having fun and creating art!

this past weekend my best friend and i held my bridal shower at our house. it was a blast,and it was wonderful to see so many of my family and friends at our home. it was great getting the opportunity to share our house and gardens with these folks, and i loved giving “goose tours” and “garden walks!”

we are getting married on our homestead in late september and i’m currently in the process of designing our wedding invitations, brainstorming party favors, and figuring out the final details about the decor, ceremony, and venue. actually, i spent all of today designing and altering my wedding dress with my mom. fun but also a little stressful (but not because of you, mom!).

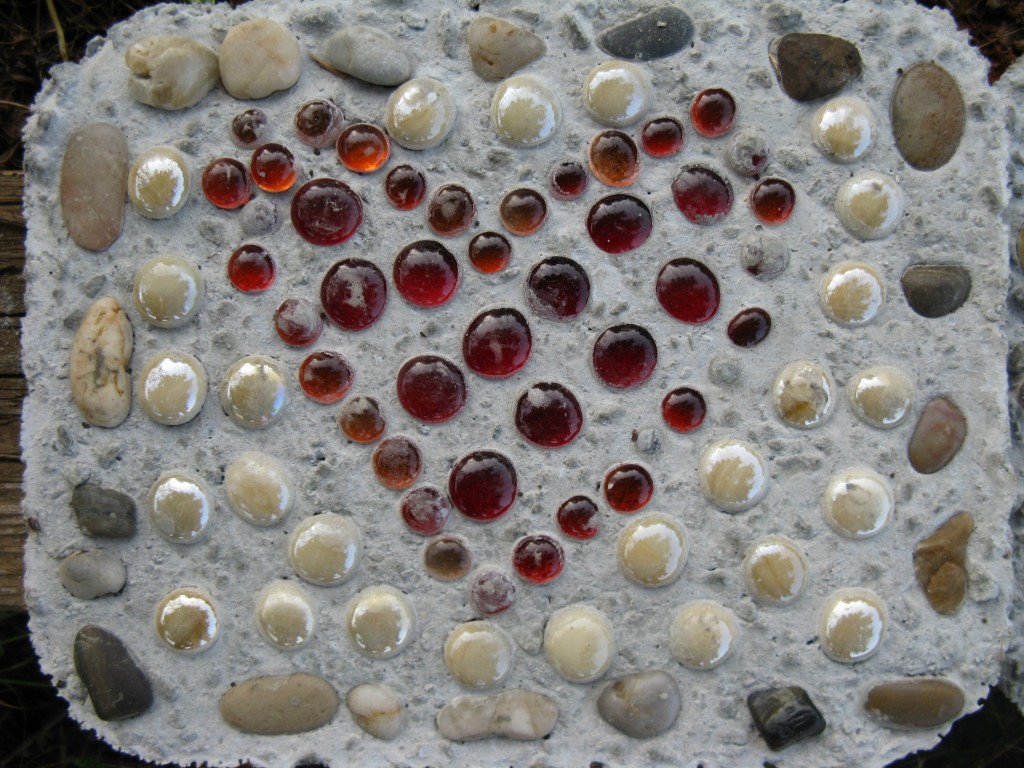
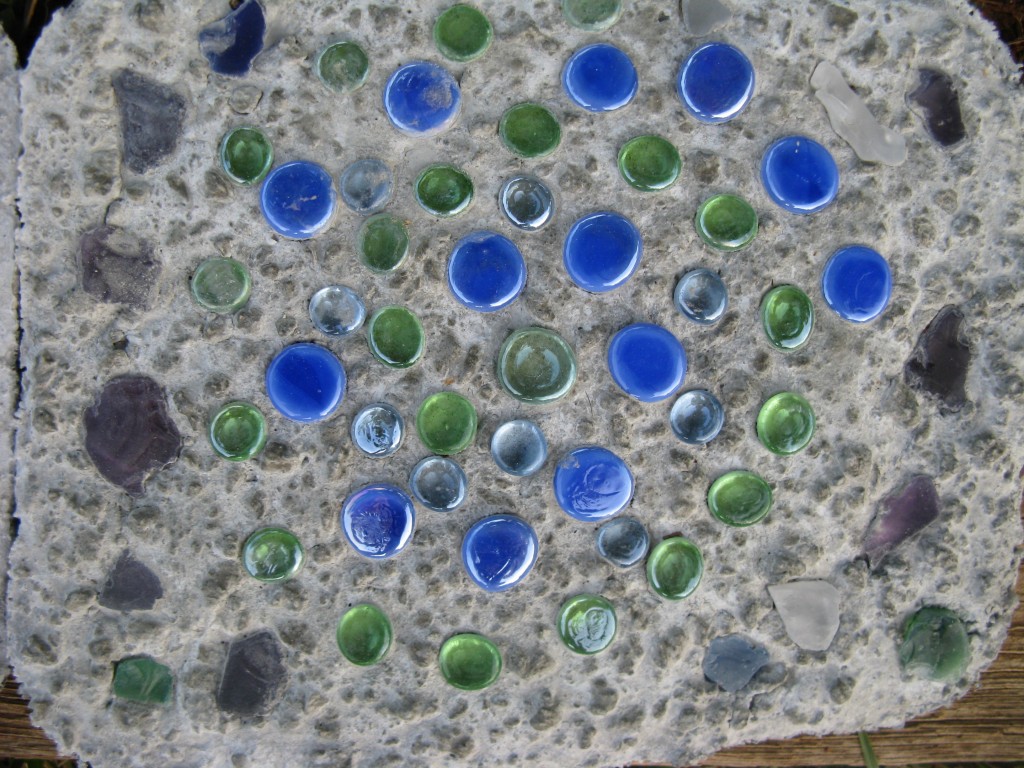
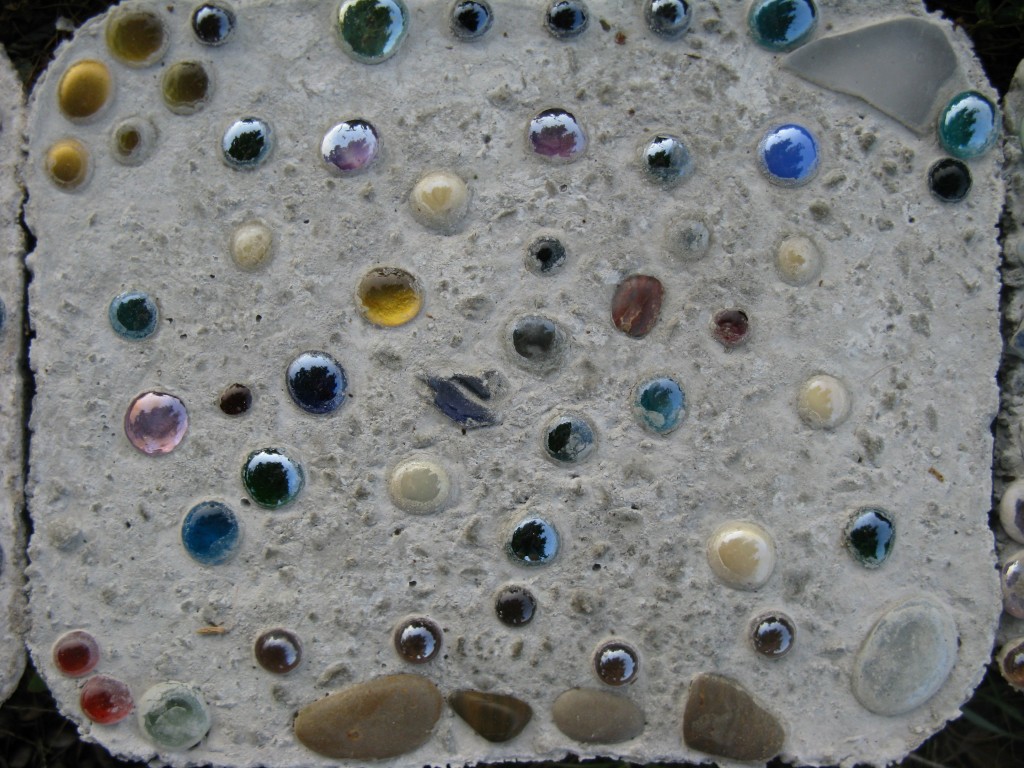
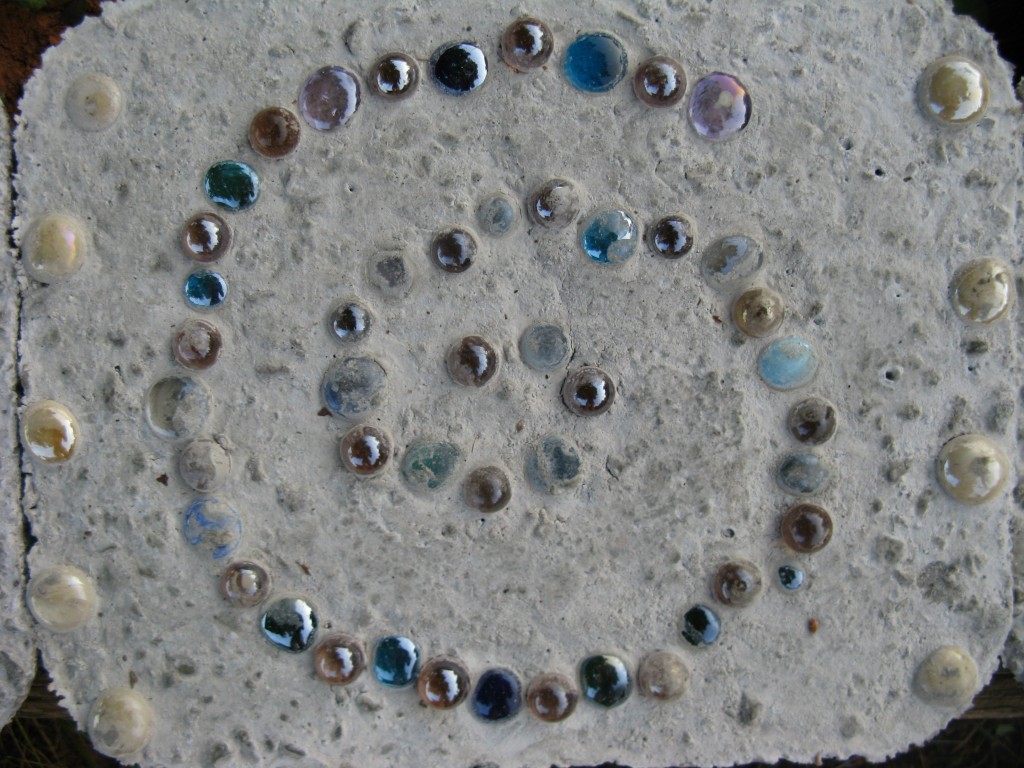
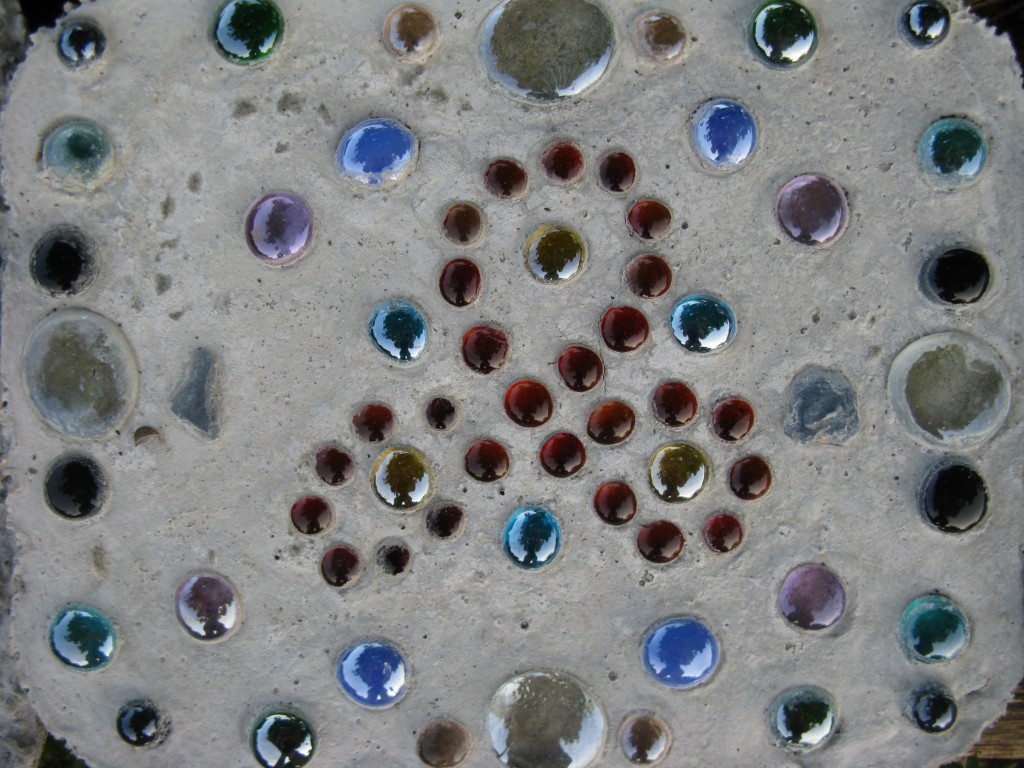
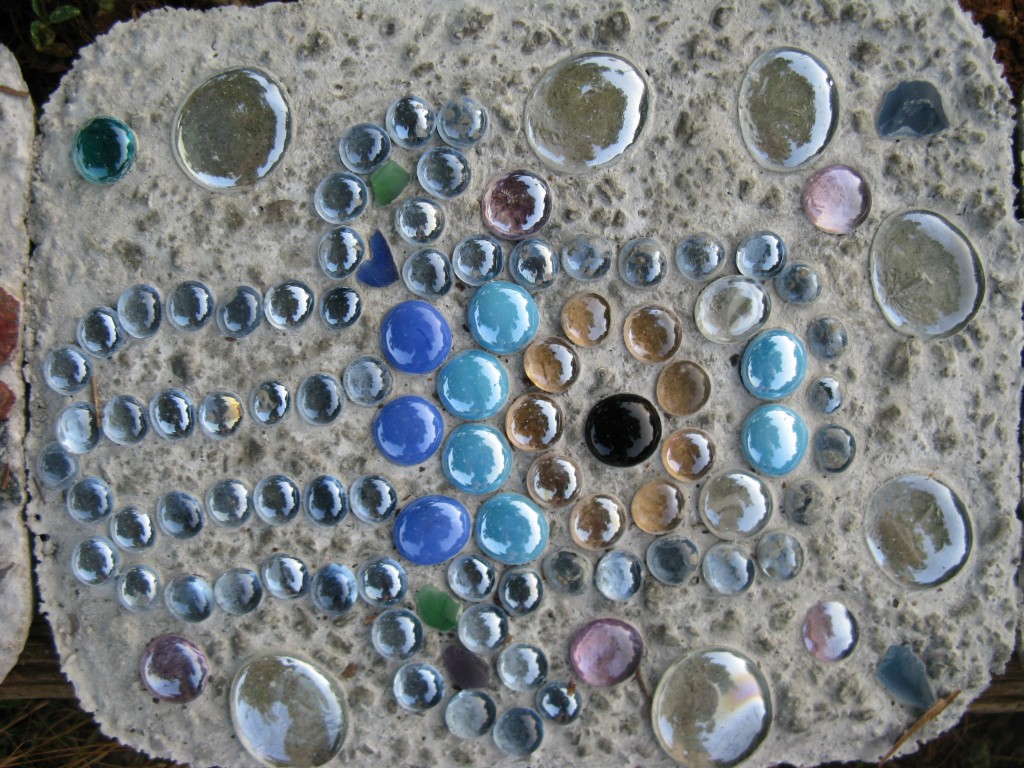
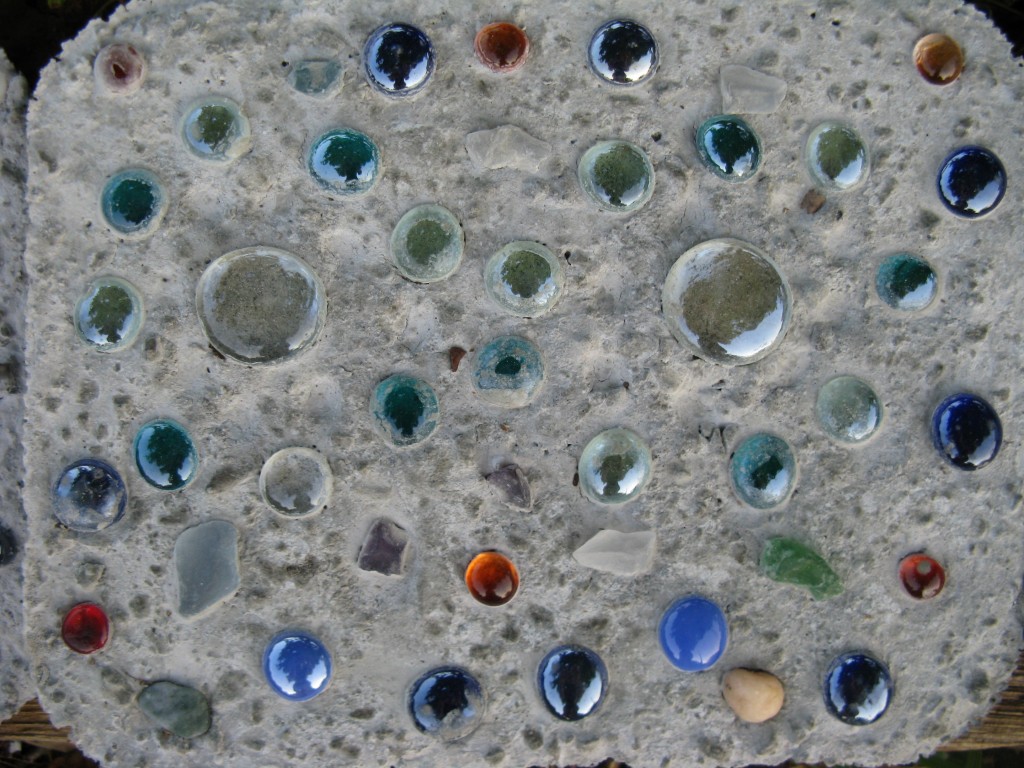
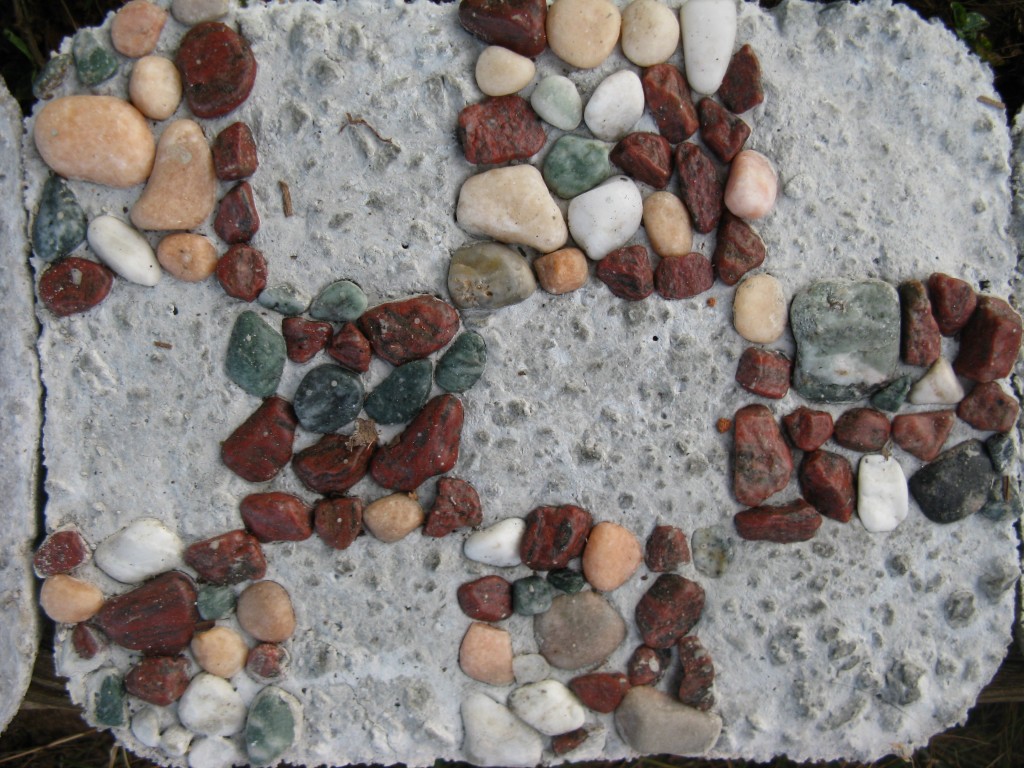
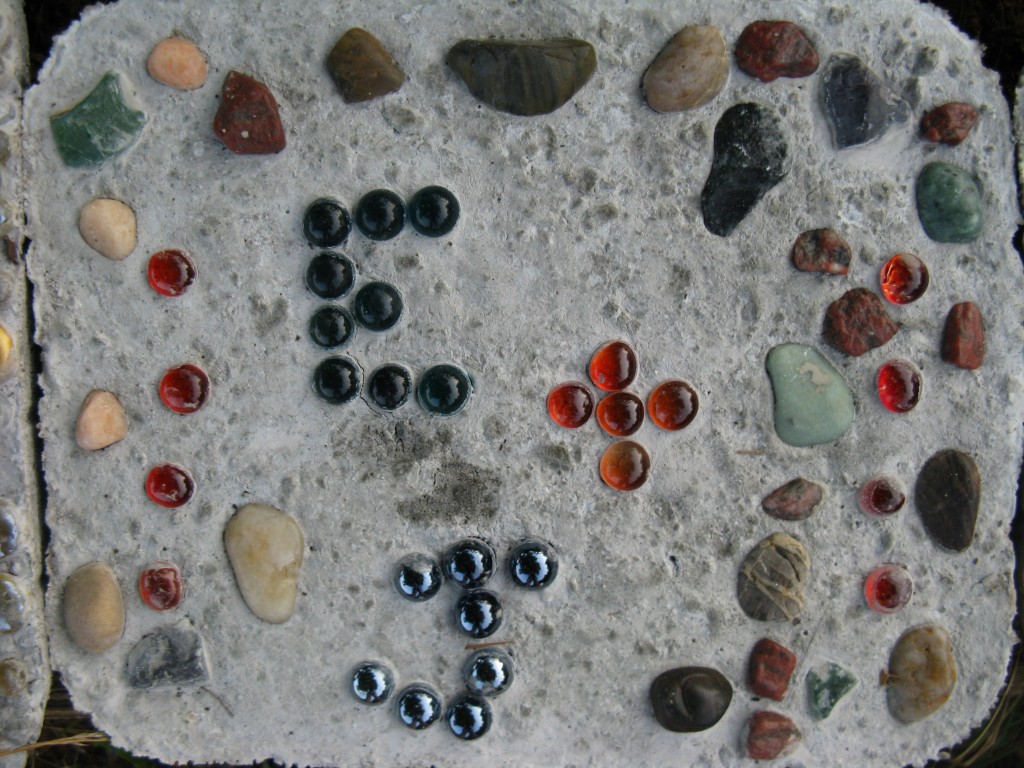
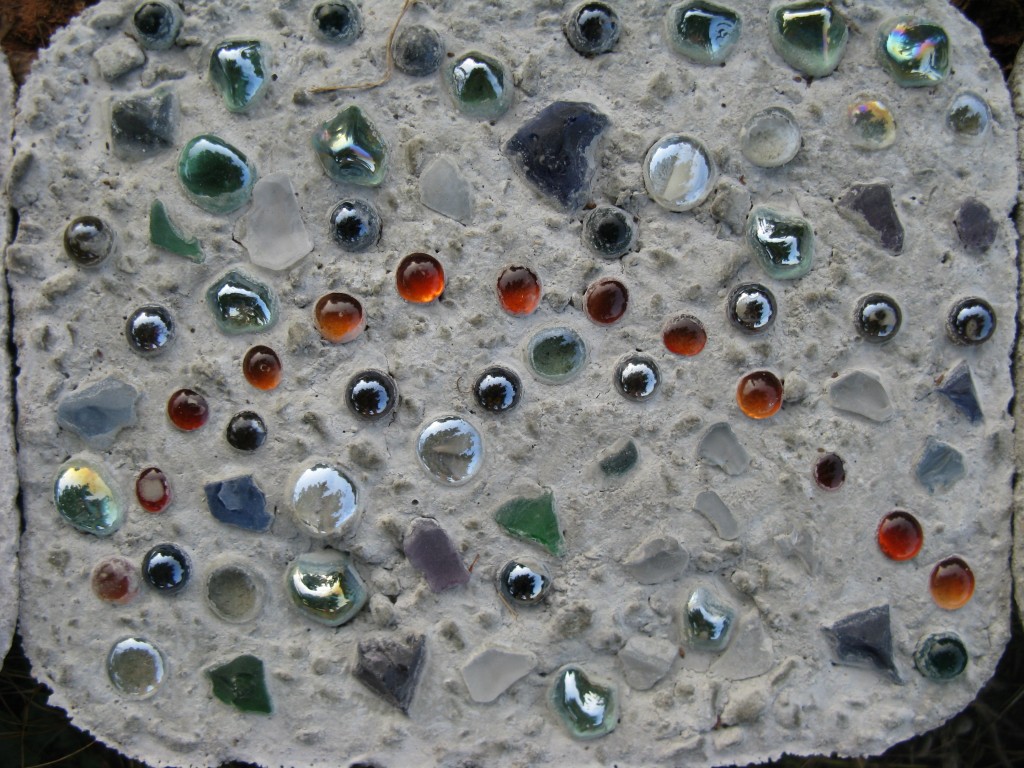
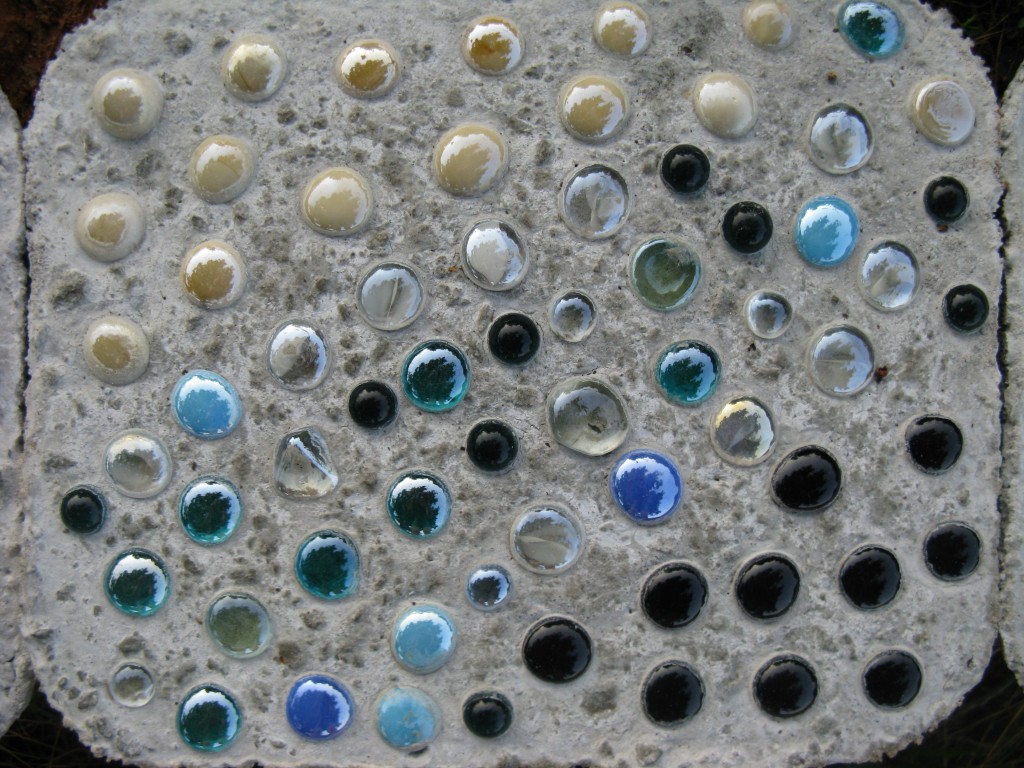
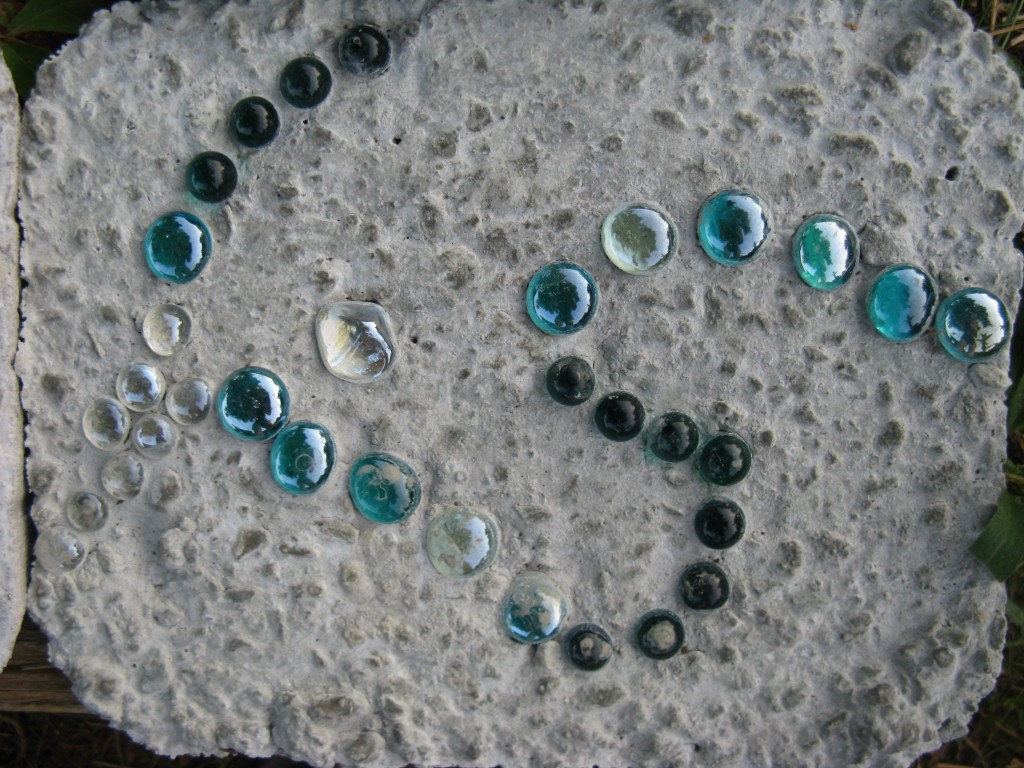
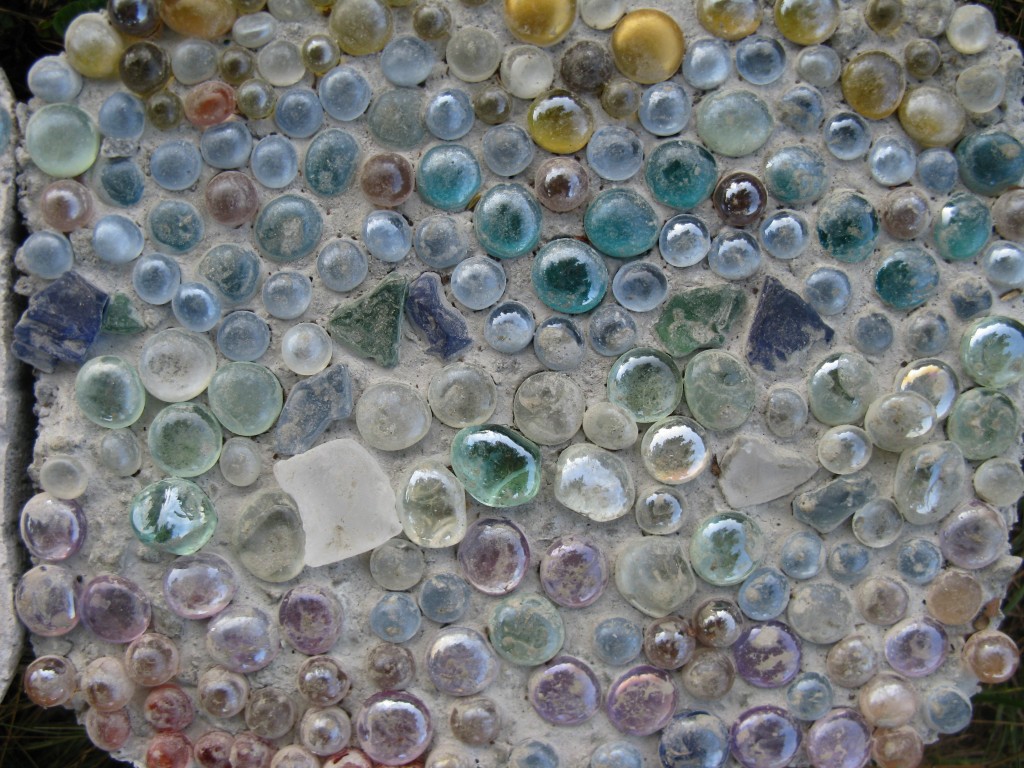
anyway, the shower was great, and this is due in great part to my best friend’s idea for the activity! we really wanted to do something that would fit in here on our land, and something a little more creative than the usual bridal shower games. she had the great, genius idea to make stepping stones out of cement and lovely, colored, glass stones. the stepping stones just finished drying and i’ve removed them from their containers so that can come out in the elements and “face the feet,” although we aren’t yet sure of what we want to do with them permanently. perhaps put them together to make a little grill patio? or use them among the garden as decorations? or lay them out for jason and i to walk on as we walk together to get married? who knows!

the directions/ingredients are simple. all you need to make 16 stepping stones is:

  • two 50-pound bags of quickrete
  • a cement mixing tray
  • a small hoe for mixing
  • water
  • 16 half-size aluminum casserole dishes
  • loads of pretty beads, stones, or whatever you plan to use for decorations!
  • aprons and latex gloves for protecting your undoubtedly stylish outfit

we simply mixed one bag at a time in the pan, adding as much water as we saw fit for the right consistency (porridge, supposedly). then we poured the mix into the pans and smoothed them out on top. some folks let their’s dry a little bit before placing the stones, but it didn’t seem to matter either way… the stones stayed “afloat” enough to be visible in the designs.

we waited 6 days to remove them from the pans, keeping them out of the rain to make sure that they were fully dry. now they’re out in the free air and here is what they look like:

IMG_1240

artist: my mom

artists: jason's mom and aunt

artists: jason’s mom and aunt

artist: my best friend and "matron of honor"

artist: my best friend of 15 years and my “matron of honor”

artist: my grandma

artist: my grandma

artist: my aunt

artist: my aunt

artist: my aunt

artist: my aunt

artist: my cousin

artist: my cousin. can you tell that it’s an irish trinity knot?

artist: my cousin. can you tell it is a hamsa?

artist: my cousin. can you tell that it’s is a hamsa?

artist: my cousin

artist: my cousin

artist: my friend of 16 years

artist: my friend of 16 years

artist: my friend of 15 years

artist: my friend of 15 years

artist: my friend of 12 years. can you tell it is a unicorn?

artist: my friend of 12 years. can you tell that it’s a unicorn?

artist: my friend of 8 years

artist: my friend of 8 years

artist: my friend of 7 years. can you tell it's two people holding hands?

artist: my friend of 7 years. can you tell that it’s two people holding hands?

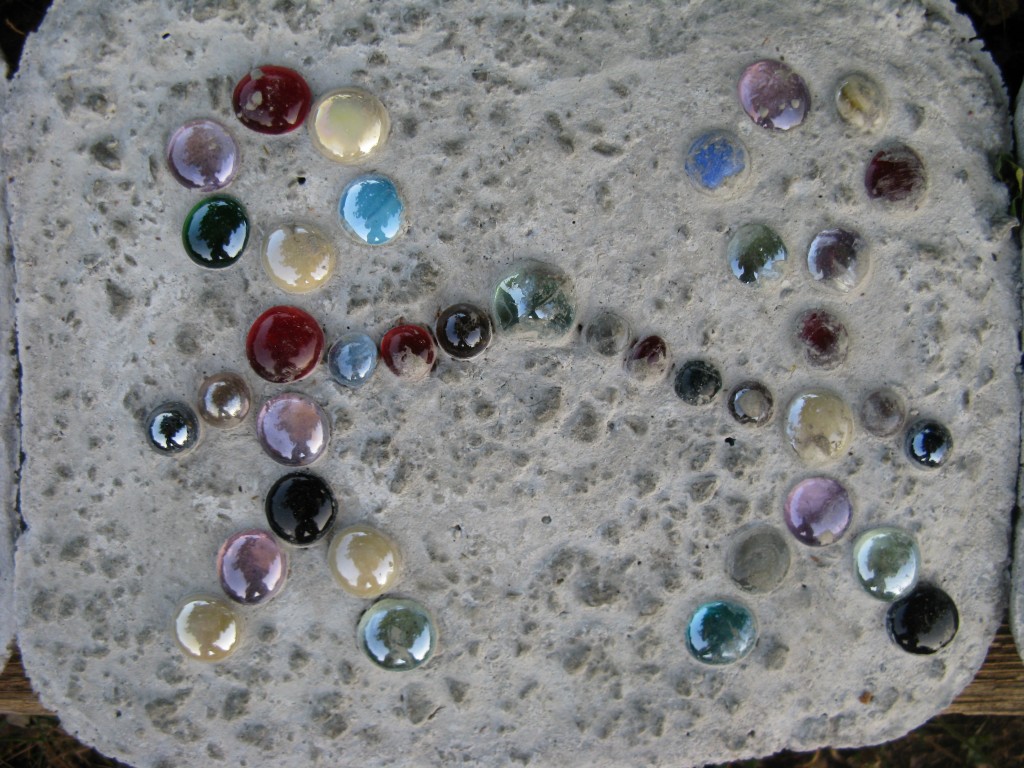
artist: my friend of 5 years. can you tell it's our initials?

artist: my friend of 5 years. can you tell that it’s our initials?

IMG_1241

artist: me!

i’m so happy to forever have these as memories from our pre-wedding celebration season! now i’m wondering… should we have this as a possible activity at the wedding? hmmm…

.:.
happy birthday, bolt!

today is bolt’s first birthday.
we’ve started the celebration by:

  • spraying bolt with the “jet” setting on the hose while he runs around loving it and avoiding it all at once
  • filling up a little pool for him to jump in to cool off (which he didn’t want to get in and only drank out of)
  • laying in the shade
  • feeding him lots of breakfast, including some chicken eggs
  • giving him a venison bone to chew on, complete with lots of attached meat. he’s already devoured the meat and had been carrying the bone all around the yard, trying to find a good place to bury it and changing his mind about the best location every time he sees you looking at him

the video below is just a simple video showing bolt enjoying his special day in the some of the ways listed above. bolt’s big birthday present coming later today is… his very own goose egg! he’s going to love it!

happy birthday best friend and son, bolt!

.:.

low budget, homemade save-the-dates for our (ochre) wedding

last week we designed and completed our save the dates for our wedding. we really wanted the design to be simple and we decided that making/printing them ourselves would be cheaper and more fun!

i bought a multi-colored pack of card stock, which included 50 sheets of each color: yellow, cream, green, blue, and gray, and i also bought small, cream-colored envelopes designed to fit 1/4 of a regular sheet of paper.

i designed the save-the-dates so that 4 of them would fit on each page, landscape style. this allowed them to fit perfectly in the envelopes and also meant that we only had to print 15 pages (since we only needed about 60 or so save-the-dates). we chose the blue card stock for our save-the-dates and will likely use the other 4 colors in some form when we design the official invitations in the next few months.

the overall design for the save-the-dates is not very complicated. the card is one-sided and on the left we chose a simple clip art image of a black and white farm (house, field, and silo). on the right half of the page we included the special event, our names, and the general location (our city).

even though the design and printing did not take very long, there were other details that did take some time: when i bought the card stock and envelopes i also bought a do-it-yourself stamp kit and decided that the old-fashioned look of the stamp would be a nice addition to the cards!

it took forever to properly place the letters in the stamp for each of the 3 designs i wanted to use, but in the end i loved how the cards and envelopes looked!

cards

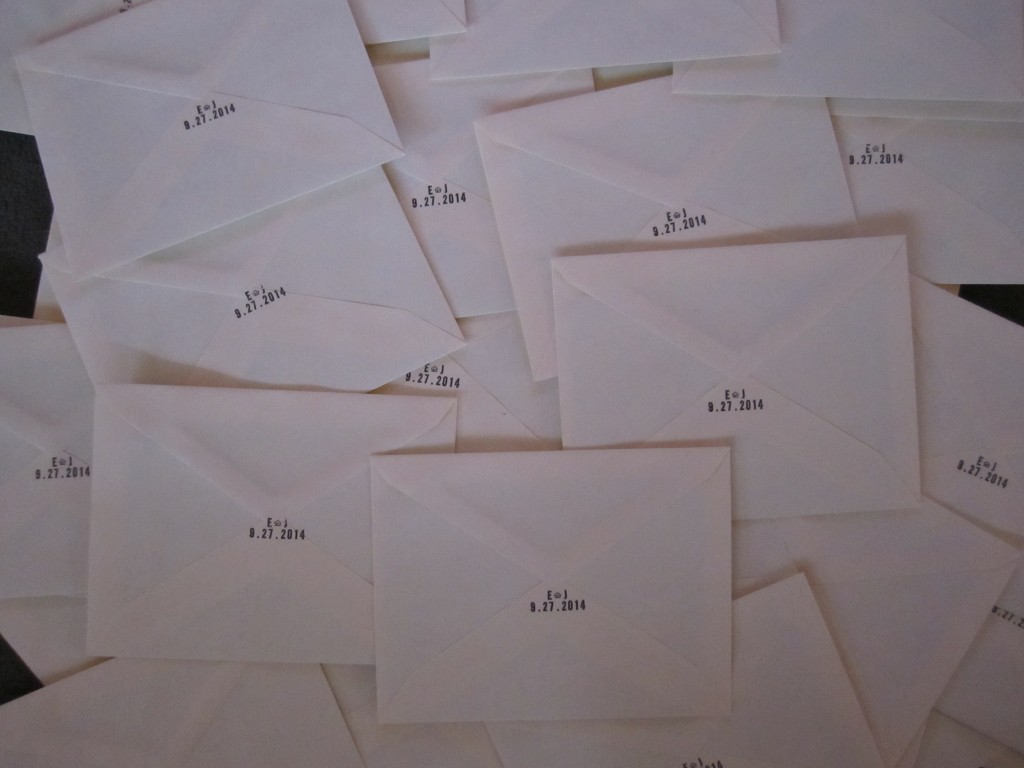
the back of our save-the-date cards, stamped and ready to be mailed!

i used the stamp for:

  • our return address on the front of the envelope
  • the words kuska wiñasun homestead on the back of the save-the-dates cards
  • a design i put over the flap of the envelop once it was sealed, that included our initials (with a little house symbol in between) and our wedding date (see the picture above)!

i also added a little bit of color to the black-and-white image of the farm, using a silver sharpie for some shine!

and that was it, really!

i’ve also made a spreadsheet which includes all households and has columns for the number of people invited for each household, if their save-the-date has been mailed, if their official invitation has been mailed, how many people are confirmed as coming, etc. although i won’t be looking at most of the columns in this spreadsheet until months from now, making it was very helpful in making sure that i didn’t skip anyone or address two envelopes to the same household! it makes me feel very on top of the whole thing–which is key for weddings, as i understand it!

almost 6 months until the wedding, now! wow!

.:.


wedding on the homestead: doing it our (ochre) way

we are getting married!

well, not yet. not until september 27!

and yet, of course, it is time to start brainstorming and setting some wedding plans in motion. plans, plans, plans!

first of all, i would like to say as the future bride/legal life partner that this is an exciting time! we might not be celebrating our wedding in the classic way, but we are celebrating it with style (our own!) and love!

us

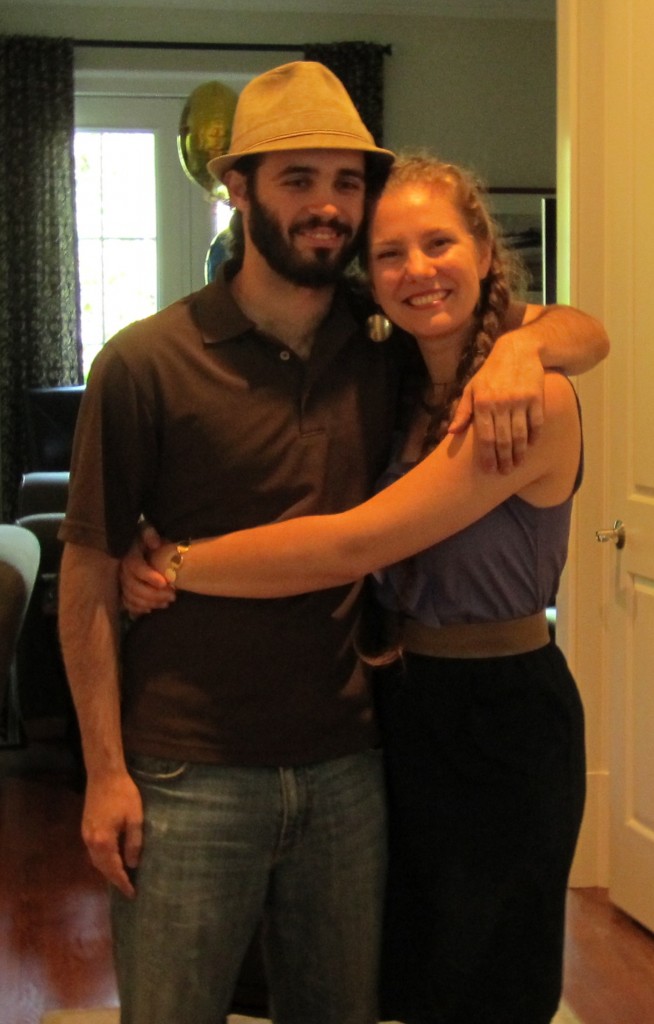
it’s us: jason and emma!

as jason and i discussed what we wanted the ceremony/big-fun-time-party to be like, we quickly realized that we wanted to give as much or more as we were getting. now considering that we aren’t wealthy folks, we can’t give expensive things or pay for the hotel rooms of our loved ones. but, we can give of ourselves in as comprehensive a way as possible! we realized that we want our loved ones to know that we are grateful that they have chosen to share our big event and our lives with us, and we can do that by sharing with them our way of life, with many of our philosophies embedded within.

here are a few things that we are doing our ochre way style:

  • wedding location: it will be here, on our homestead. we will be celebrating in our backyard and we’ll have the barn, paths through the woods, and the pond for people to explore!
  • family roles throughout the ceremony: we plan to include family members in the ceremony, either as speakers or as “officiants” of some sort–we’re not exactly sure in what manner but we know it will include our moms and dads in more meaningful ways than in a traditional wedding.
  • decorations: the wedding is going to be informal but with certain style elements! i’ve got a wide color scheme–basically all fall leaf colors (any shade of red, yellow-orange, green, and brown) and we plan on asking all family and friends to wear some fall colors so that we can be a sea of fall leaves together. everyone is really part of this wedding and i want everyone to be constantly aware of our shared identities and family community! my entourage (a joke–since i am not calling them my “bridesmaids”) will each wear one of the fall colors (in whatever shade or style they decide!). decorations will be things like wooden vases, wild flowers, etc.
us

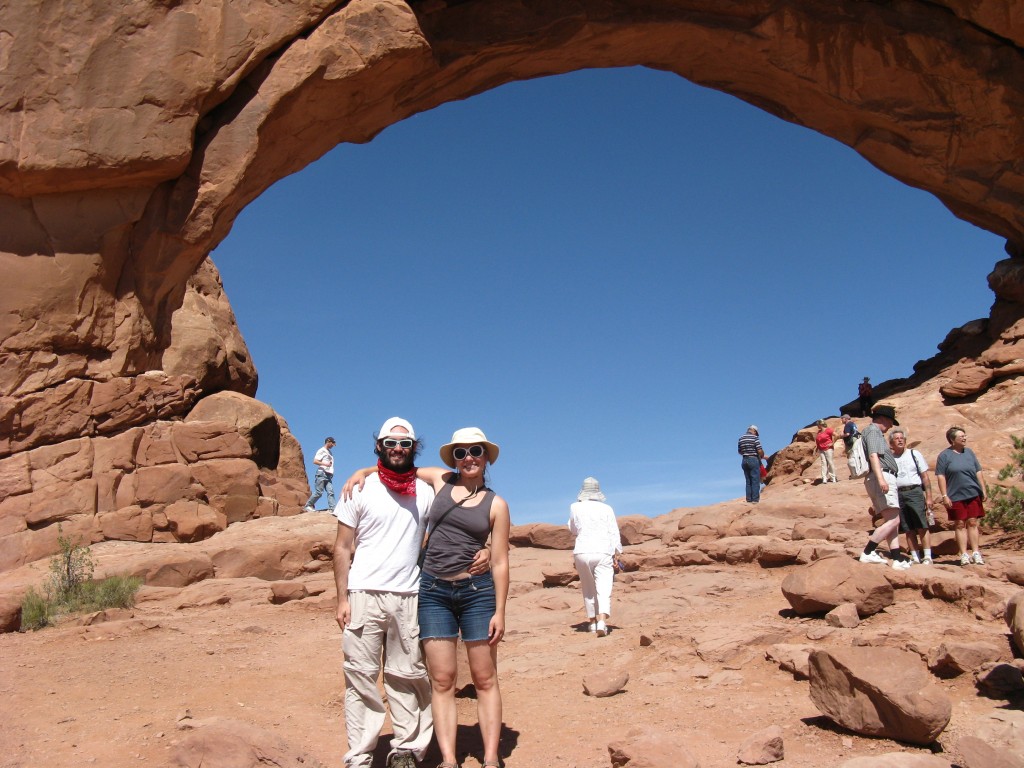
us visiting arches national park (we’re the two goofy looking ones in the front!)

  • an extended timeline: most of jason’s family live outside the state and we definitely want to enjoy them as much as we can while they are visiting. partially for this reason, and partially because i have always found weddings to be way to whirlwindishly short when they start in the evening, we’ve chosen to begin our wedding celebrations in the early afternoon. this way, jason and i will have hours of time to spend time with loved ones, building our excitement together as one big extended family, and doing what all families do best: eating, drinking, and dancing.
  • the food: we decided that outsourcing the food production and the meal wasn’t going to work for us. so, we’ve decided to prepare most of the meal ourselves with some help from close family members. we’ve included favorite family recipes, delicious homegrown crops, and even a version of an earth oven for baking meat and vegetables that i learned how to make and use in peru, where jason and i met.
  • the music: it will be dance, dance, dance music! dancing is one of my favorite things on the planet and i’m sure almost all of our family and friends will shake some booty with us. and i’m really excited about the songs we’ll be playing and how we will build our playlist… my next step in wedding planning is to email everybody (and their momma) and ask them to send me a list of some of their favorite songs. i can’t wait to see everyone jump up for their chosen songs during the night!
  • party favors: i can’t say what they will be (i don’t want to give the secret away just yet), but i can say that they will be homegrown and homemade items!

i intended for this to be a short list of our plans for our lifelong partnership ceremony/wedding, but as you can see, i got carried away! i will leave you with this and move on to printing our save-the-date cards we just finished designing last night (another thing we wanted to make/do ourselves!). 7 months to go…

.:.

© 2025 KW Homestead

Theme by Anders NorenUp ↑