As we wrap up the initial planting of our backyard food forest, I thought it made sense to put together a post on how exactly we plant our fruit trees. We already uploaded a video about protecting fruit with tomato cages, so check that out if you haven’t already, but today I’m going to give a quick how to on planting bare-root fruit trees.

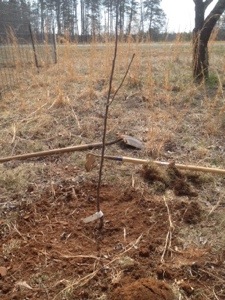
This spot in the front yard is just out from the dripline of a big oak tree and should get plenty of sun.
First off, decide where the best place to plant your fruit tree is. Some things to consider are the directions of your primary winds, how much sun the tree will get, what sort of shade the surrounding trees or structures may provide, and also how much shade your tiny fruit tree will provide when it is mature. It’s also nice to be near a source of water for both irrigation and planting if you can.
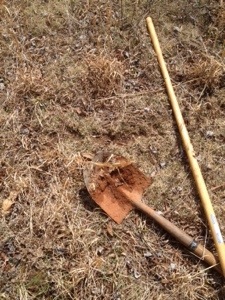
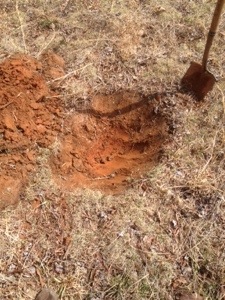
Next, I like to scratch off the top layer of sod or leaf litter, depending on where I’m planting, with either a mattock or shovel. This makes it easier to break ground, and also disrupts weed and grass growth in the area right around the young tree. Now it’s time to start digging. I like to dig a hole that is bowl shaped, with gently sloping sides, and a little deeper than the root ball on the dormant tree. For most of the trees we planted this year, this turned out to be a hole that was two and a half to three feet wide, and 18 to 24 inches deep.
After the hole is dug, I like to rough up the sides and bottom a little to make sure the tree roots can grow out into the native soil. I now backfill the hole a bit, and place the root ball of the tree on a small pile of dirt and see if the depth is right.
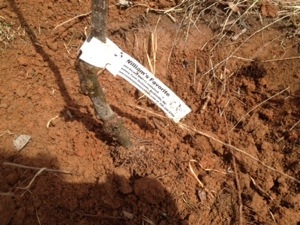
I try to plant the tree at the same level is was planted at in the nursery, a couple inches below the graft union. This is important because if you accidentally plant the graft union below ground, the tree will grow as a full size tree and you will lose any semi-dwarfing or dwarfing effects. Now this isn’t necessarily a bad thing, but if you spend money on a dwarf apple tree that only gets 6 ft. tall, you probably won’t be happy when it ends up being 60 ft. tall.
Once I have the right depth, I pack dirt around the roots of the tree, being careful to try and break up any large clumps of our beautiful, red Carolina Clay. At this point, I may add a handful of our native forest soil, in order to inoculate the young tree’s roots with mature soil bacteria and beneficial fungal mycelium to help with the uptake and cycle of nutrients.
After that, I fill the hole in completely, and perform any grading or minor earth shaping to channel runoff and rain water. Ideally, now is when you would plant a few support species next to the tree, to help it grow. It’s also the best time to add a thick layer of mulch around the base of the tree, and then give it a good long drink to water it in.
And that’s pretty much it. All in all, after you get a few under your belt, it takes about 15-25 minutes per tree, depending on the size of the roots. Not too bad when you consider the value of a mature fruit tree, and how much food security it provides.


