i’m excited to report that we’ve officially begun our magical, mushroom adventure! this weekend my father and i cut 50 oak logs to serve as mushroom homes for the next 5 years!
we cut both white and red oak logs, to compare them as growing mediums and for the visual variety. the mushrooms that we are growing this year love oaks the best! we made both 3-foot and 4-foot logs, based on diameter of the limb/trunks (i have to be able to lift each of them for soaking in the future!). as luck would have it, 24 of the logs ended up as 3-footers and 26 as 4-footers. talk about balance!
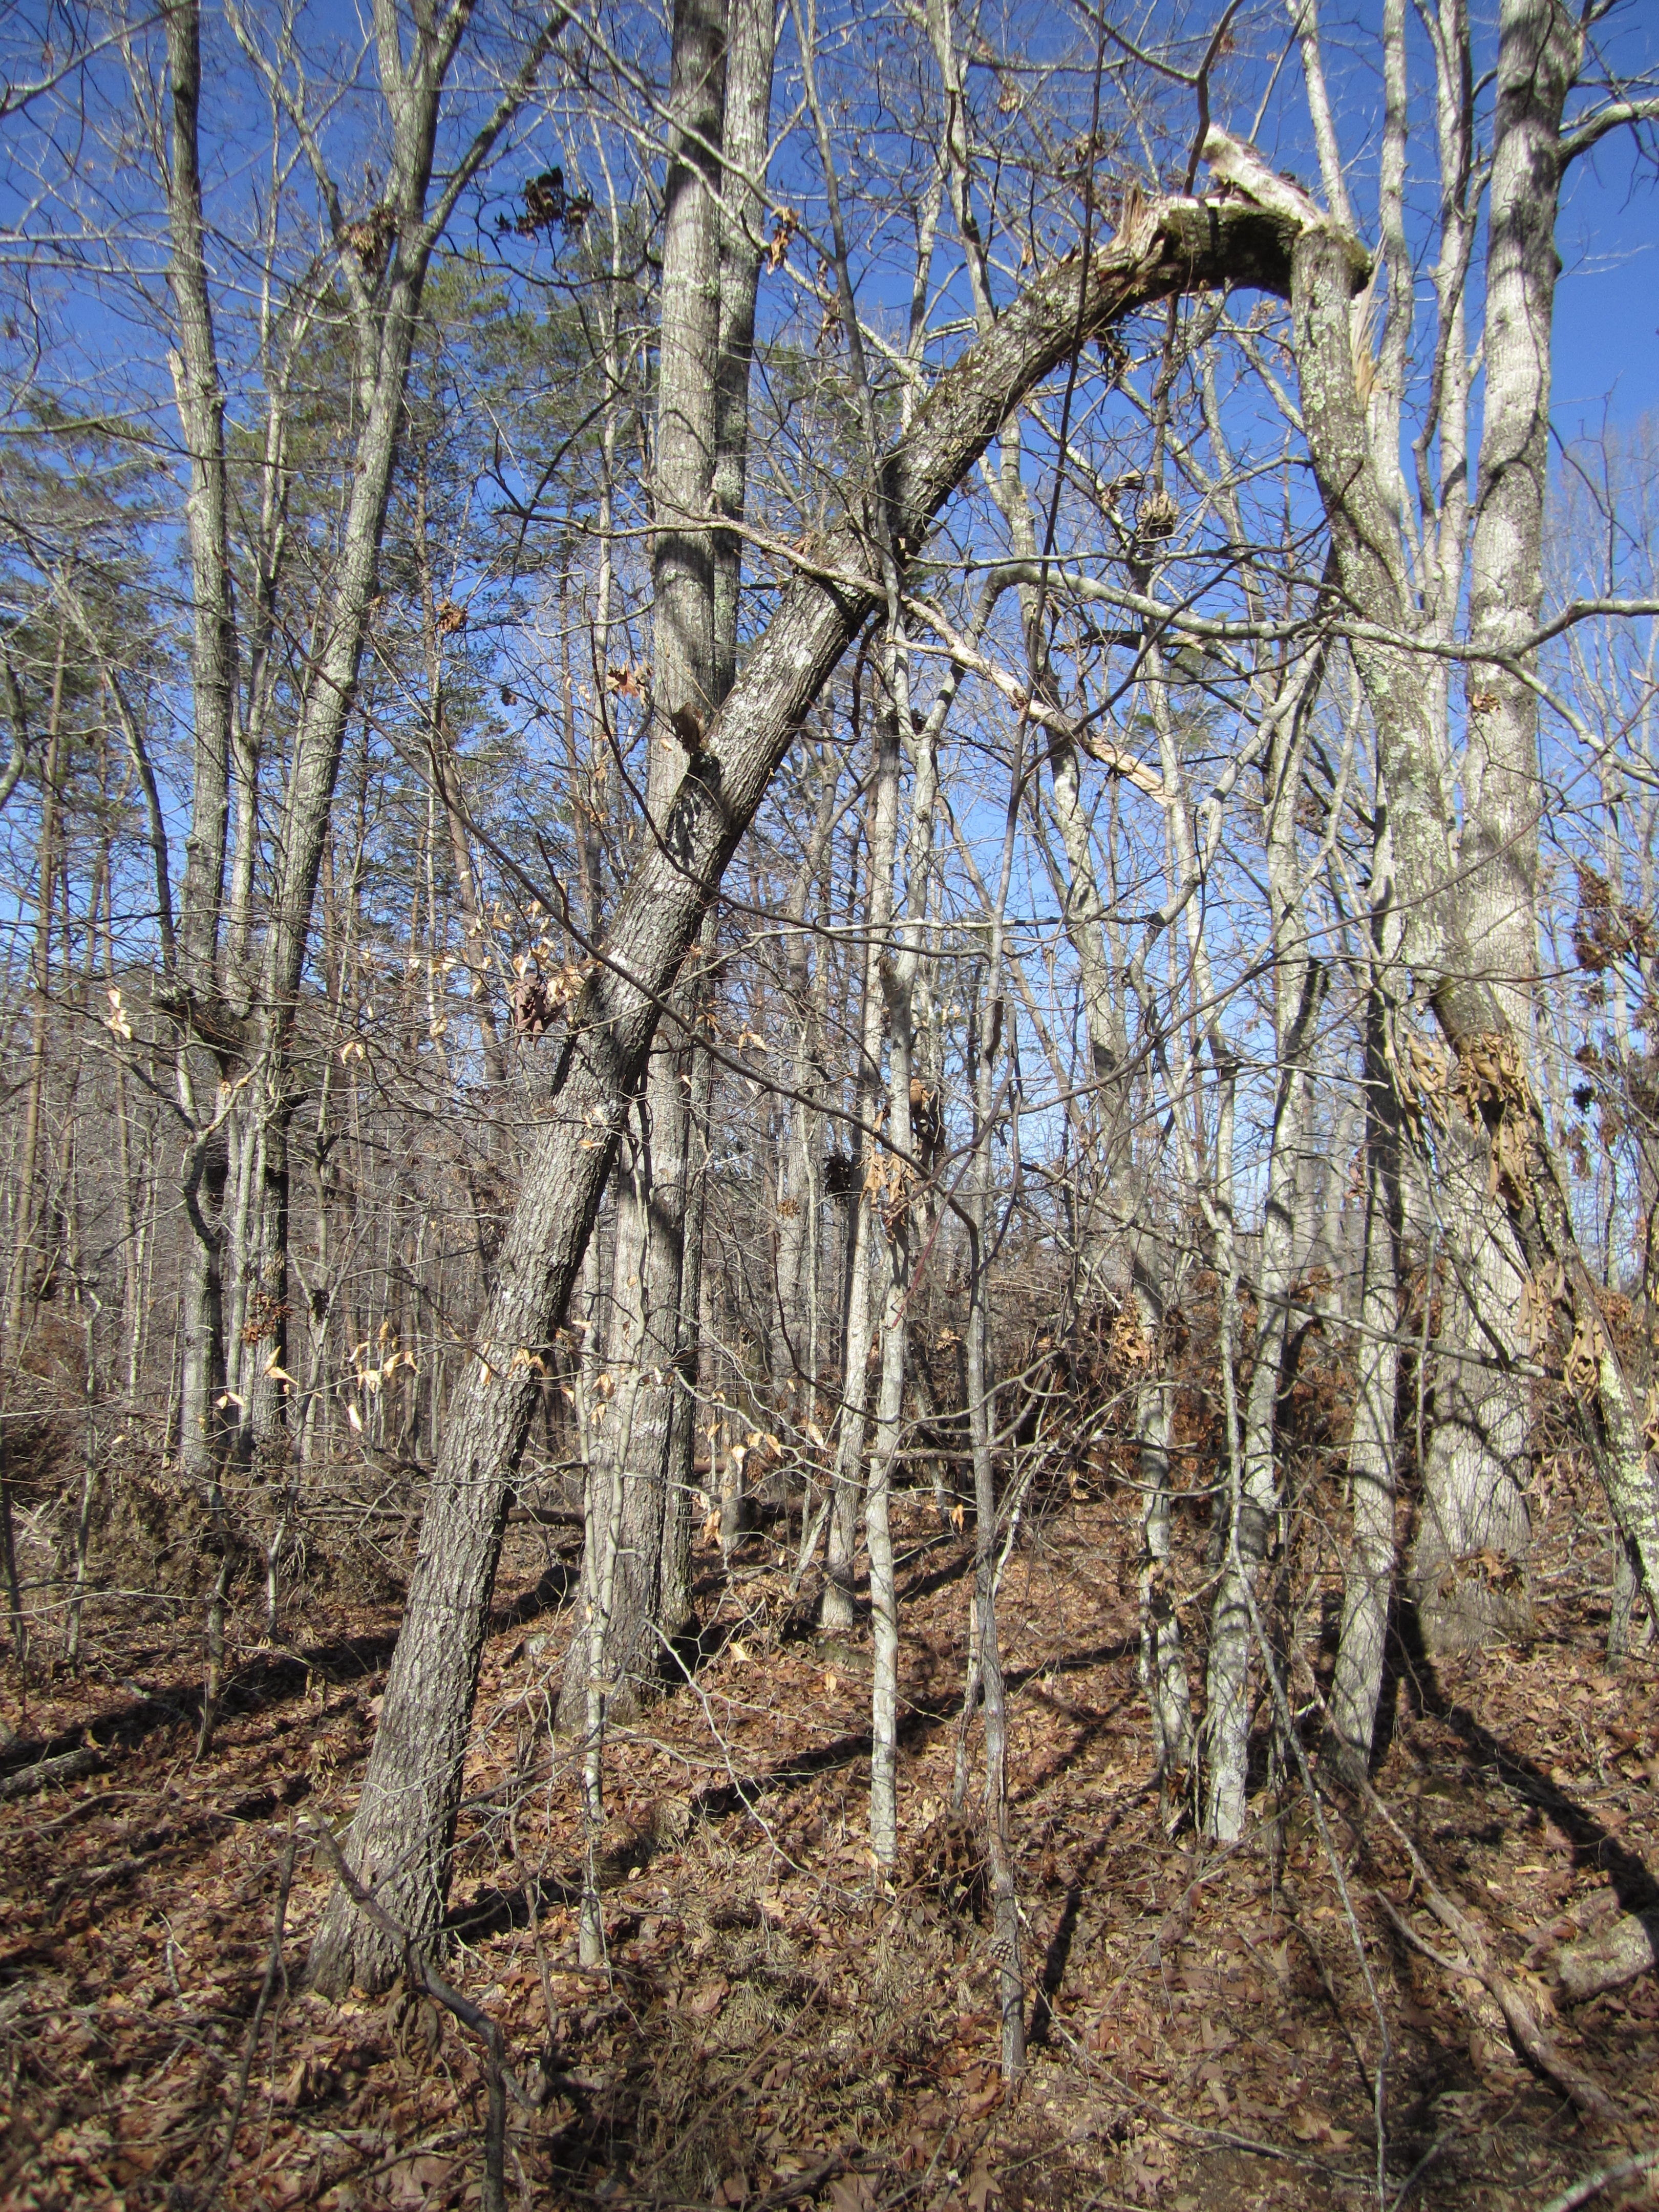
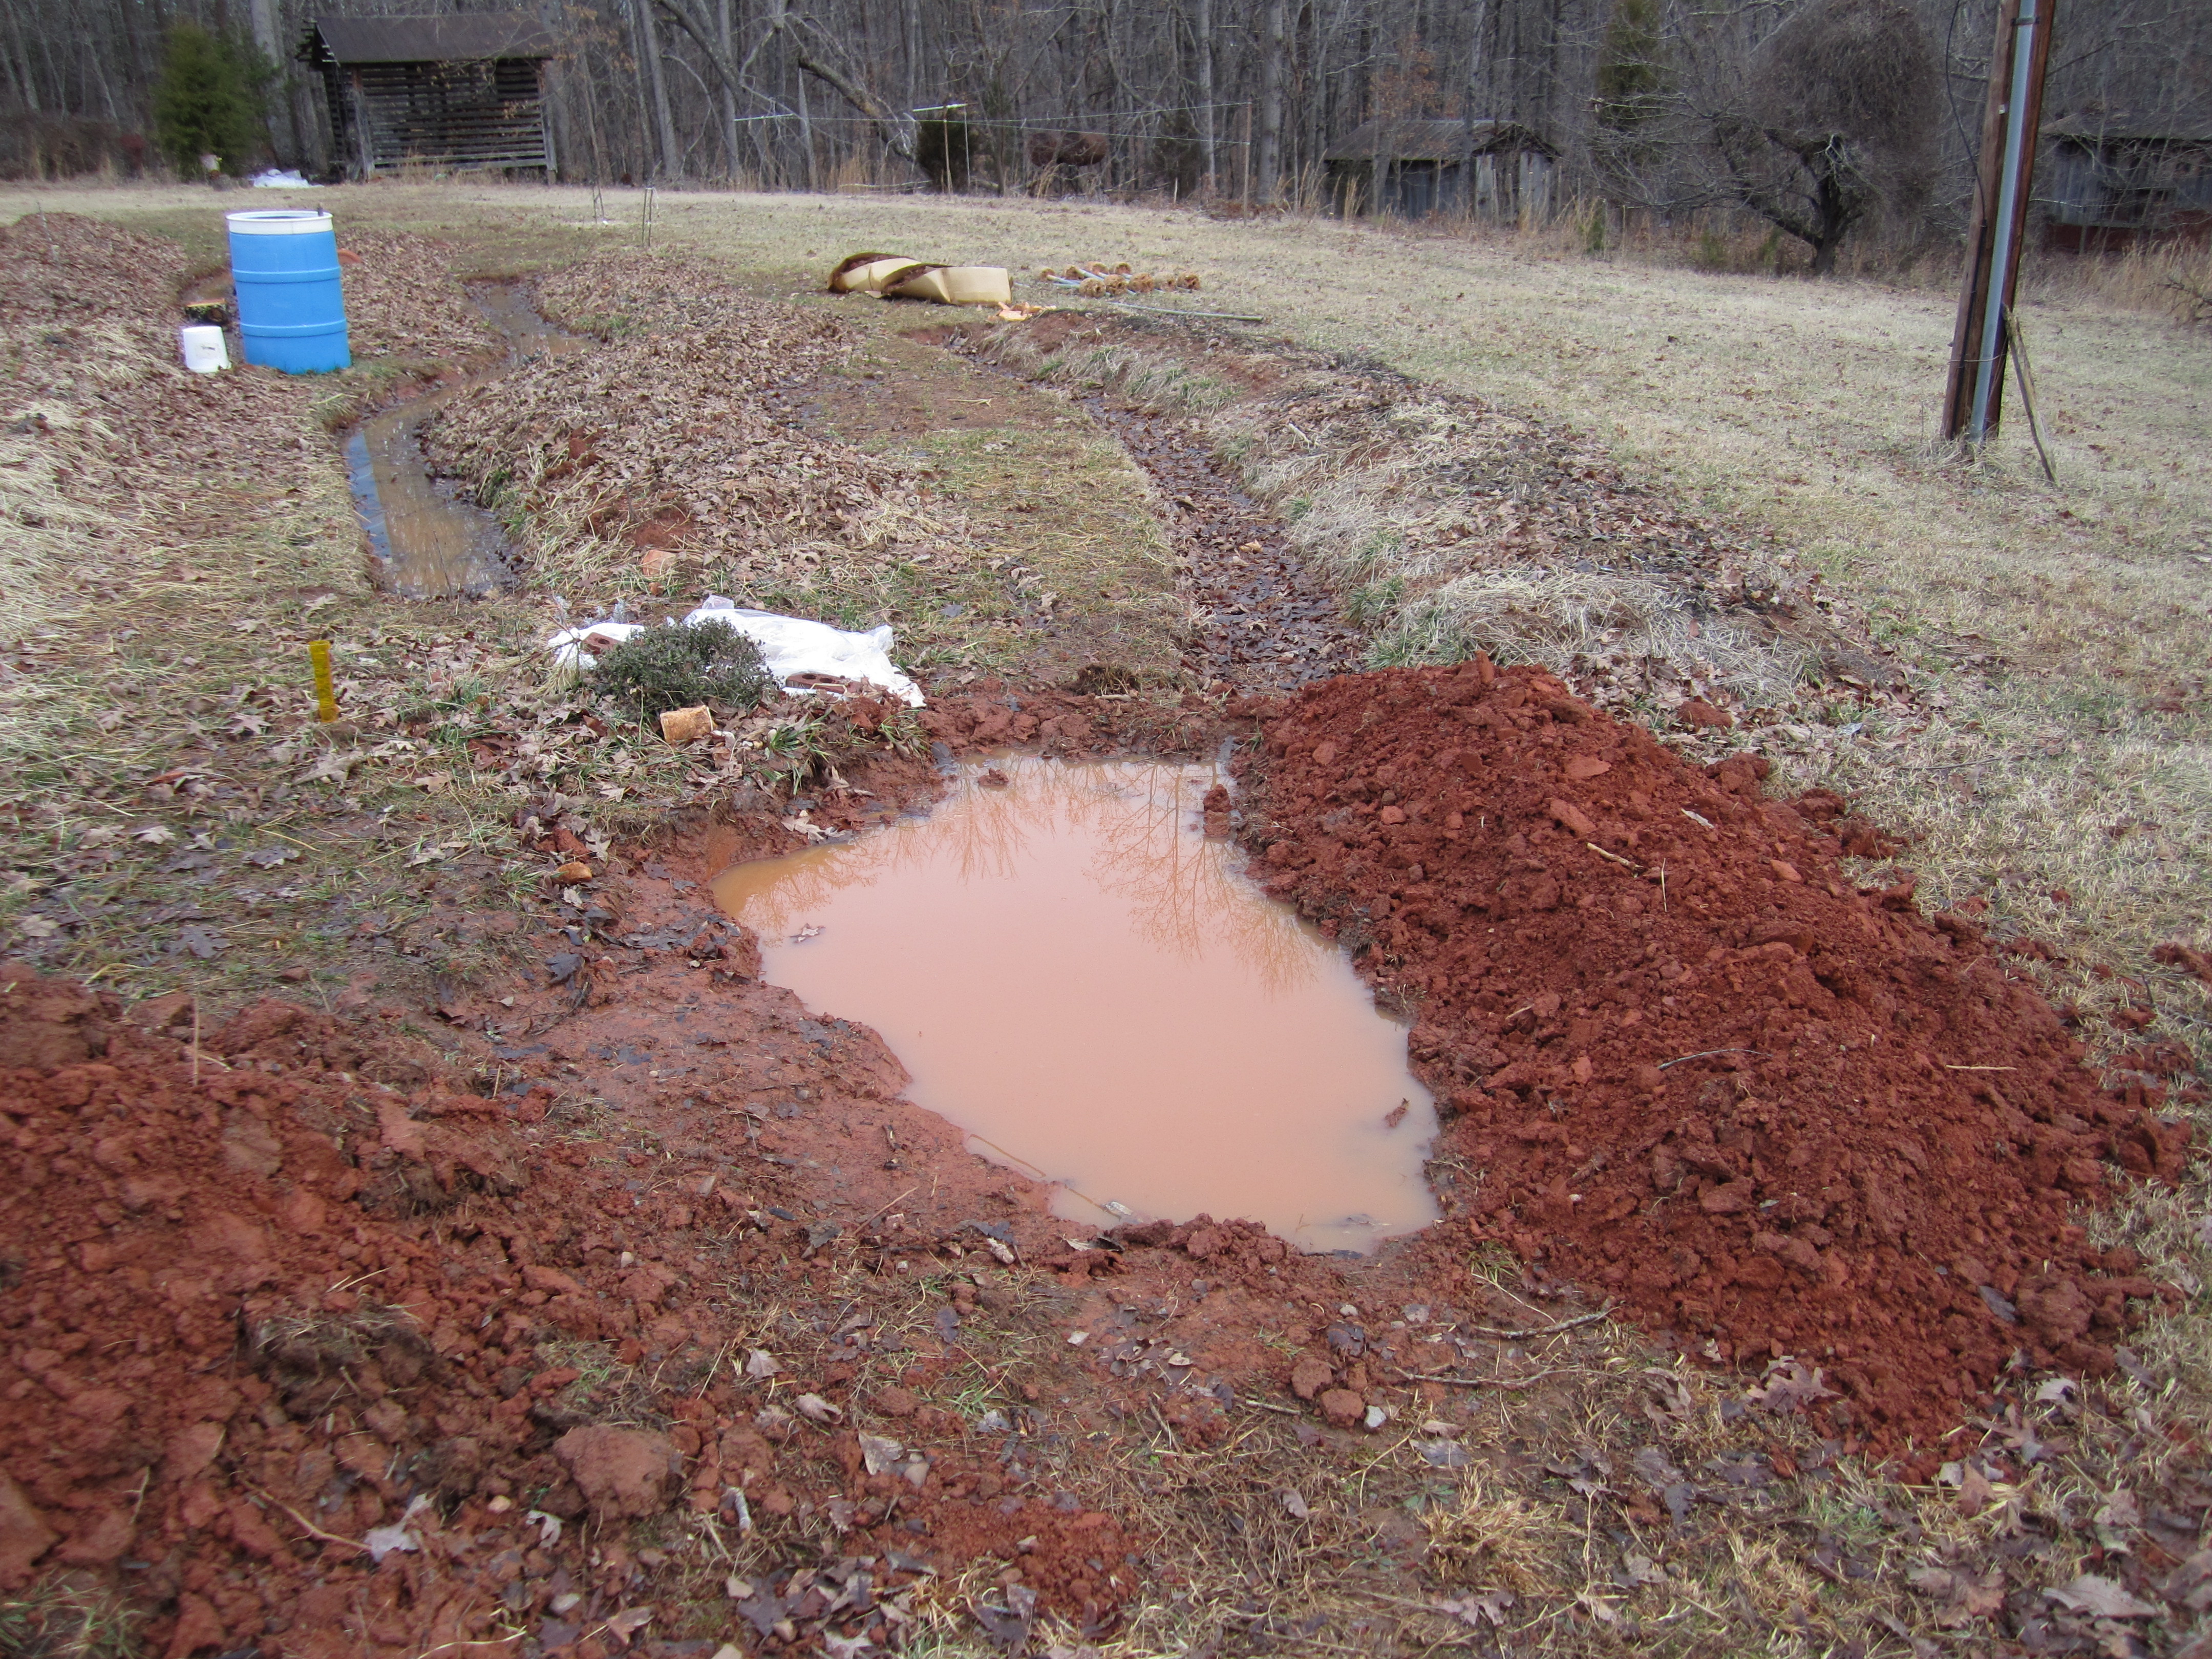
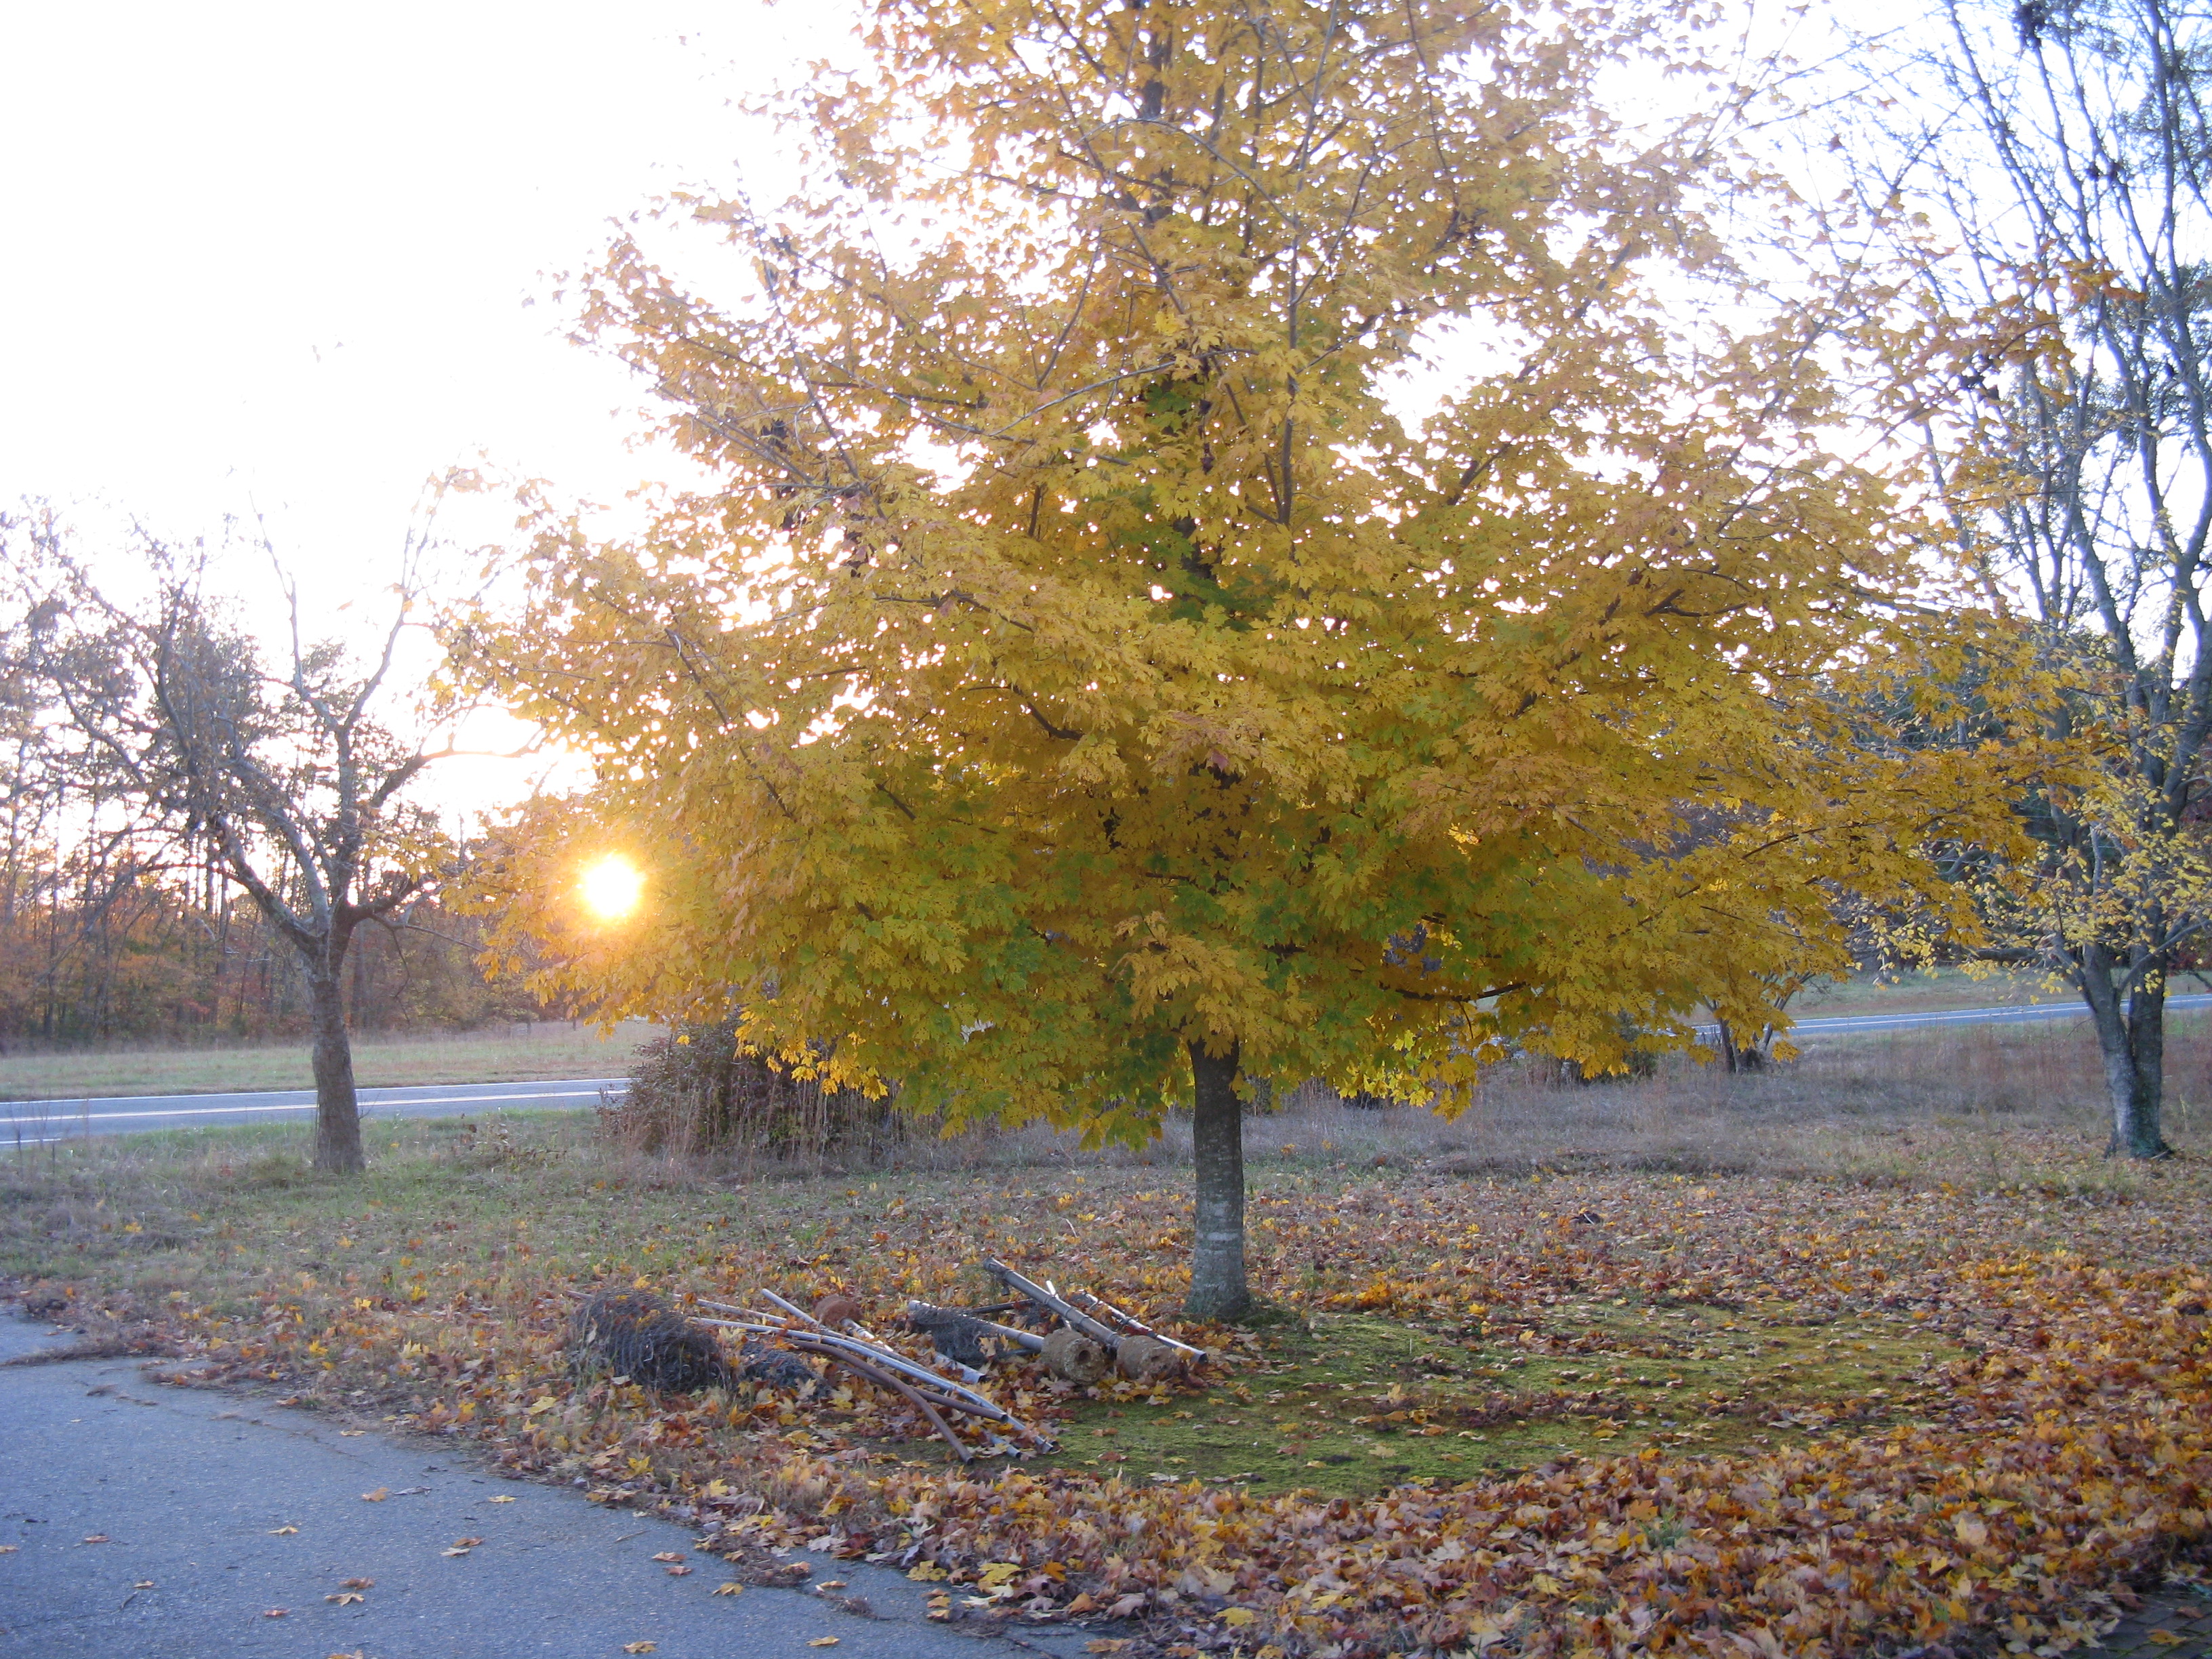
a red oak (leaning in the foreground) that we cut, only using the bottom portion that was alive at time
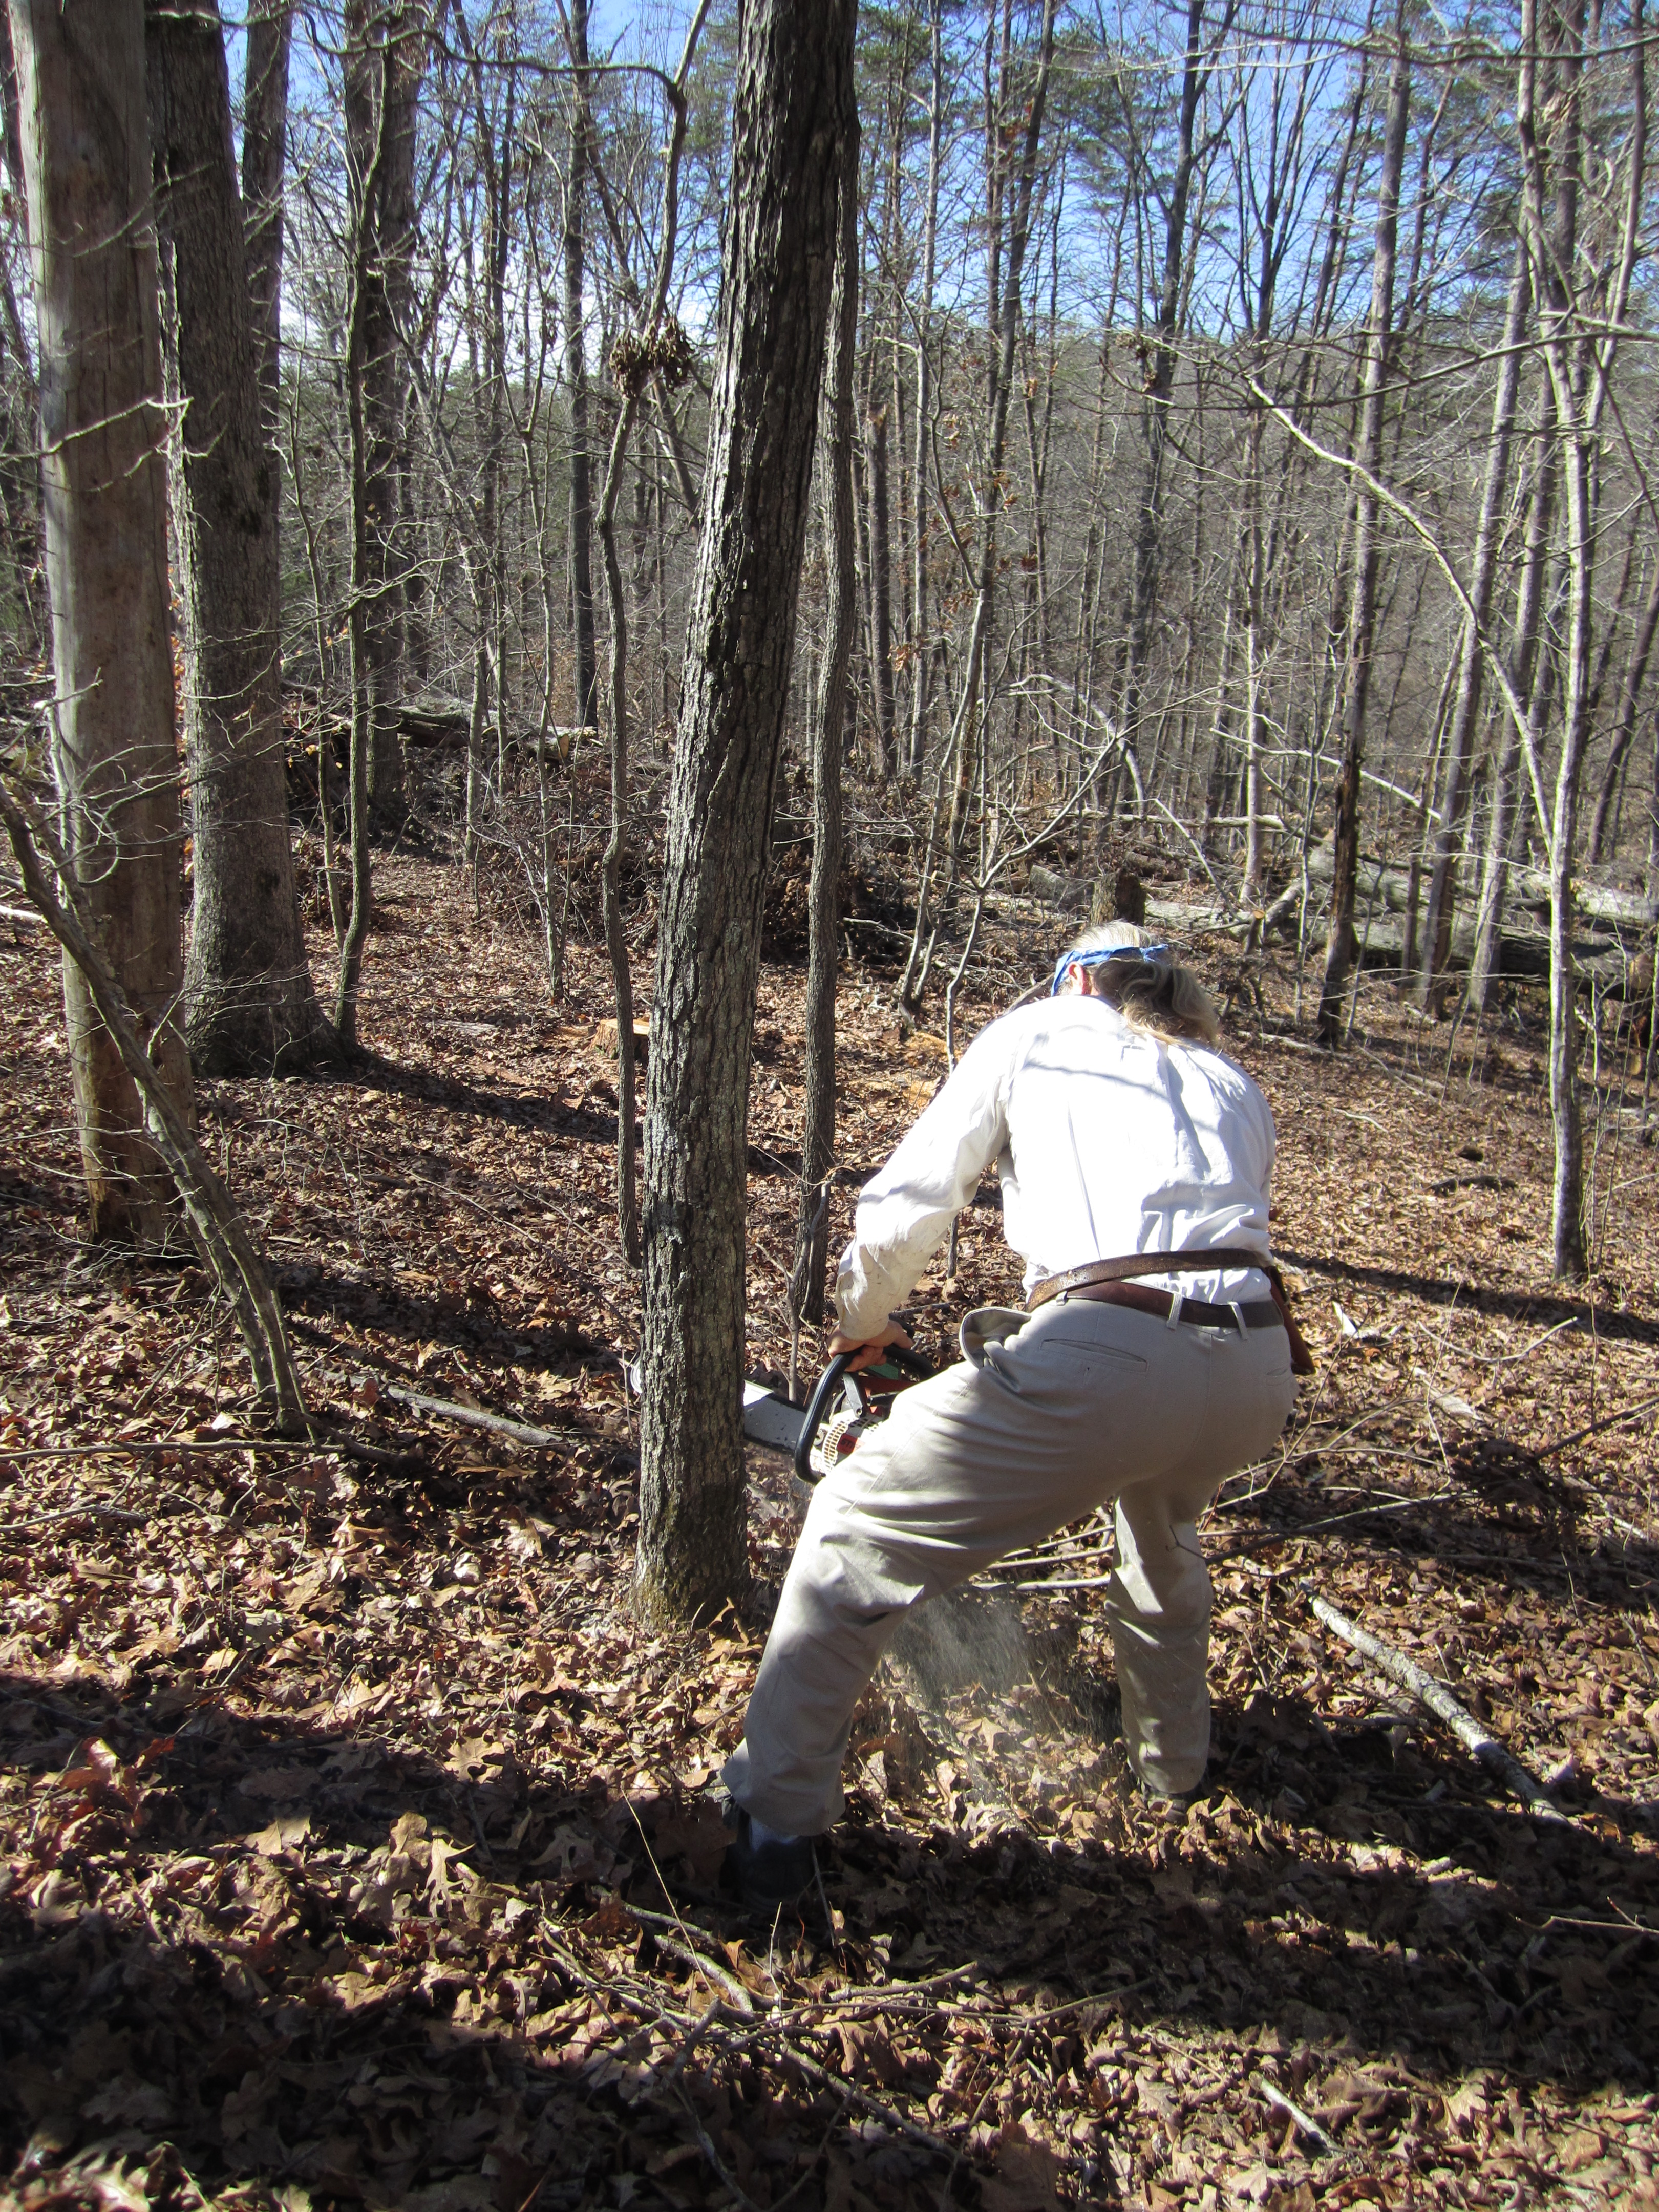
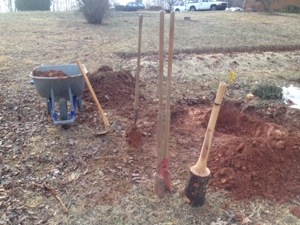
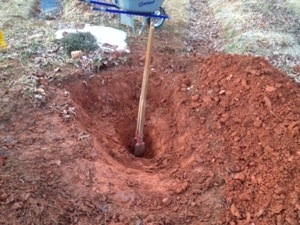
my dad cutting an oak!
when selecting trees, we picked ones closer to the road and ones that we could use most, if not all of, once felled. one of the trees we picked was broken off and hanging about 15 feet above the ground, so we cleared the area of the danger of the hanging wood while also getting our logs. we did not use the hanging portion of the tree, though, because that part had been dead for some time. we left that behind for future firewood and selected the green portions of the tree. choosing green wood is important because you don’t want to give bugs or molds and other fungi time to move into the dead wood before you inoculate. bugs might eat your spores and other fungi might compete with your own mushrooms!
my dad felled the tress with his chainsaw. ever since i was a kid he has impressed upon me the importance of chainsaw safety. the approach to felling these trees was no different than other times i have done tree work with him: i stood well away and was “ready to run” even though the trees were certainly on the small side!
after each tree hit the ground, i walked a wide circle around him (never walk up behind a chainsawing person!) and pulled the measuring tape to 3- or 4-foot lengths, depending. dad made a shallow cut at each measured length and once the entire tree was sectioned he cut the logs into individual pieces. some of the white oaks we chose were dead at the top (one of the reasons for choosing them), and this dead wood was also left behind for firewood or perhaps adding to hugelkulture beds soon.
after finishing each tree, we carried the logs to the road, taking careful not to scratch the bark too badly (the bark is important here, folks!)
in all, we cut 6 trees, half in the red oak family and half in the white oak family. our mushroom logs’ diameters range from 3-inches to 8-inches. once all the trees were done we loaded our trucks and drove them to the house.
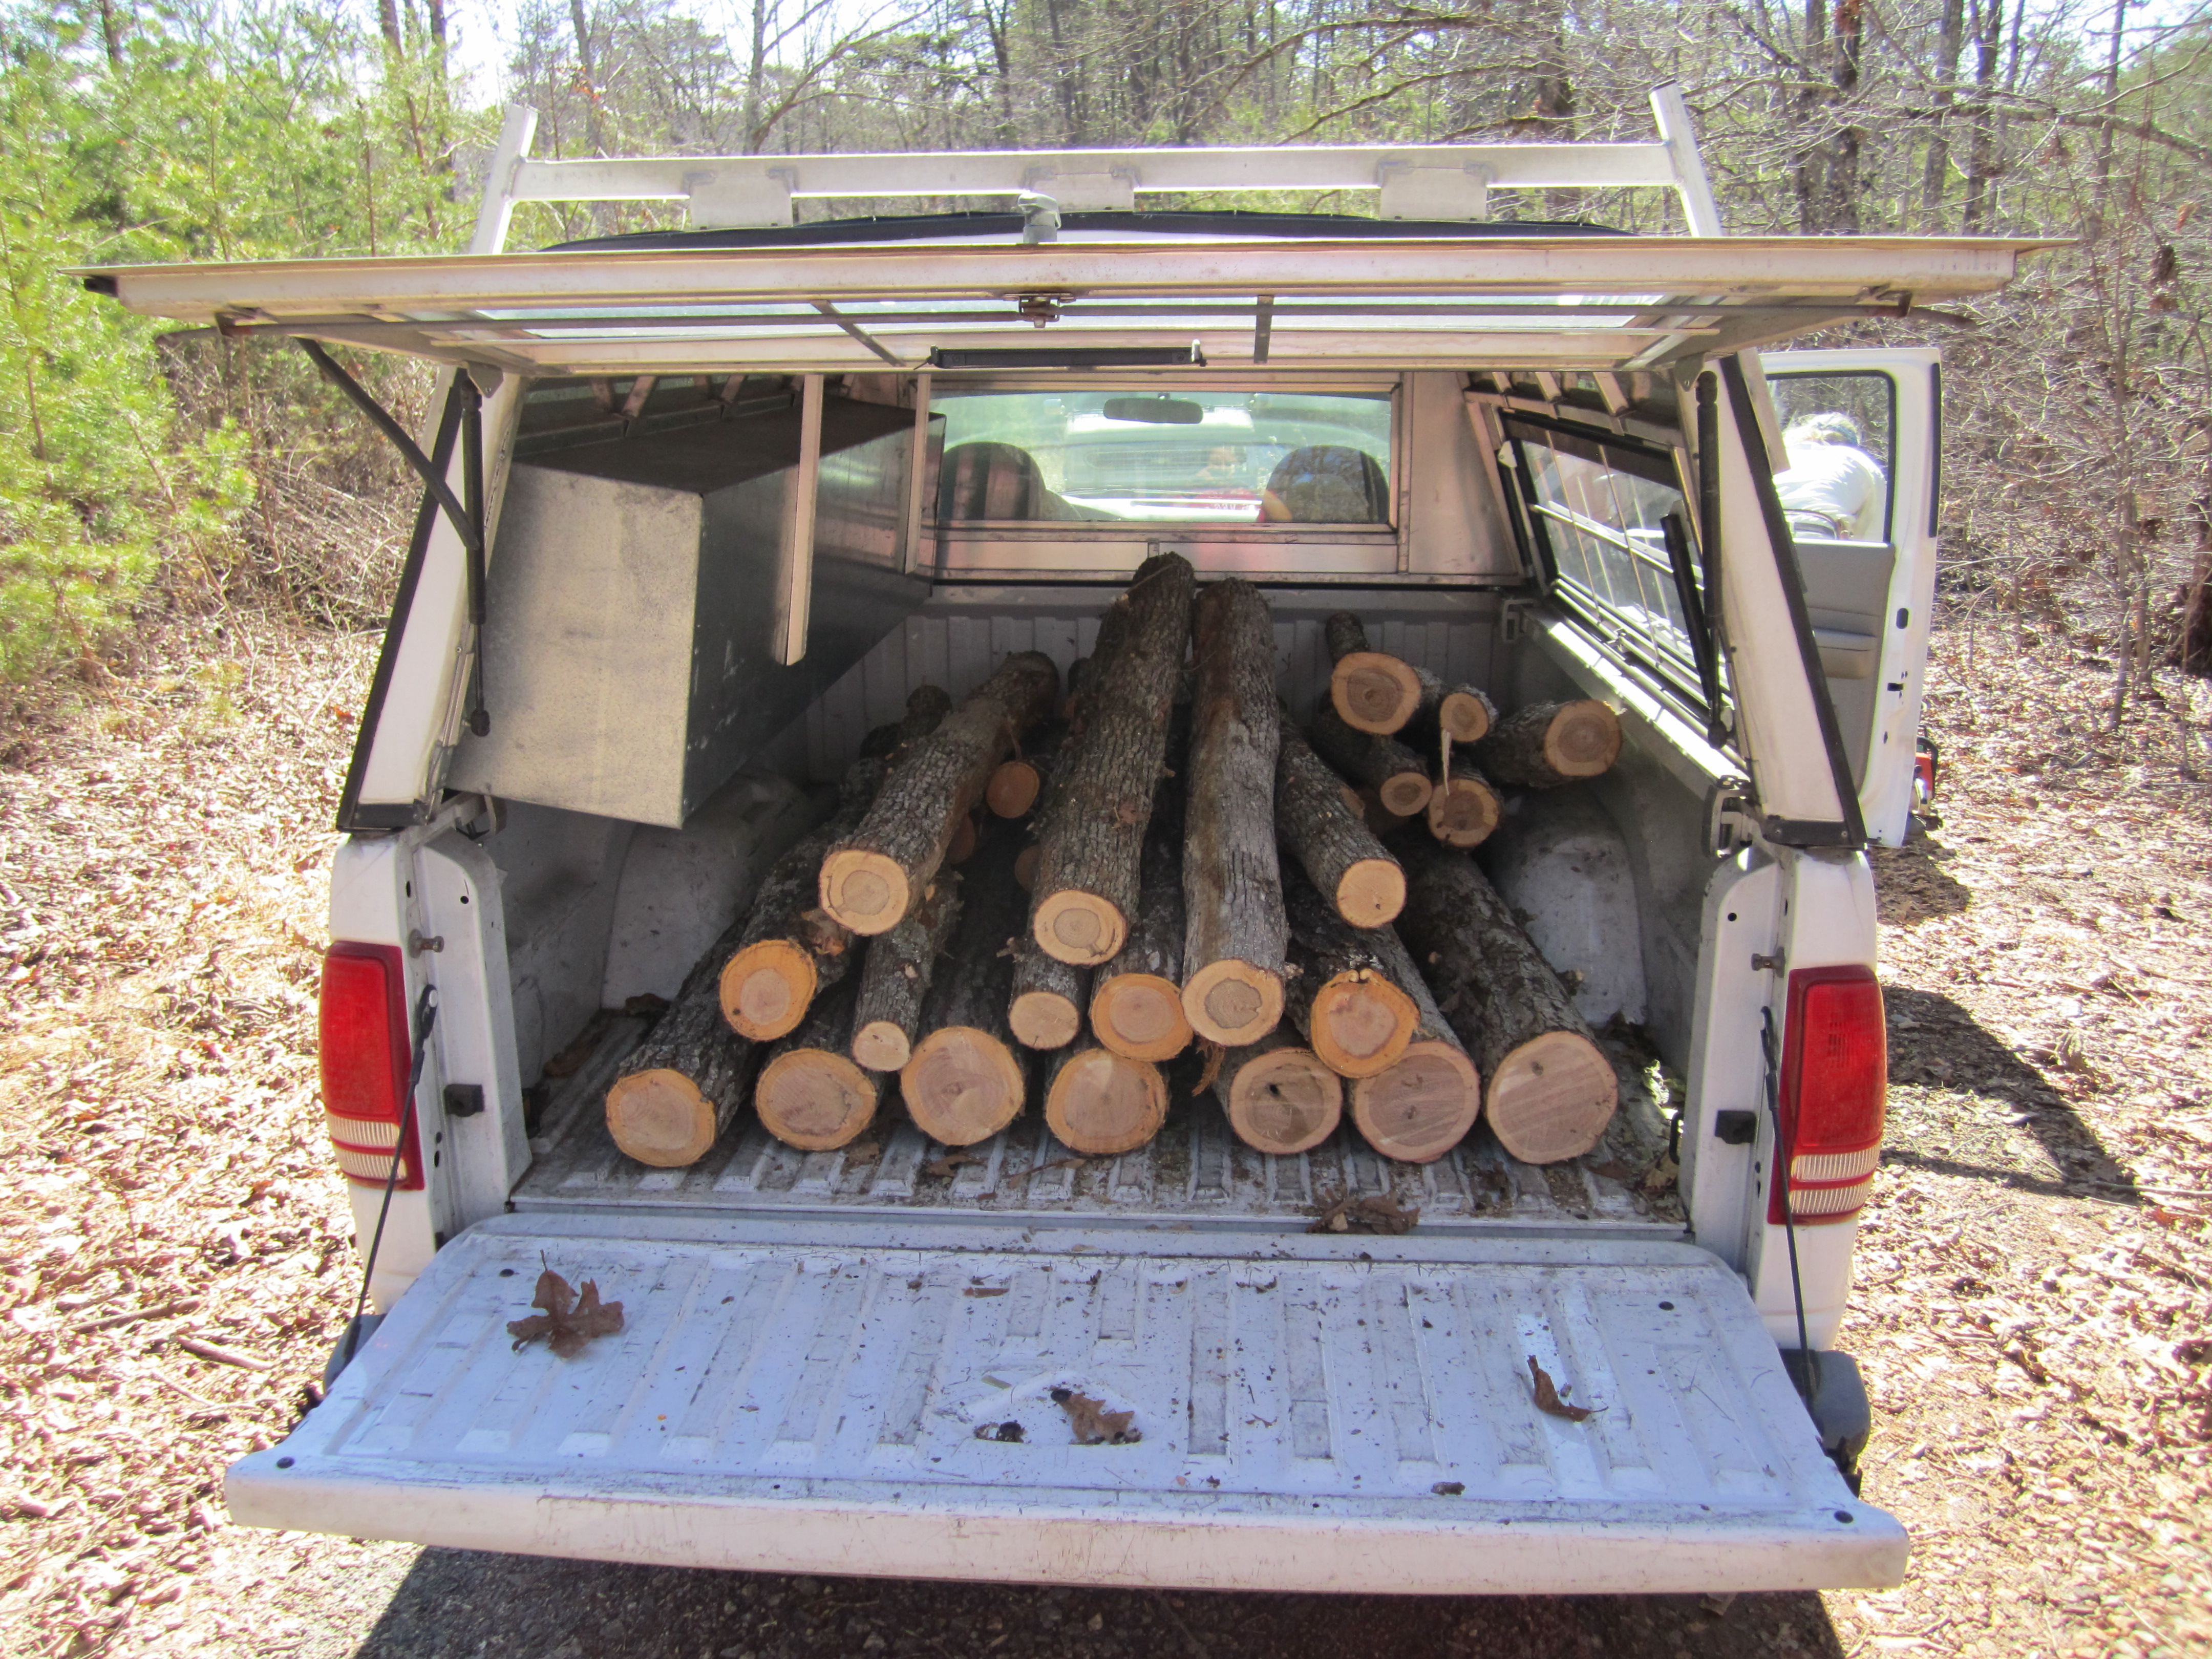
mushroom logs loaded in our truck
when we unloaded we were once again careful with each log, and i pruned the logs of any small limb nubs with a hand saw and held the logs still while dad chainsawed larger knots off. the purpose of this is to make sure that we can drill holes uniformly over the log before inoculation, as knots can be tough on drill bits.
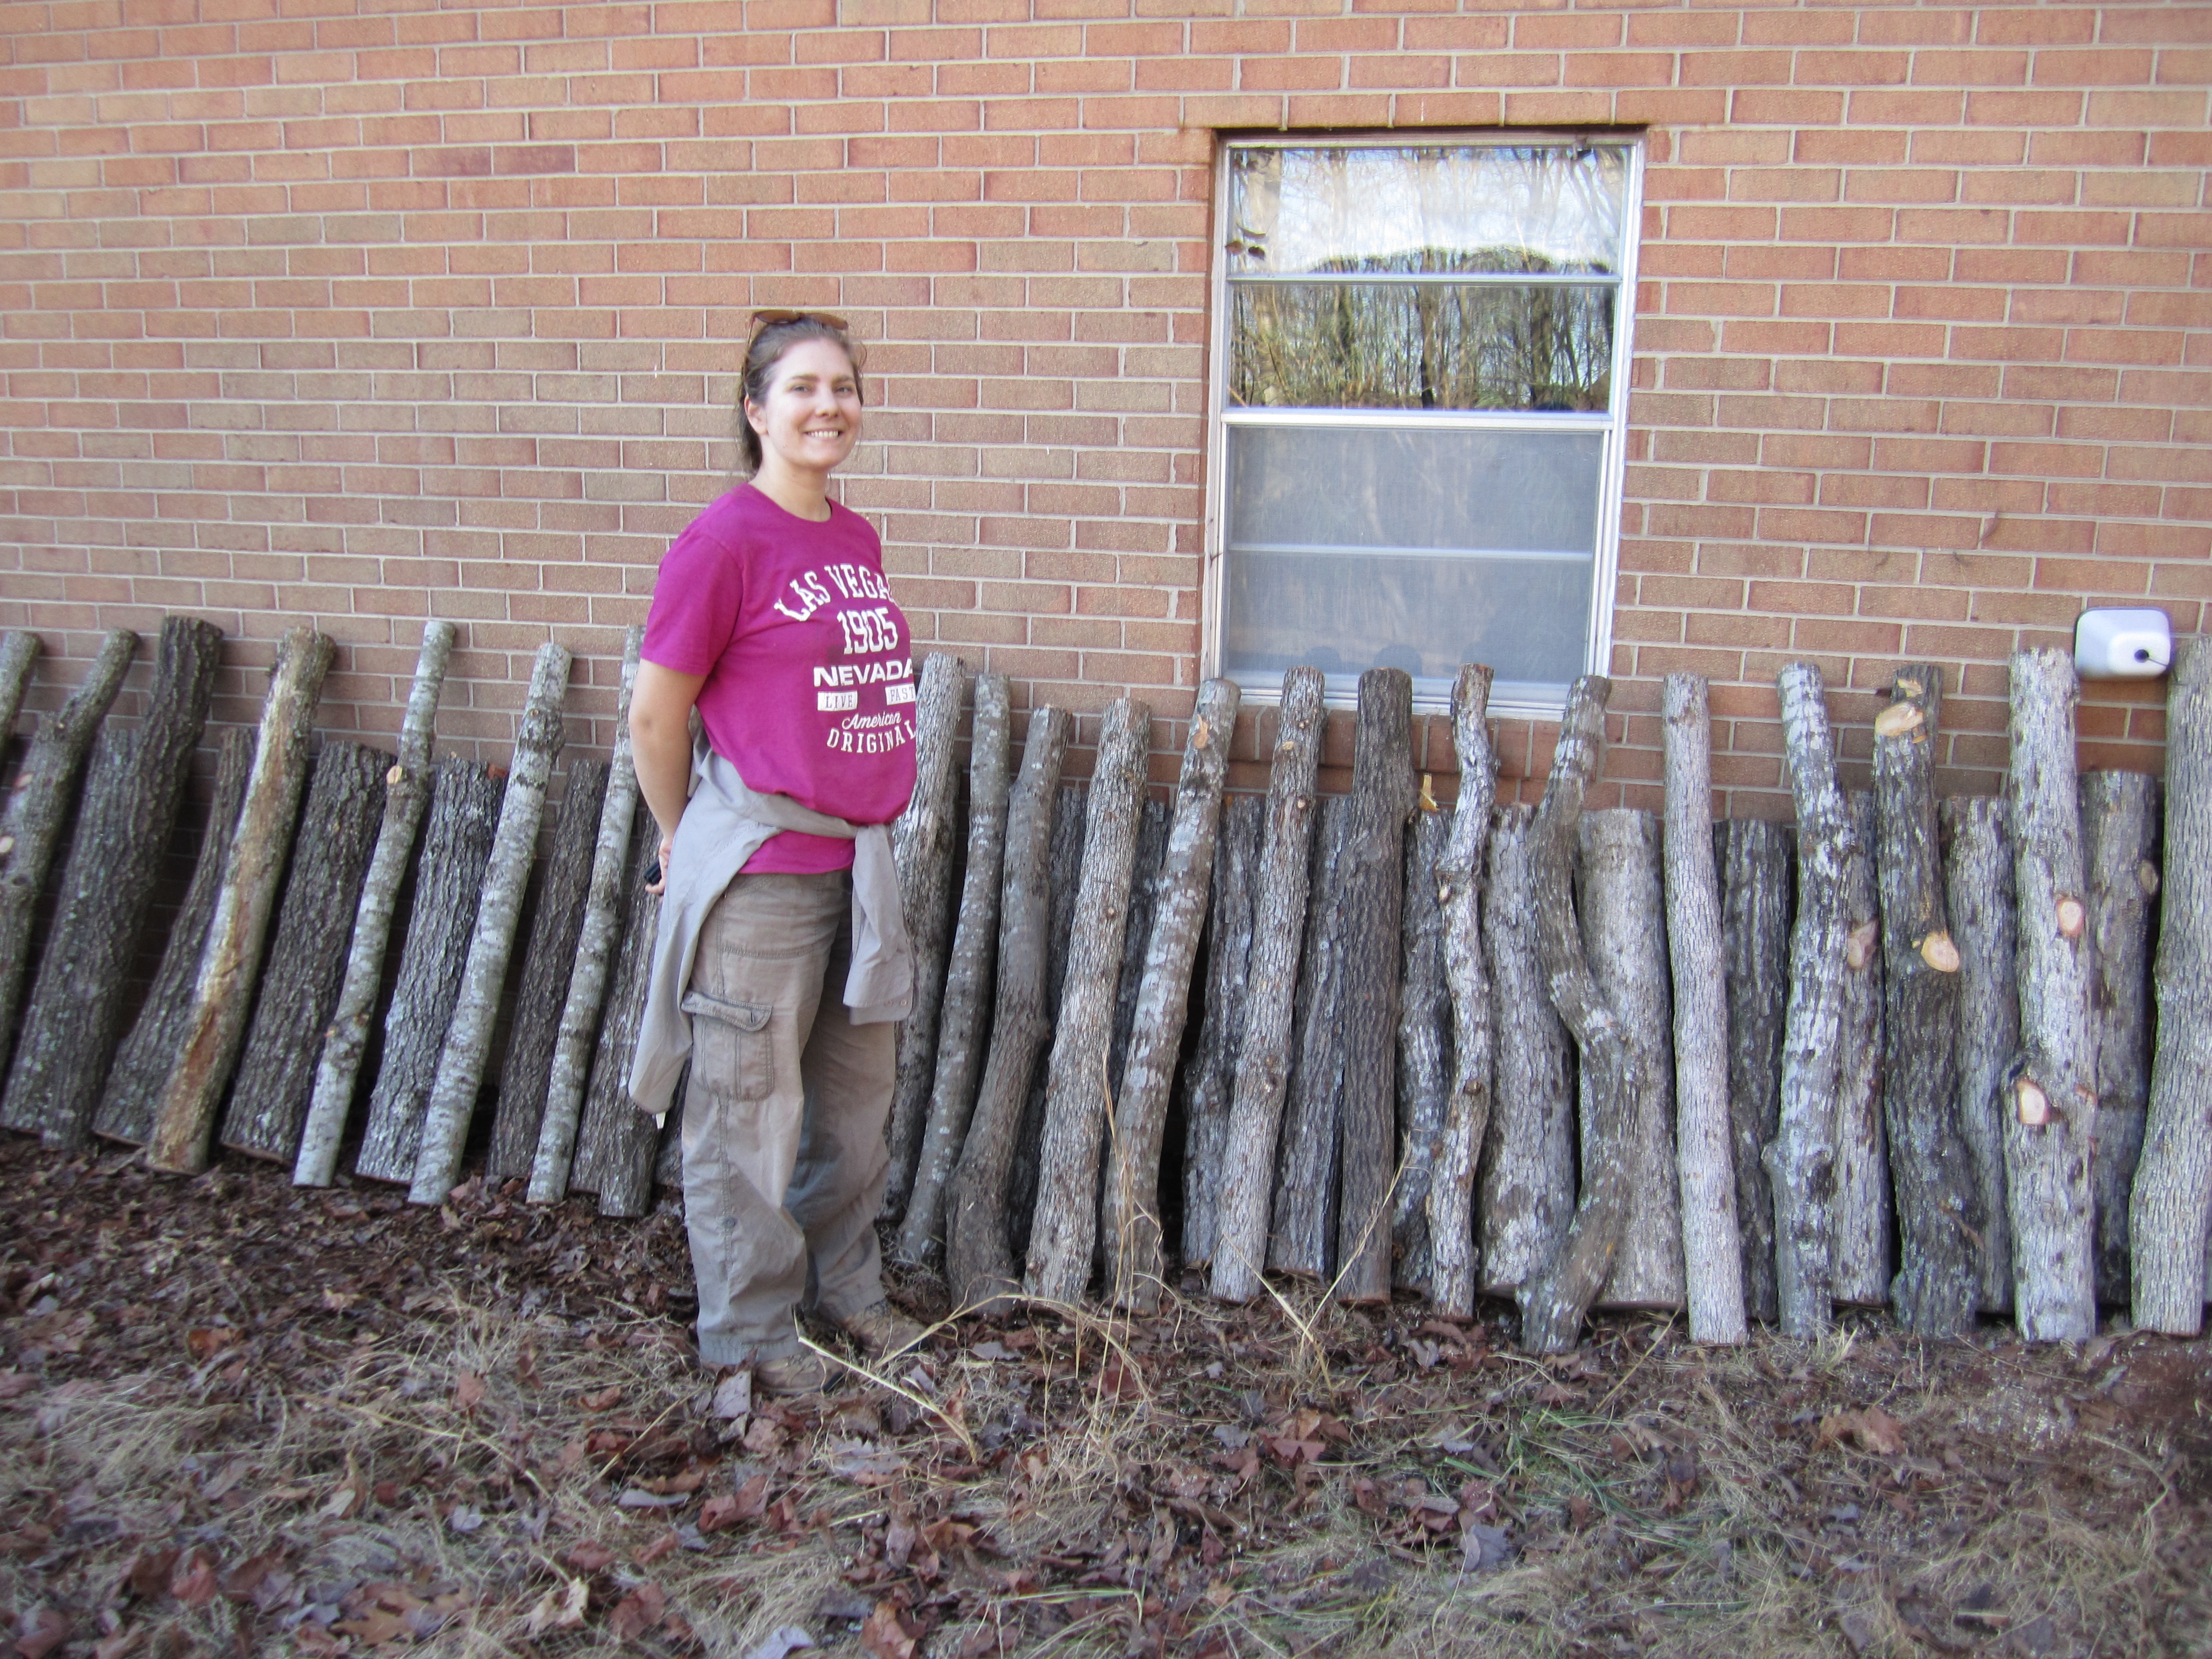
our drying oak logs (with emma)!
now that we’re done “cleaning up” the wood, the logs have been stacked against the back of the house to dry for about 3 weeks until the wood’s natural anti-fungal defenses have mostly broken down (this decay generally gets into full swing about 2 weeks after cutting).
and there the logs will sit until we inoculate them in 3 weeks. now it’s time for stage 2: ordering our spores and other related gear (wax, drill bits, etc)!
.:.