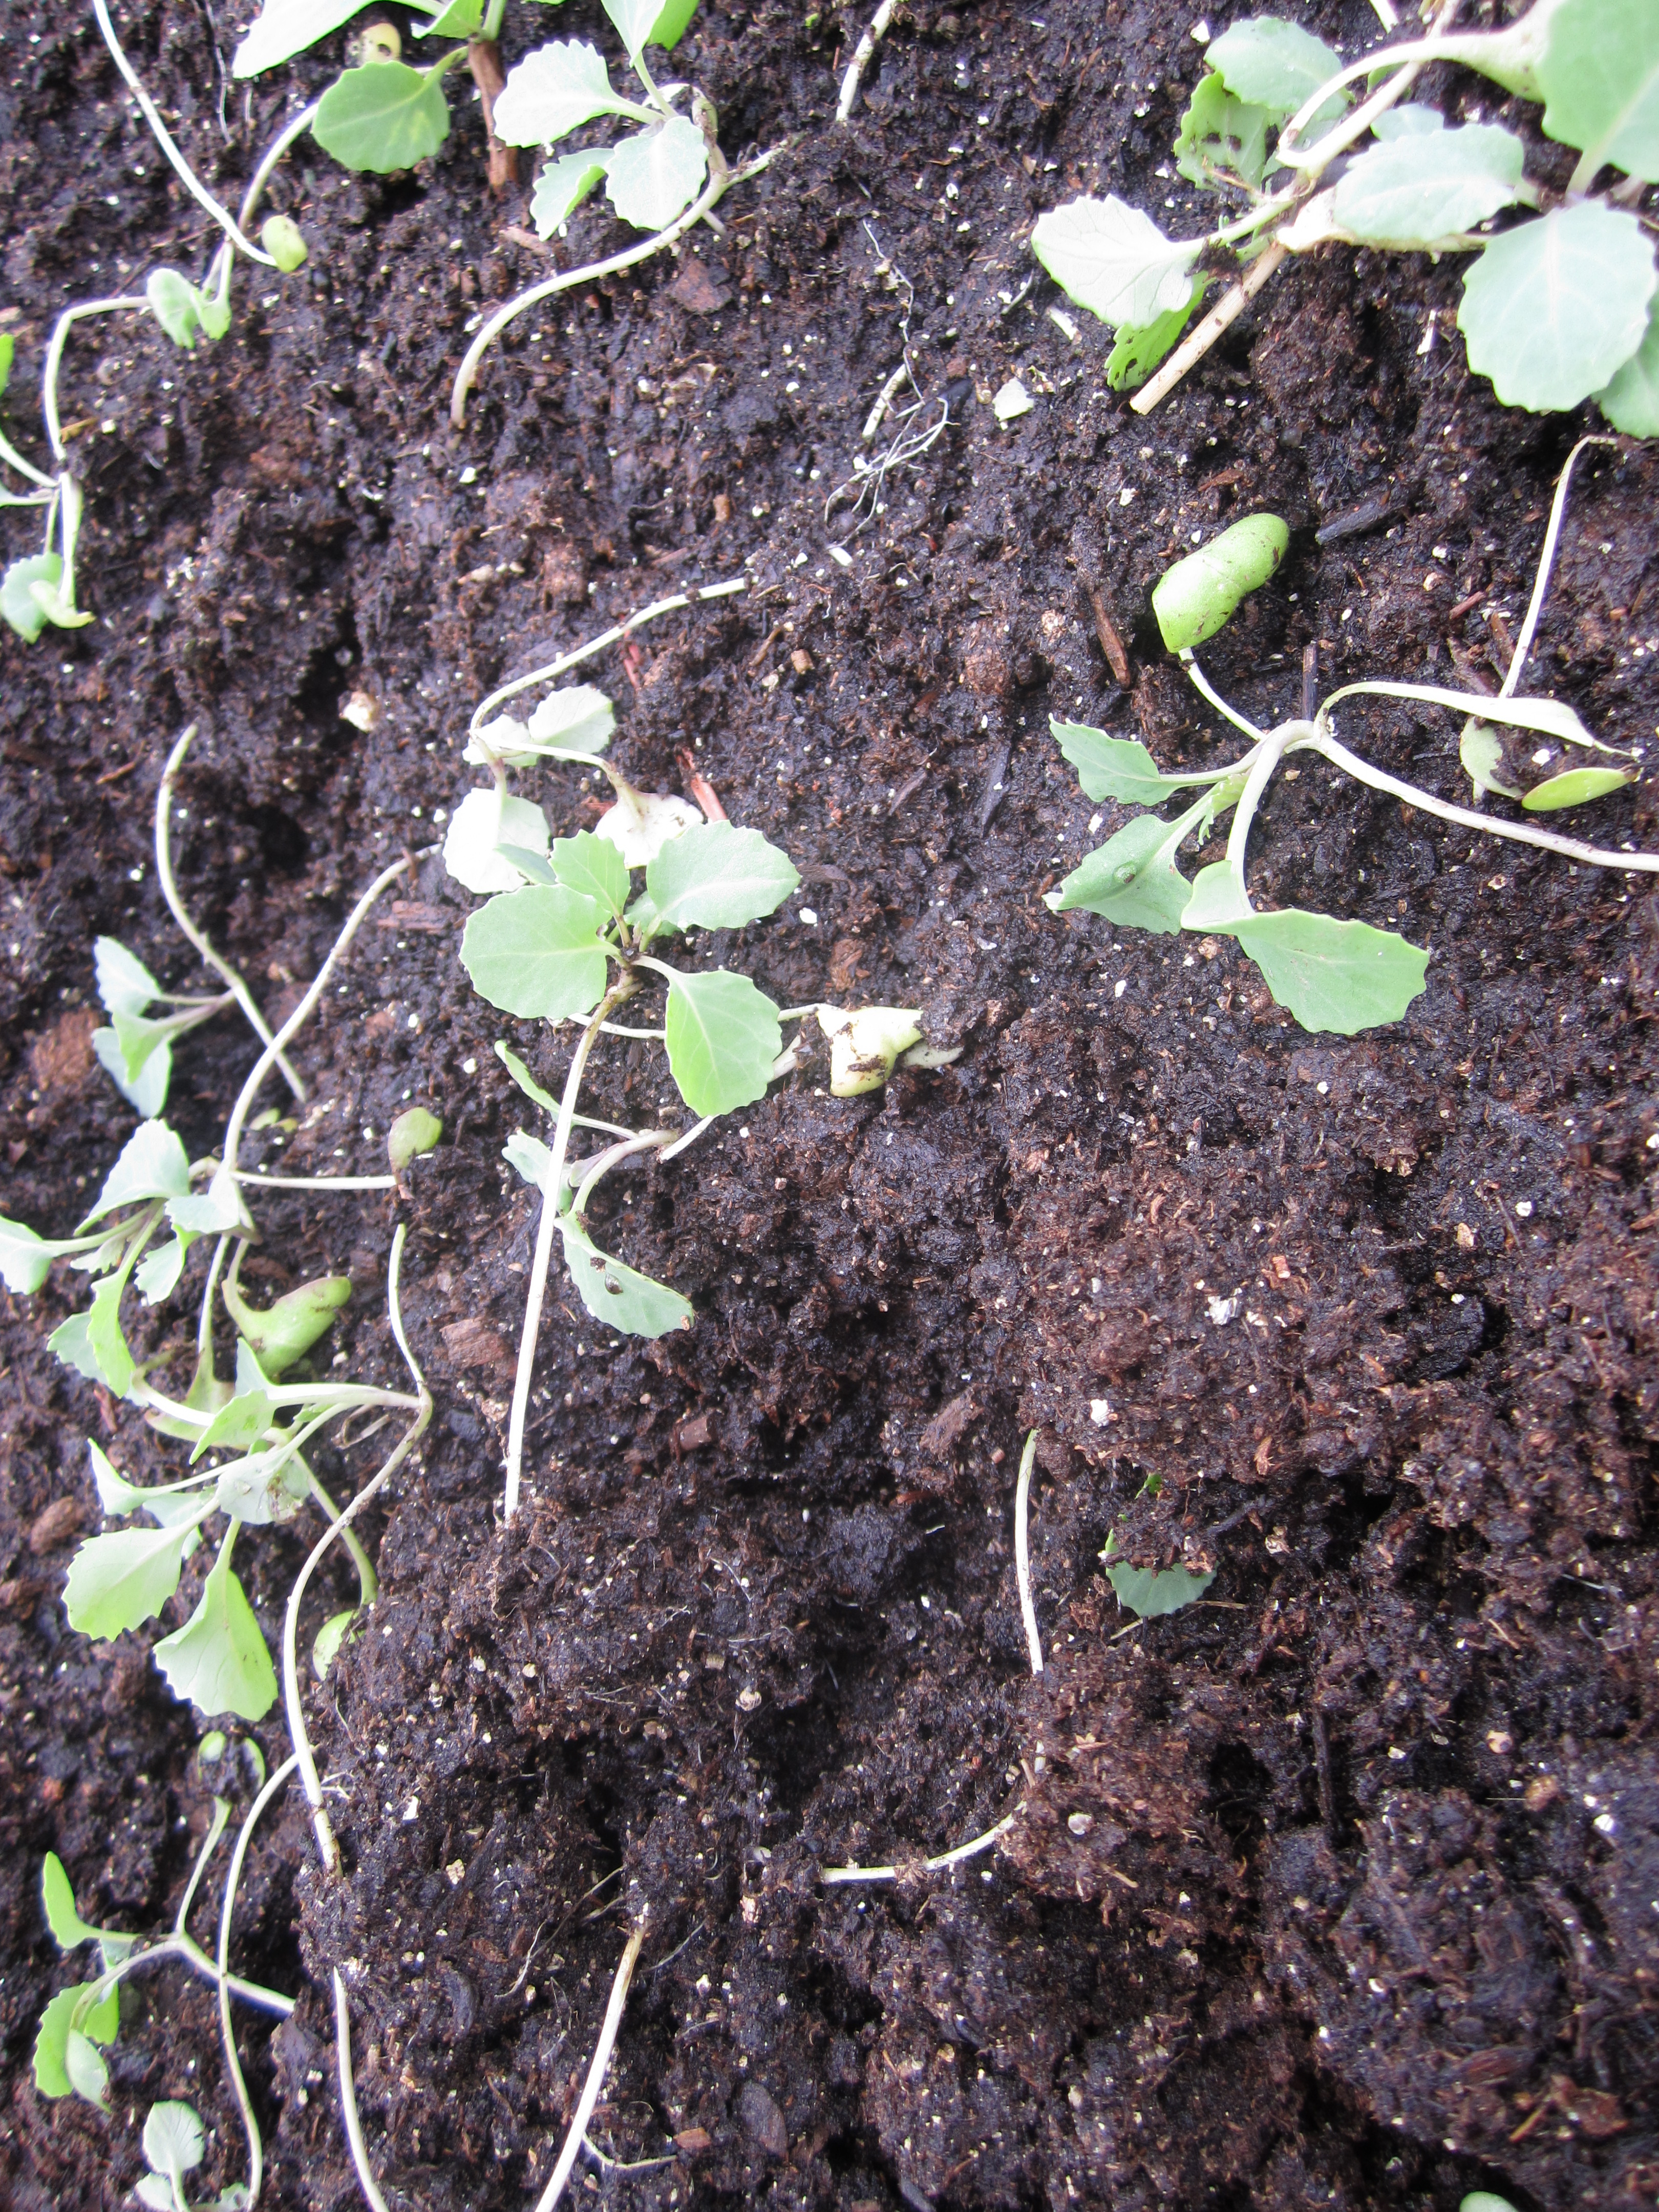
This week we transplanted our two cabbage varieties from their pans and into the ground. The great thing about cabbages is that they are cold hardy, which means that during the early spring when there is still a risk of frosty weather they generally do just fine. A true freeze can harm them, of course, but cabbages usually do really well starting their growing journey in the early spring!
Cabbages in their pans!
In addition to transplanting the cabbages (we chose the best 50 or 60 plants to put in the beds), we also started some other seeds, like:
slicing and paste tomatoes
spicy and slicing peppers
lettuces
herbs like basil, oregano, thyme, and many others
tomatillos
and more!
This year we haven’t yet gotten behind with planting (like we did last year because of all the wedding planning), which is encouraging news for us. For now, we await the cabbages and the delicious and nutritious sauerkraut this will result!
The great thing about this soup, is that we raised almost all of the the ingredients!
Let me start by saying that the photographs do not do it justice… And you are going to need either a huge pot or two pots!
Ingredients:
Bones and the partial meat of 3 teenage roosters
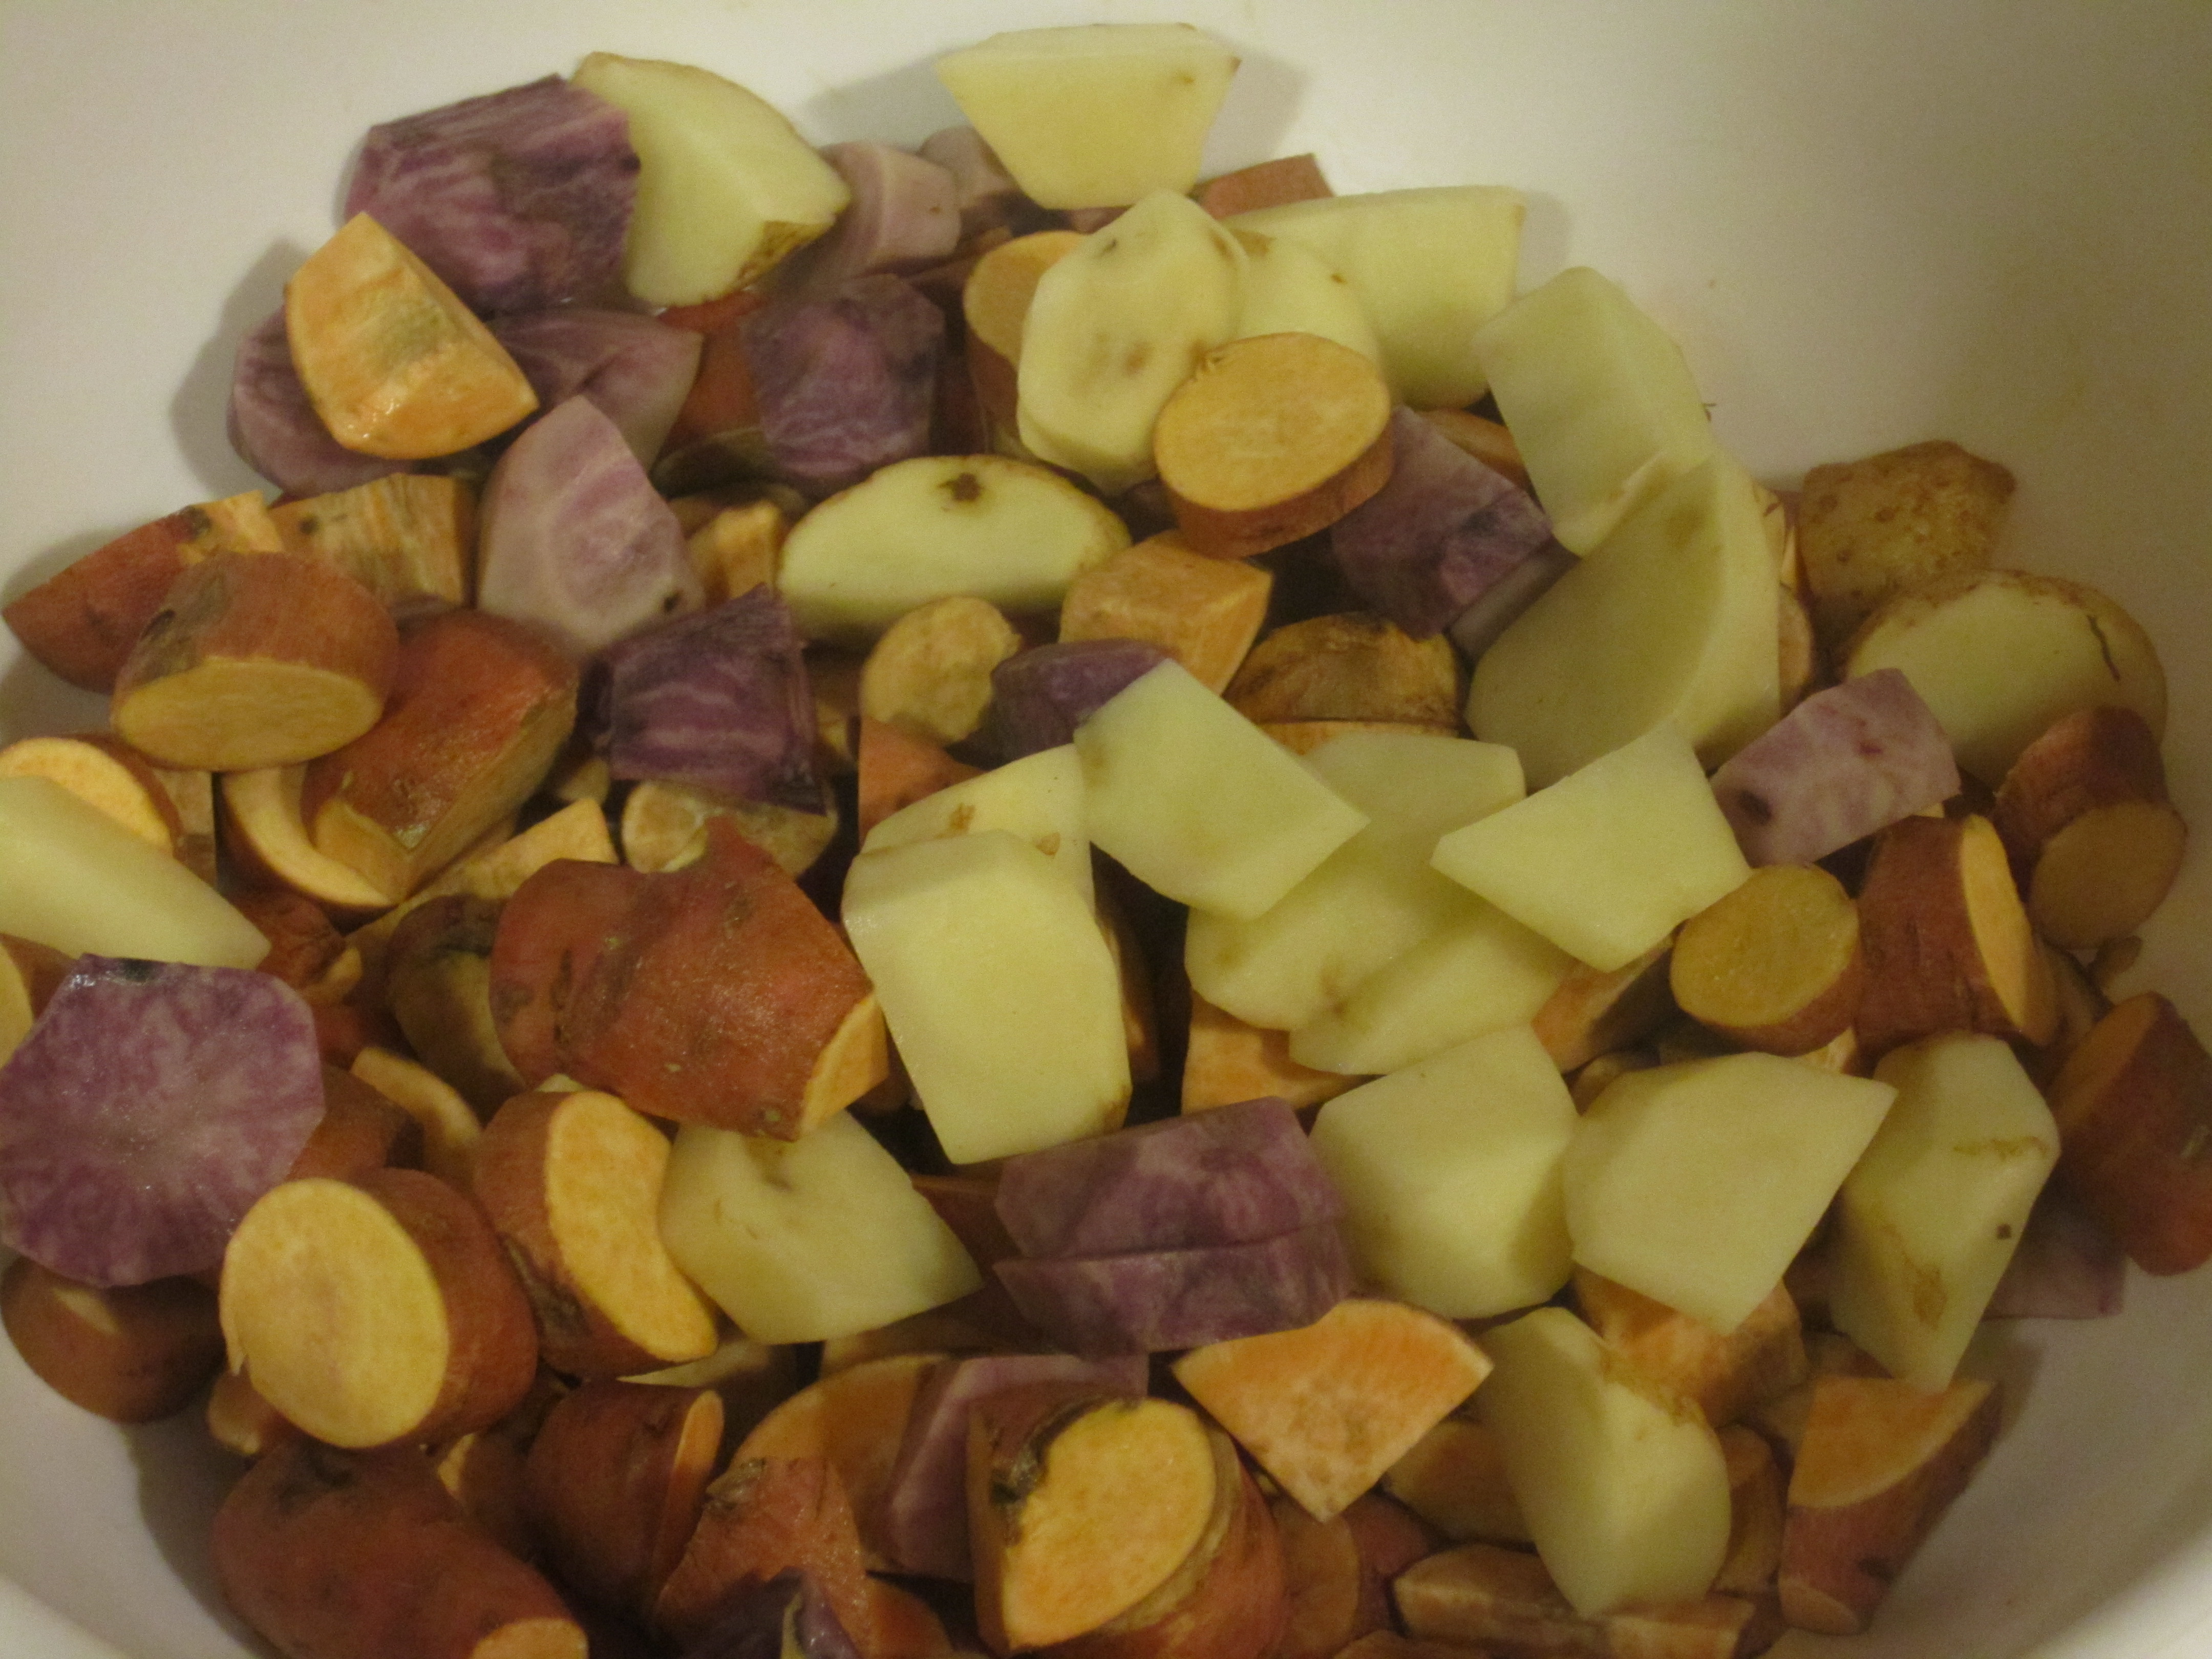
Lots of sweet potatoes
Lots of Irish potatoes
About 25 garlic cloves
2 quarts of cubed tomatoes
2 Large onions
Celery
1 pint of corn
Basil, parsley, oregano, garlic powder, jalapeños
Directions:
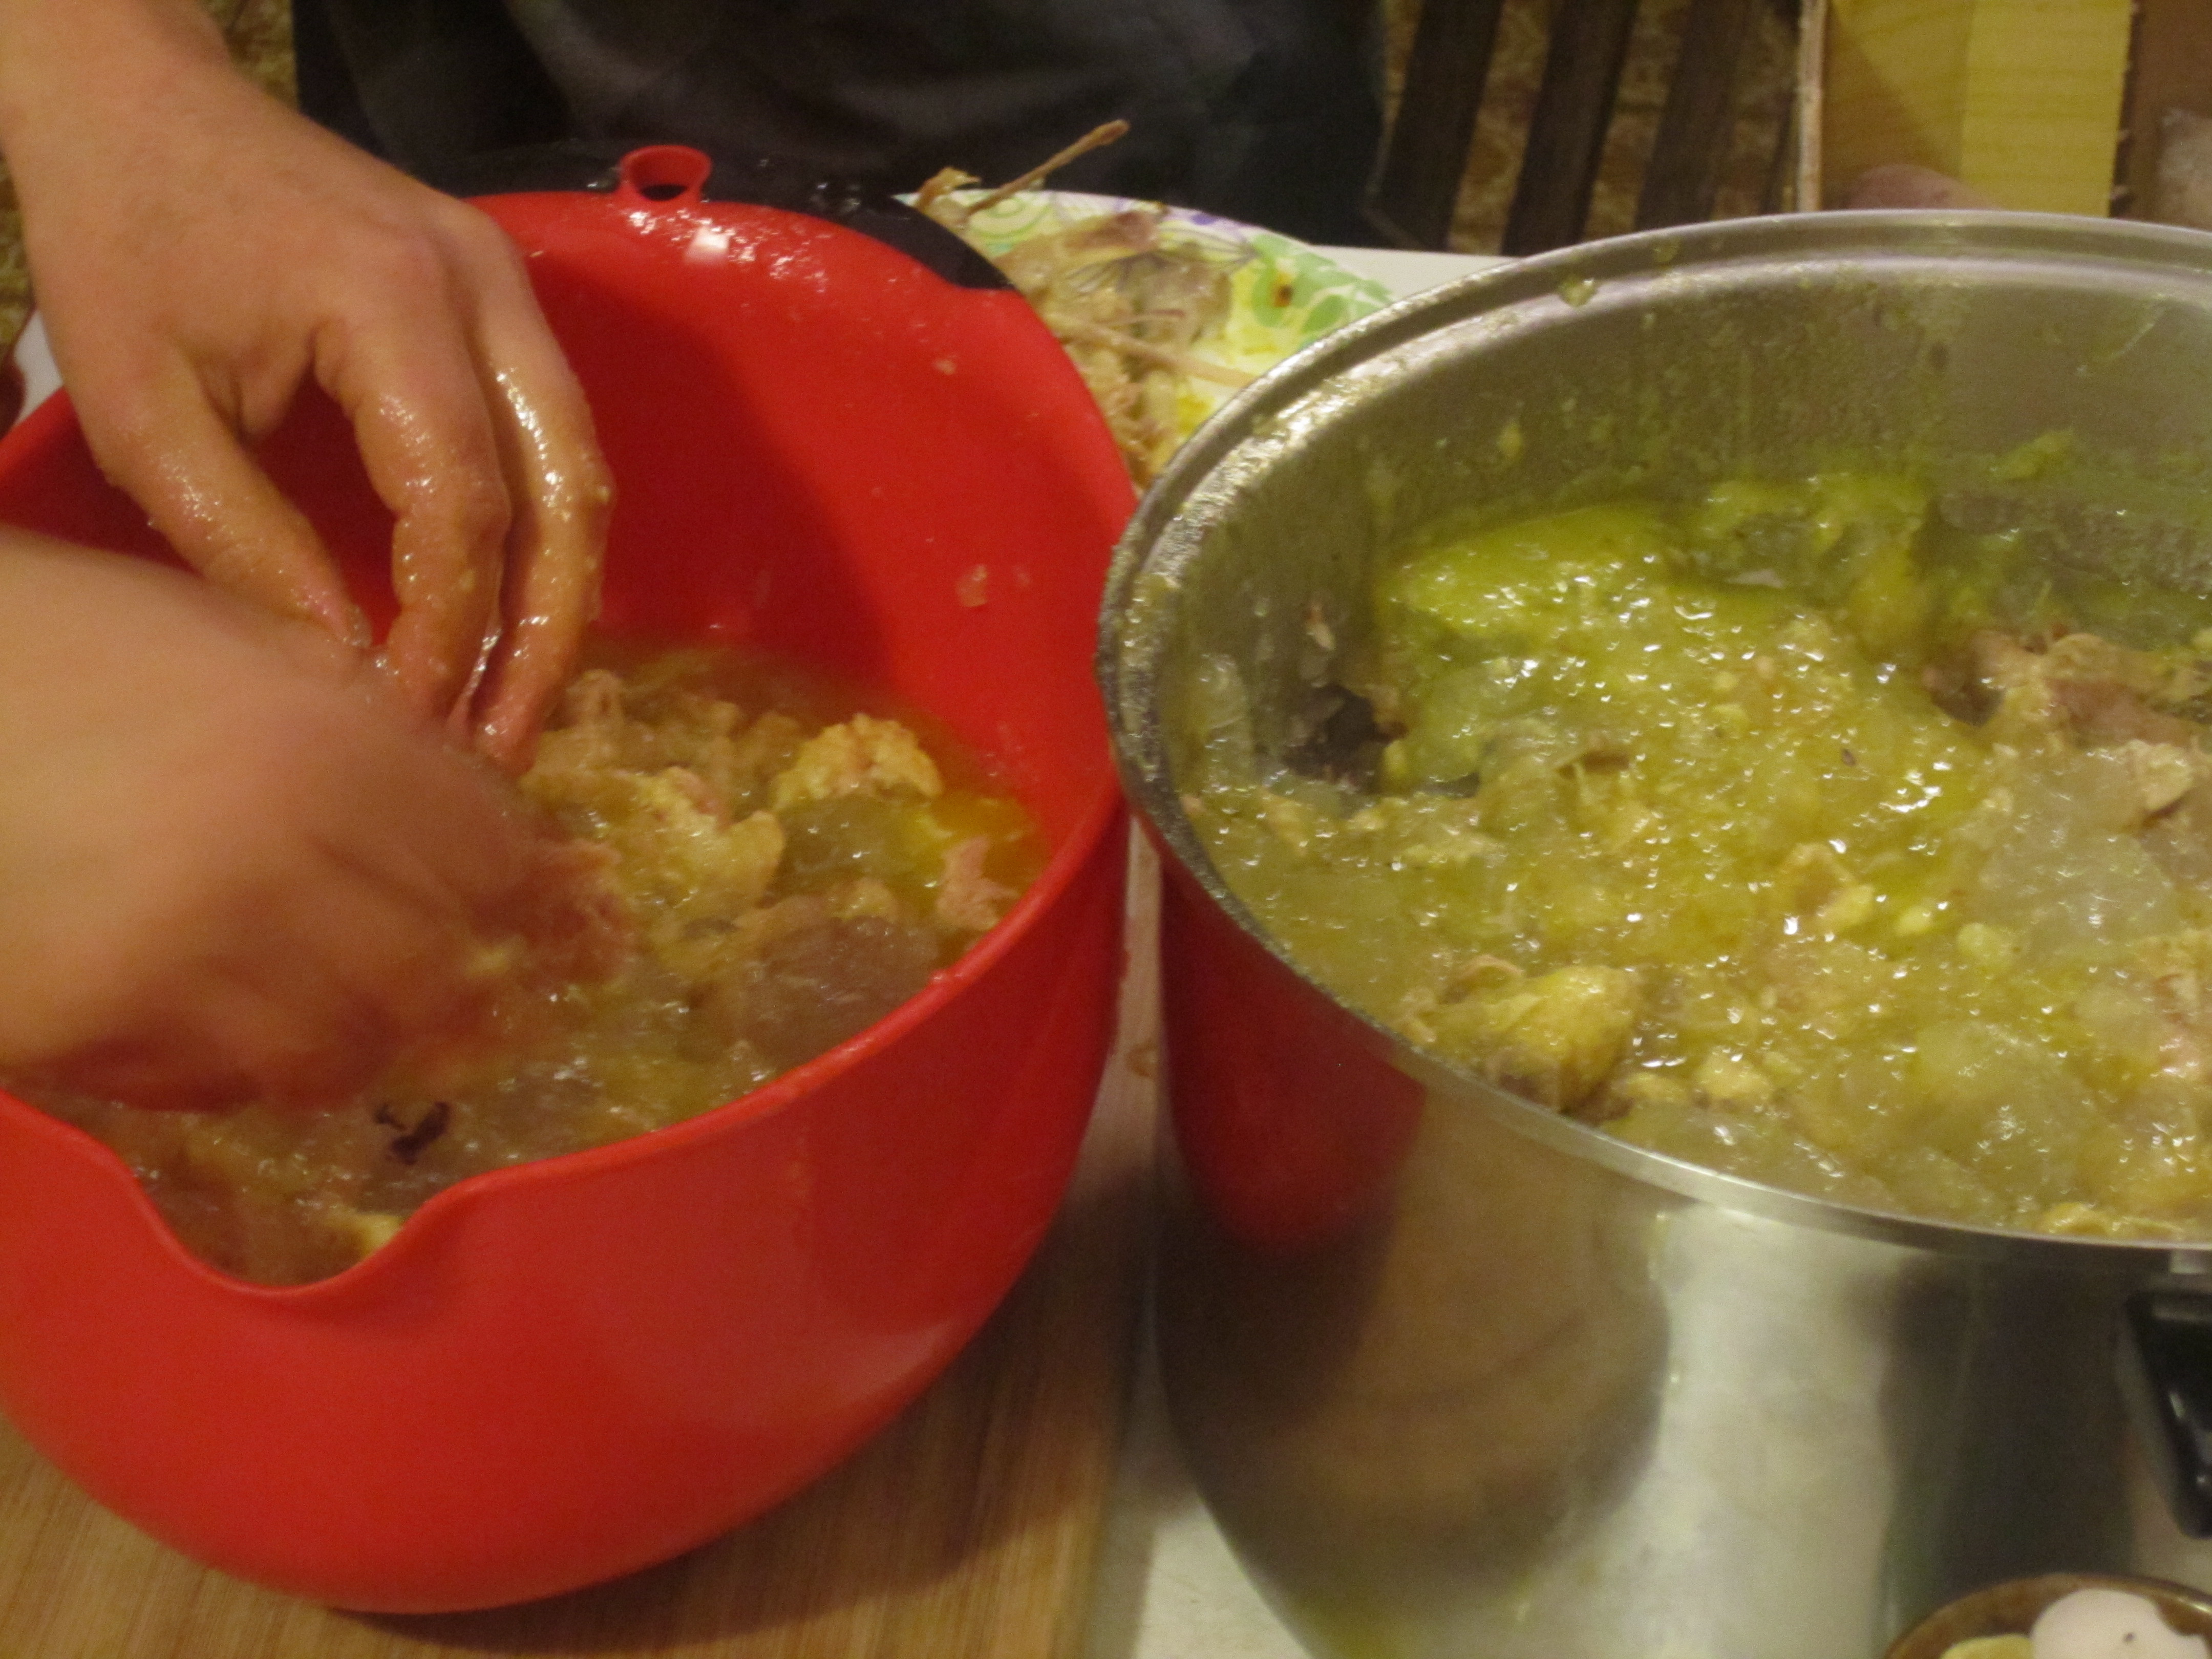
The first thing we did was butcher our roosters, and since that would take forever to explain, we’ll save that story for another time. We roasted and ate some of the roosters and left part of the meat on the bones for our soup.
We cooked the roosters in a large pot with water and a little salt to make the broth. We included all of the bones, even the feet (which had already been peeled). The next day is when we had planned to start the soup, and when we removed the pot from the fridge to de-bone the meat, we found that the entire concoction was gelatinous! Talk about good, healthy, fat! Even though these roosters were not fully matured and they are not a breed that is bred just for their meat, they had so much delicious fat on them!
Yummy, fatty, chicken!
Best broth ever!
I de-boned the meat and placed the bones in the crockpot so we could cook these down further and make bone broth.
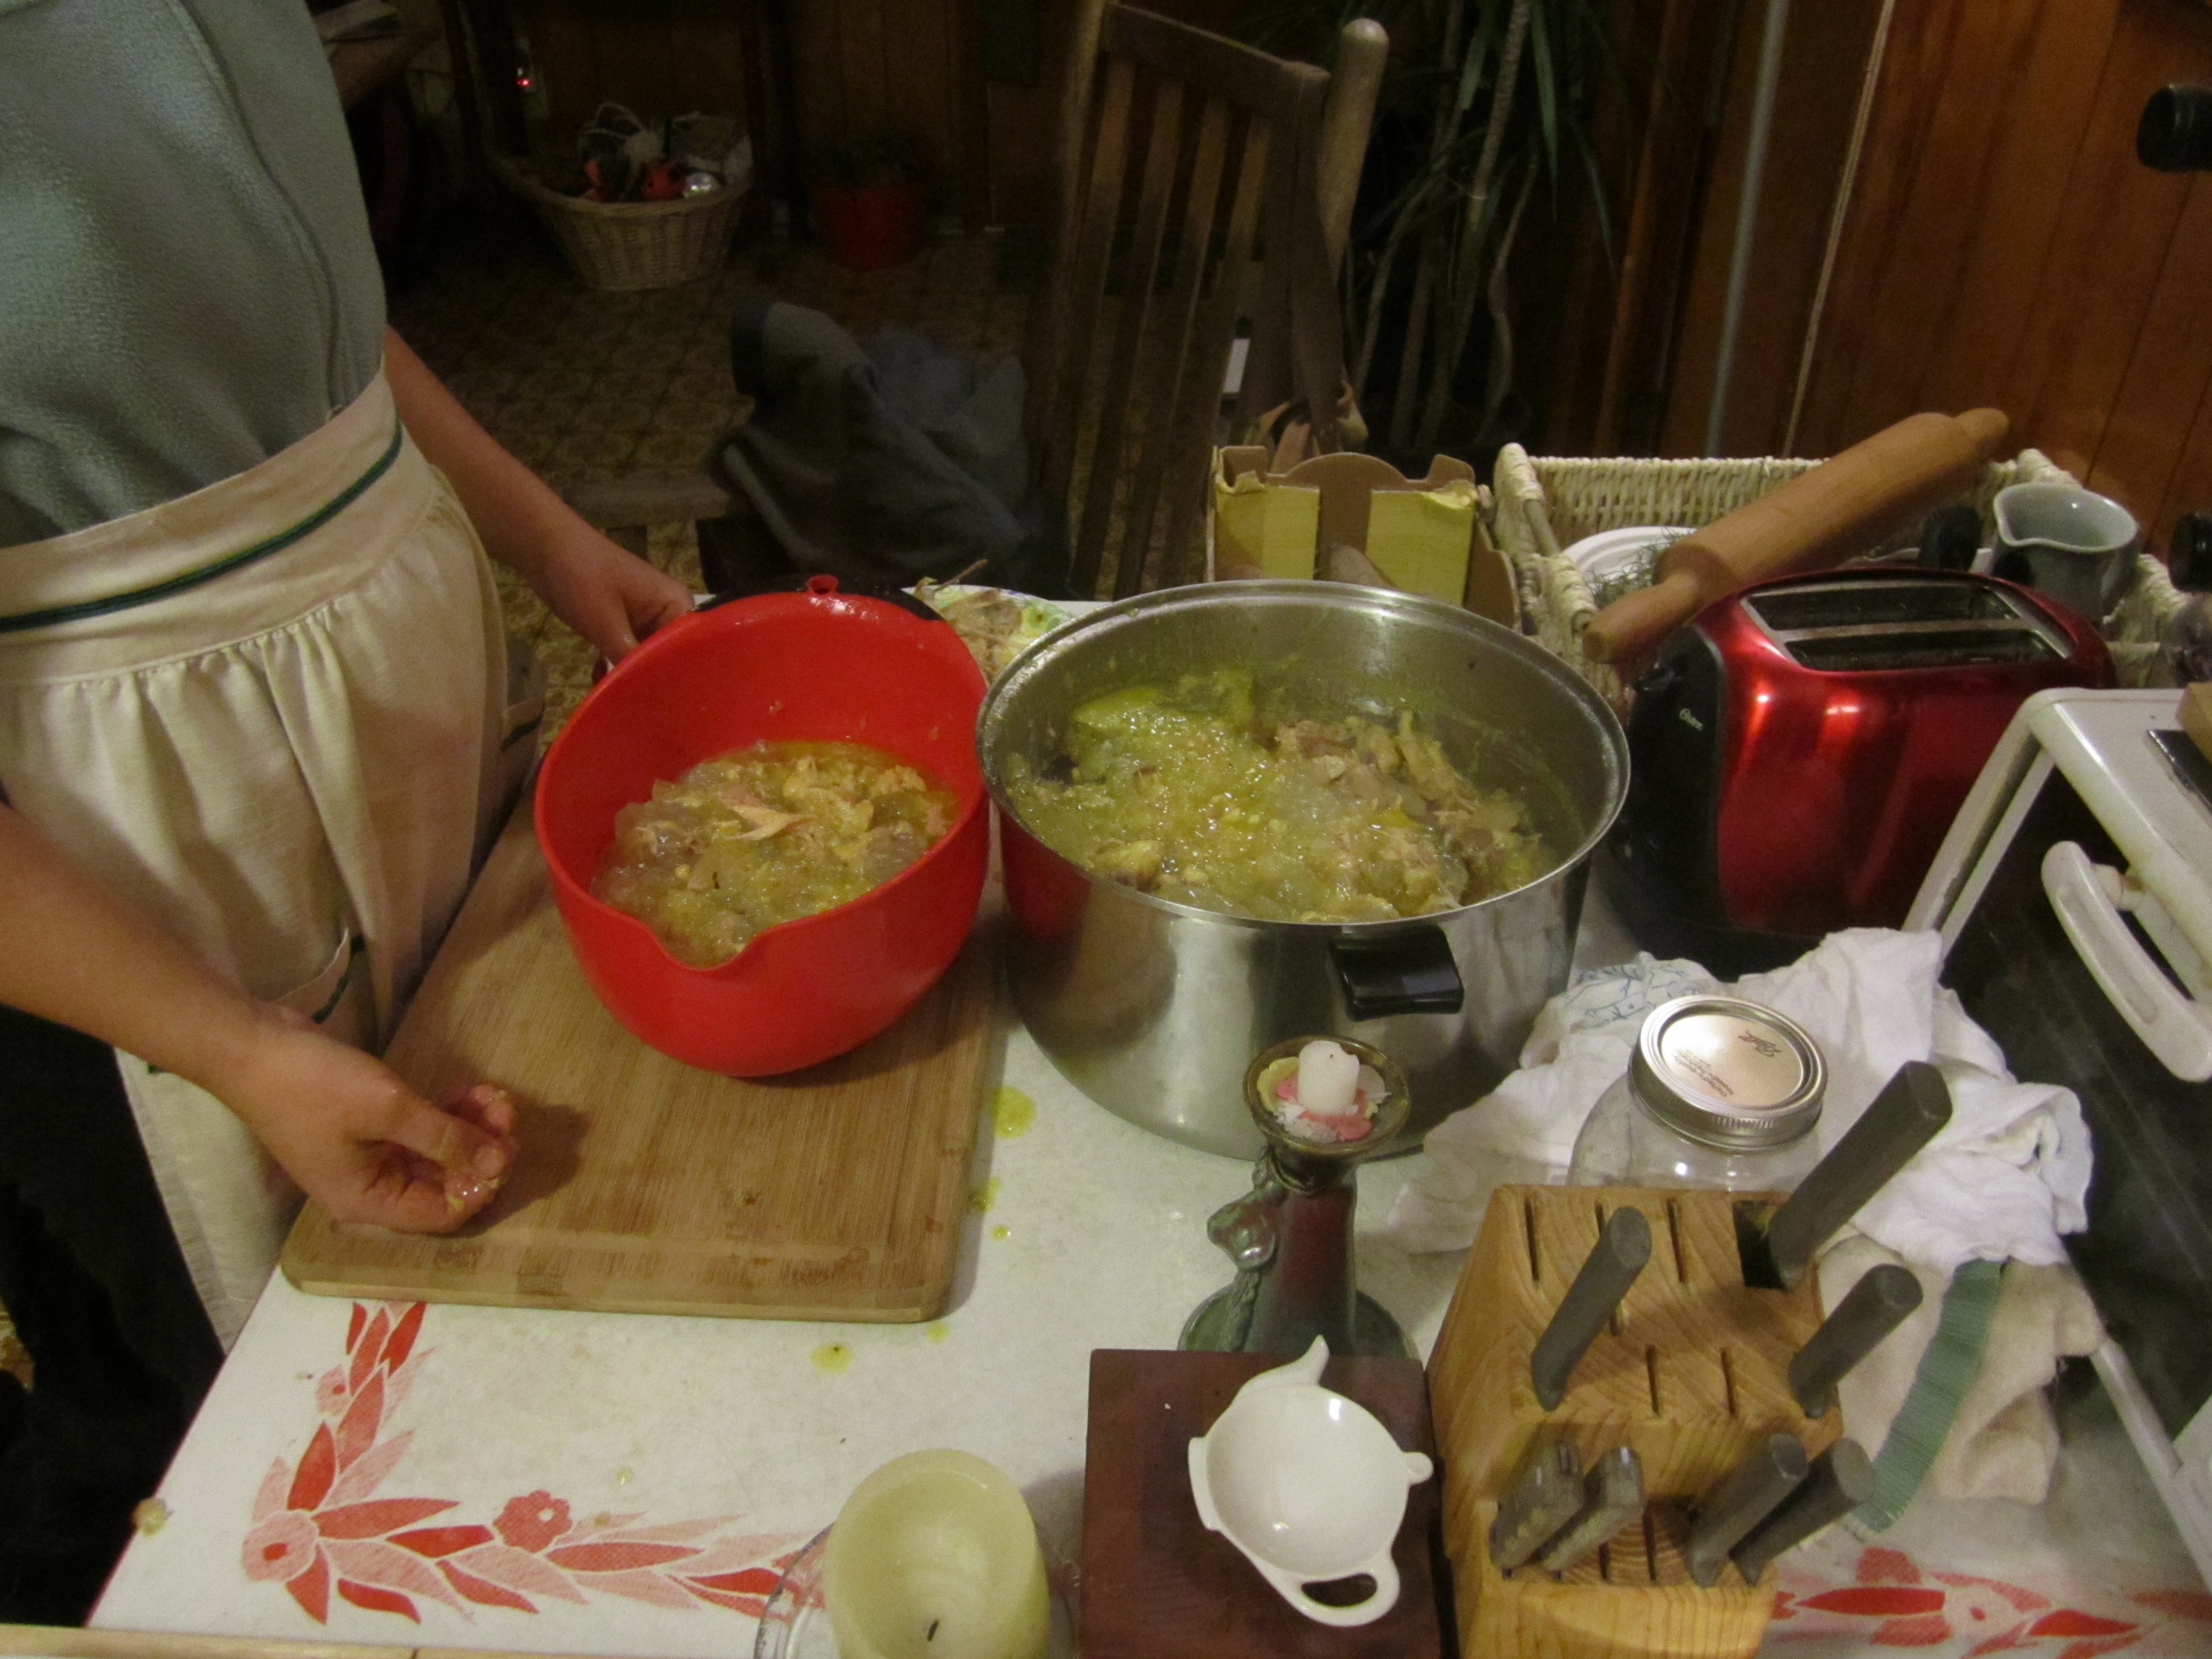
Then we sauteed diced onions, the garlic cloves, and celery in some of the fat. The onions and the garlics were from my dad’s garden!
The rest of the fat/meat/broth jelly was added to the pot and it started to melt and become true broth again. We added some of our diced and frozen basil, parsley, and jalapeño from the garden and let this melt and mix together.
Next in was the corn.
A lovely potato medley!
Then we added the potatoes (all from our garden) and once the soup was up to temperature again, we added the tomatoes. The tomato mix we used was a frozen bunch of cubed Cherokee Purples, San Marzanos, and Black Plums.
Then we added more basil, some oregano,salt, and garlic powder and continued to let it cook until the potatoes proved to be done!
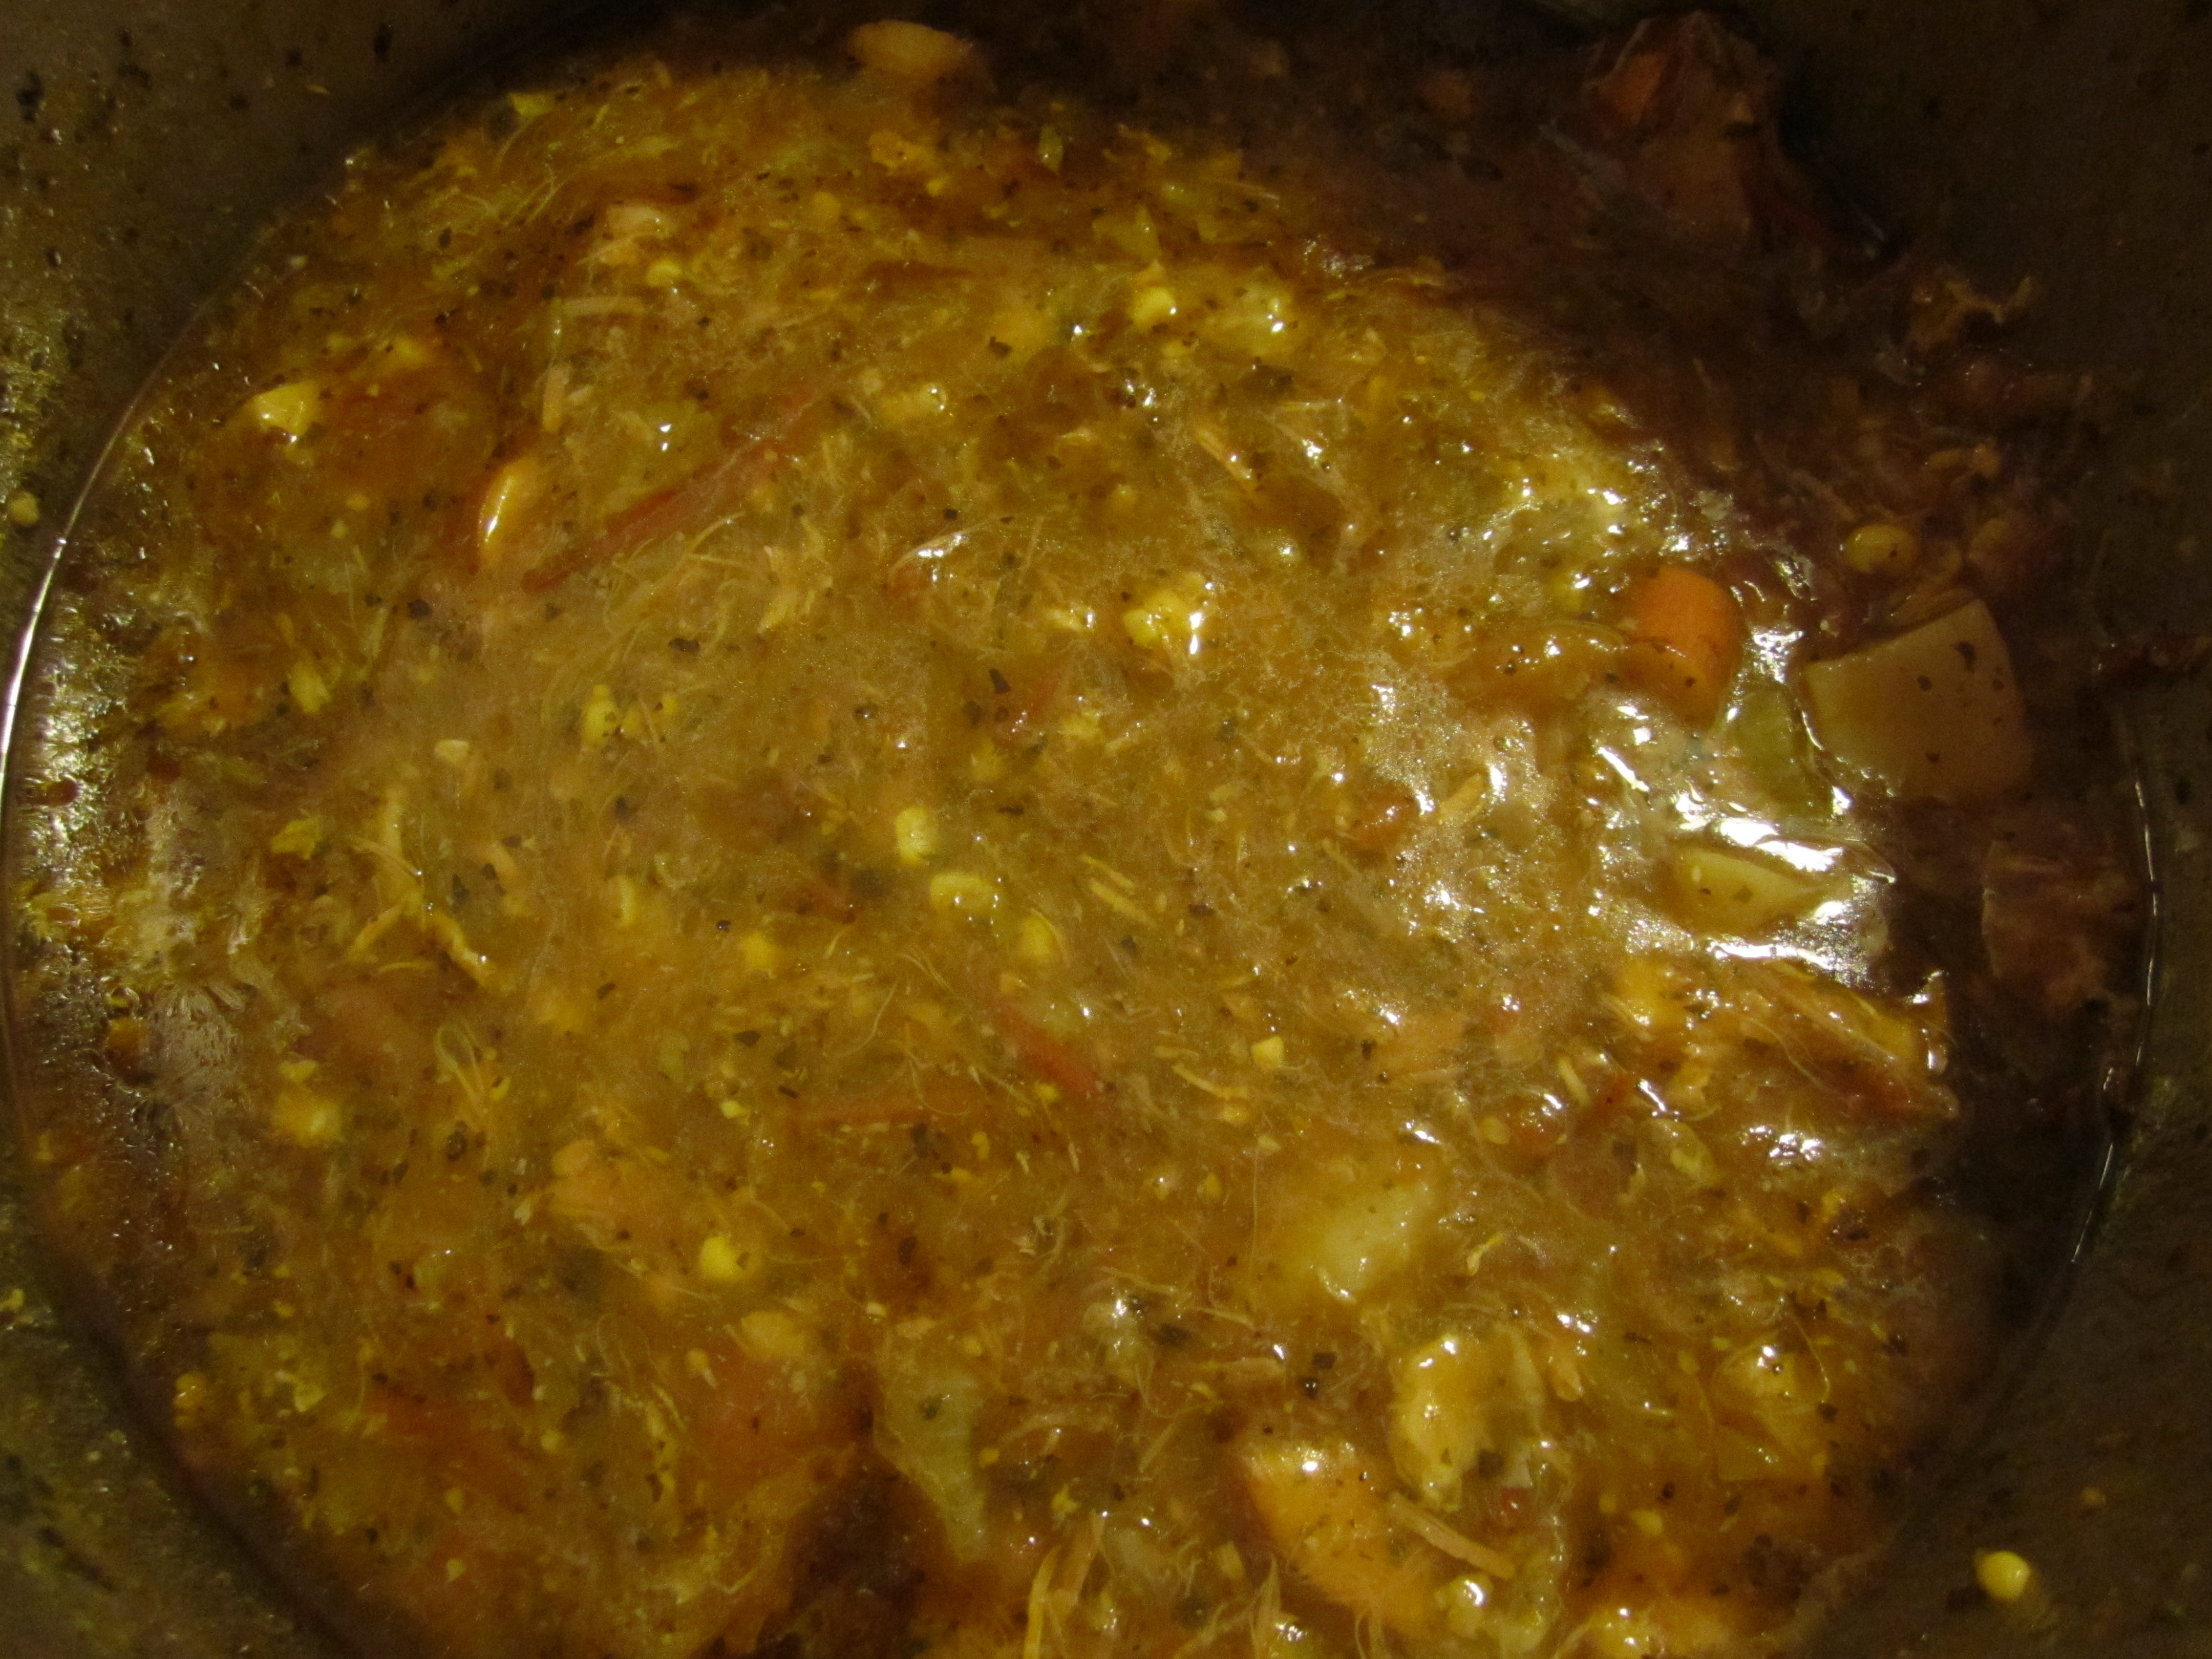
The finished product!
And then we ate it! Last night for dinner and today for lunch and tonight for dinner… This soups is one of our favorites so far!
1. First of all, we decided that utterly free-ranging geese was no longer something we wanted. Too much goose poop in random places (i.e. the carport or even the front porch) that always made me want to scream and then chase them around the yard in frustration. Also, the quartet was often found standing in the road and I don’t need to explain to you just how dangerous that is!
2. We started incubating 14 goose eggs a few weeks ago, but we’re not sure how things will go with them… (Explanation of why we’re unsure is below)
4. We’ve built a new fence for keeping the geese confined. The fence moves every few days (just like their old home that now houses the pigs) and is lower (about 2.5 feet tall). The fence is made of cut cattle panels, that are able to be “stepped in” to the ground so we can change the shape and layout of their area whenever we come across any garden beds or plants that we need to avoid having in their space.
5. During the beginning of their renewed confinement, Audo somehow learned how to climb/fly over the short fence (which was weird since he is the heaviest one) and would escape any time he wanted. After clearing a couple of their favorite yard-nest spots of eggs, and after a few days of only Audo roaming around outside the fence, we discovered that Audo was laying eggs!!!!!!!!!
Which, of course, means that Audo is a female!!!!!!!!!!!!
So, we’ve been operating with the information that Audo was male this entire time, understanding that the rest were females.And now it seem that we might not even have a male at all! There are ways to tell that I will not go into here, but Google it and prepare to be freaked out if you are interested in knowing more about sexing a goose (yes, I did just write those words).
Audo’s femaleness might mean that all of our incubating is for naught, unless another goose has been a male all along!
6. The last goose update was actually meant to be the sole subject of this post, but I got a little bit carried away…
In order to keep Audo inside the fence, we had to clip her wings so she can’t catch enough wind to lift herself over the wire. Clipping a bird’s wings of is not what it might sound like to you (a horrible inhumane act that hurts the bird). Instead, it only involves catching the bird and trimming her feathers, not hurting her at all.
This video is a bit funny, actually, since we hadn’t clipped goose feathers before and we weren’t sure how Audo would respond. Watch and see how we did it…
Jason held her and I did the clipping of just one wing to keep her off balance and to make sure that her flying would be crooked if she ever tried to fly over the fence again. If you try this yourself, be sure to have tin snips to use as scissors, since the heavy duty shears and scissors I used really weren’t tough enough for goose wings!
March 30, 2015 / jason / Comments Off on How Much Feed and Water do Ducklings Need?
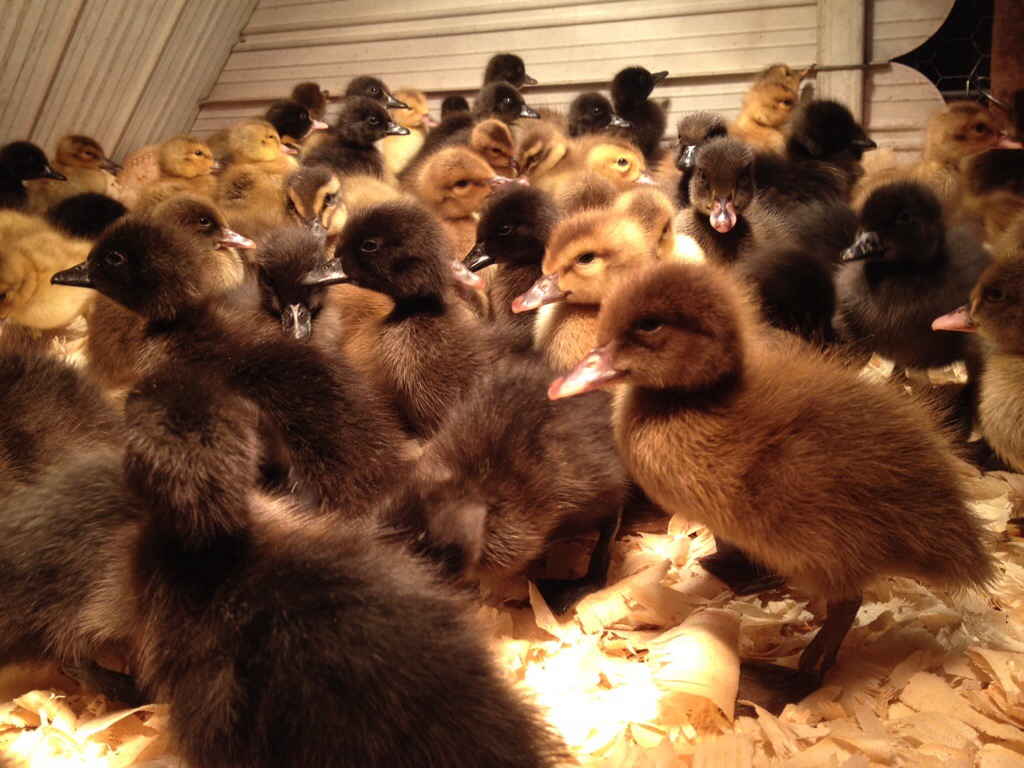
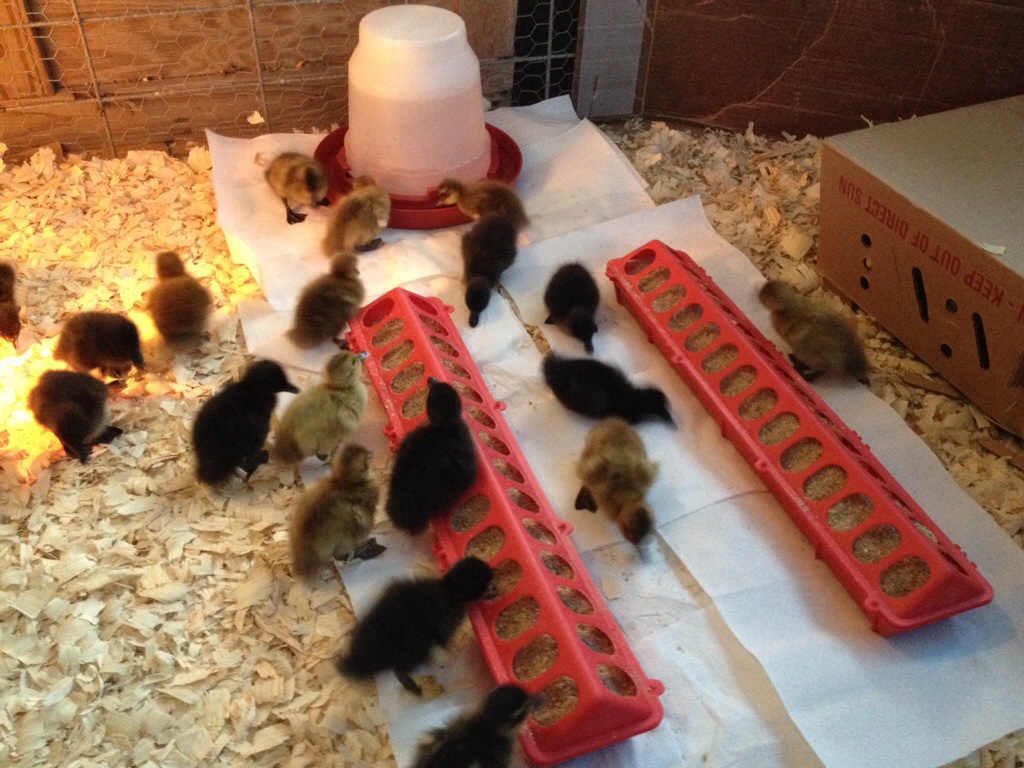
Now that you have your day old ducklings in their brooder(seriously, aren’t they cute?)it’s time to feed and water them.
baby ducks!
What to feed them?
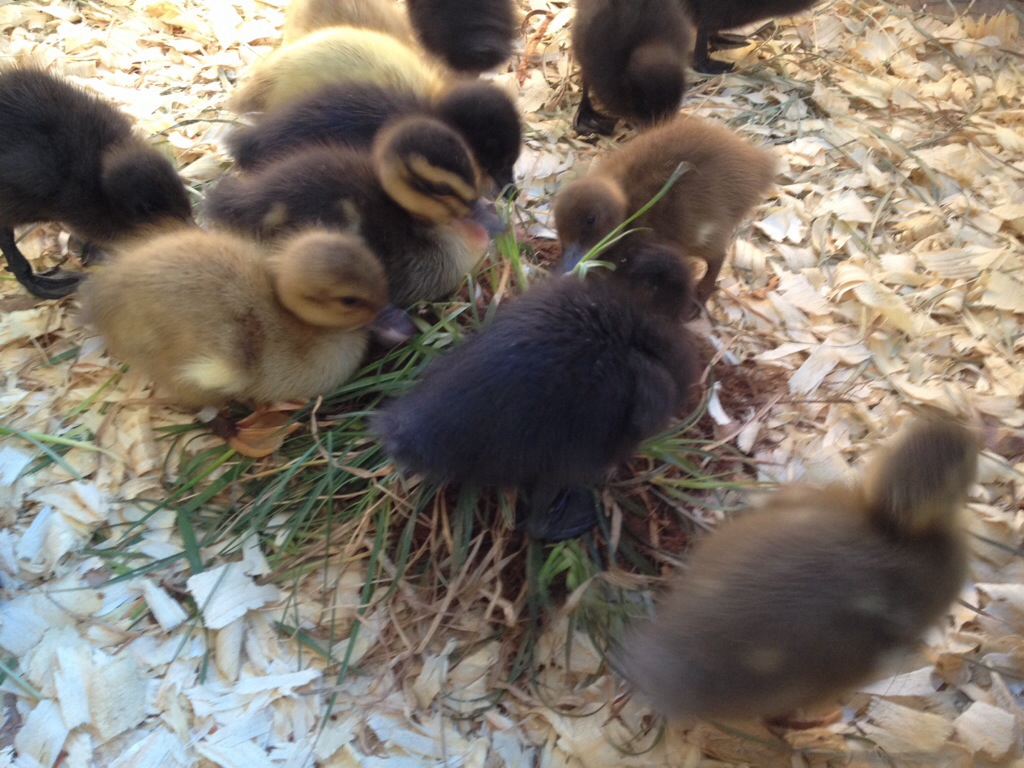
We feed Non-GMO Starter, a 22% protein mash that provides all the nutrients and energy for fast growing baby ducks. We also like to throw in a chunk of sod from the pasture, to give them some exposure to soil microorganisms, grit, grass and bugs.
learning how to graze pasture!
How much do they eat?
The rule of thumb for ducklings, and most other baby animals, is to give them free choice access to their feed for the first days/week. After this point, ducks that are being raised to breed, or for egg production, are best off being fed a restricted diet based on age. This helps to control excessive weight gain, which can lead to lower fertility and decreased egg production.
ducklings are very messy, the paper towels help somewhat to keep their bedding dry
Metzer farms has a great article on the daily feed/water consumption and manure output for ducklings based on age. According to this chart, our 67 ducklings should have eaten .5 lb of feed each over their first week of life, or about 33.5 lbs. total. Judging by whats left in the 50 lb. bag of starter, I don’t think they have eaten quite that much, but they were traveling in a box for 2 days, so that might have skewed the figures.
The chart also shows that each duckling will drink almost 1/2 gallon of water during their first week of life, and up to 2 gallons of water per week as they get older. I think that our duck nipple waterers help them drink more efficiently though.
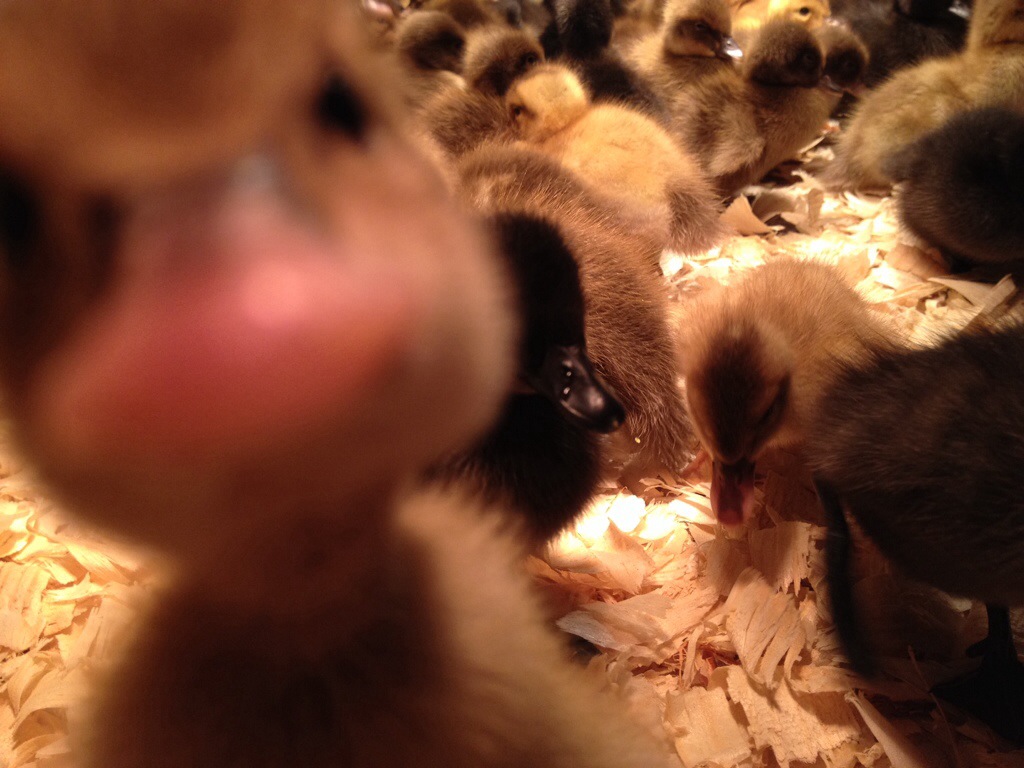
you talking to me?
As for manure output, after 1 week, ducklings deposit almost 1 pound each, and by 7 weeks they are dropping 7 pounds each per week! That’s a lot of fertility! Now, these numbers are “wet” numbers and are mostly water,but still, that’s pretty impressive.
*Tired of feeding chemical genetically modified chicken feed to your flock? Check out our freshly milled, non gmo layer feed!
In this video our new ducklings give their opinion on our 22% protein Chick Starter feed. It’s high in protein and nutrients for rapid growth and development of goslings, ducklings, and chicks and made from 100% GMO free ingredients with no antibiotics or hormones.
If you are in Greensboro, Winston-Salem, Stokes or Rockingham county make sure to pick up a bag of the freshest Non GMO feed in the Triad. It’s duckling approved!
We also have layer, broiler/grower, pig, and any other livestock feed you can think of, as well as organic fertilizers and mineral supplements. Find out how to order here.
Today the new ducklings arrived at the post office, and we went to get them!
They were fantastic when they emerged from the box and very quickly started eating and drinking. They are very relaxed and literally the cutest things I have ever seen!
This video explains a little bit about them and the breeds we have…
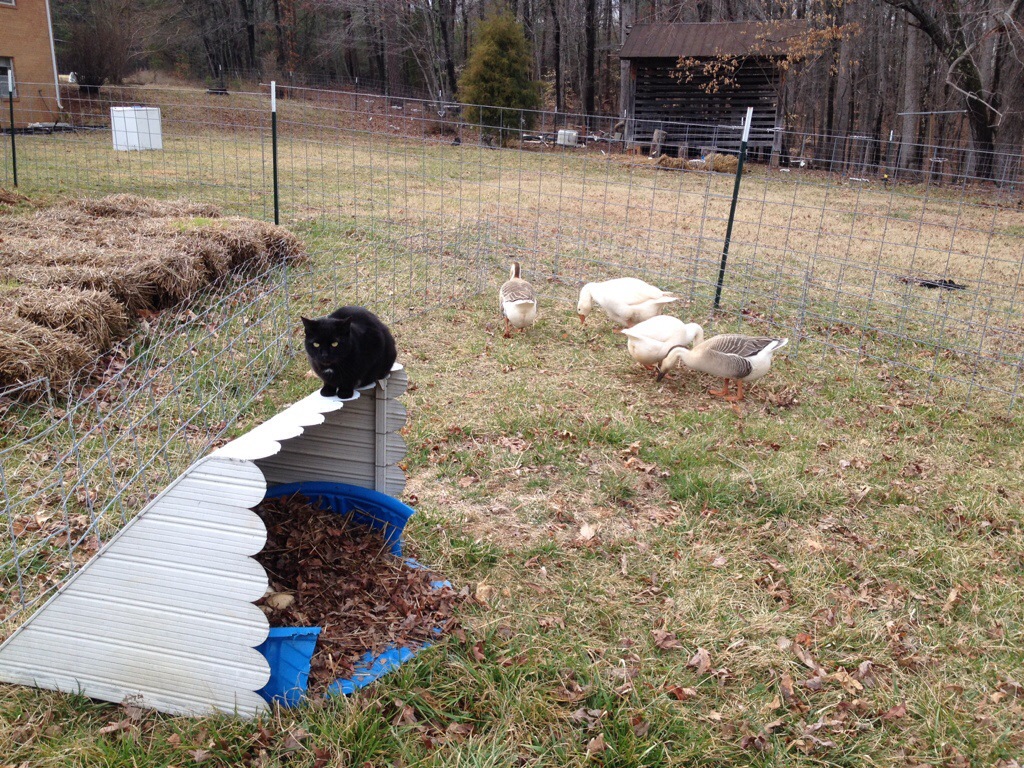
The other day we finished setting up the new goose paddock system. It consists of cut cattle panels wrapped in 2 inch chicken wire and has been pretty successful, other than needing to clip Audo’s wings (video to come soon).
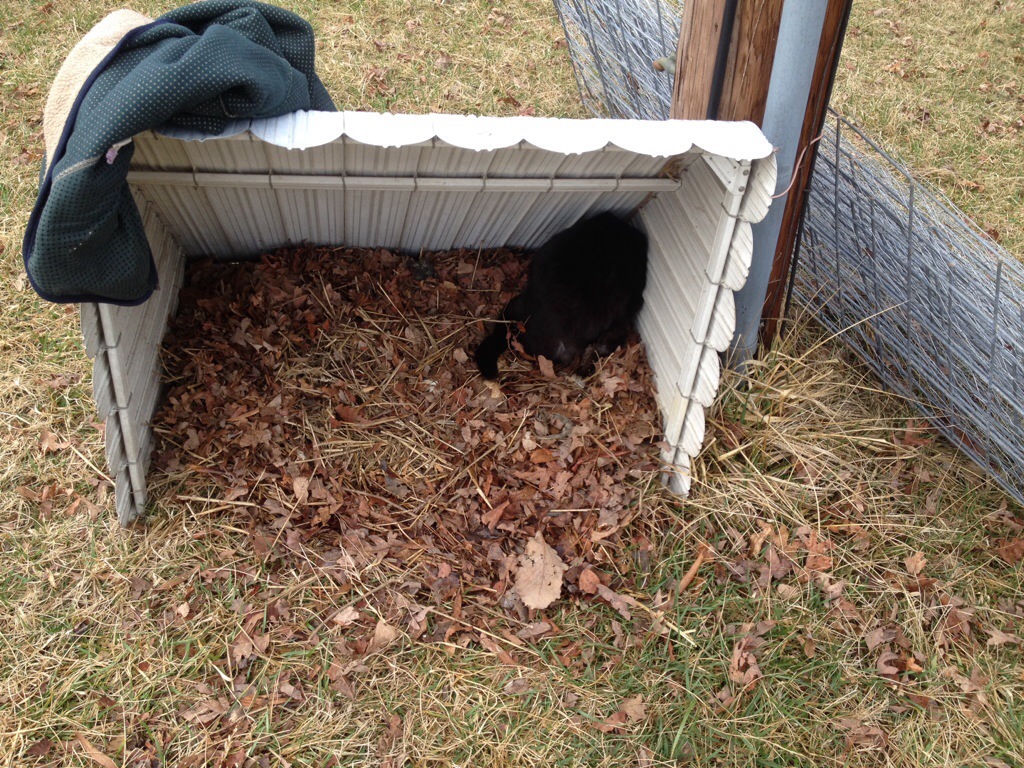
Of course, the first day we set up the new fence, who else but Dodger came to check it out and lay on top of everything.
Dodger and the Geese
He even went inside and snuggled with some goose eggs.
Last year we grew 9 different varieties of Irish Potatoes in our garden. We also grew sunchokes and sweet potatoes, and while there’s nothing quite like a fried potato, this year we decided to focus less on Irish potatoes, and more on other tuber crops.
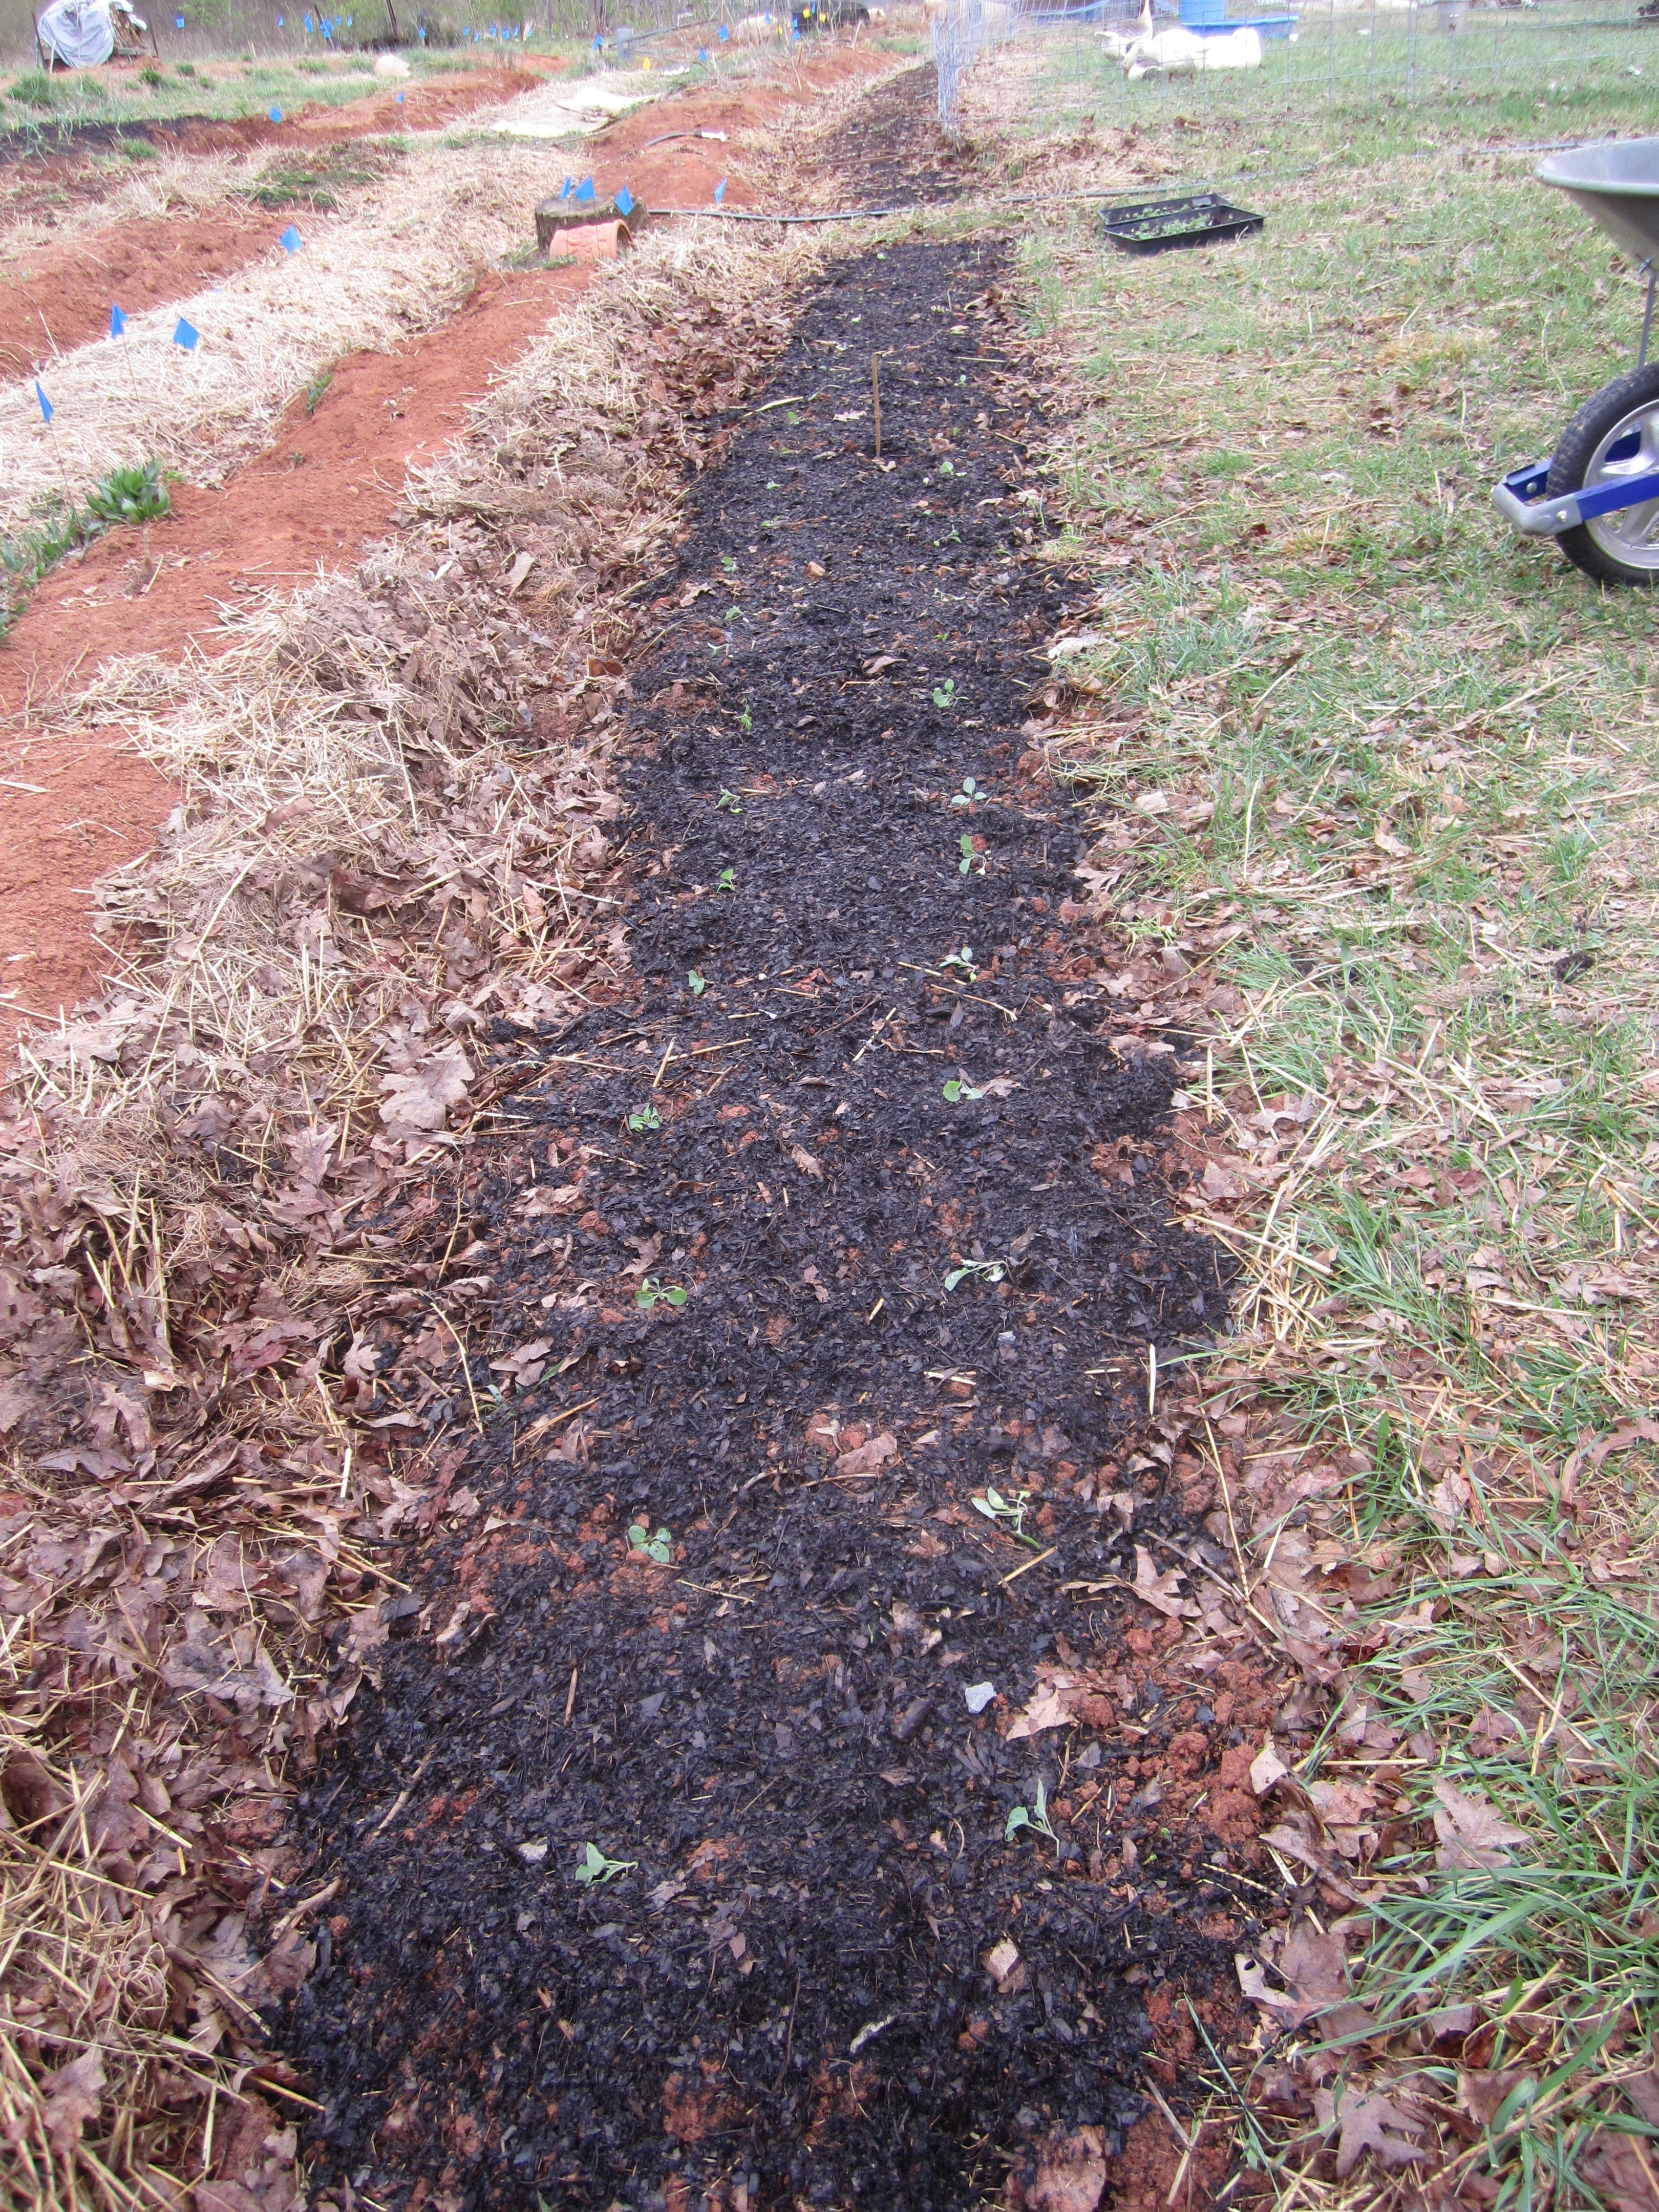
Still, we figured we would try a low risk garden experiment this season by planting our seed potatoes in raised straw beds. Some advantages to this approach are that as the potatoes grow, instead of hilling them up with soil, we simply add more and more straw to cover the stems and encourage more tuber development. Because the potatoes grow in straw instead of soil, harvesting is easier and the tubers come out cleaner.
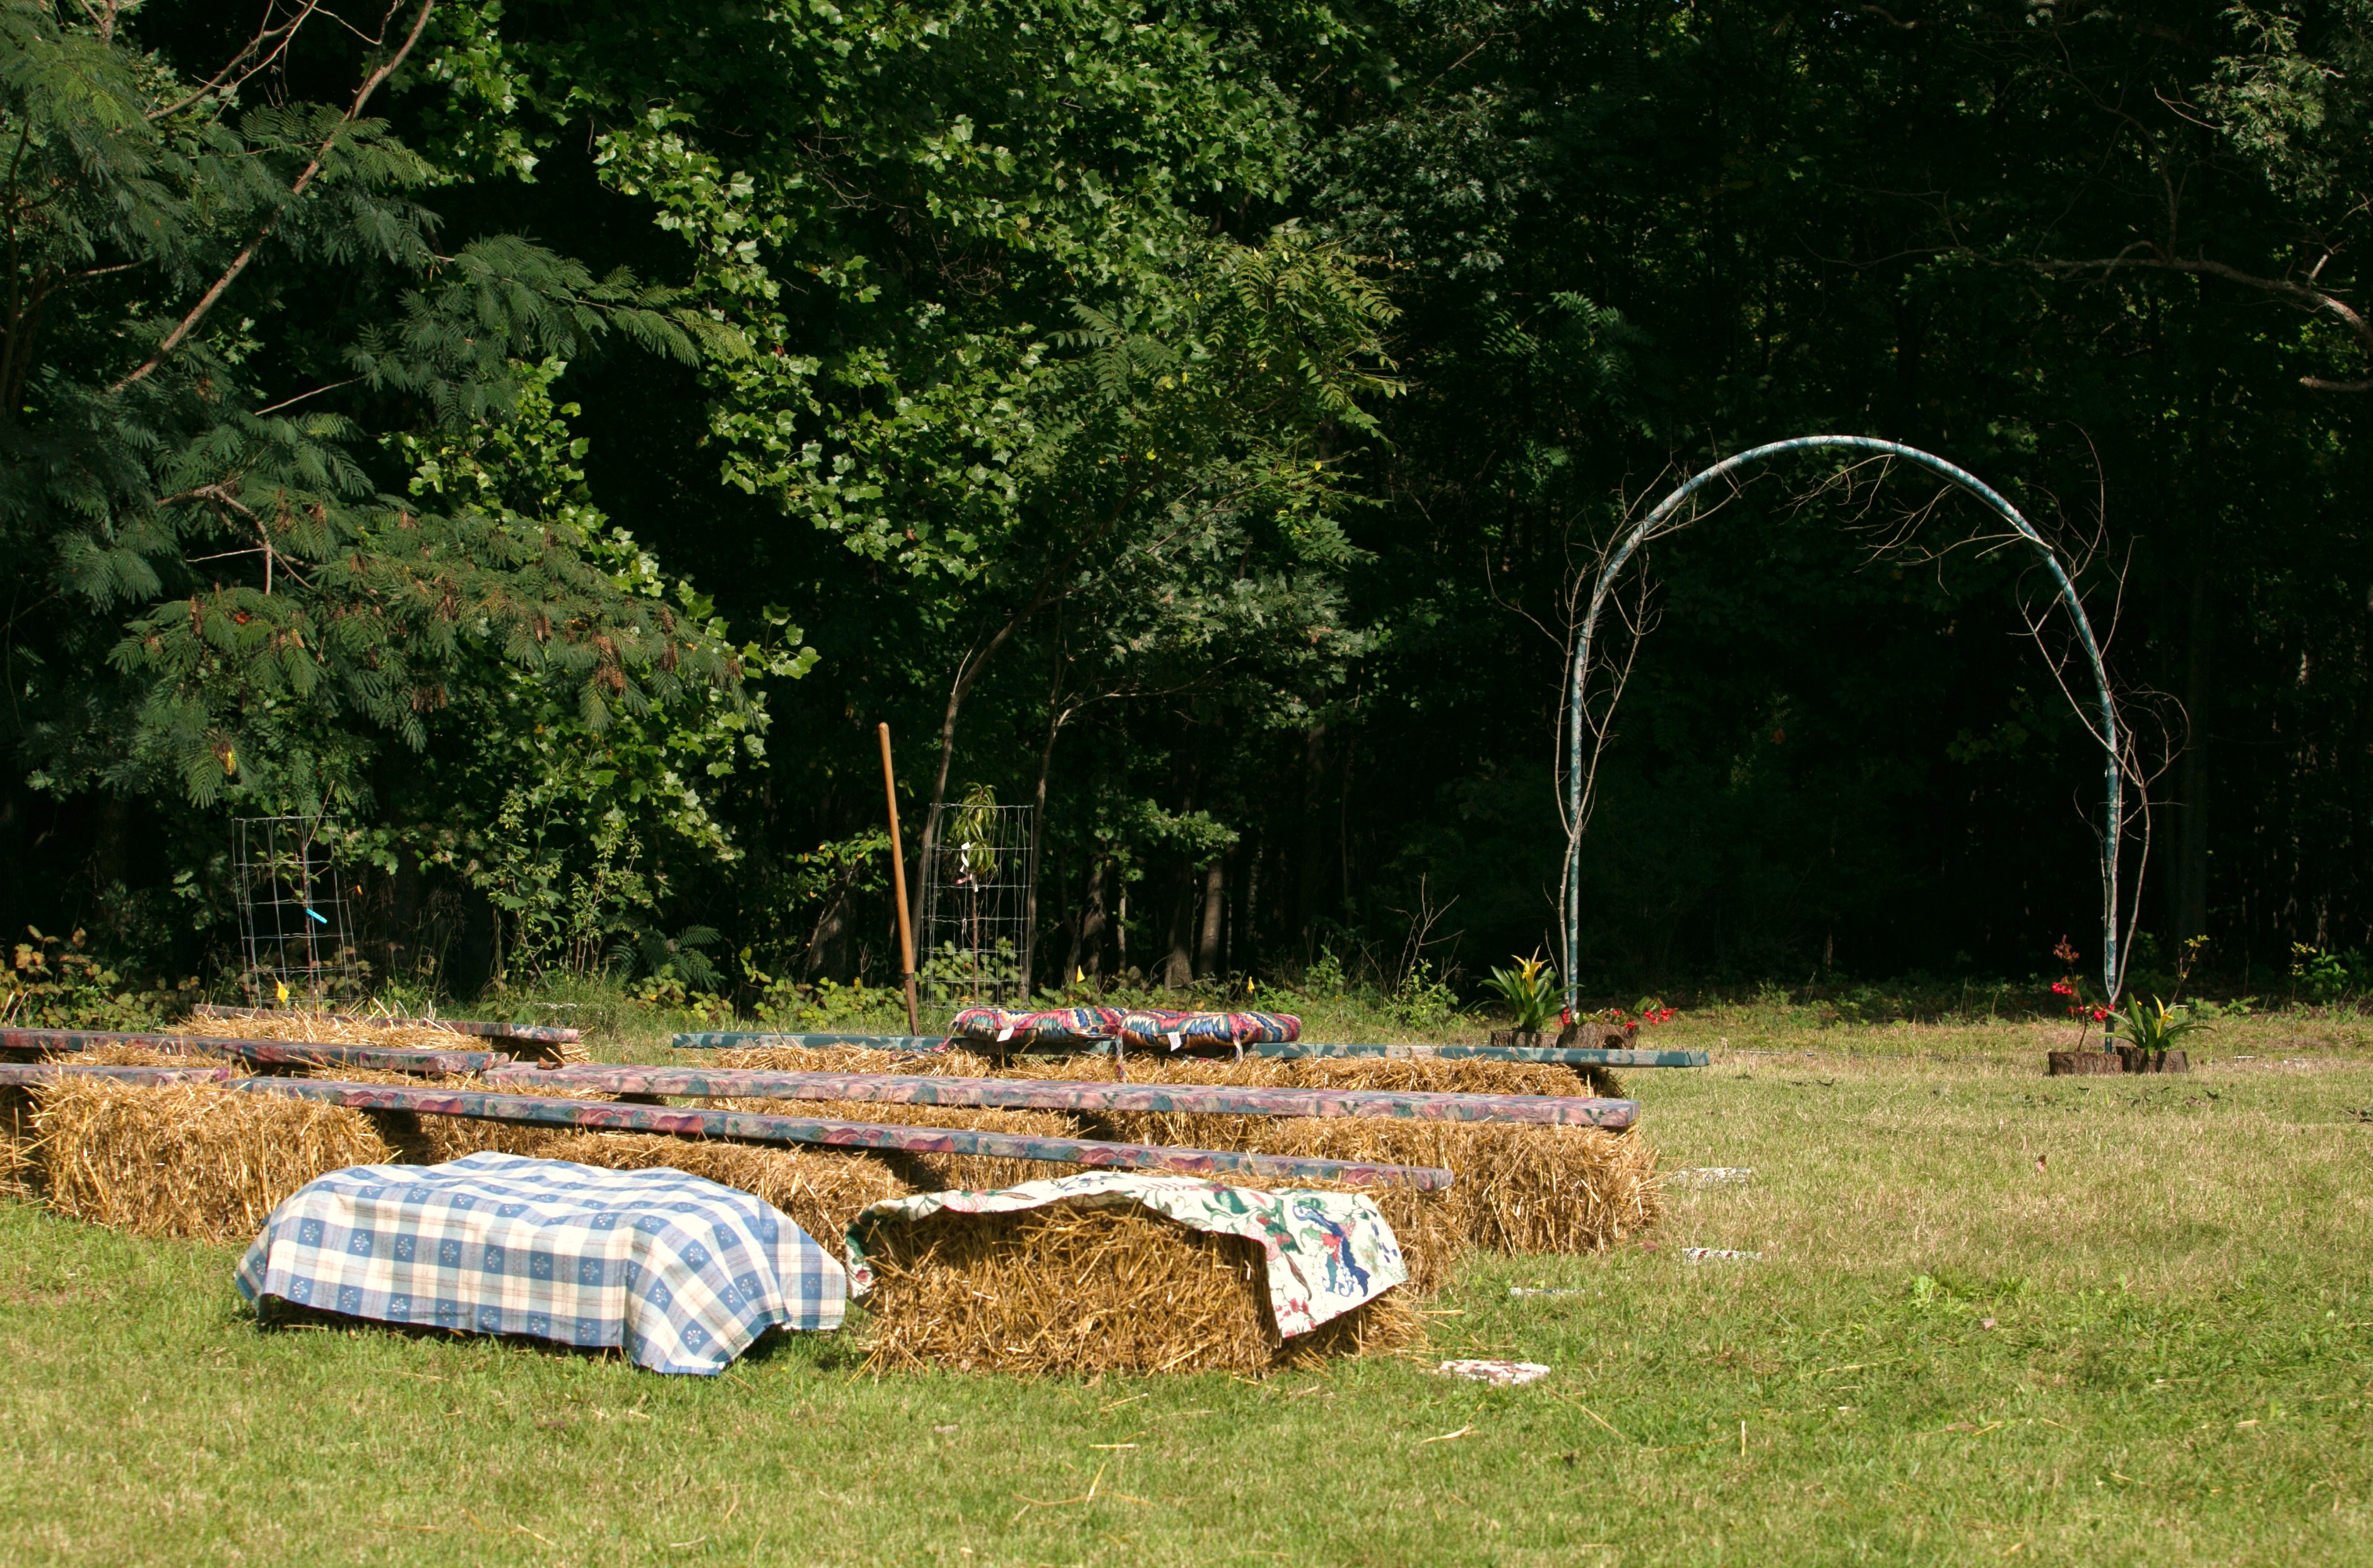
Last fall, after our homestead wedding, where we used straw bales benches, we strategically stacked the leftover bales in our garden area along the same contour layout of our raised beds. The thought was to simultaneously kill off the weeds and grasses underneath the bales and prepare the soil for new beds while conditioning the bales for planting.
We ended up going in a different direction though when spring came around, deciding to instead raise potatoes above the ground, and constantly add layers of straw to the growing stems.
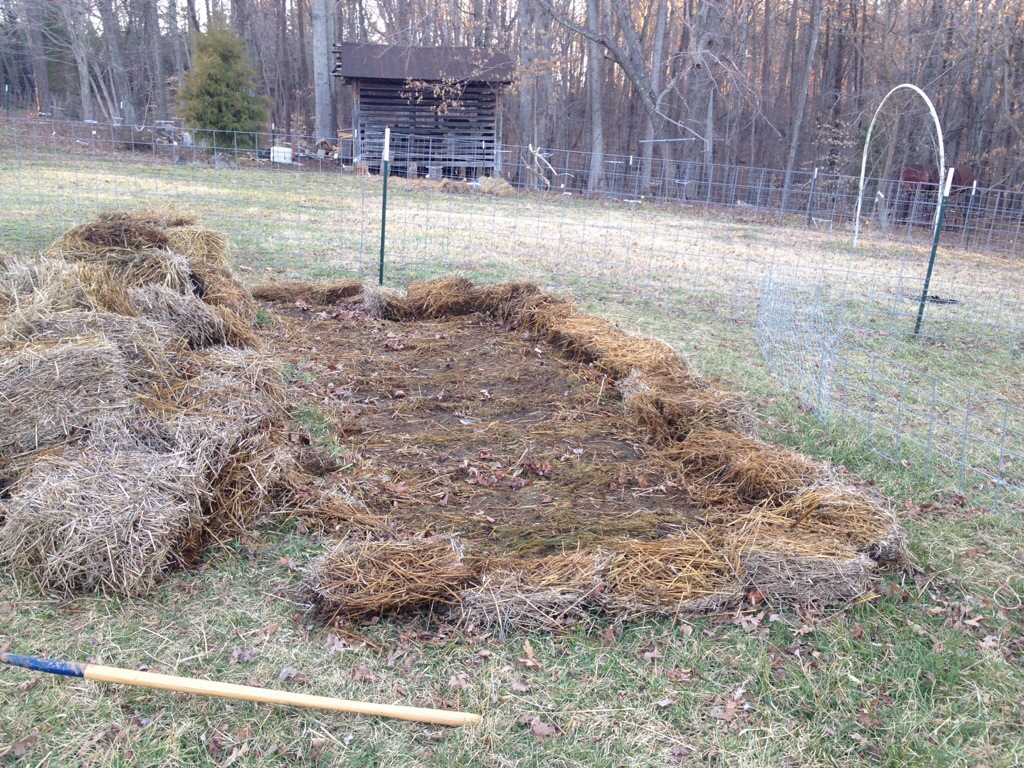
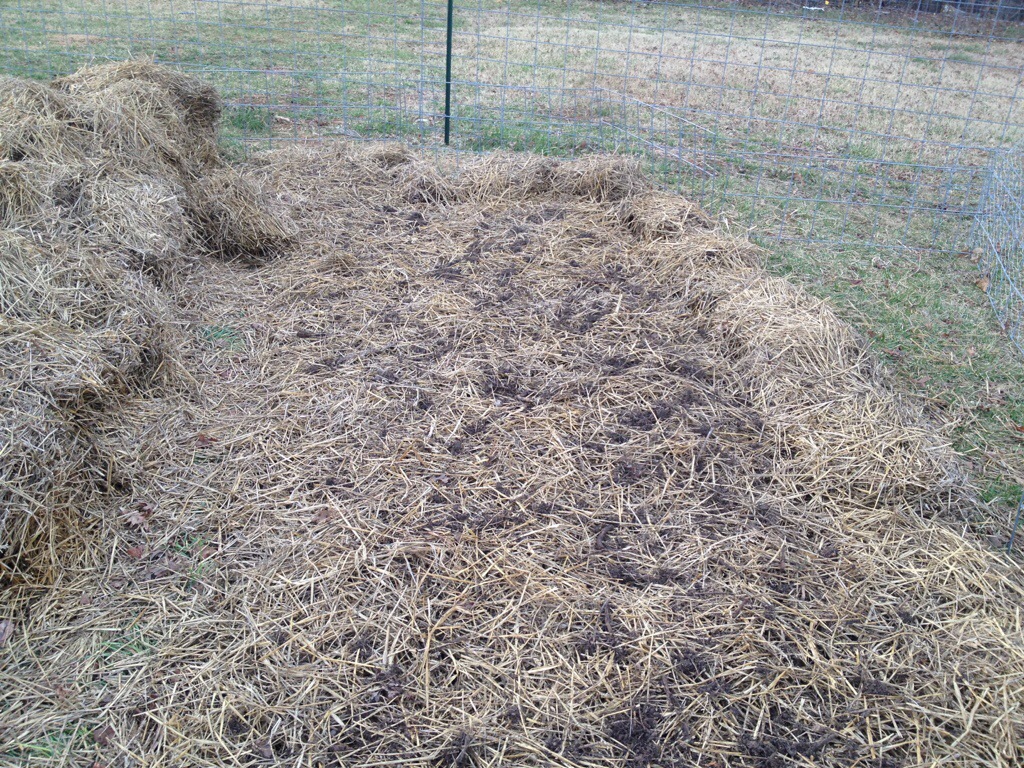
well muclhed and weed free
First, I had to move the strawbales into a big pile next to the planting area. This exposed the nicely prepared and weed free “bed”. Hopefully this new pile will smother any weeds under it and allow us to expand this experiment in a few weeks. I then added a sprinkling of organic fertilizers and compost. I used a mixture of bone, blood, alfalfa, kelp and greensand, and then covered it with a nice layer of decomposing straw.
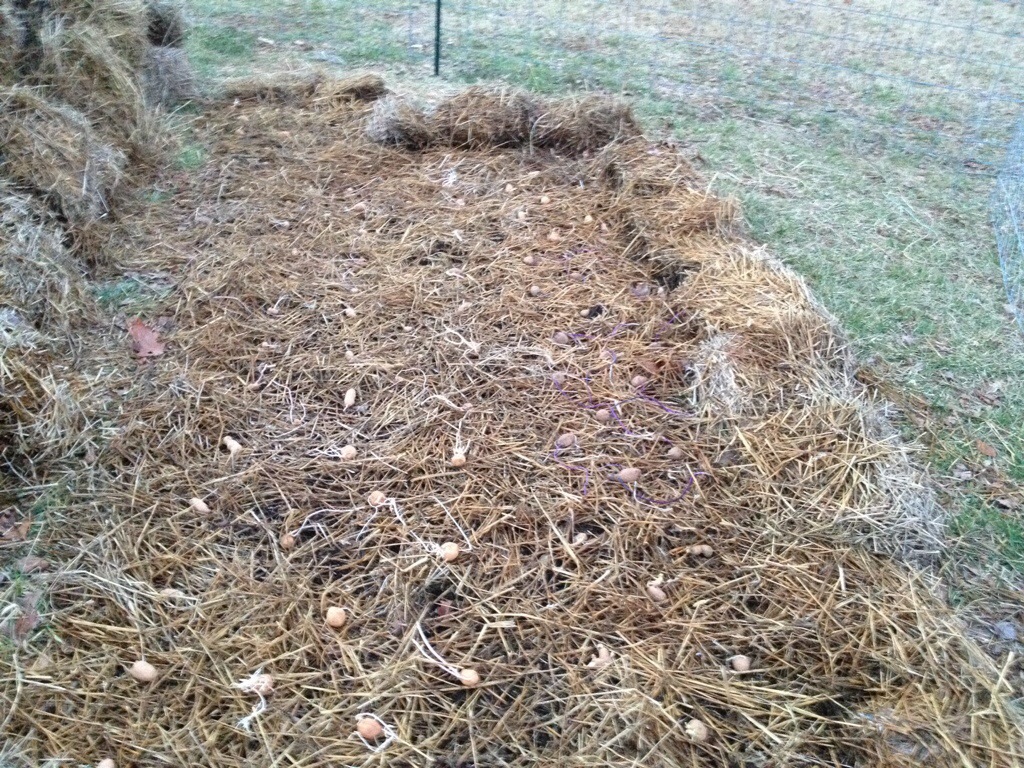
Densely planted for high yields of tasty potatoes!
This is when I added the seed potatoes. I laid them out in multiple staggered rows, about 1 foot apart. I then went through and liberally gave each seed potato a handful of compost, and another pinch of fertilizer.
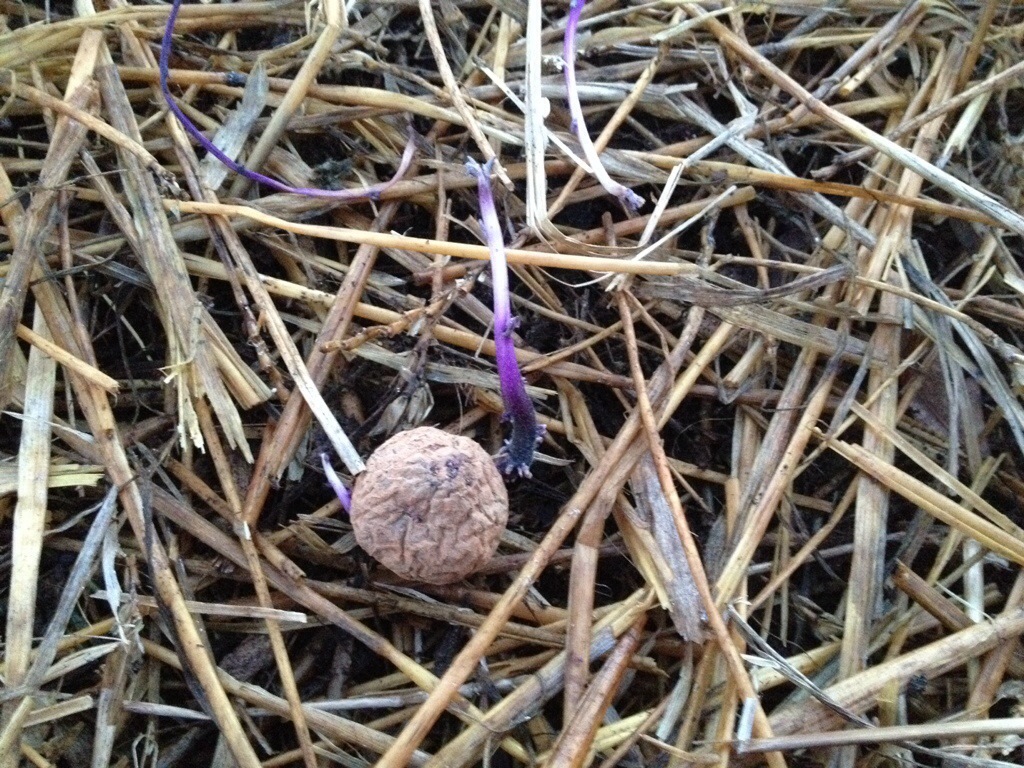
purple majesty seed potato
On top of this went a big layer of straw, probably 4-6 inches high, and then another light dusting of compost of fertilizer.
the compost and organic fertilizer should help break down the straw into humus and keep our potatoes healthy
I am fertilizing this patch heavier than I would normally because the straw is high in carbon, and will require some extra nitrogen to fully breakdown. The end result should be a beautifully composted soil, and a nice harvest of potatoes as a bonus.
This kind of planting will need a little extra attention in the beginning, especially during dry spells, because the upper layers of straw have a tendency to dry out. Once the straw is 18 or so inches high I don’t think it will be problem anymore. If the potatoes seem to do okay, we may just try some sweet potatoes this way as well. I can’t believe that it’s almost time to start sweet potatoes slips again!
March 18, 2015 / Emma / Comments Off on Holy Duck: A Home for the Babies
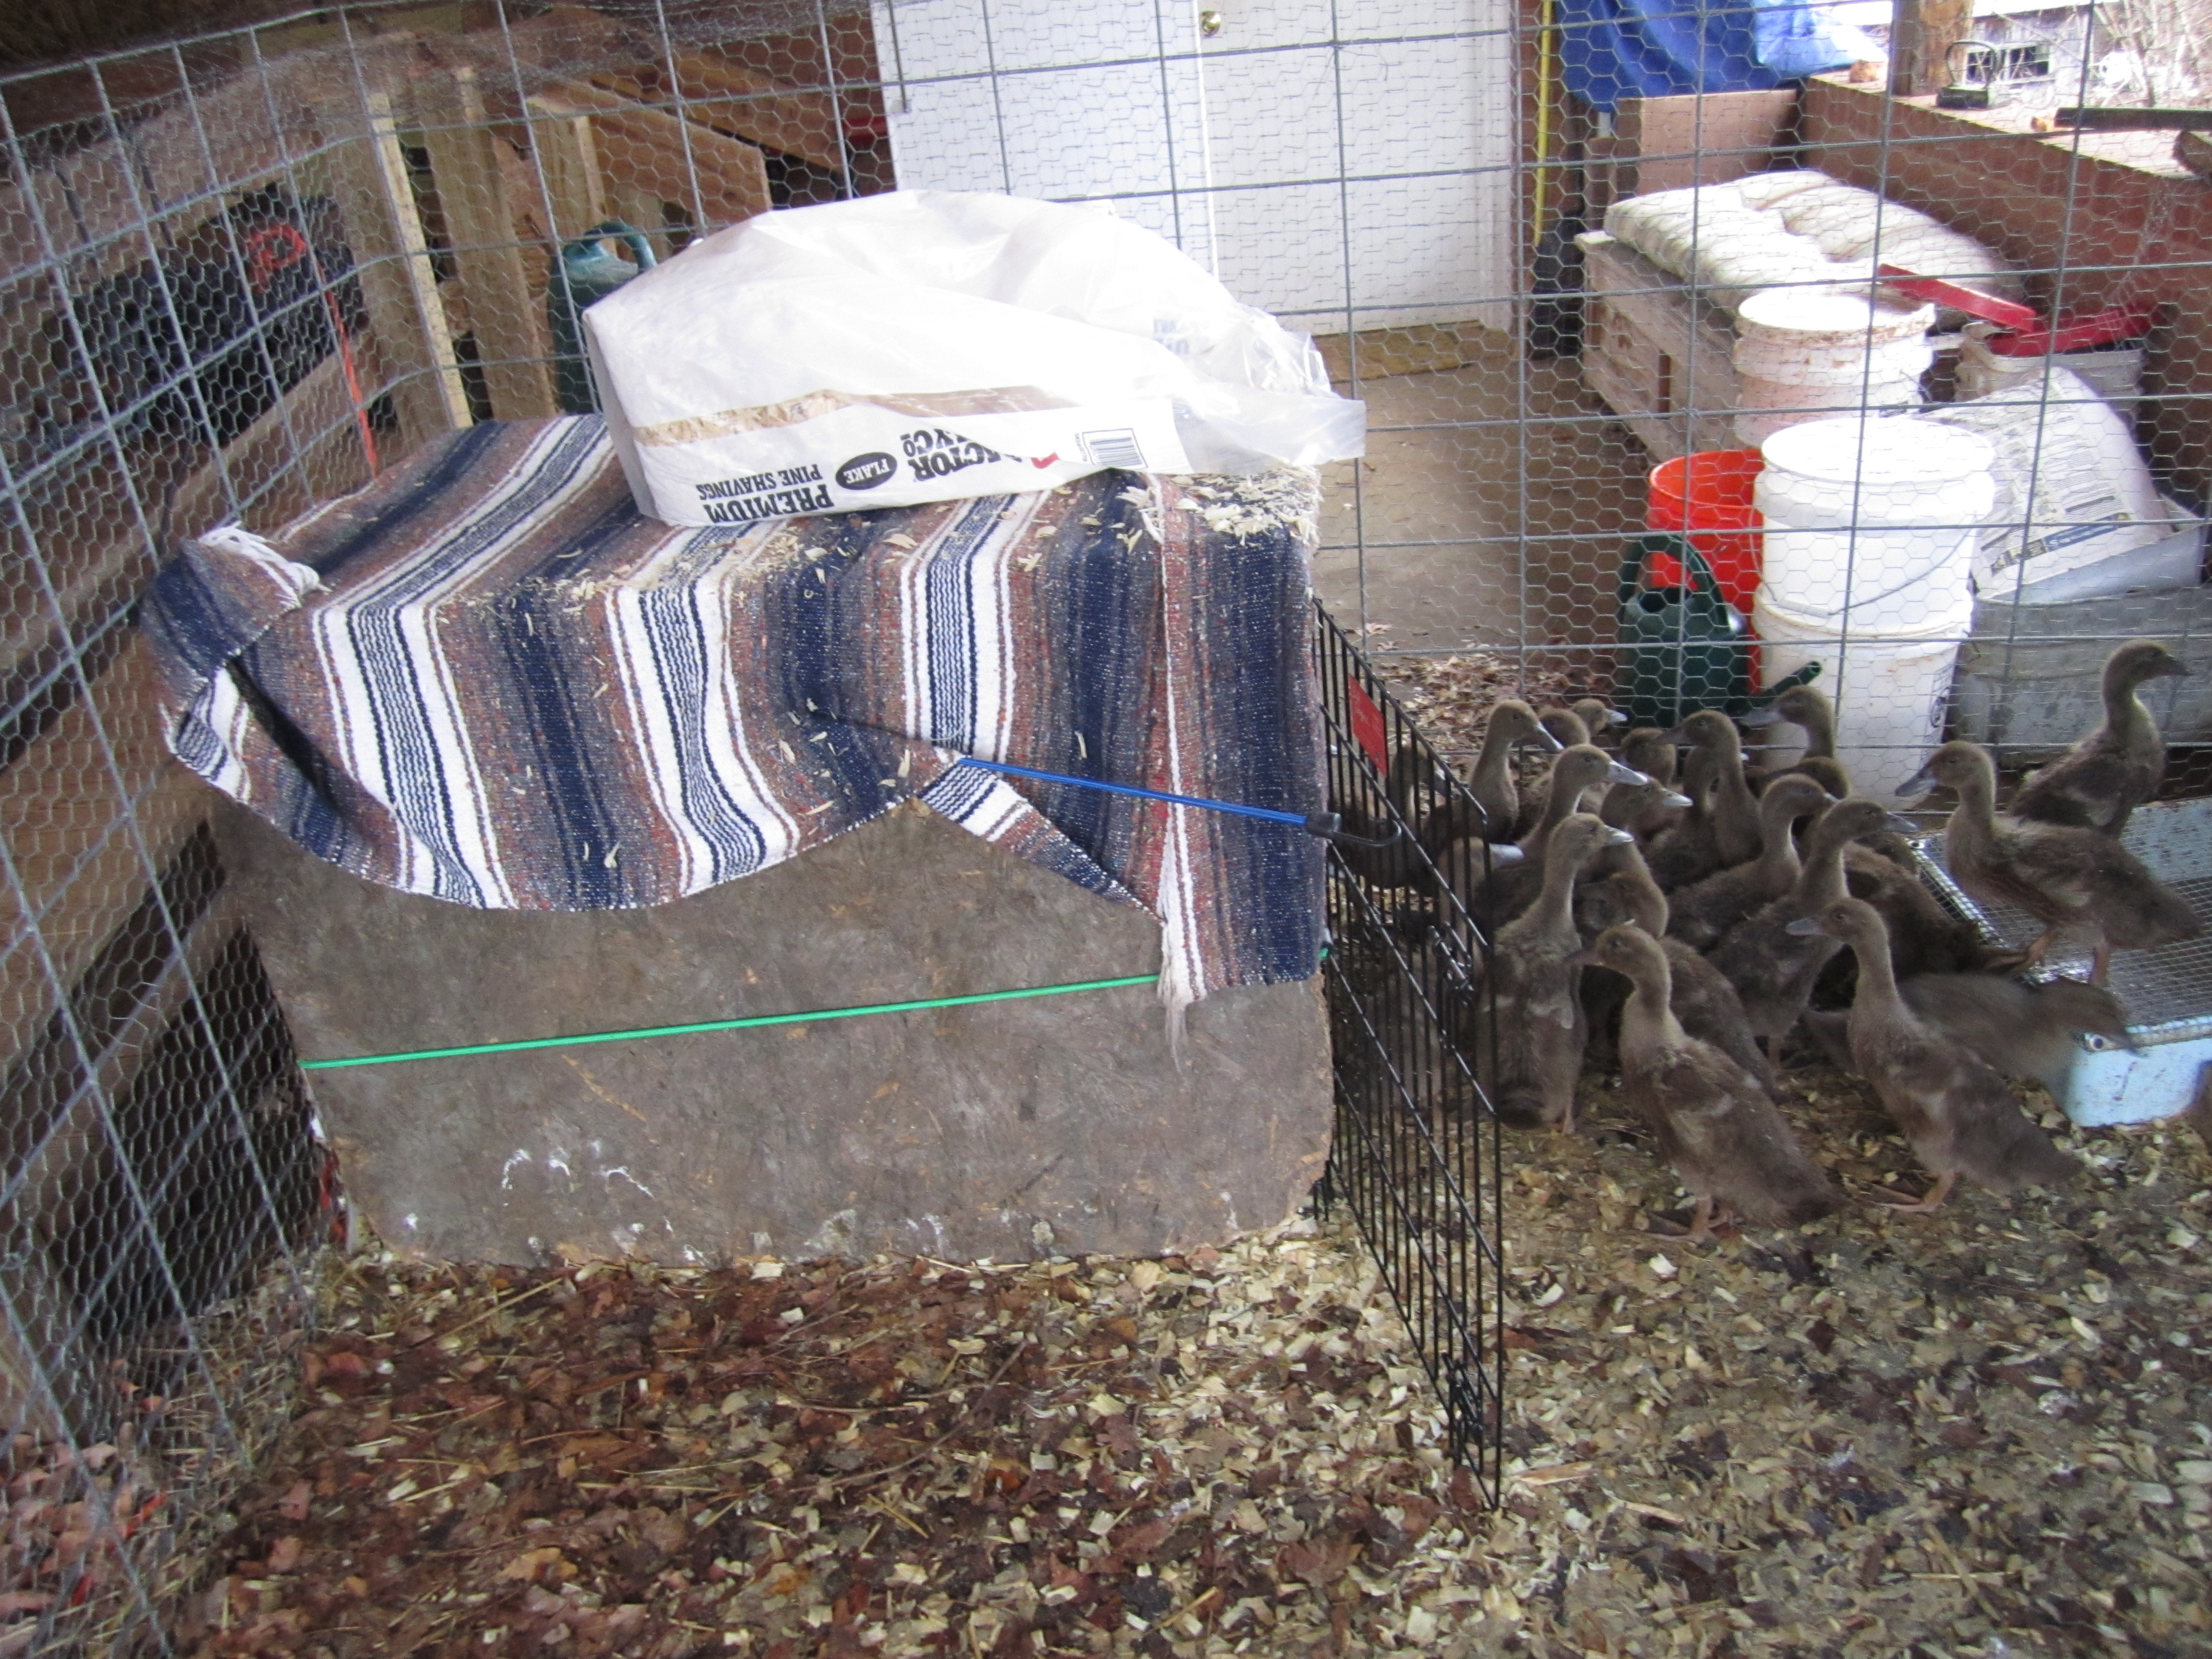
Spring is here and you might already know about our first batch of Spring babies… Our 30 Khaki Campbell ducks!
We kept them inside for a little while and after the weather became consistently warmer we decided that it was high time they got kicked out (they were smelly and so messy!).
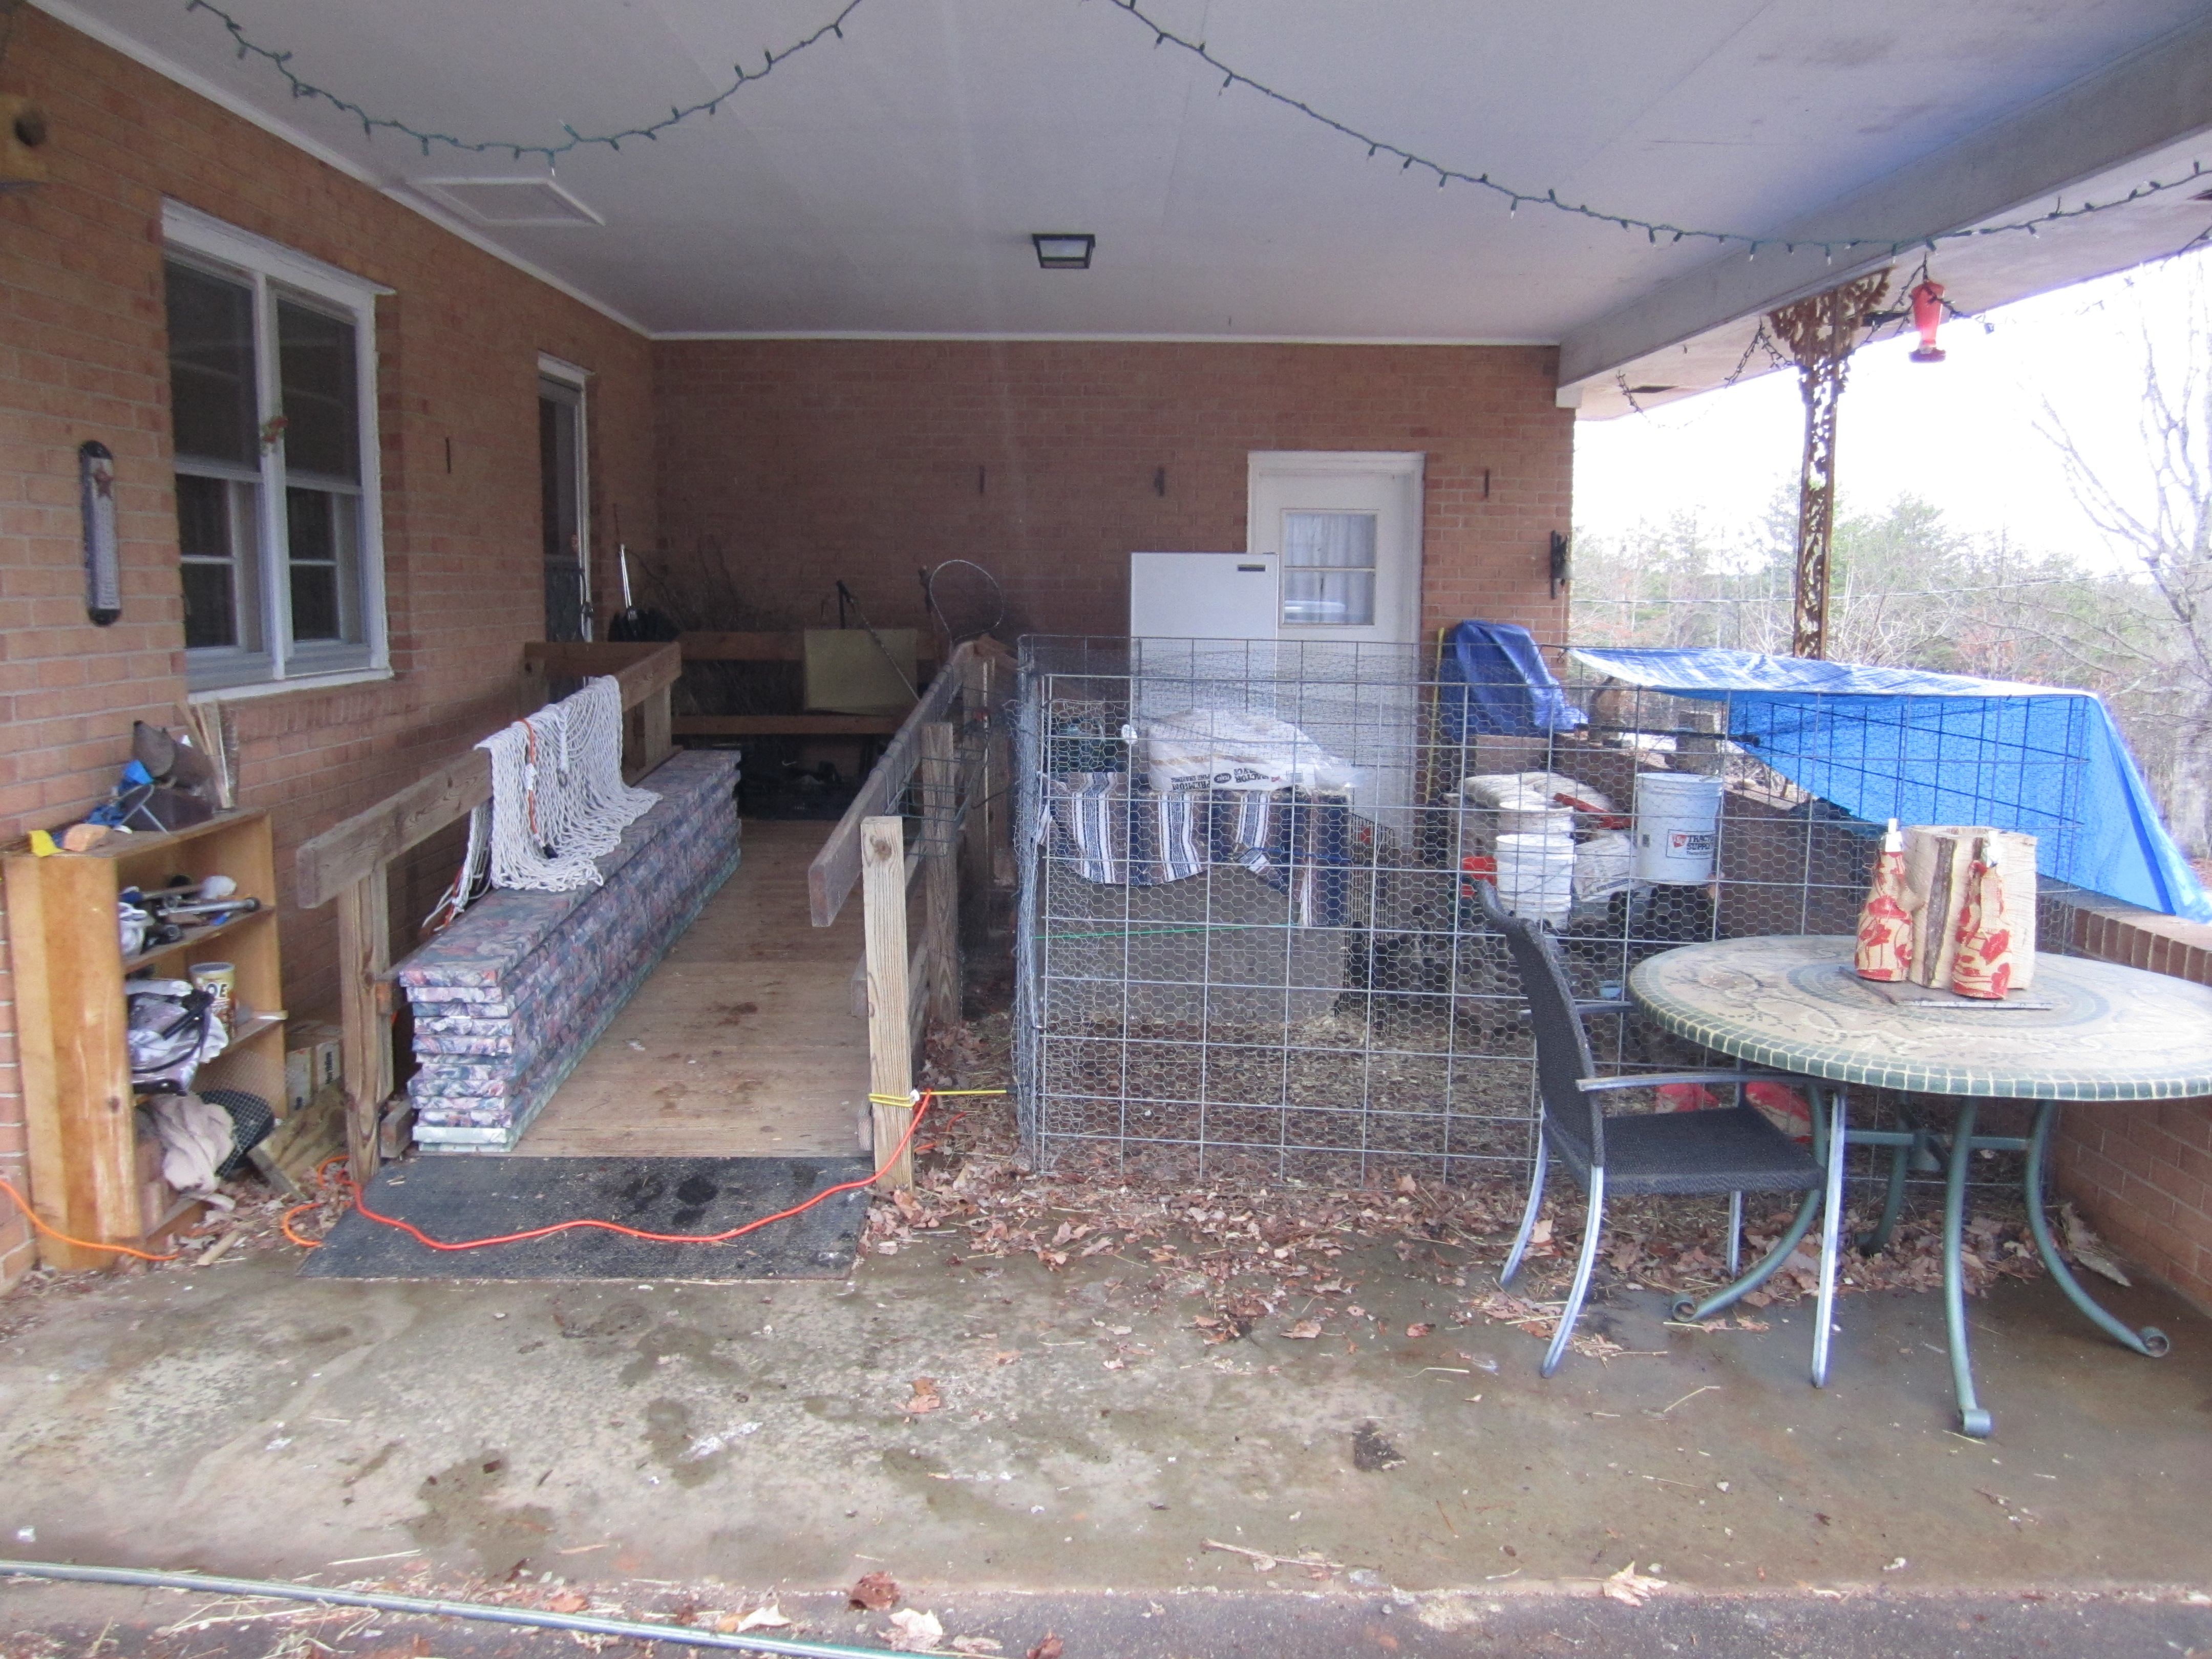
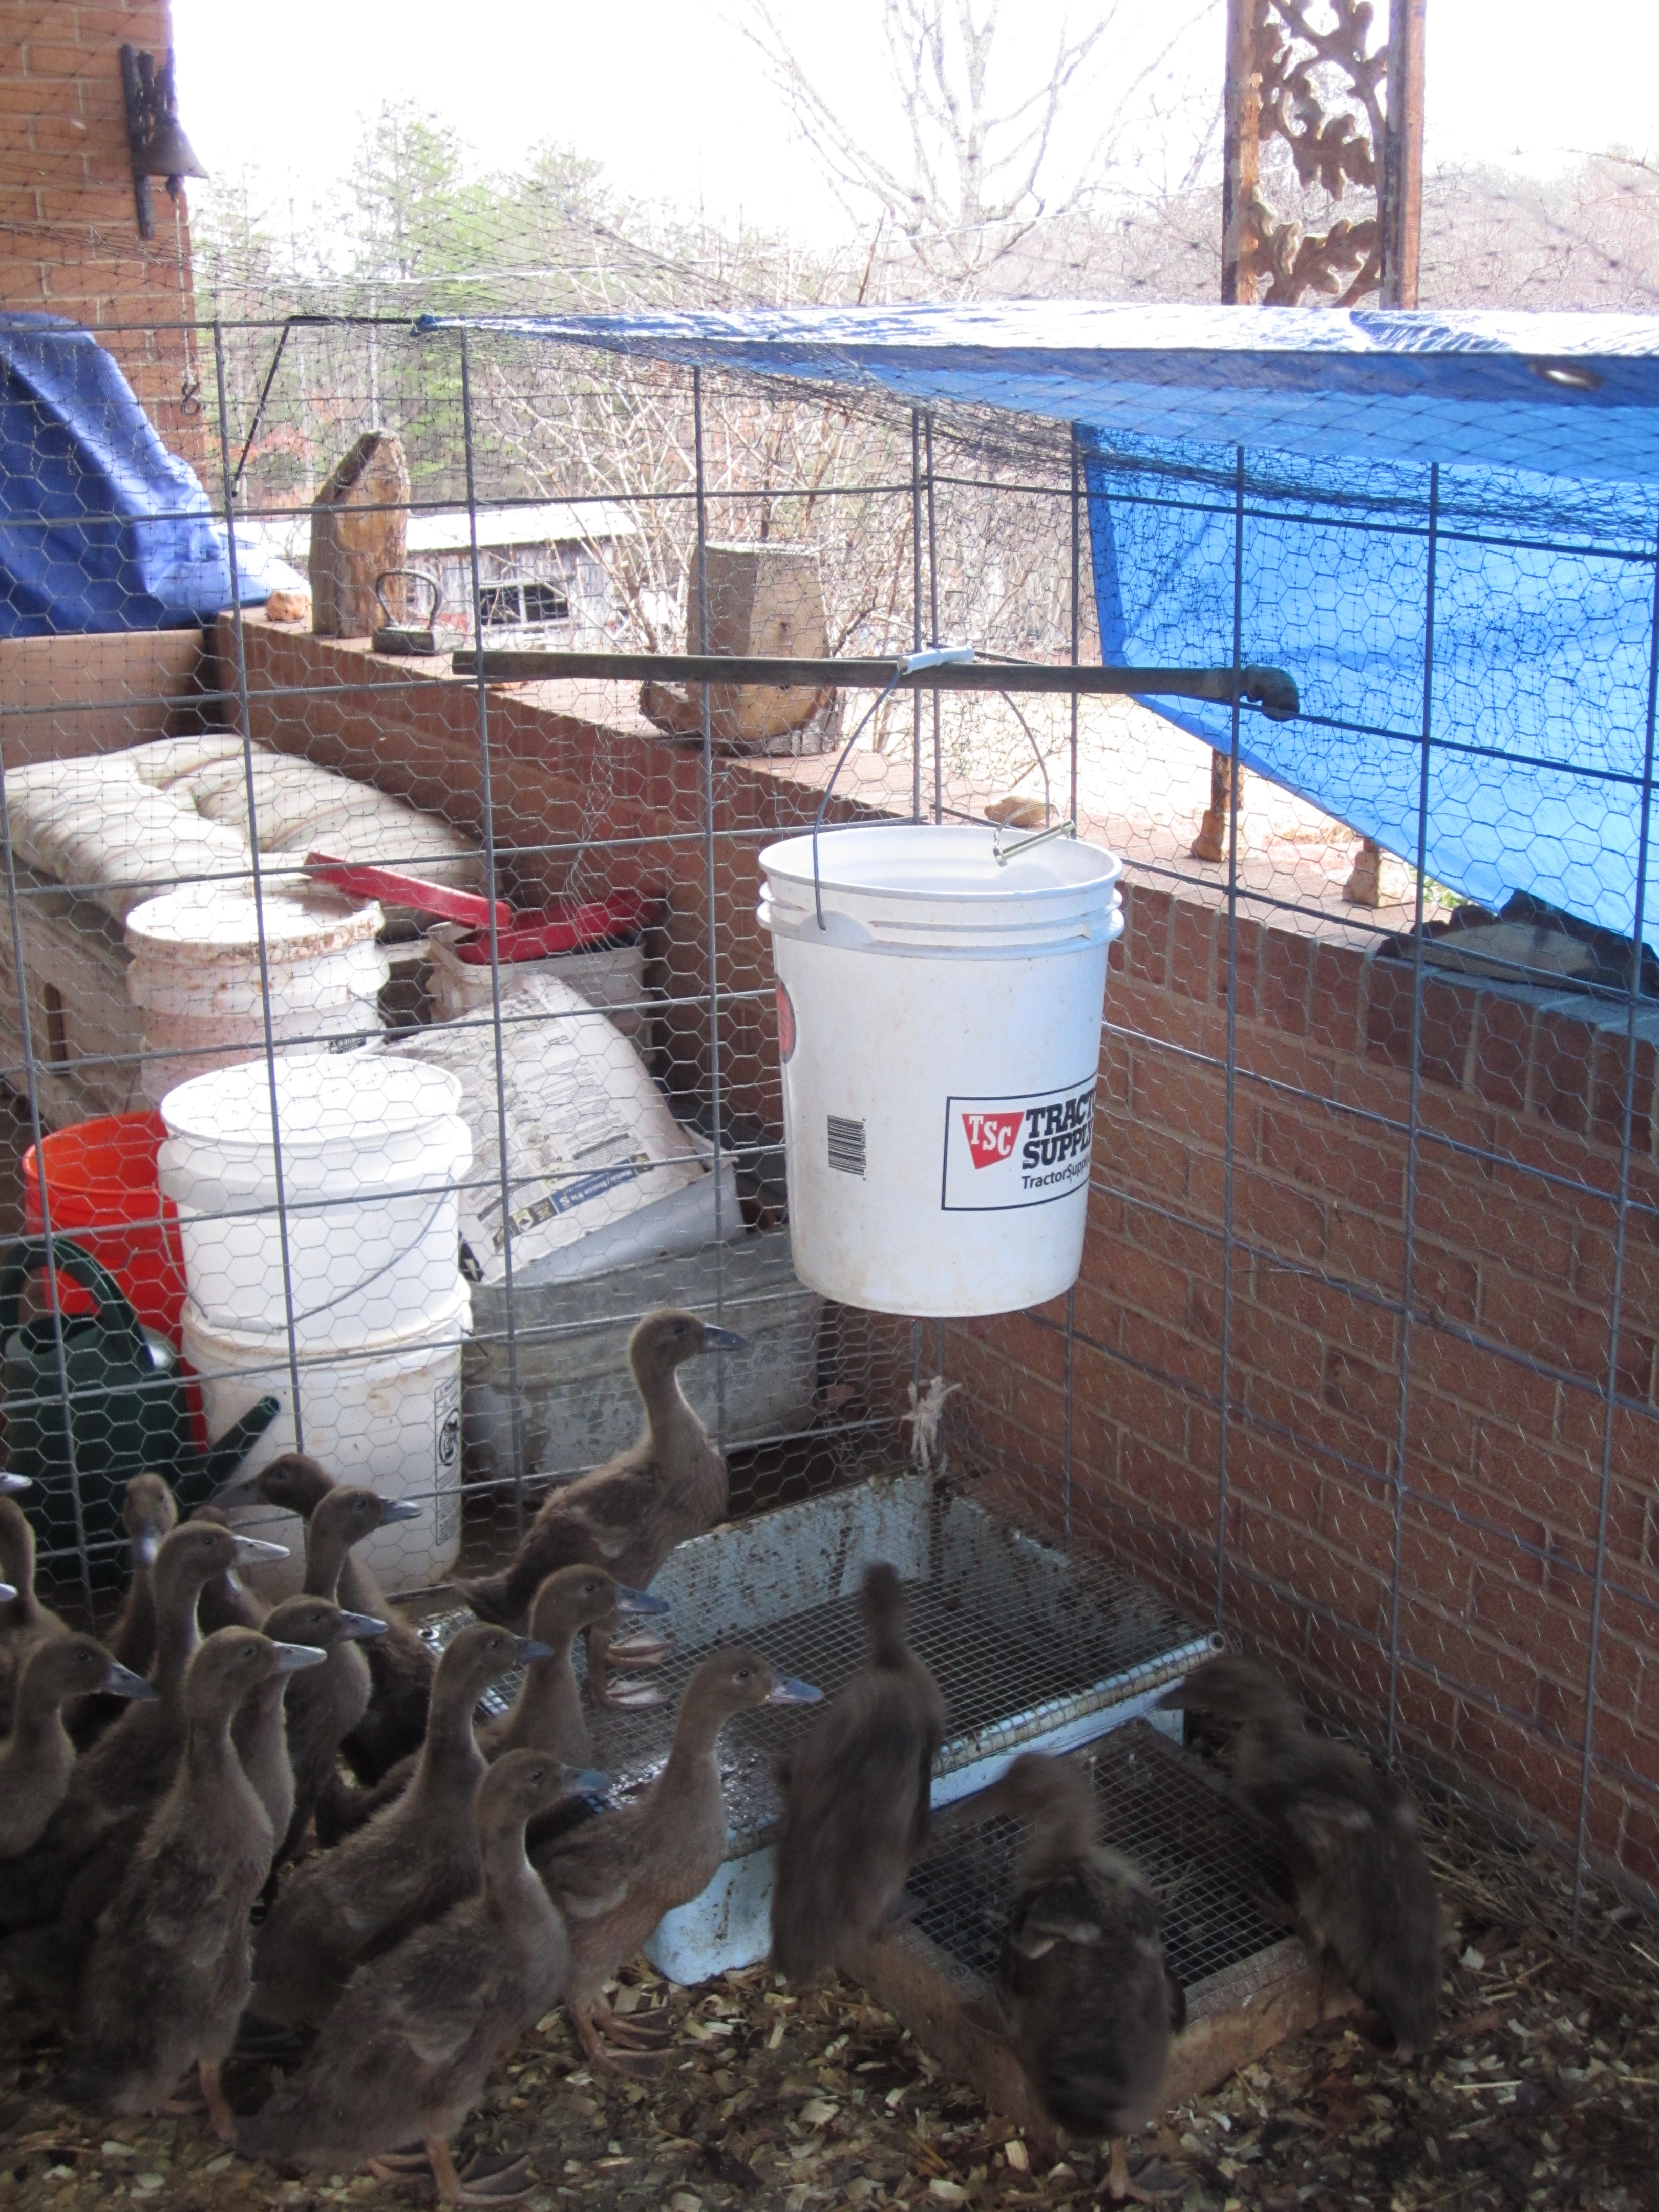
We wanted to be sure to build them a space that was near the house so they would be safer and easier to feed and watch. We also needed their space to be sheltered and secure, so a perfect spot seemed like the carport! Mind you, once we finish the poultry brood house (posts about this forthcoming) most ducks and other babies will grow up in there!
We need a bigger space than before so they would have room to run and spead out, but we were limited by the carport space, which actually worked out well… 2 cattle panels (oh, how we love to use cattle panels!), folded in the middle at right angles made a great 8′ x 8′ space for them. These panels were covered with chicken wire to keep ducks in and sneaky bad guys out (foxes, raccoons, possums…).
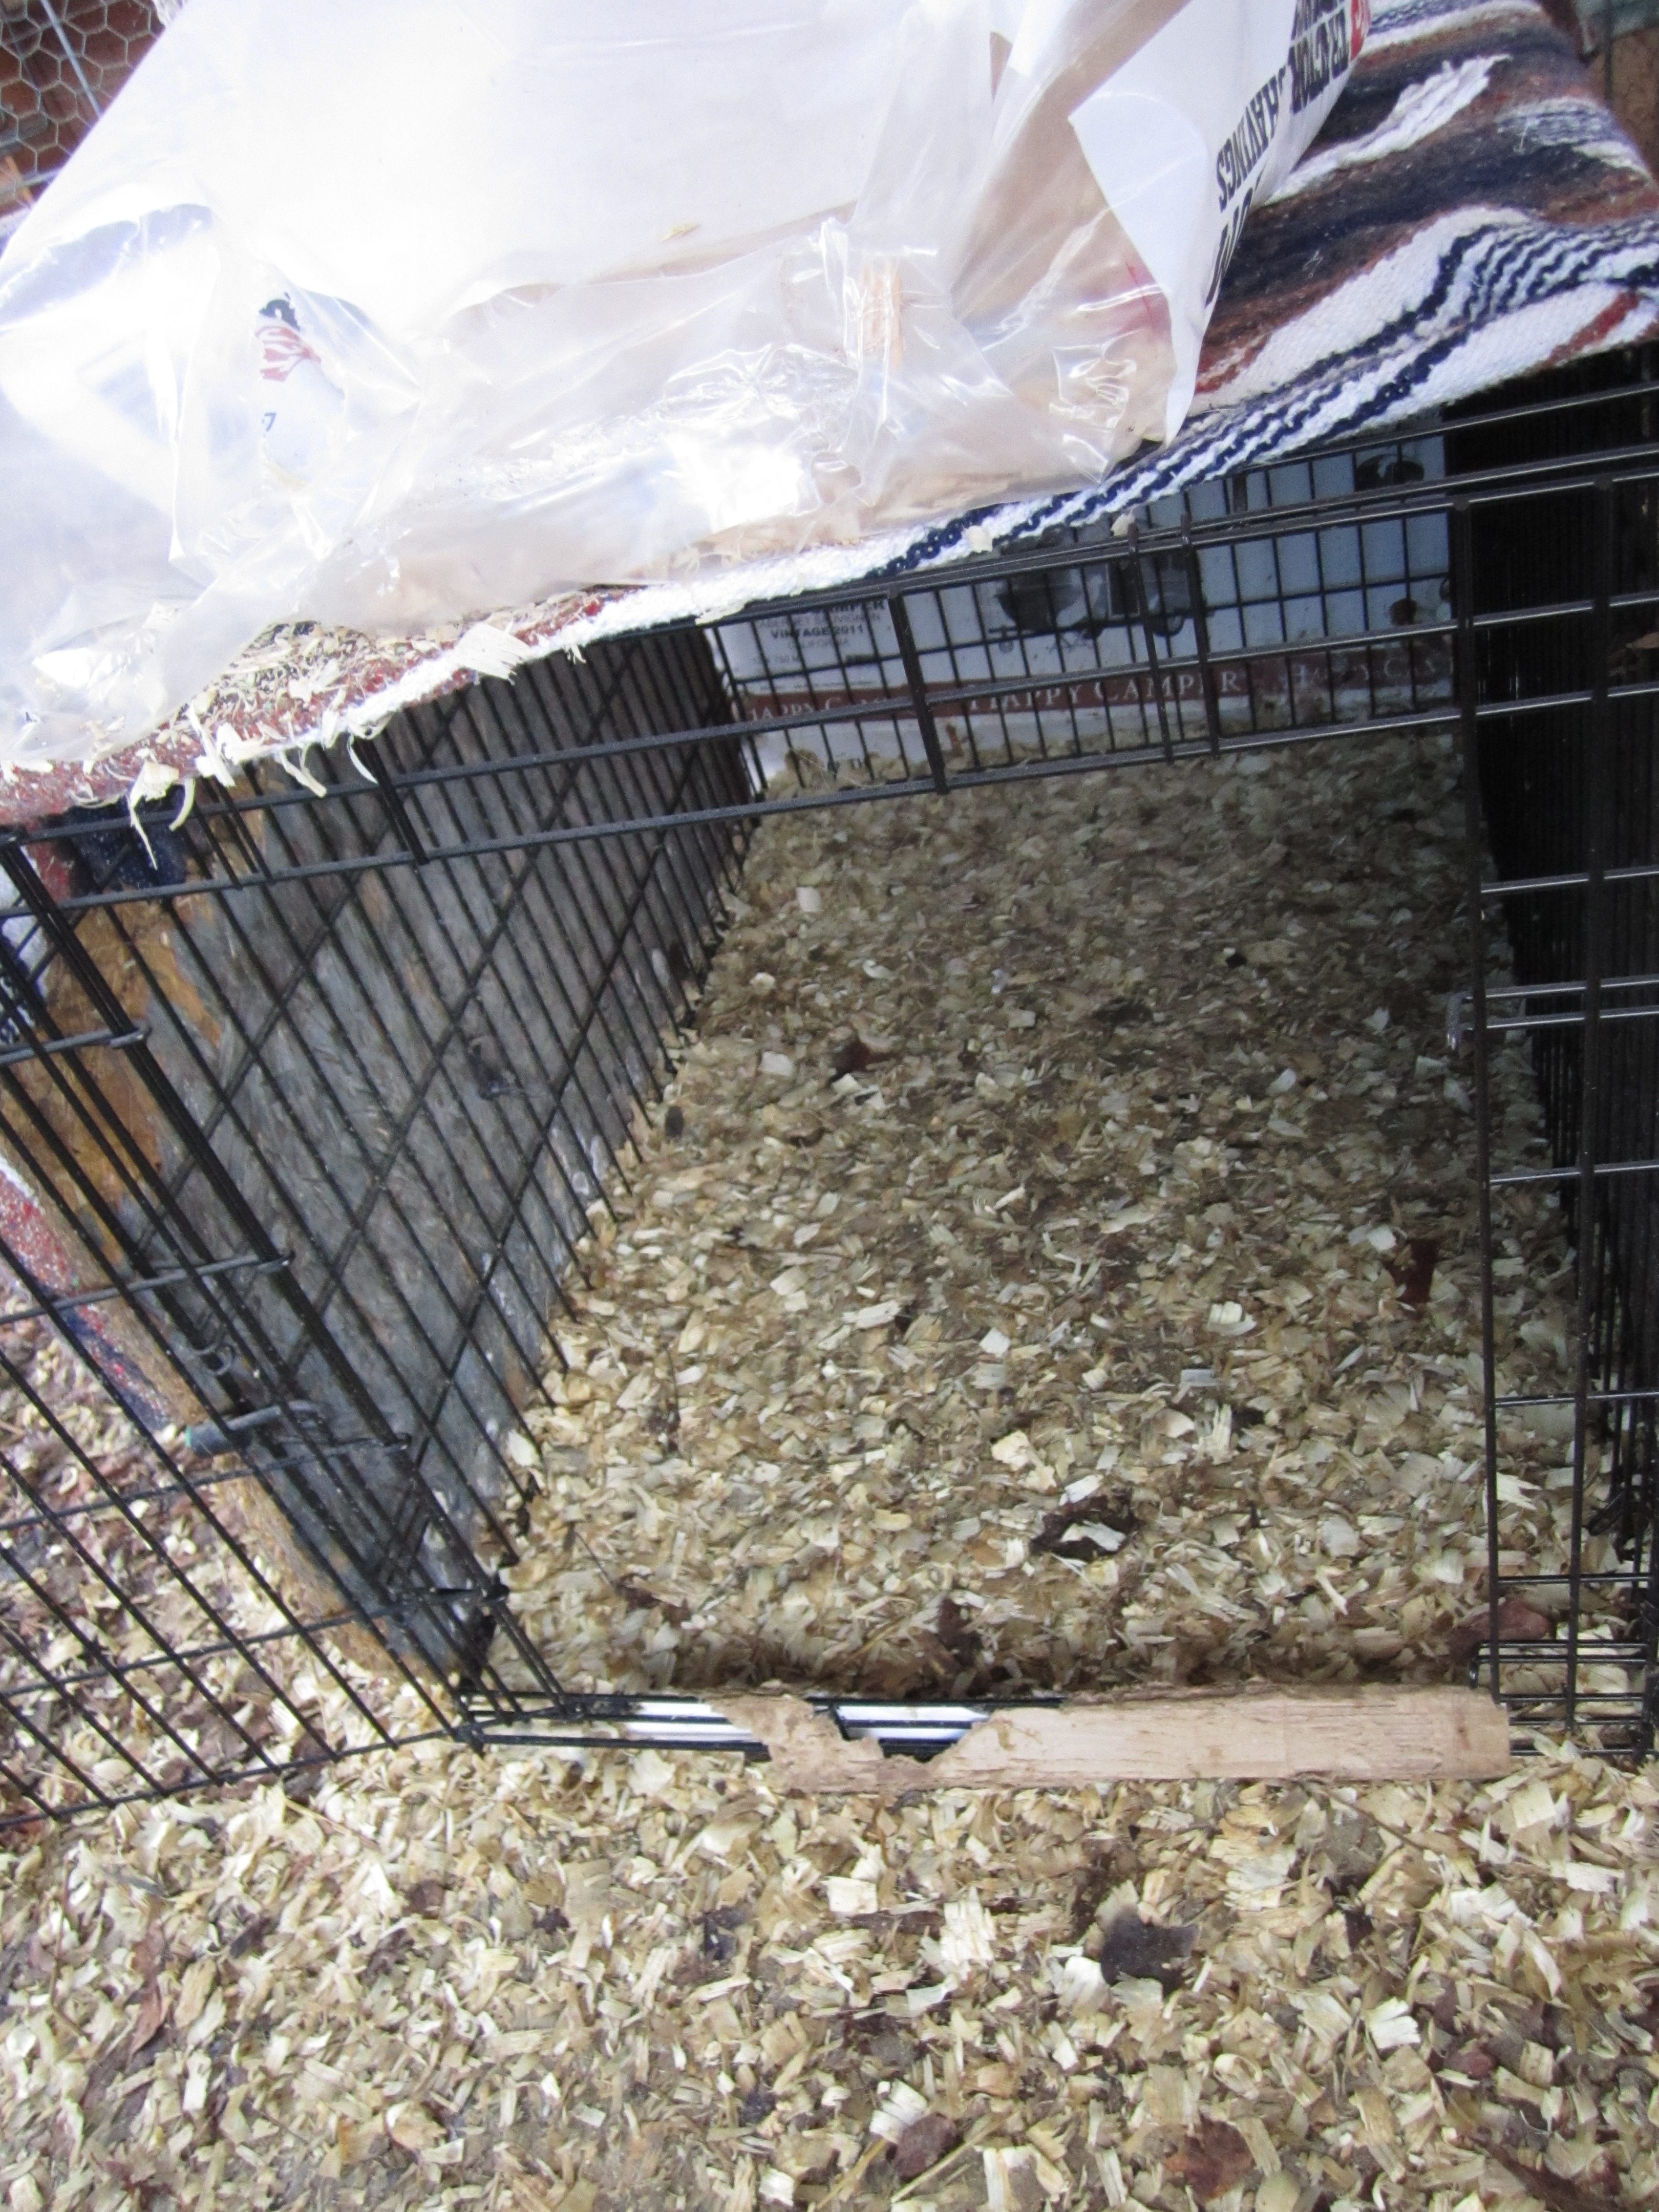
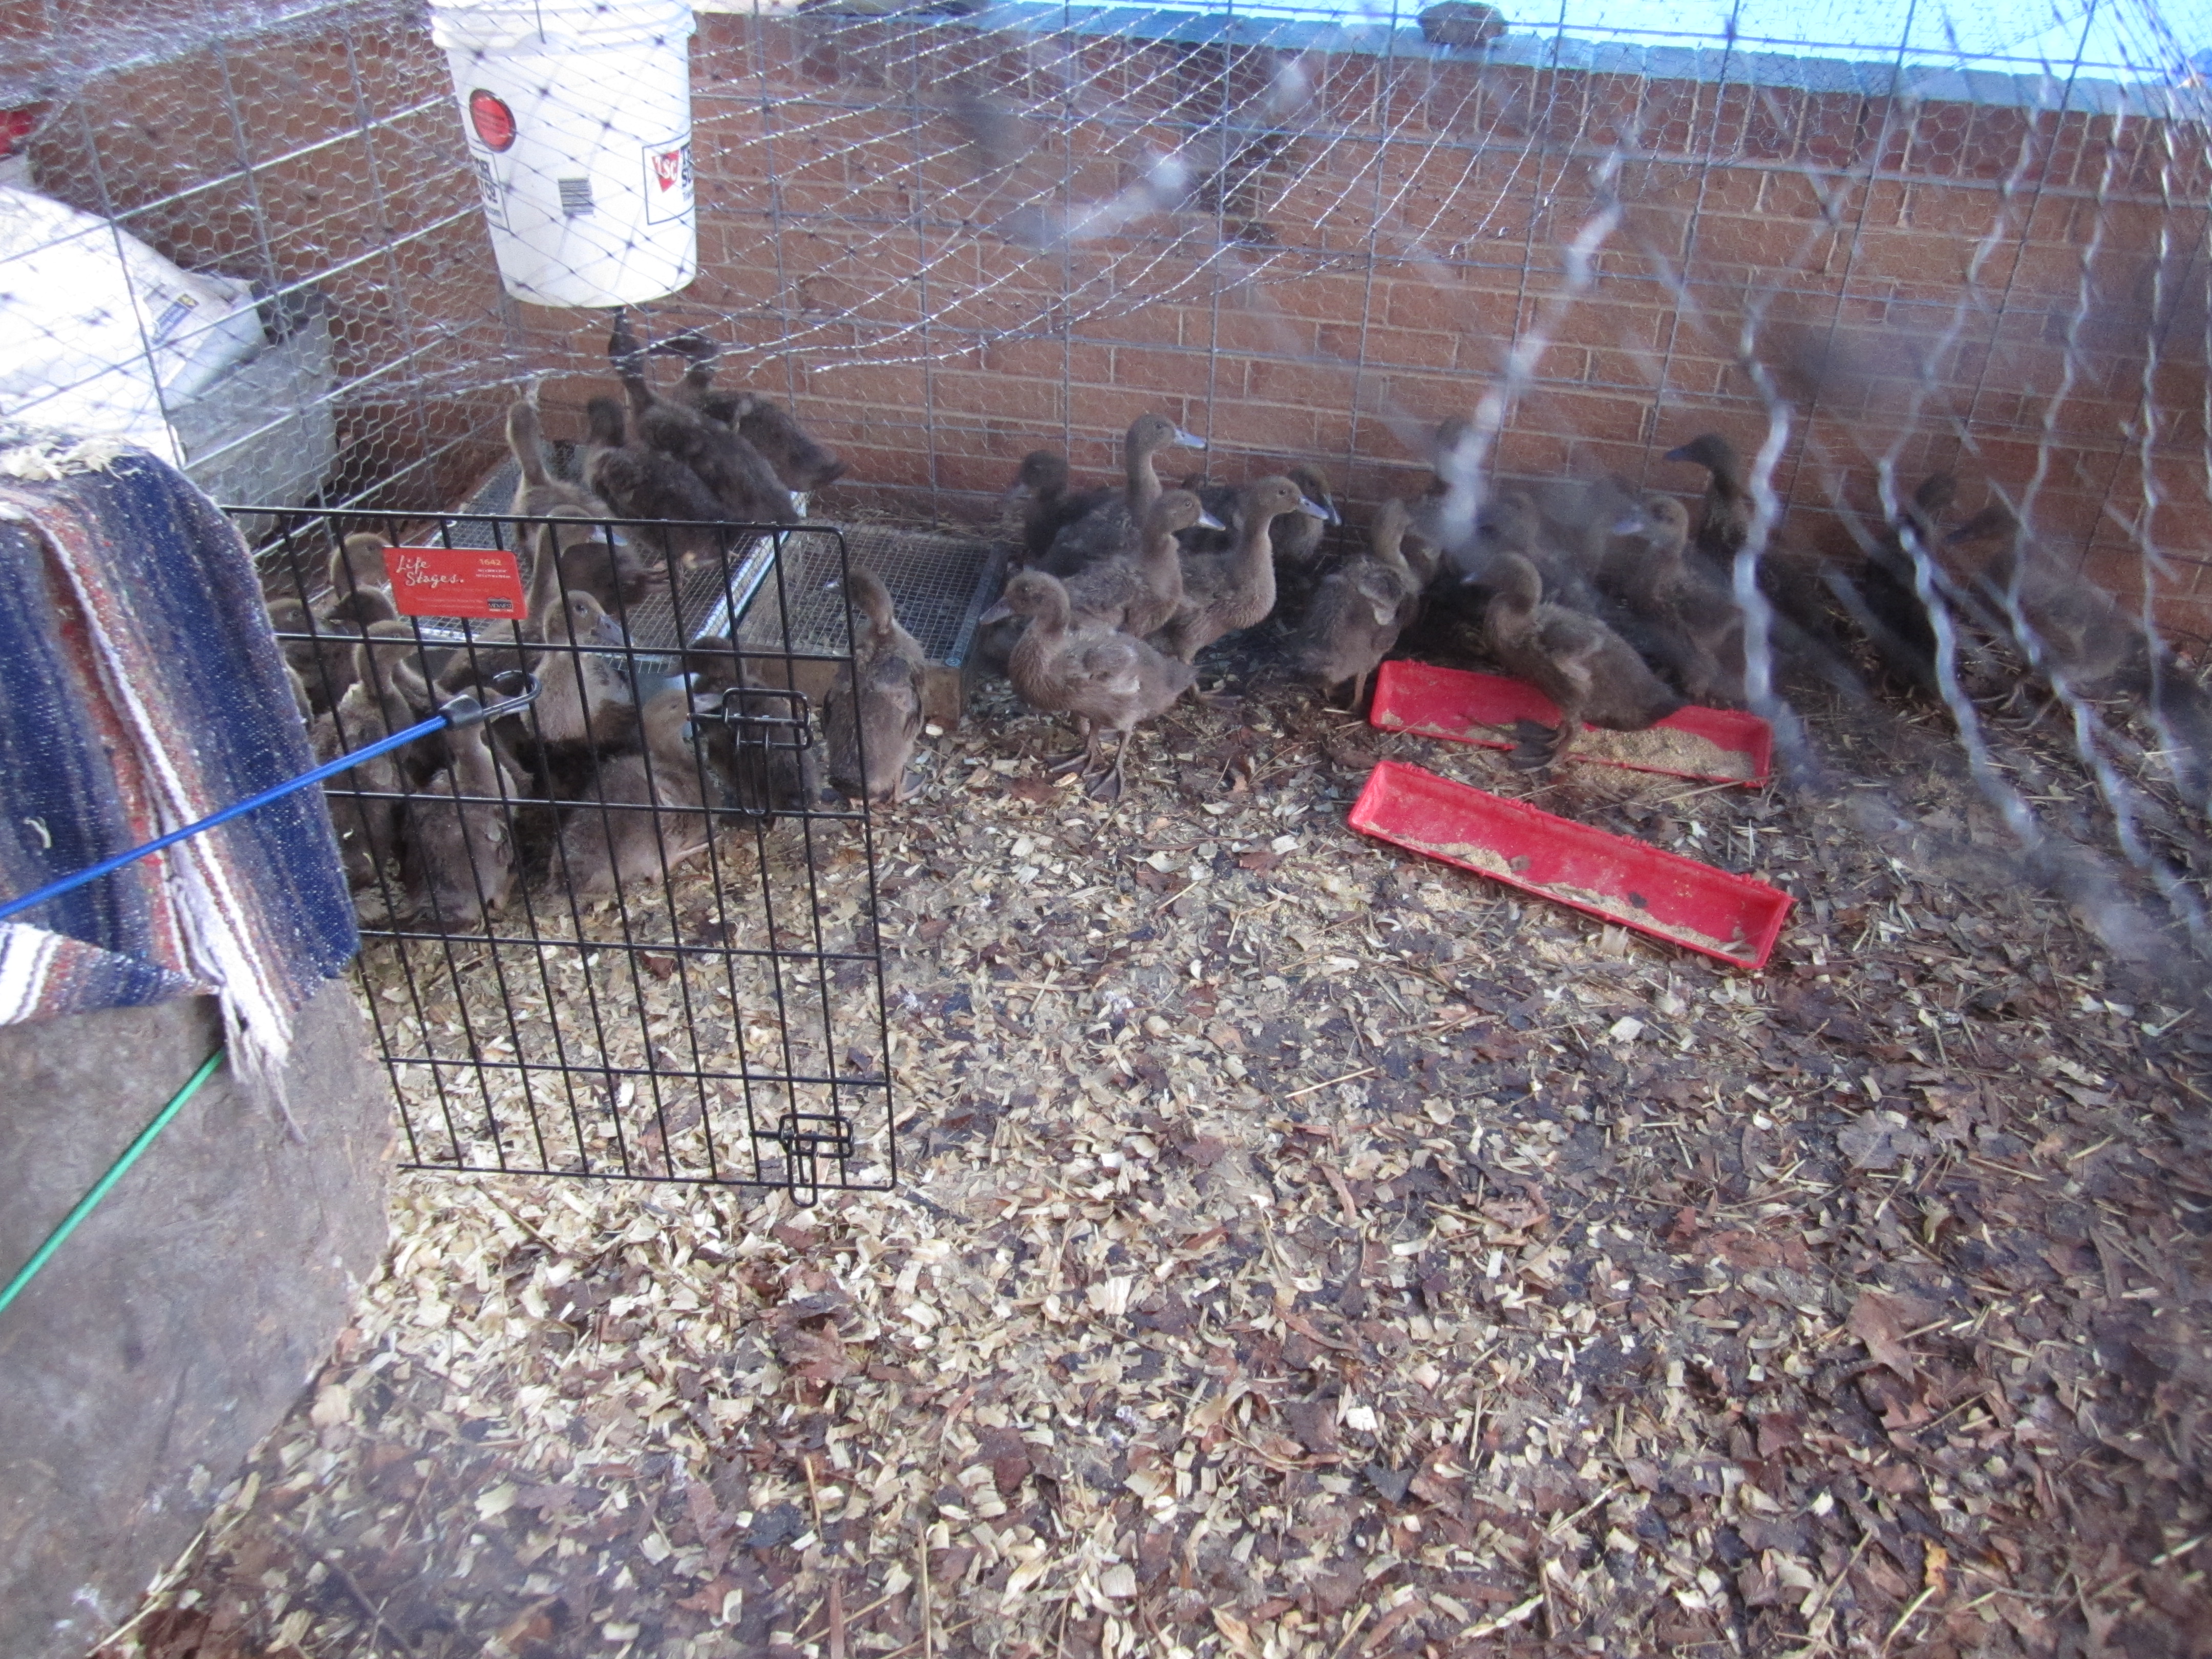
We learned quickly that they really didn’t care much about the heat lamp beginning around 3 weeks old and for the past week or two we haven’t been turning it on very often! The dog crate was surrounded with plywood and cardboard which act as walls, and covered with a blanket to keep in their warmth.
Not beautiful, but very functional!
The first few days they were outside we locked them in the dog crate at night to be sure they were warm and safe, but we’ve since realized that leaving the carport light on makes them safe enough and they really enjoy spreading out!
The entirety of the 8′ x 8′ pen was lined with large cardboard pieces to keep the floor of the carport from becoming too stained and gross, and the cardboard was covered with leaves, straw, and pine chips to absorb their pooping and bathing shenanigans.
In one corner of their pen their 5 gallon water bucket hangs, suspended by an old metal pipe. Nipples (plastic ones, folks!) hang from the bucket and we refill their supply by pouring in water from the top. Pretty easy! Underneath the bucket is a large metal pan with hardware cloth attached on top. This collects any stray water droplets (and there are a lot!) and keeps the rest of the pen from getting totally soaked. We have to dump this pan out every few days so it doesn’t overflow.
Water for the ducklings!
The flock, keeping as far away from me as possible!
We finished the cage off with bird netting on top, just in case. We doubted that any hawk would be audacious enough to fly into the carport to snatch baby ducks, but stranger things have happened and we wanted to be safe.
The ducks are 5 weeks old now, and they are really starting to get adult feathers. Soon they’ll be big enough to move out into the real world–just in time for ducklings-batch-2 to arrive in about a week-and-a-half!