May 12, 2015 / jason / Comments Off on What’s Fermenting at Kuska Wiñasun Homestead?
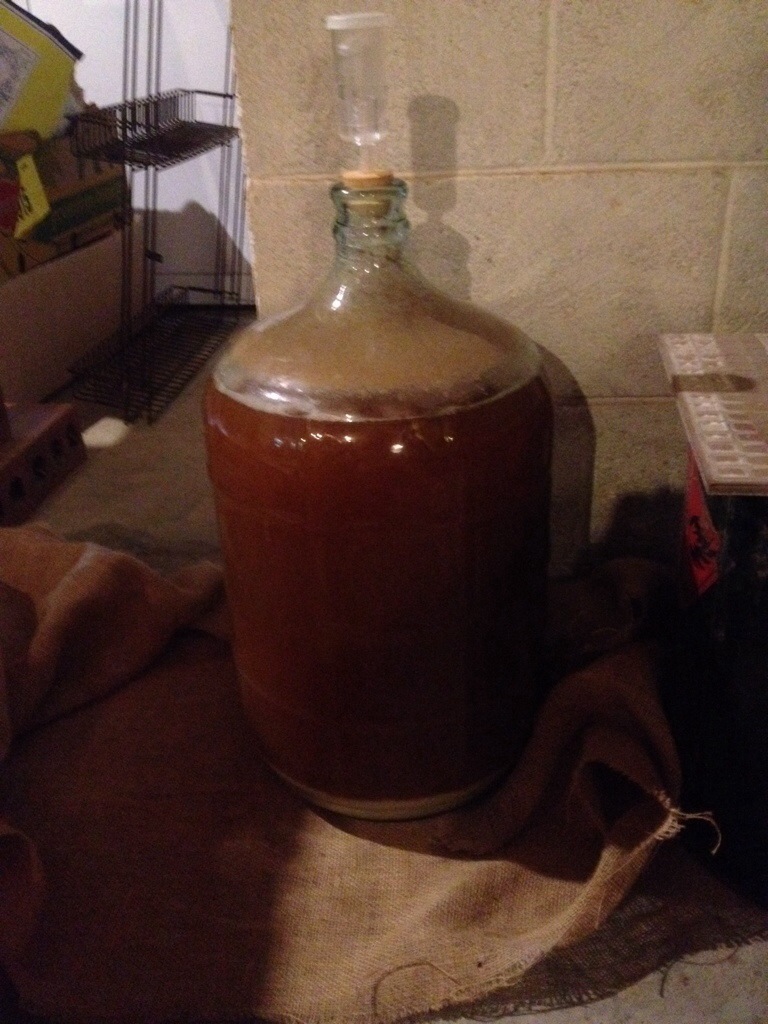
Beer!
But not your typical ale. This experimental concoction is relatively straightforward, save for one tiny detail. There are no hops in it.
Amber ale with hickory leaves
Gasp! That’s beer blasphemy! Off with his head!
Hold on, lets talk this through. Now while I enjoy hops, IPAs, pale ales, and Double Dry Hopped Double IPAs as much as the next craft beer enthusiast, they are not the only game in town. Hops are a relatively new innovation on the brewing scene, really coming into prominence in the last 500 years or so. Before that, brewers, brewsters, and alewives used different combinations of herbs and spices to bitter and balance their beer.
These “Gruits”, or herbal beers, relied on plants such as yarrow, bog myrtle, mugwort, wormwood, rue, rosemary, and heather to balance out the sweetness of fermented malt beverages. The history of gruit is a fascinating one that involves propaganda, the Protestant Reformation, and secret and sacred recipes that were passed down for generations.
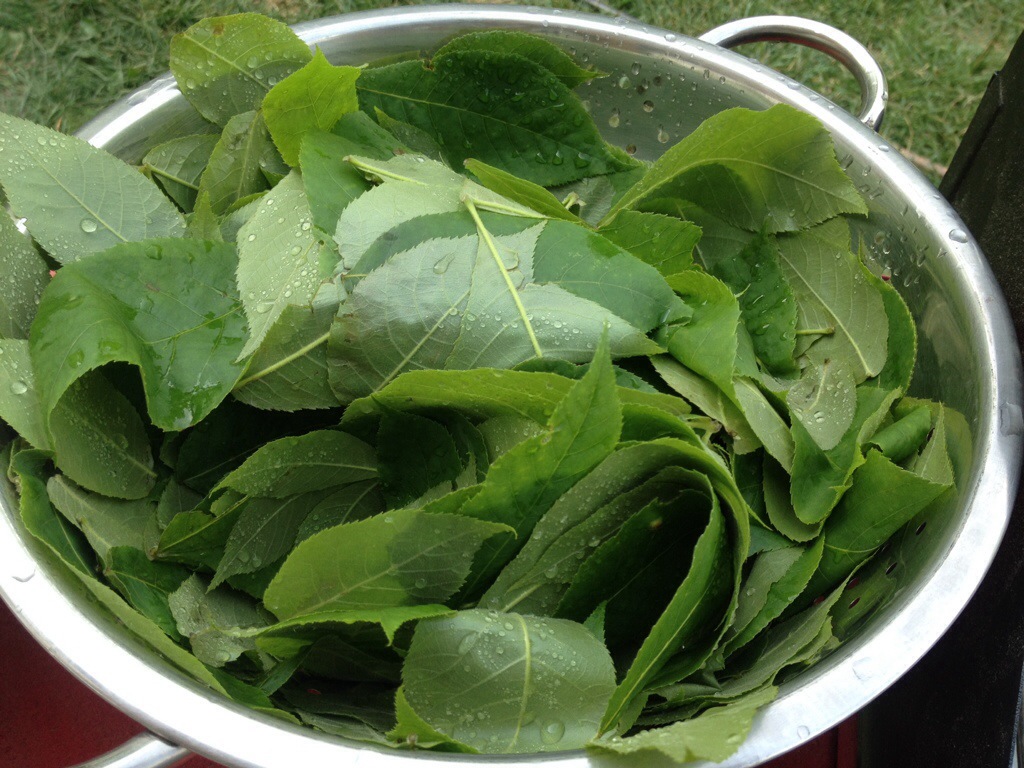
While these herbs have a long history of being used in brewing, I chose a different avenue for my beer. Hickory leaves.
Fresh hickory leaves ready for the brewpot
I got the idea from Scratch Brewing, a small experimental brewery in IL that frequently uses foraged and locally farmed ingredients in their brew-house. They brewed up a few batches that used hickory leaves in place of hops for bittering. Seeing as how we have plenty of hickory trees here, and no hop vines yet, I thought it would be cool to experiment with them in a small batch of homebrew.
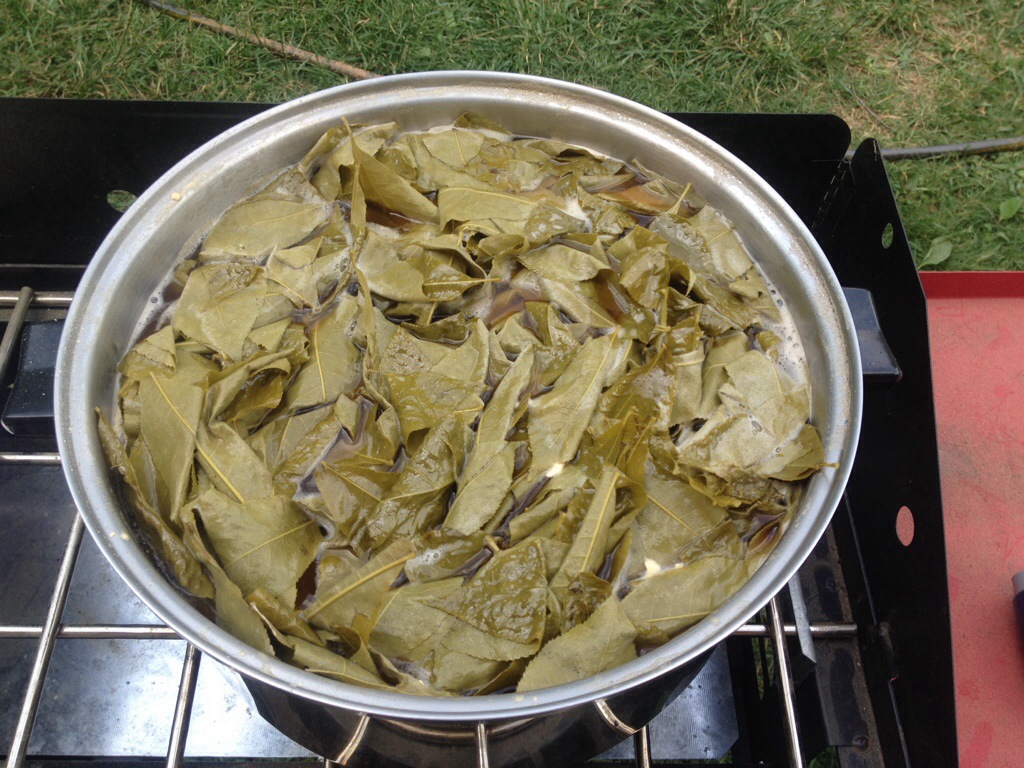
Hops are just 1 of many plants that can be used in brewing
I ended up adding 5 oz. of whole, freshly picked hickory leaves to my 5 gallon batch. Green hickory leaves have a not unpleasant taste to them. They are slightly astringent, but clean tasting and “green.” We’ll see how this one turns out.
One note of importance: Hops are an excellent preservative in beer, so this beer won’t be able to be aged for any length time and will have to be drunk relatively quickly. I guess I can live with that.
May 11, 2015 / Emma / Comments Off on 8 Babies: A Pig Birth Story!
It has been a little over a week since our pot belly pig, Louise, had her litter of babies. Since then, her sister Thelma has also had her babies and both mothers are doing great and raising cute, healthy babies!
This is the account of the birth of Louise’s babies (the little bit that I experienced of it):
Early on the morning of May 1, I went out in the predawn to feed Louise and found that she had annihilated the patch of blackberries that was in her pen. She hadn’t eaten them, though, simply sniped them off at the ground and piled them high in the corner of the pen. She had also gathered any grasses that were growing in the pen and even thought a bit of the hanging tarp above her would be good for her nest.
Through my research, I learned that a pig that is about to give birth obsessively makes a nest for her and her babies about 12 hours before she goes into labor. I love the parallel with human mammals… How women often feel that nesting urge a few days before giving birth. I think it is fantastic that our mammal bodies know what is coming, even if our conscious brains do not.
So when I went out to feed her and saw that her nest was complete and she was laying on it, I knew her time was near! I was concerned that the blackberries vines would be too scratchy, so Jason added wooden wool to the pen and she quickly grabbed it with her mouth and started redesigning her nest.
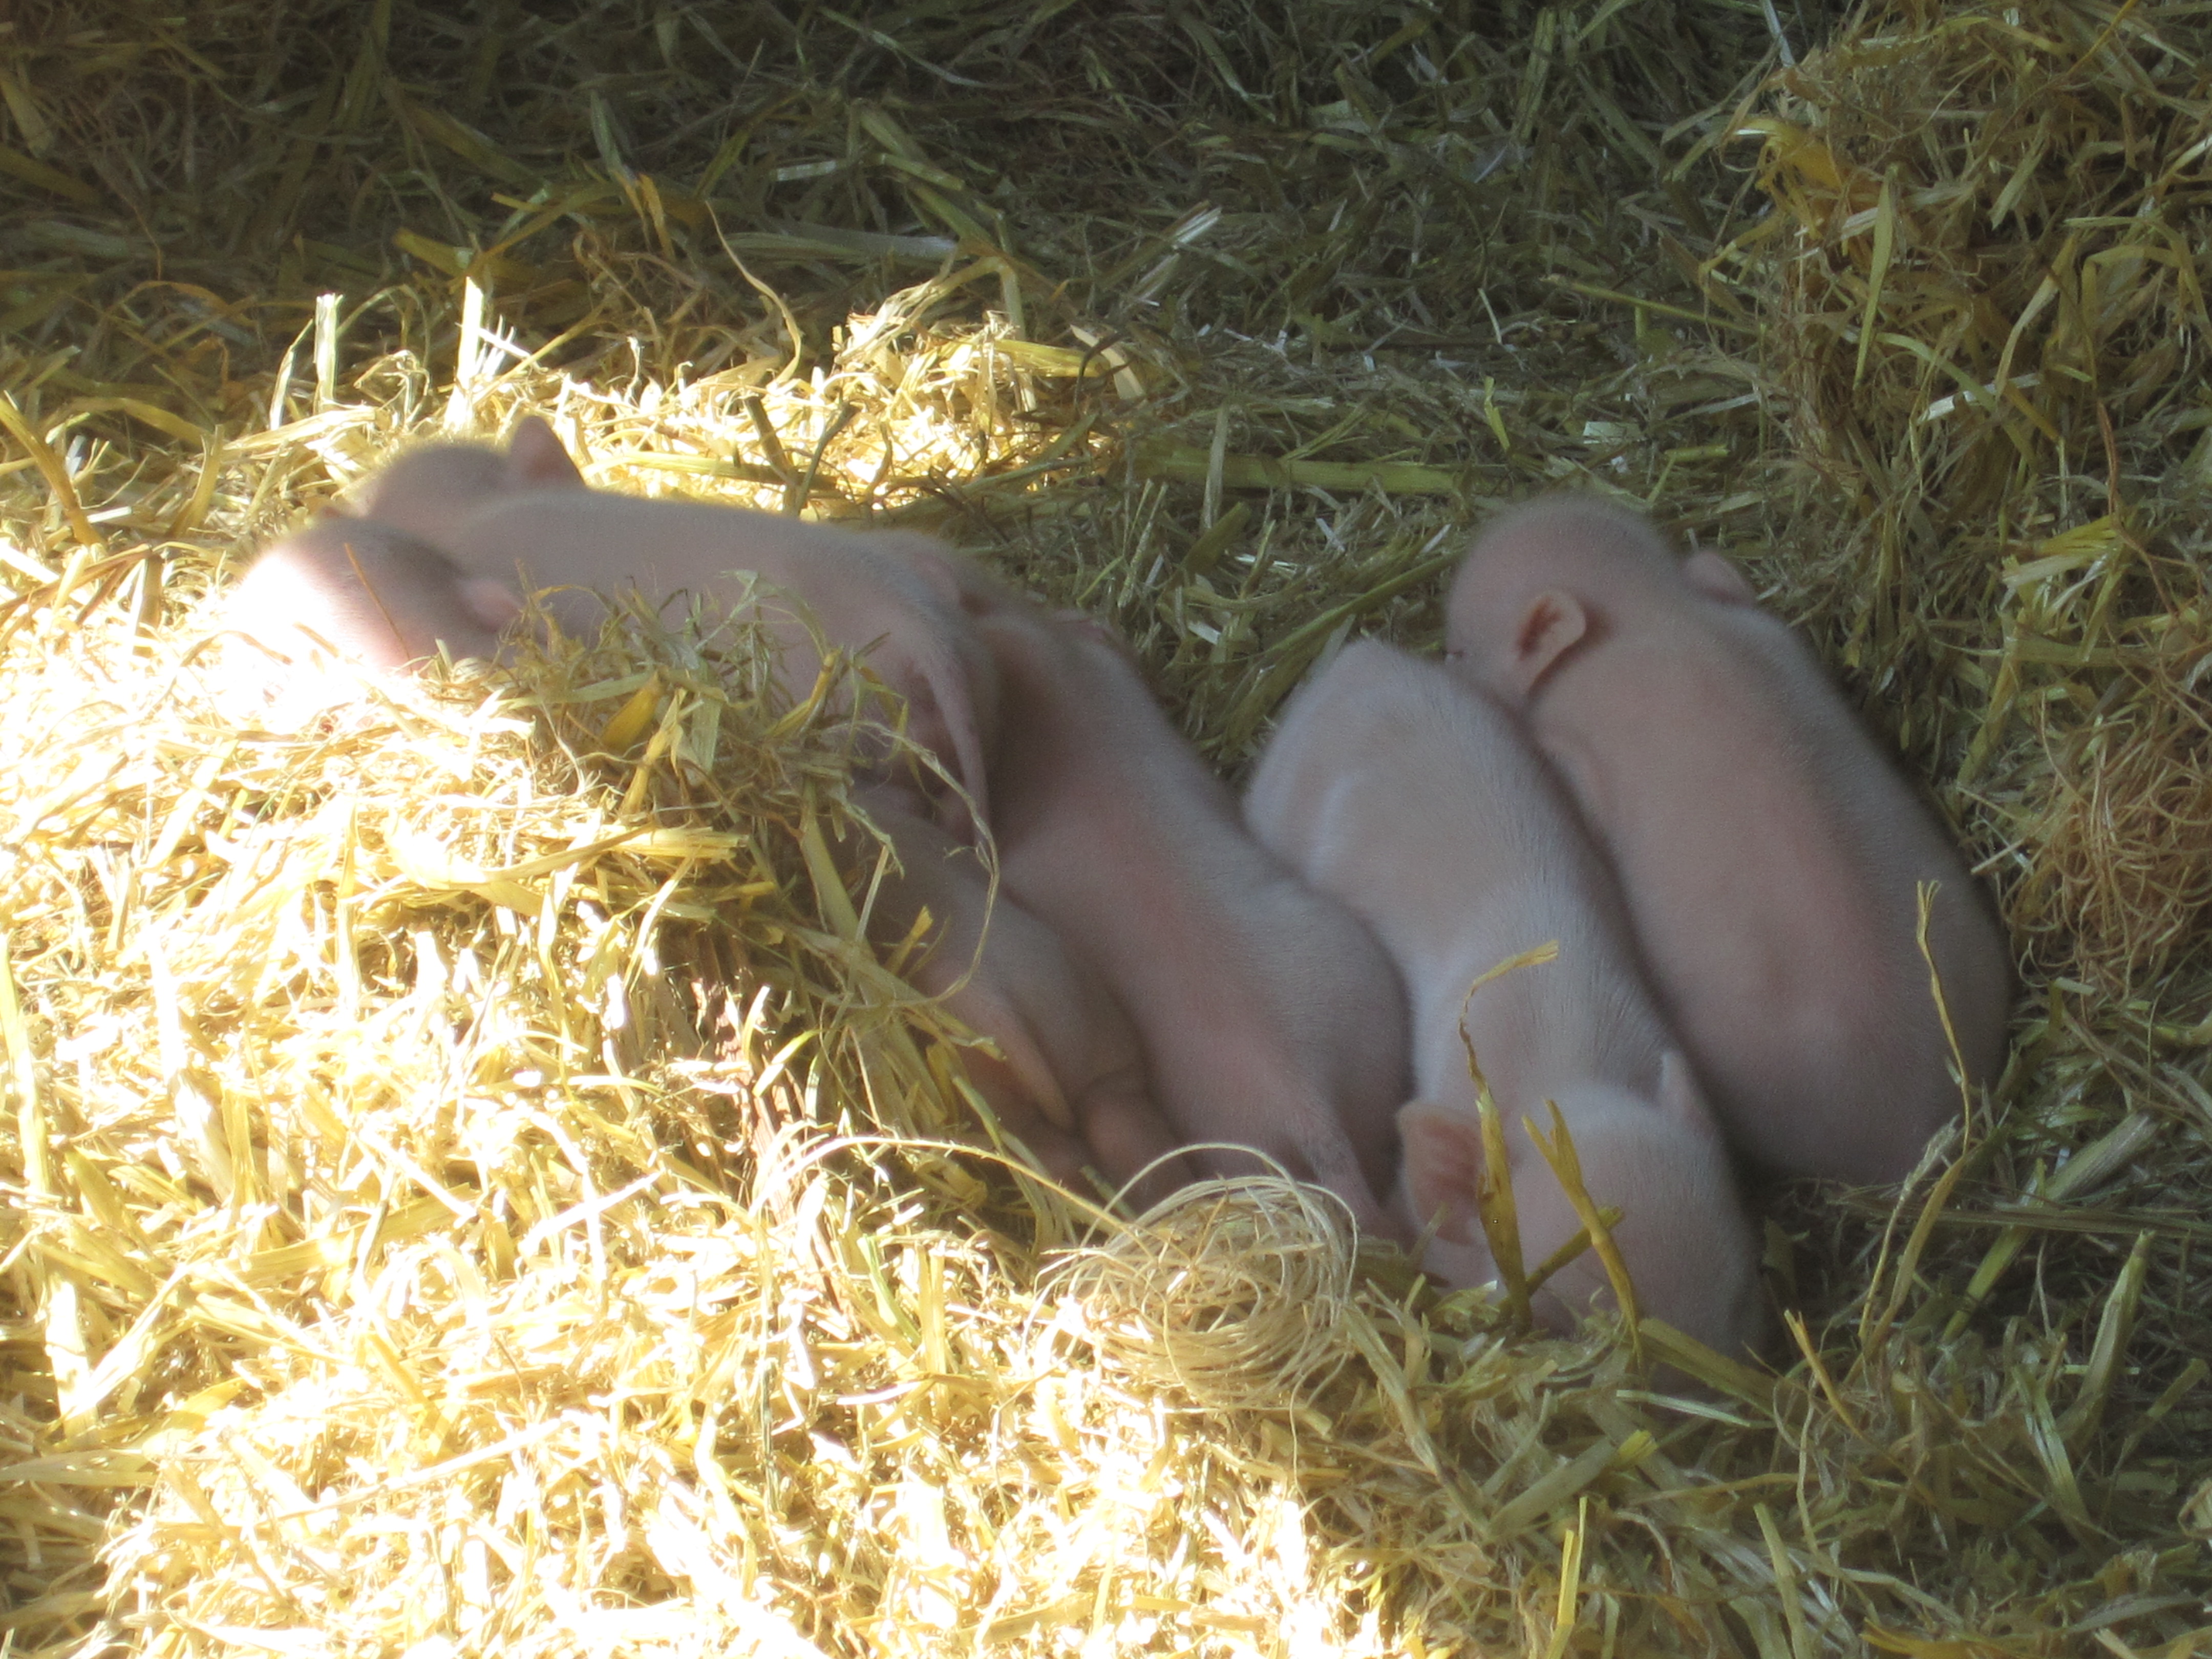
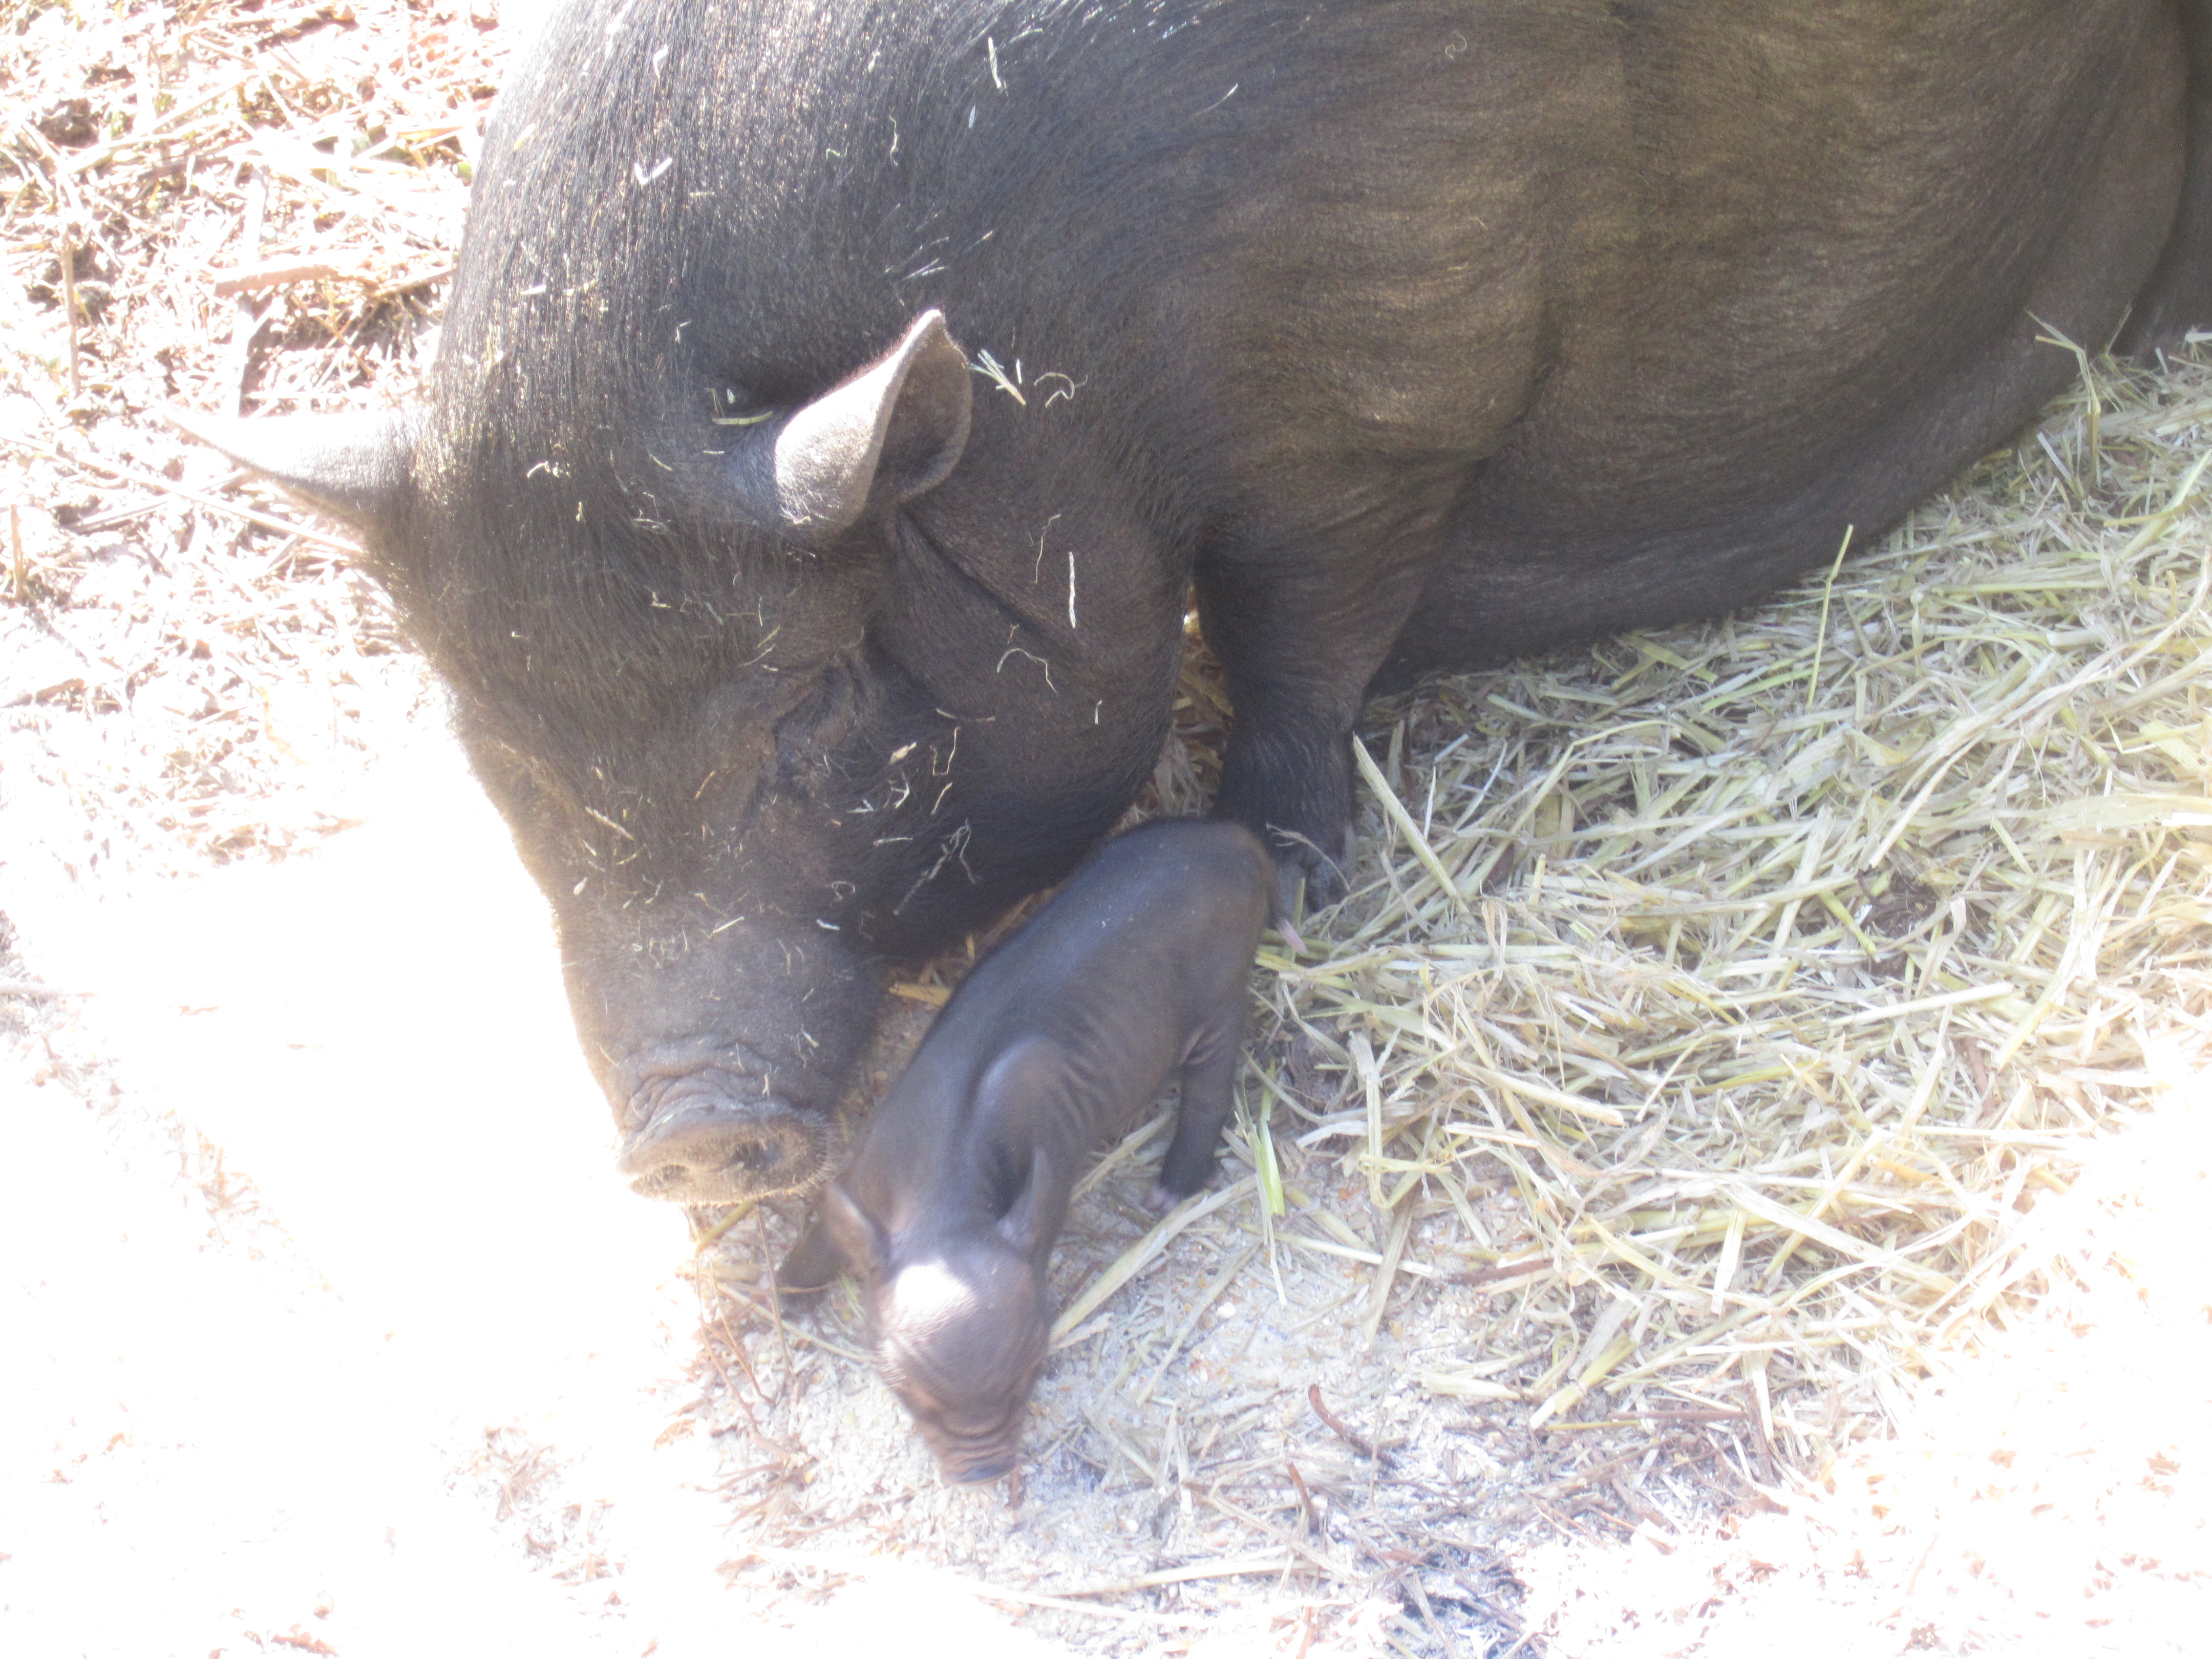
I spent all day at work hoping that I wouldn’t miss the births, but when I got home I saw that I had missed them! There were 7 healthy babies, all dried off and nursing! I was able to go in the pen and sit right next to Louise since she was still in labor (having not yet delivered the placenta). Normally she would NOT allow this, but I sat down quietly and gently and didn’t try to touch her babies so she calmed down. I was able to pat her and talk to her and that was nice. I was hoping that she would deliver more babies but since the others were all so clean and dry, I thought that she was likely done delivering.
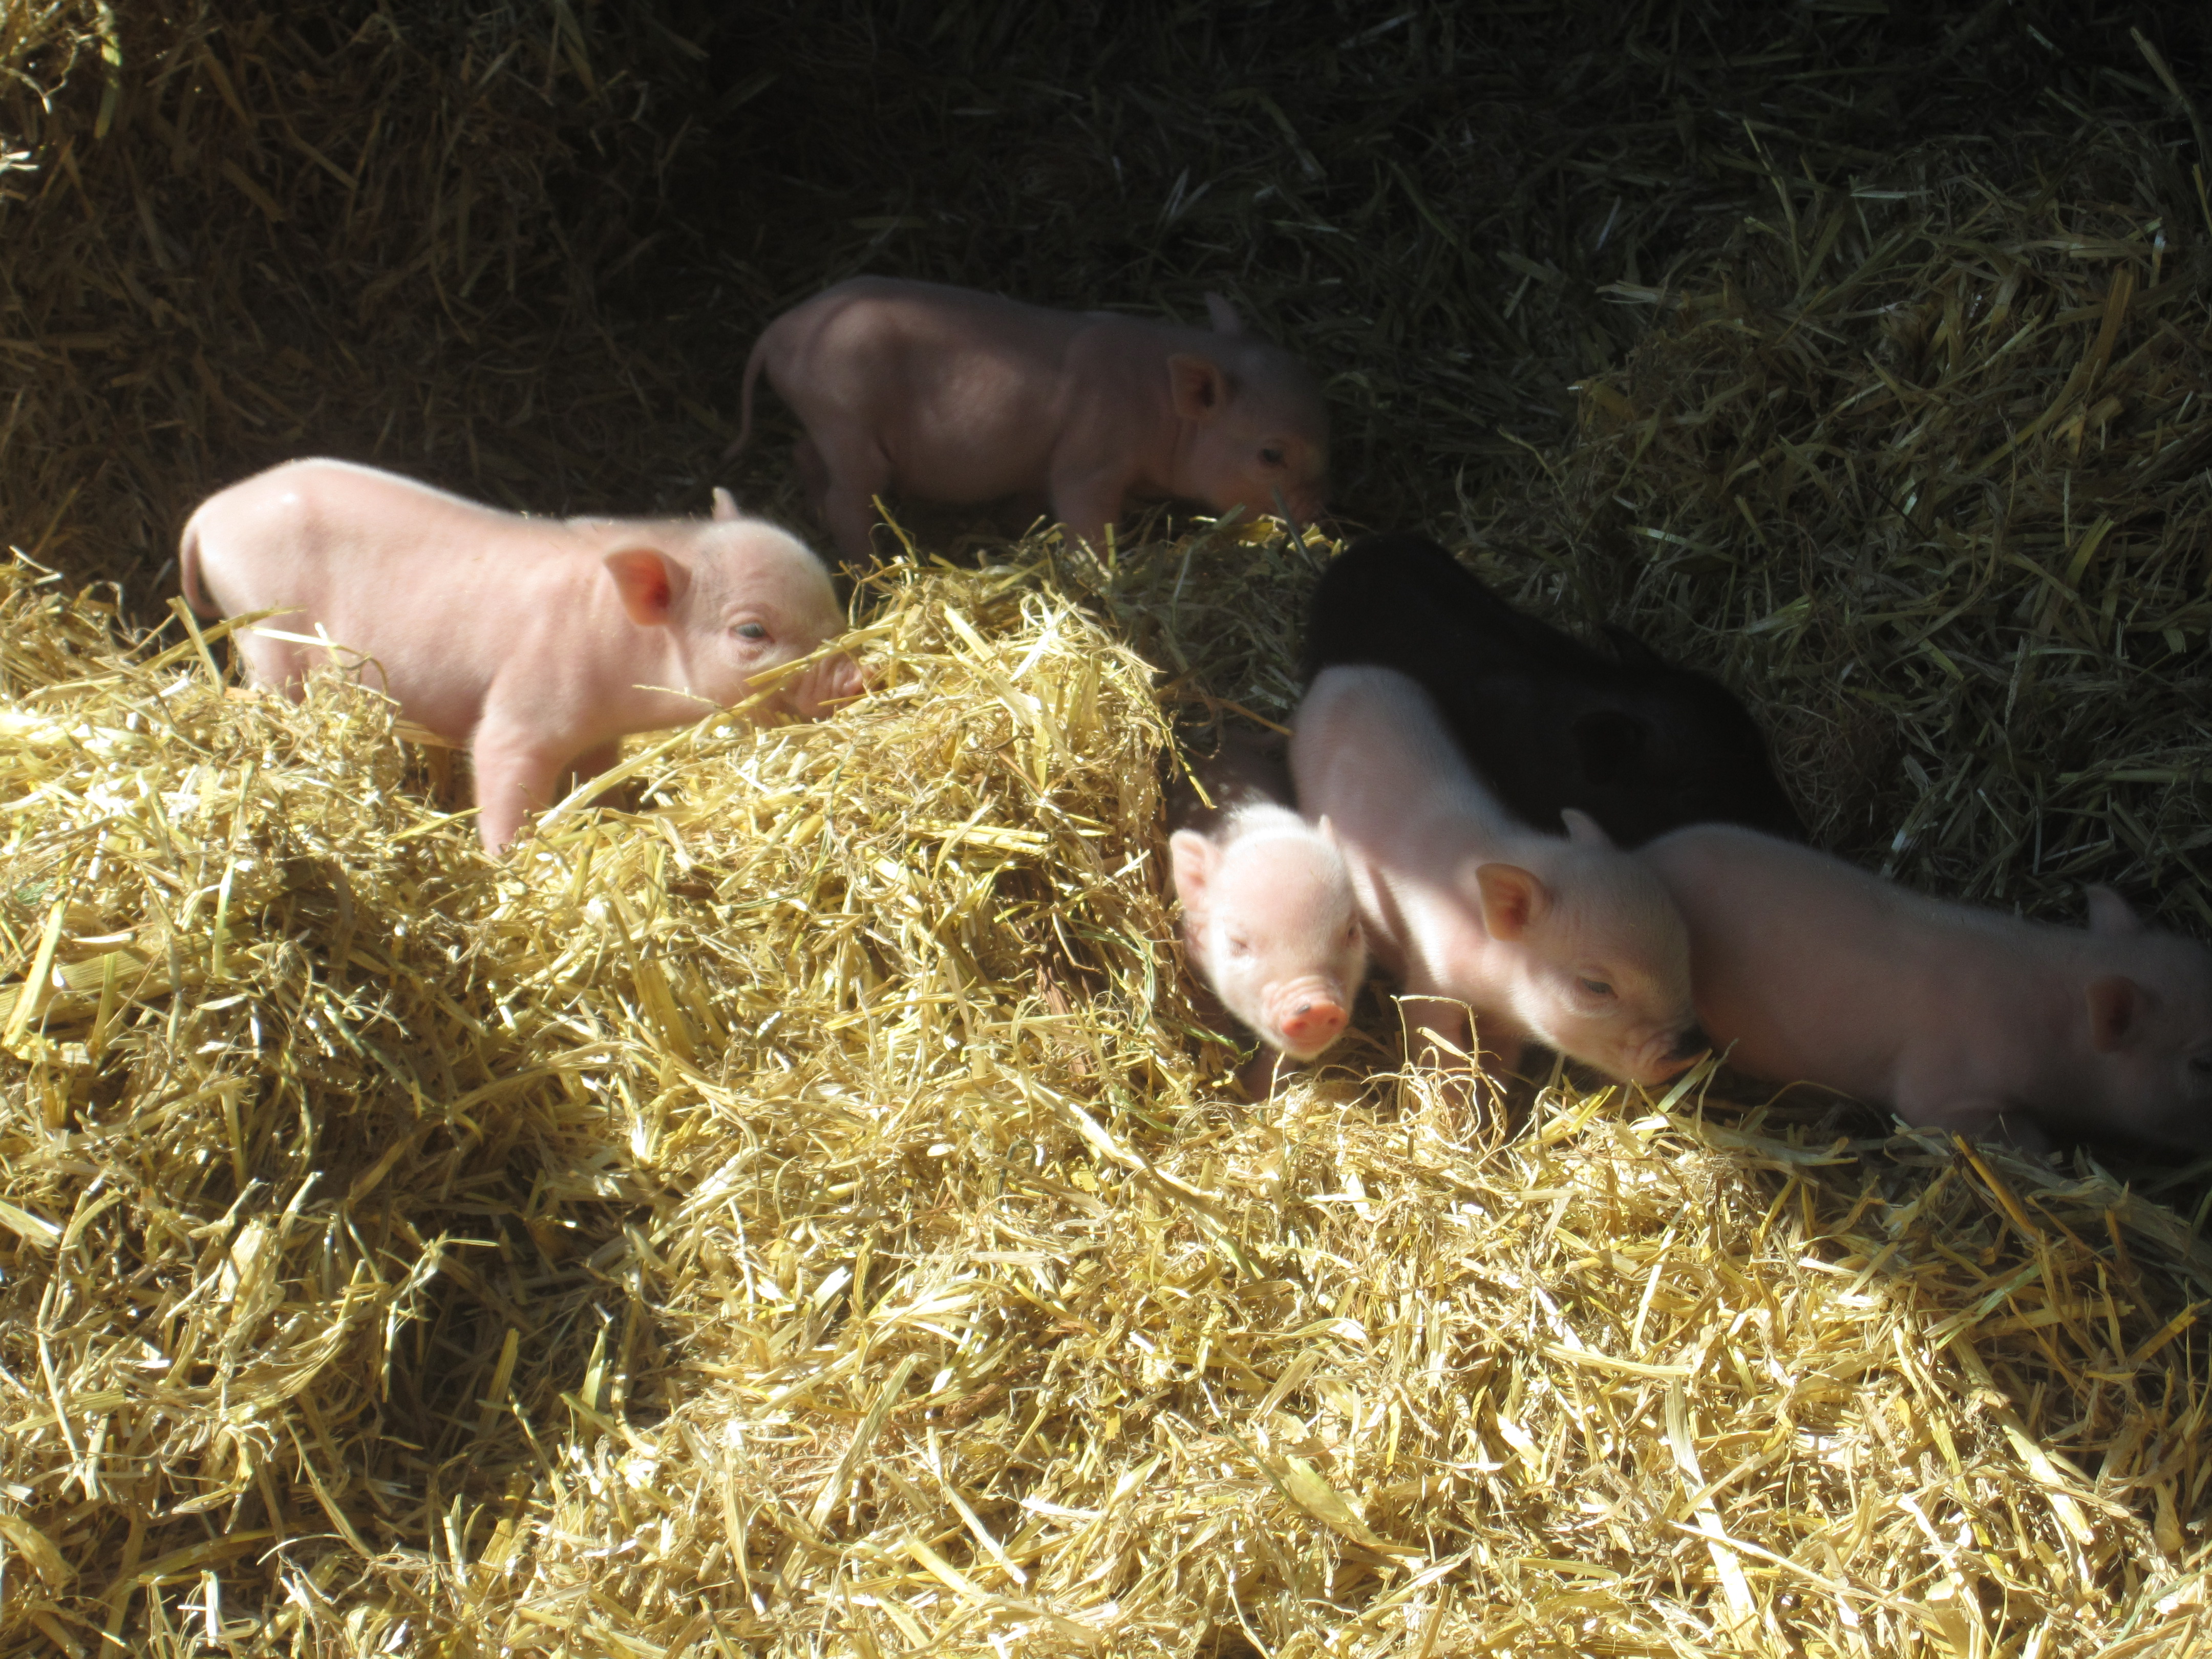
Piglets!
Cute!
I left to bring her some more hay for bedding and when I returned I saw that she had in fact delivered another baby, but when I got closer I could see that the bay was a stillborn. It was a little black piglet, unmoving and not breathing. I picked him up and rubbed his chest to see if he might breathe with some help and tried to blow some air into his lungs, but he didn’t move. I think he had probably died a little while before in the womb, and therefore it was harder for her to deliver him, so he was born last.
We buried him next to our blackberry bush in the garden. With 7 healthy and chubby babies, Louise and Jason and I have a lot of life to be thankful for!
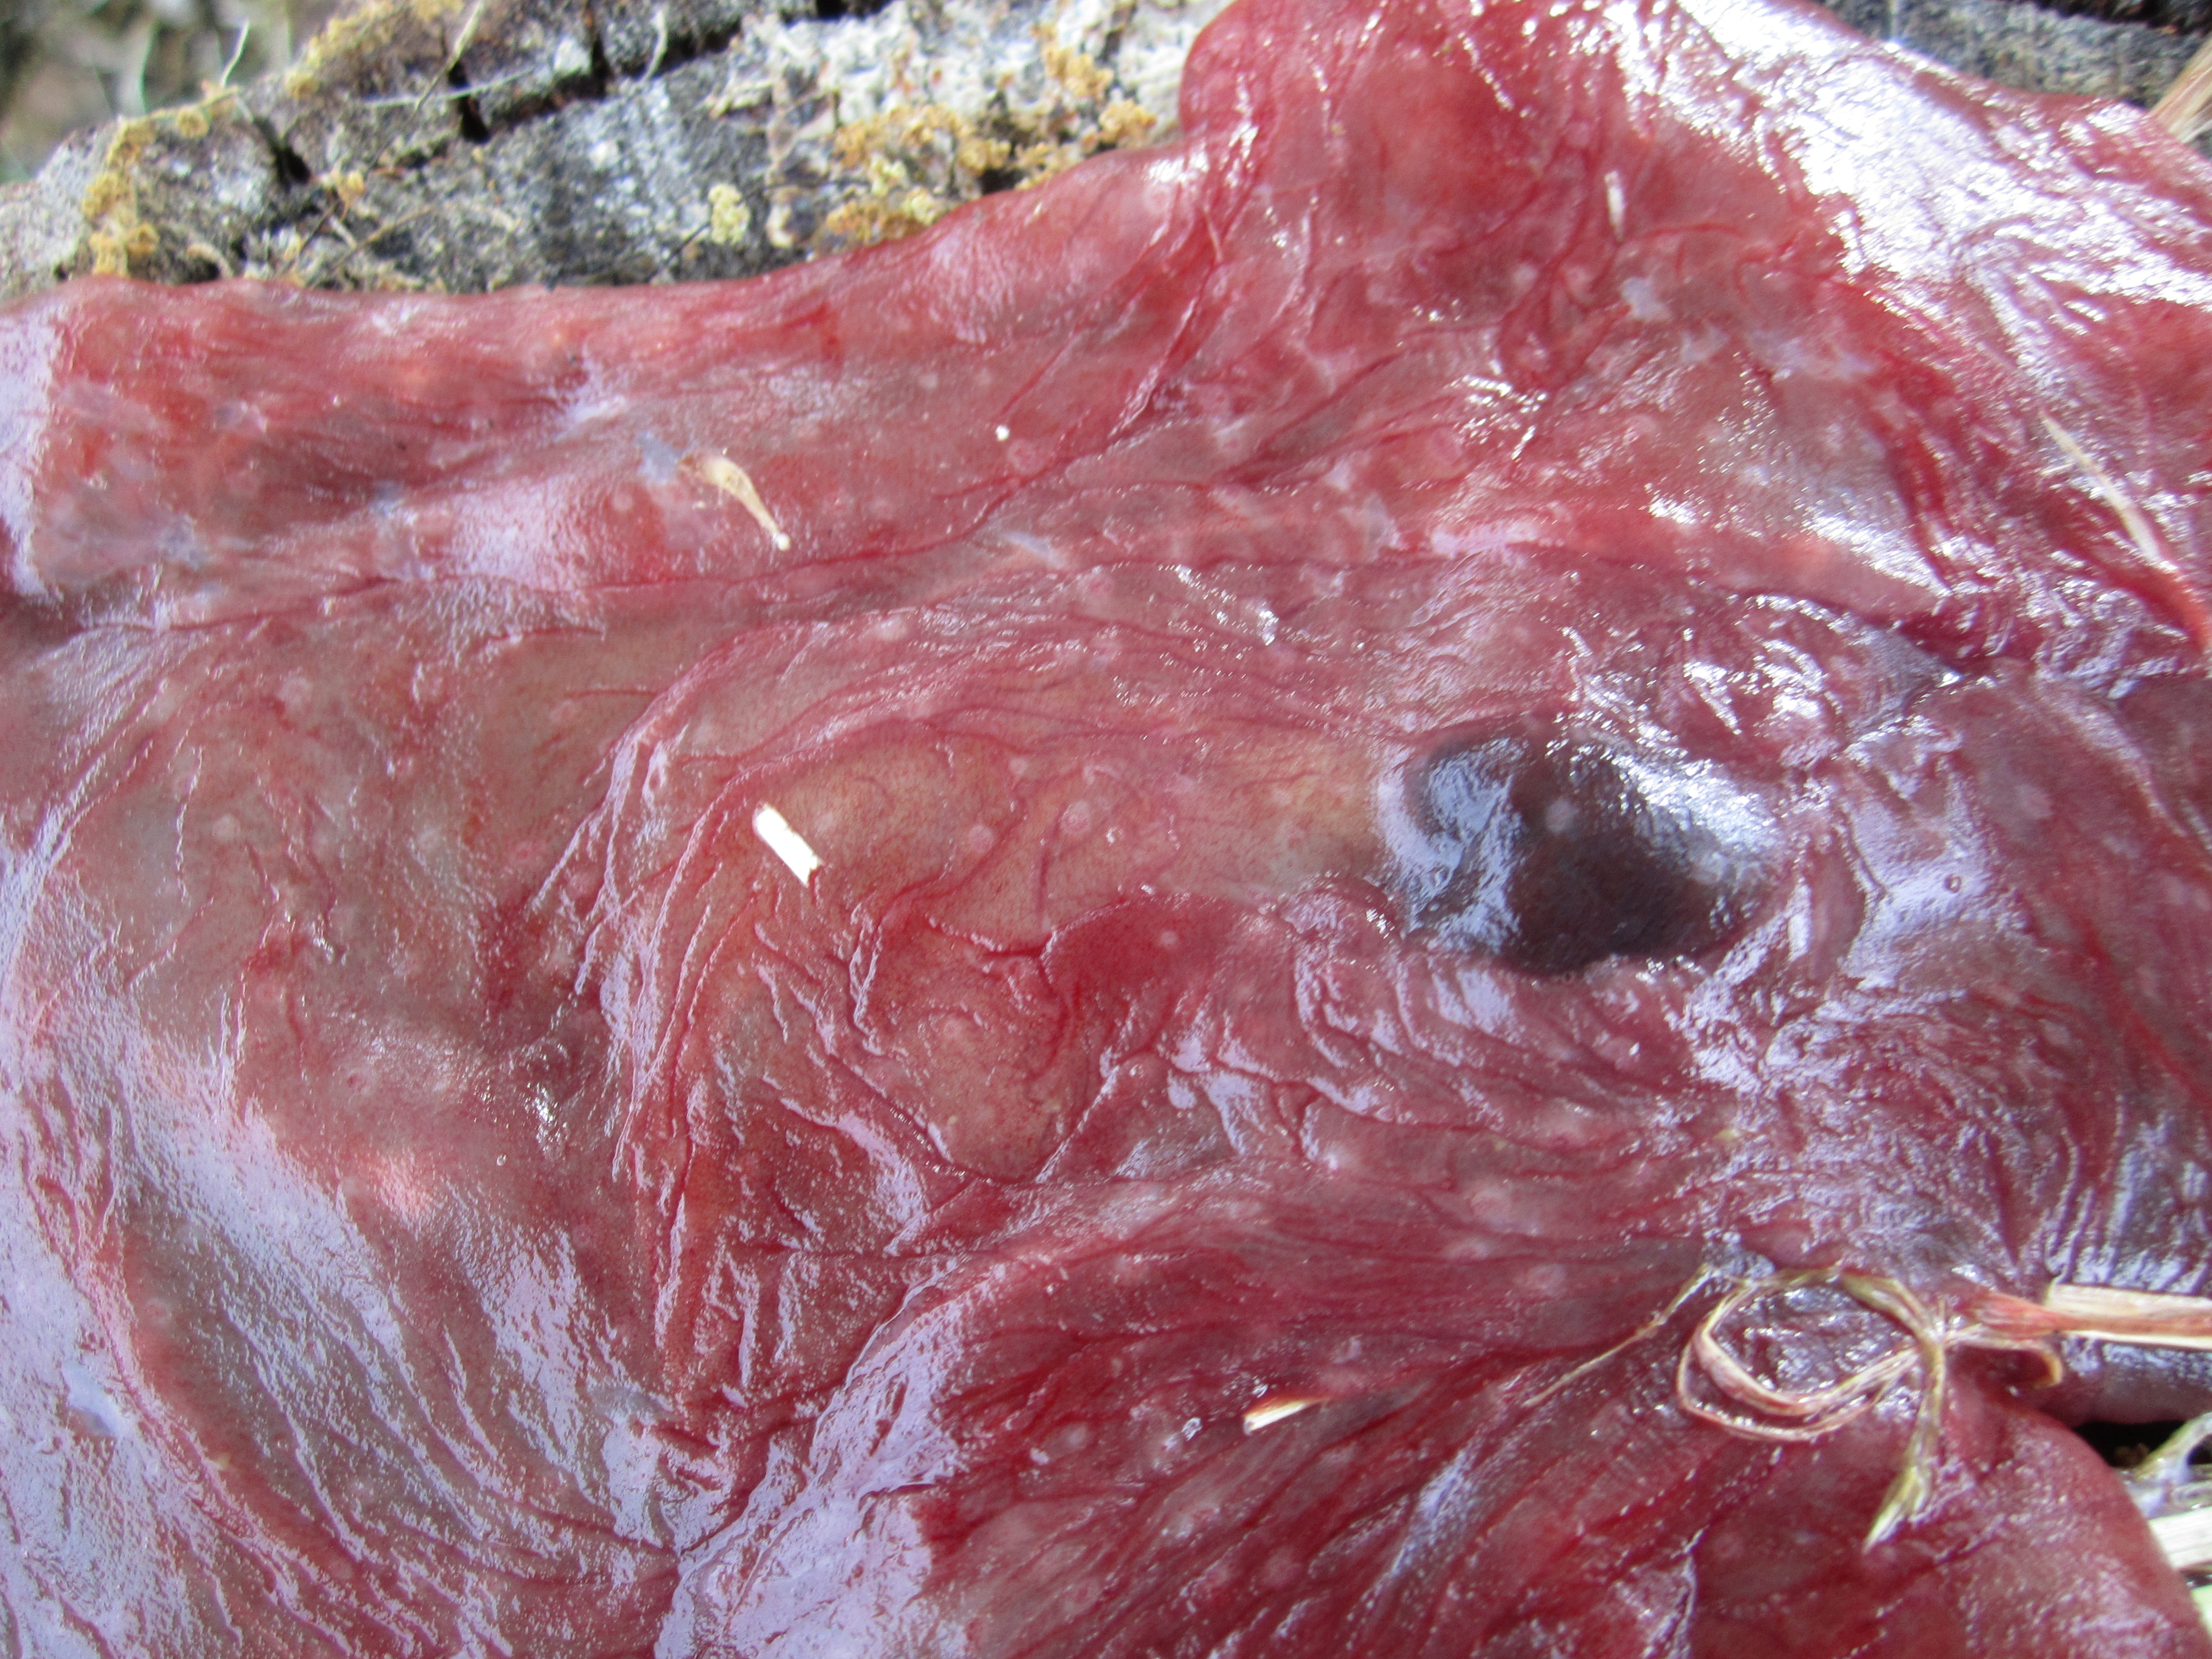
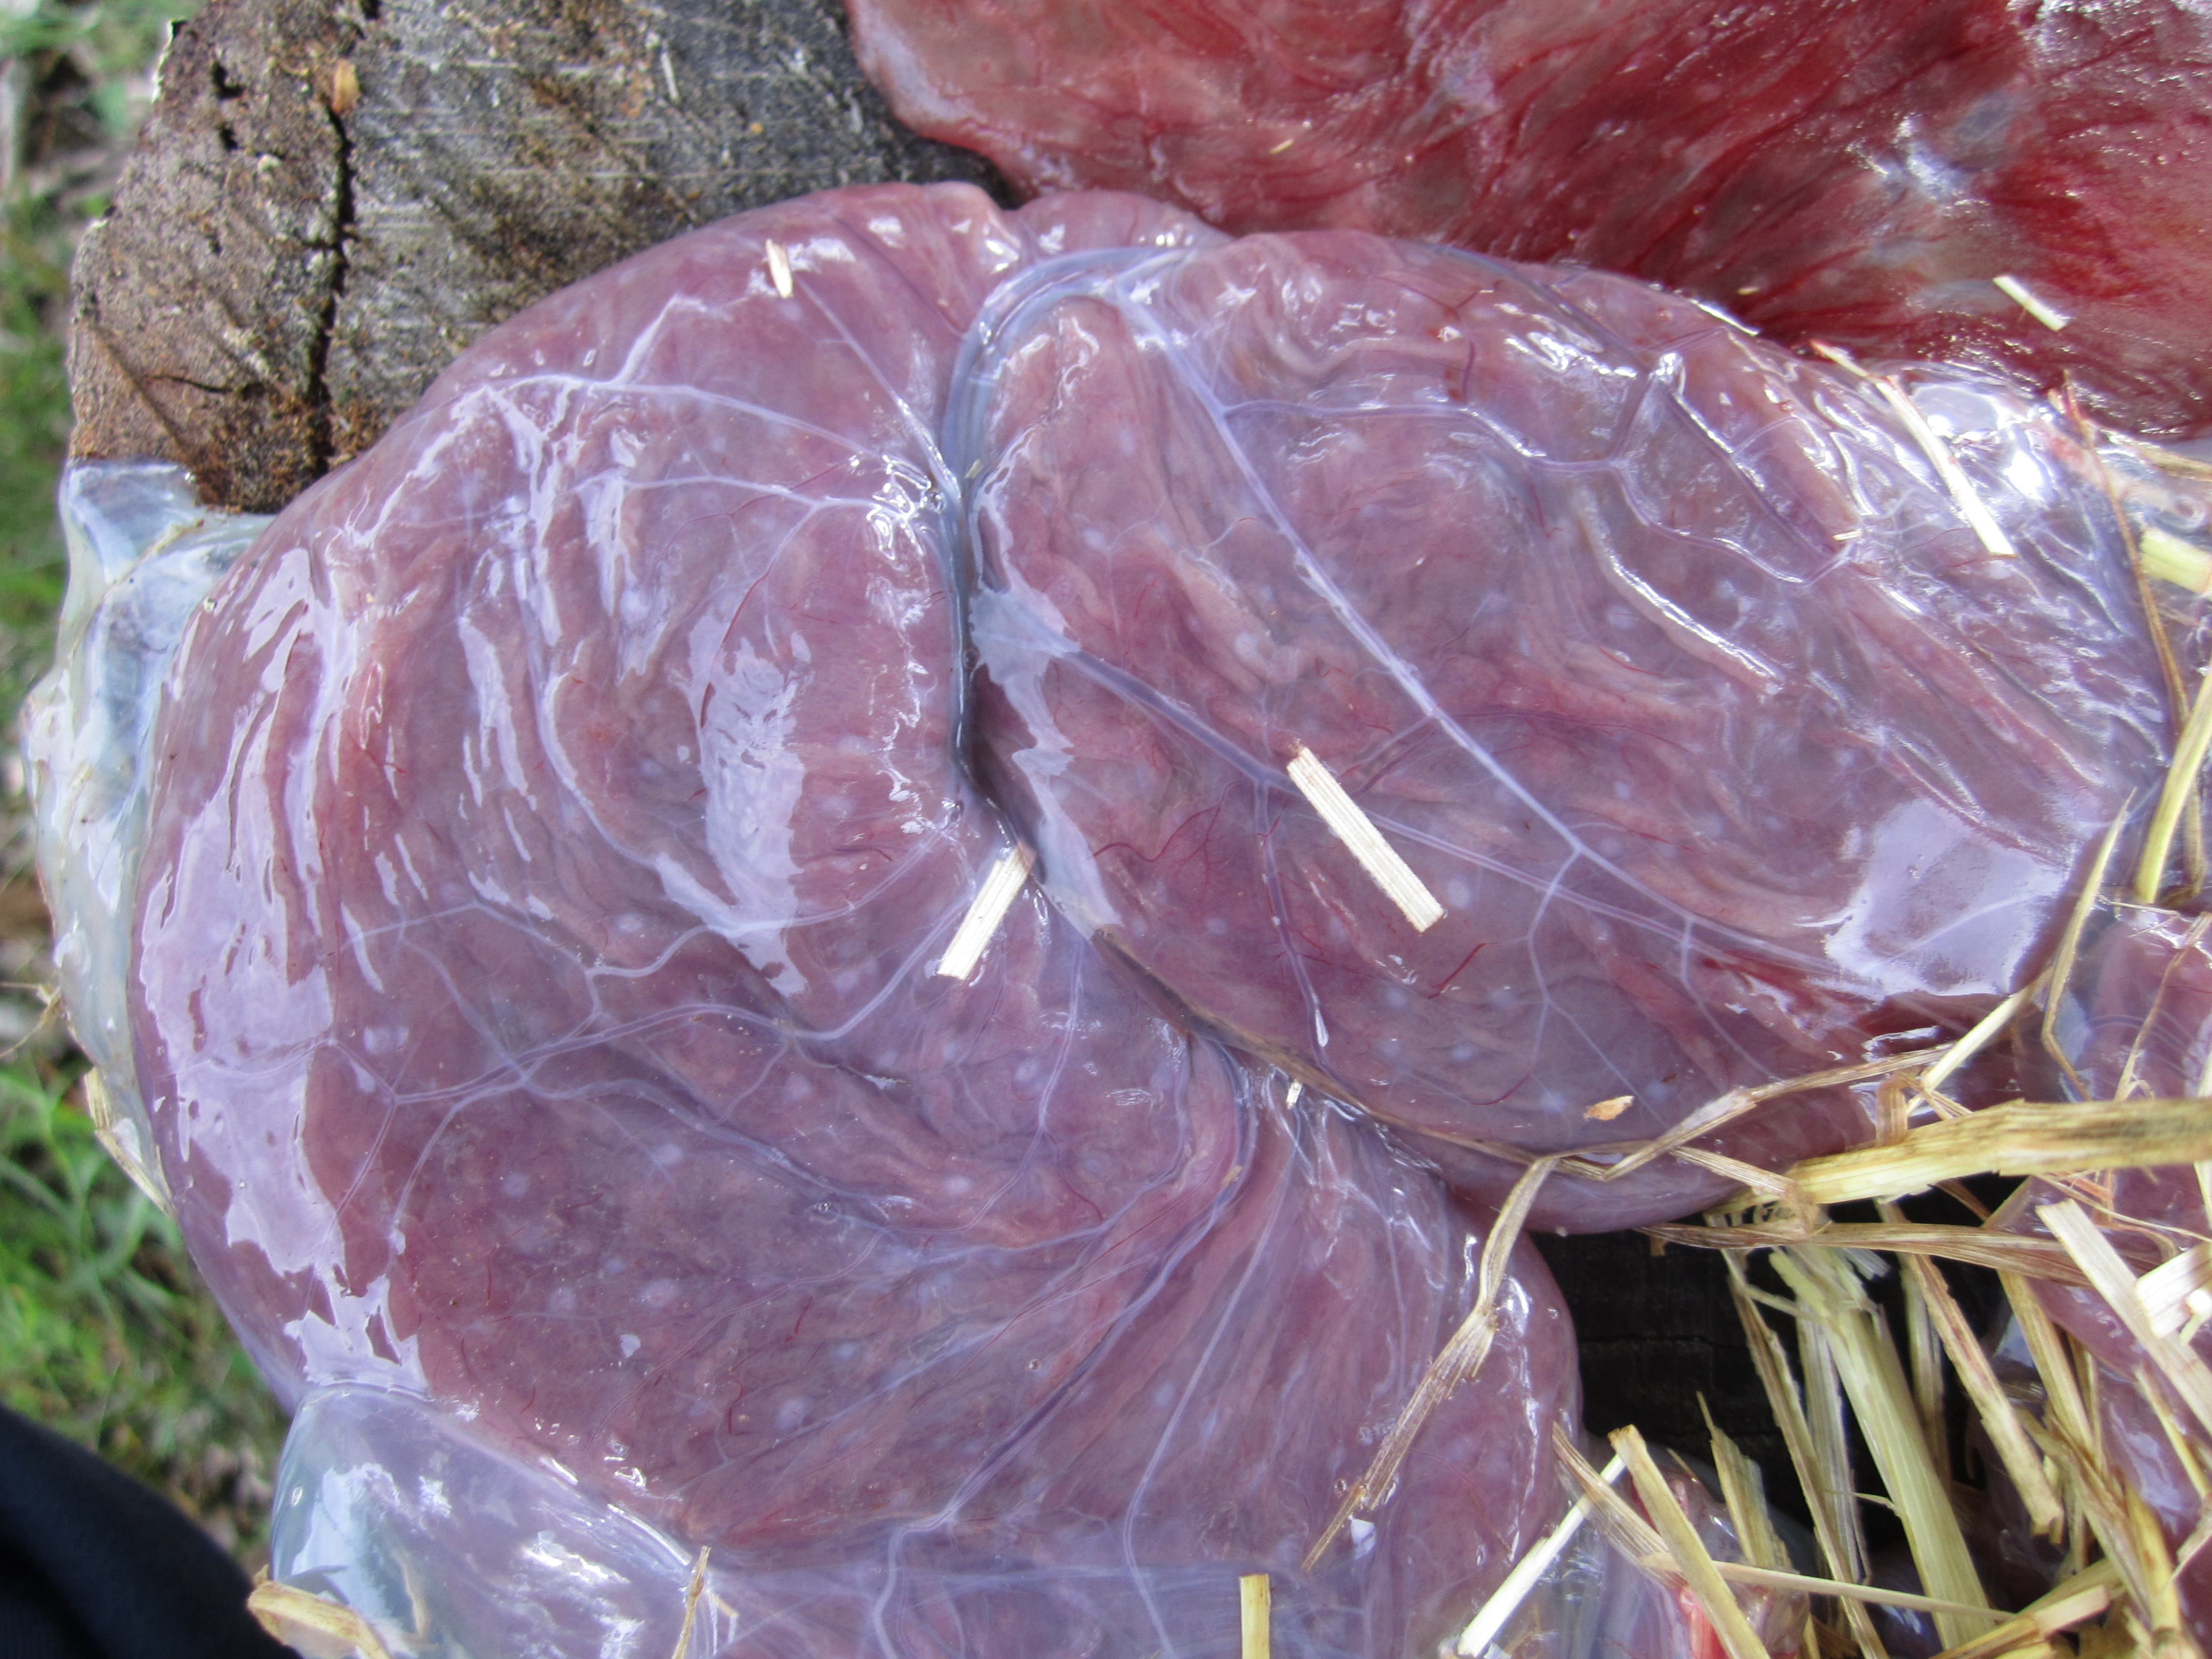
About an hour later she delivered the placenta and I “kidnapped” it to have a closer look at this amazing organ! Much to my surprise, Louise delivered another placenta later, as if she was a human mother bearing twins! Her sister, Thelma, also delivered 8 babies but only one placenta.
The placenta!
What a magnificent organ!
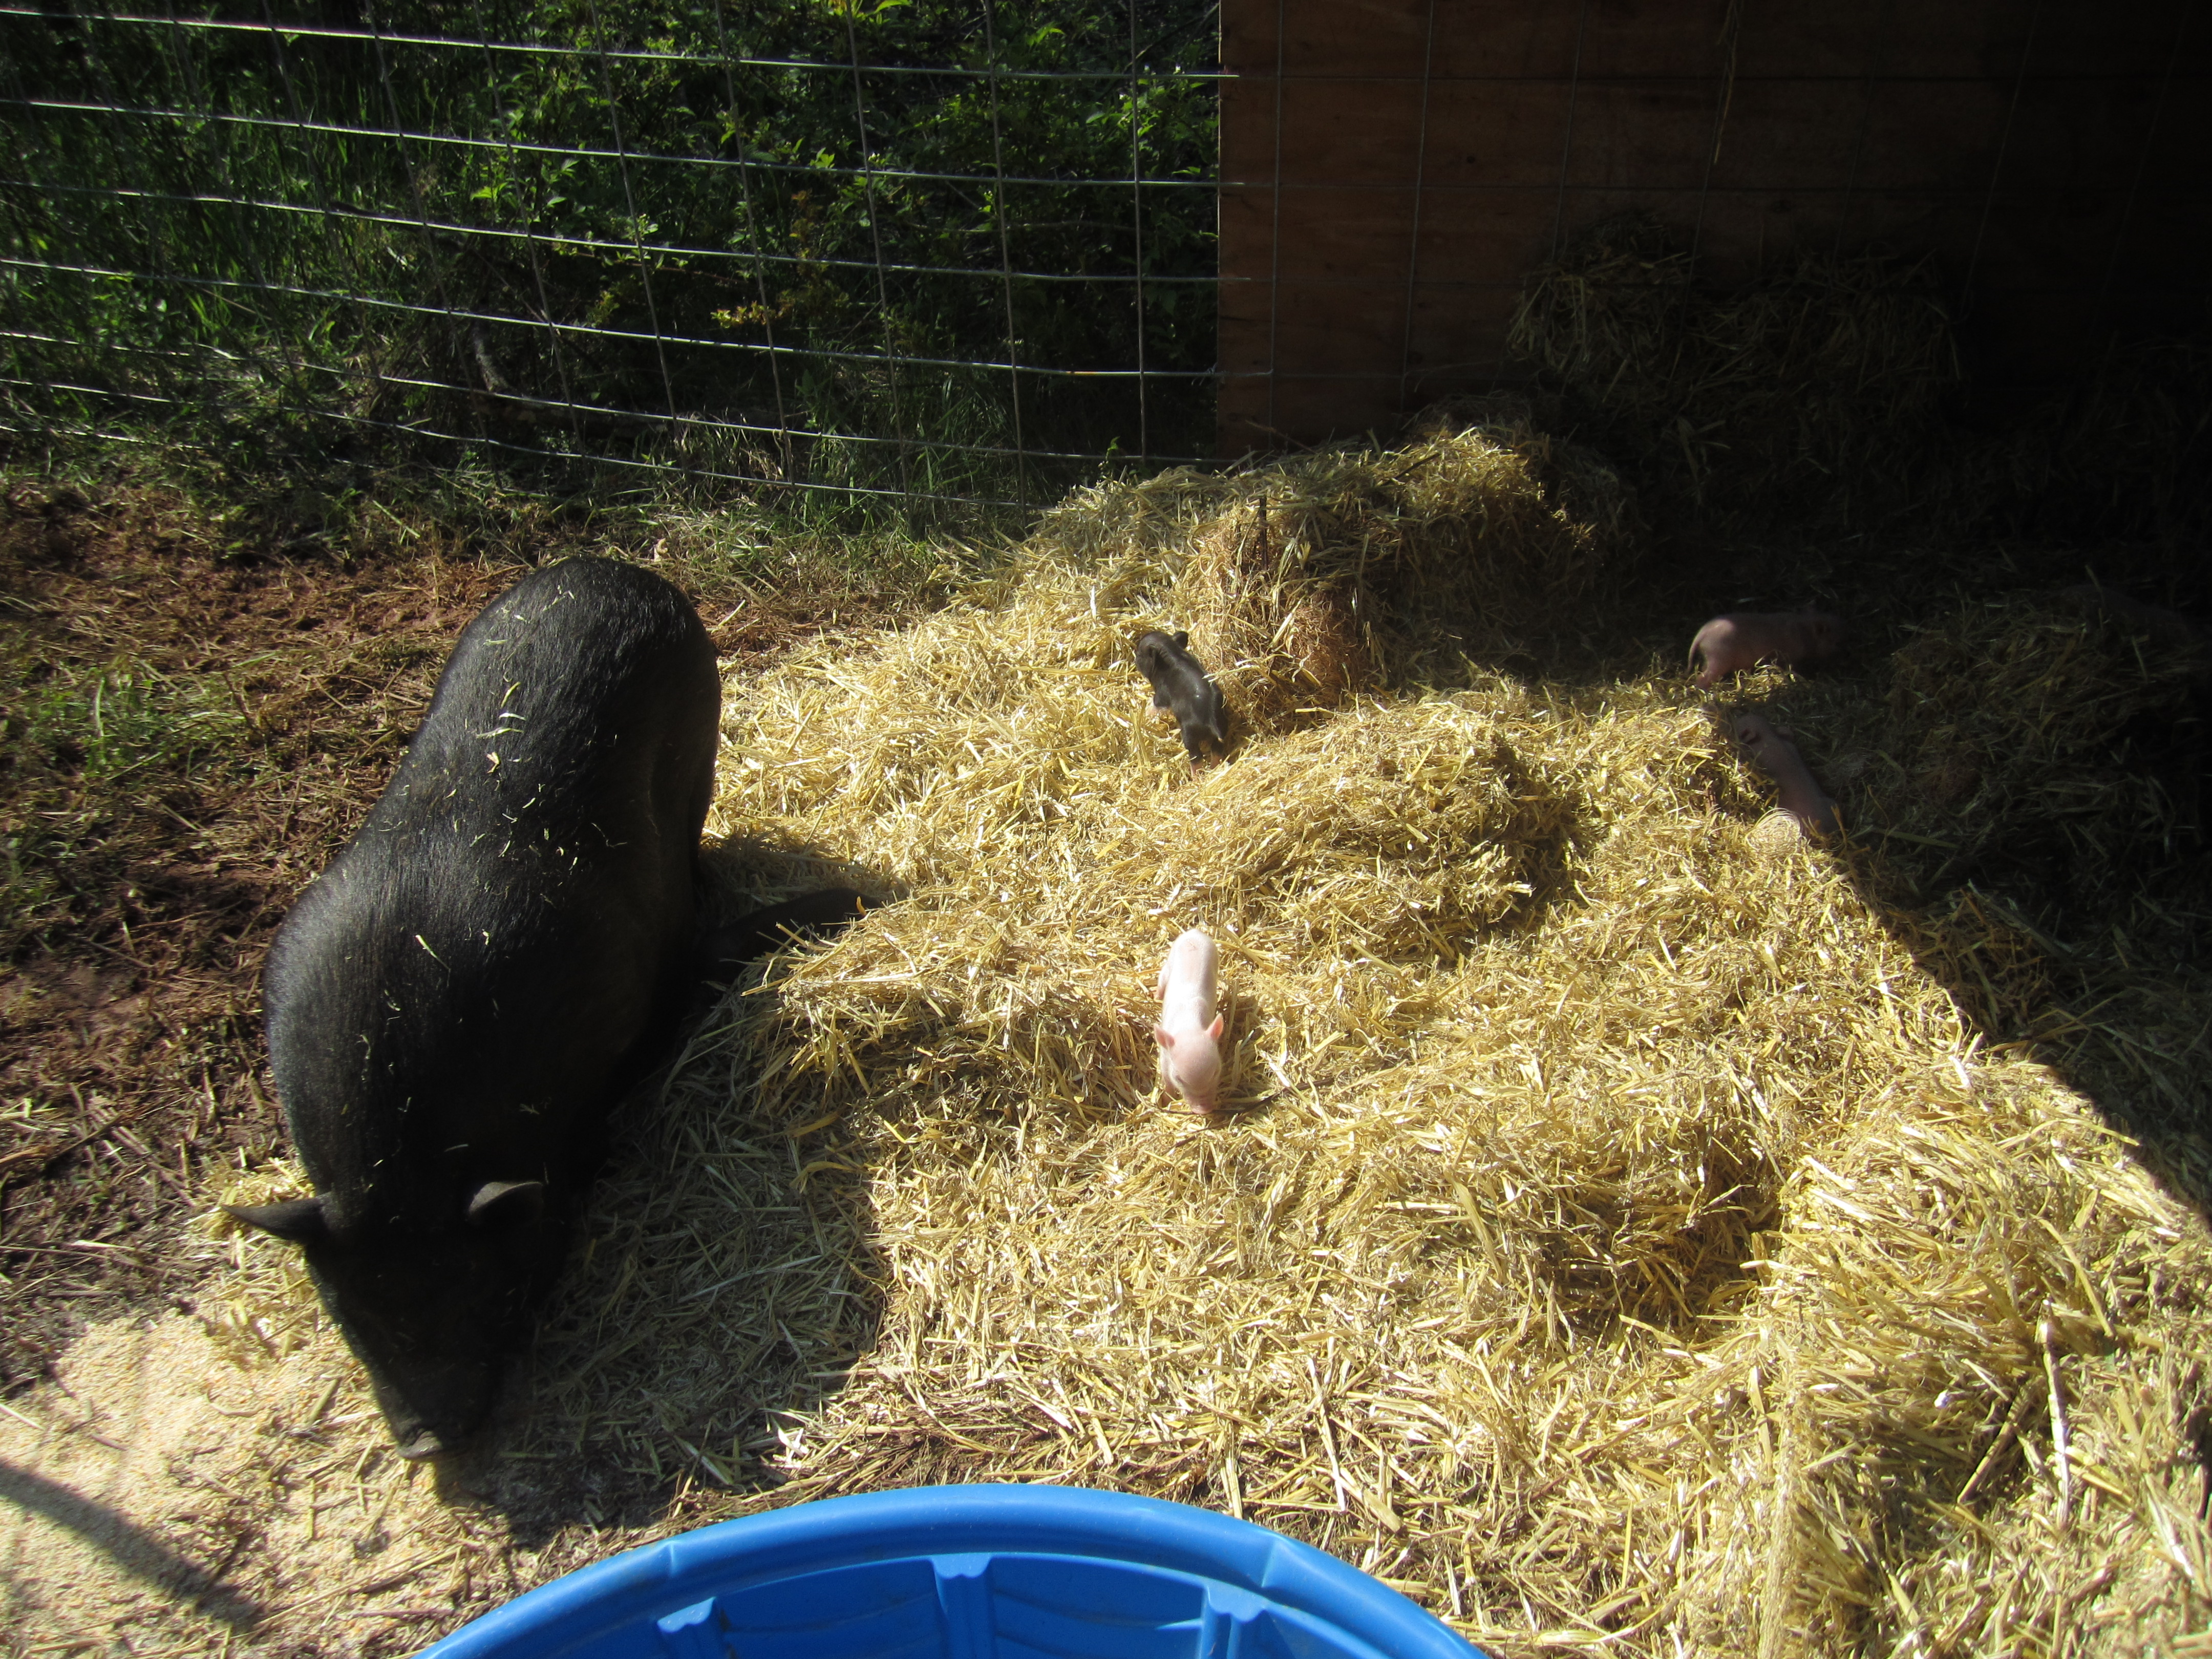
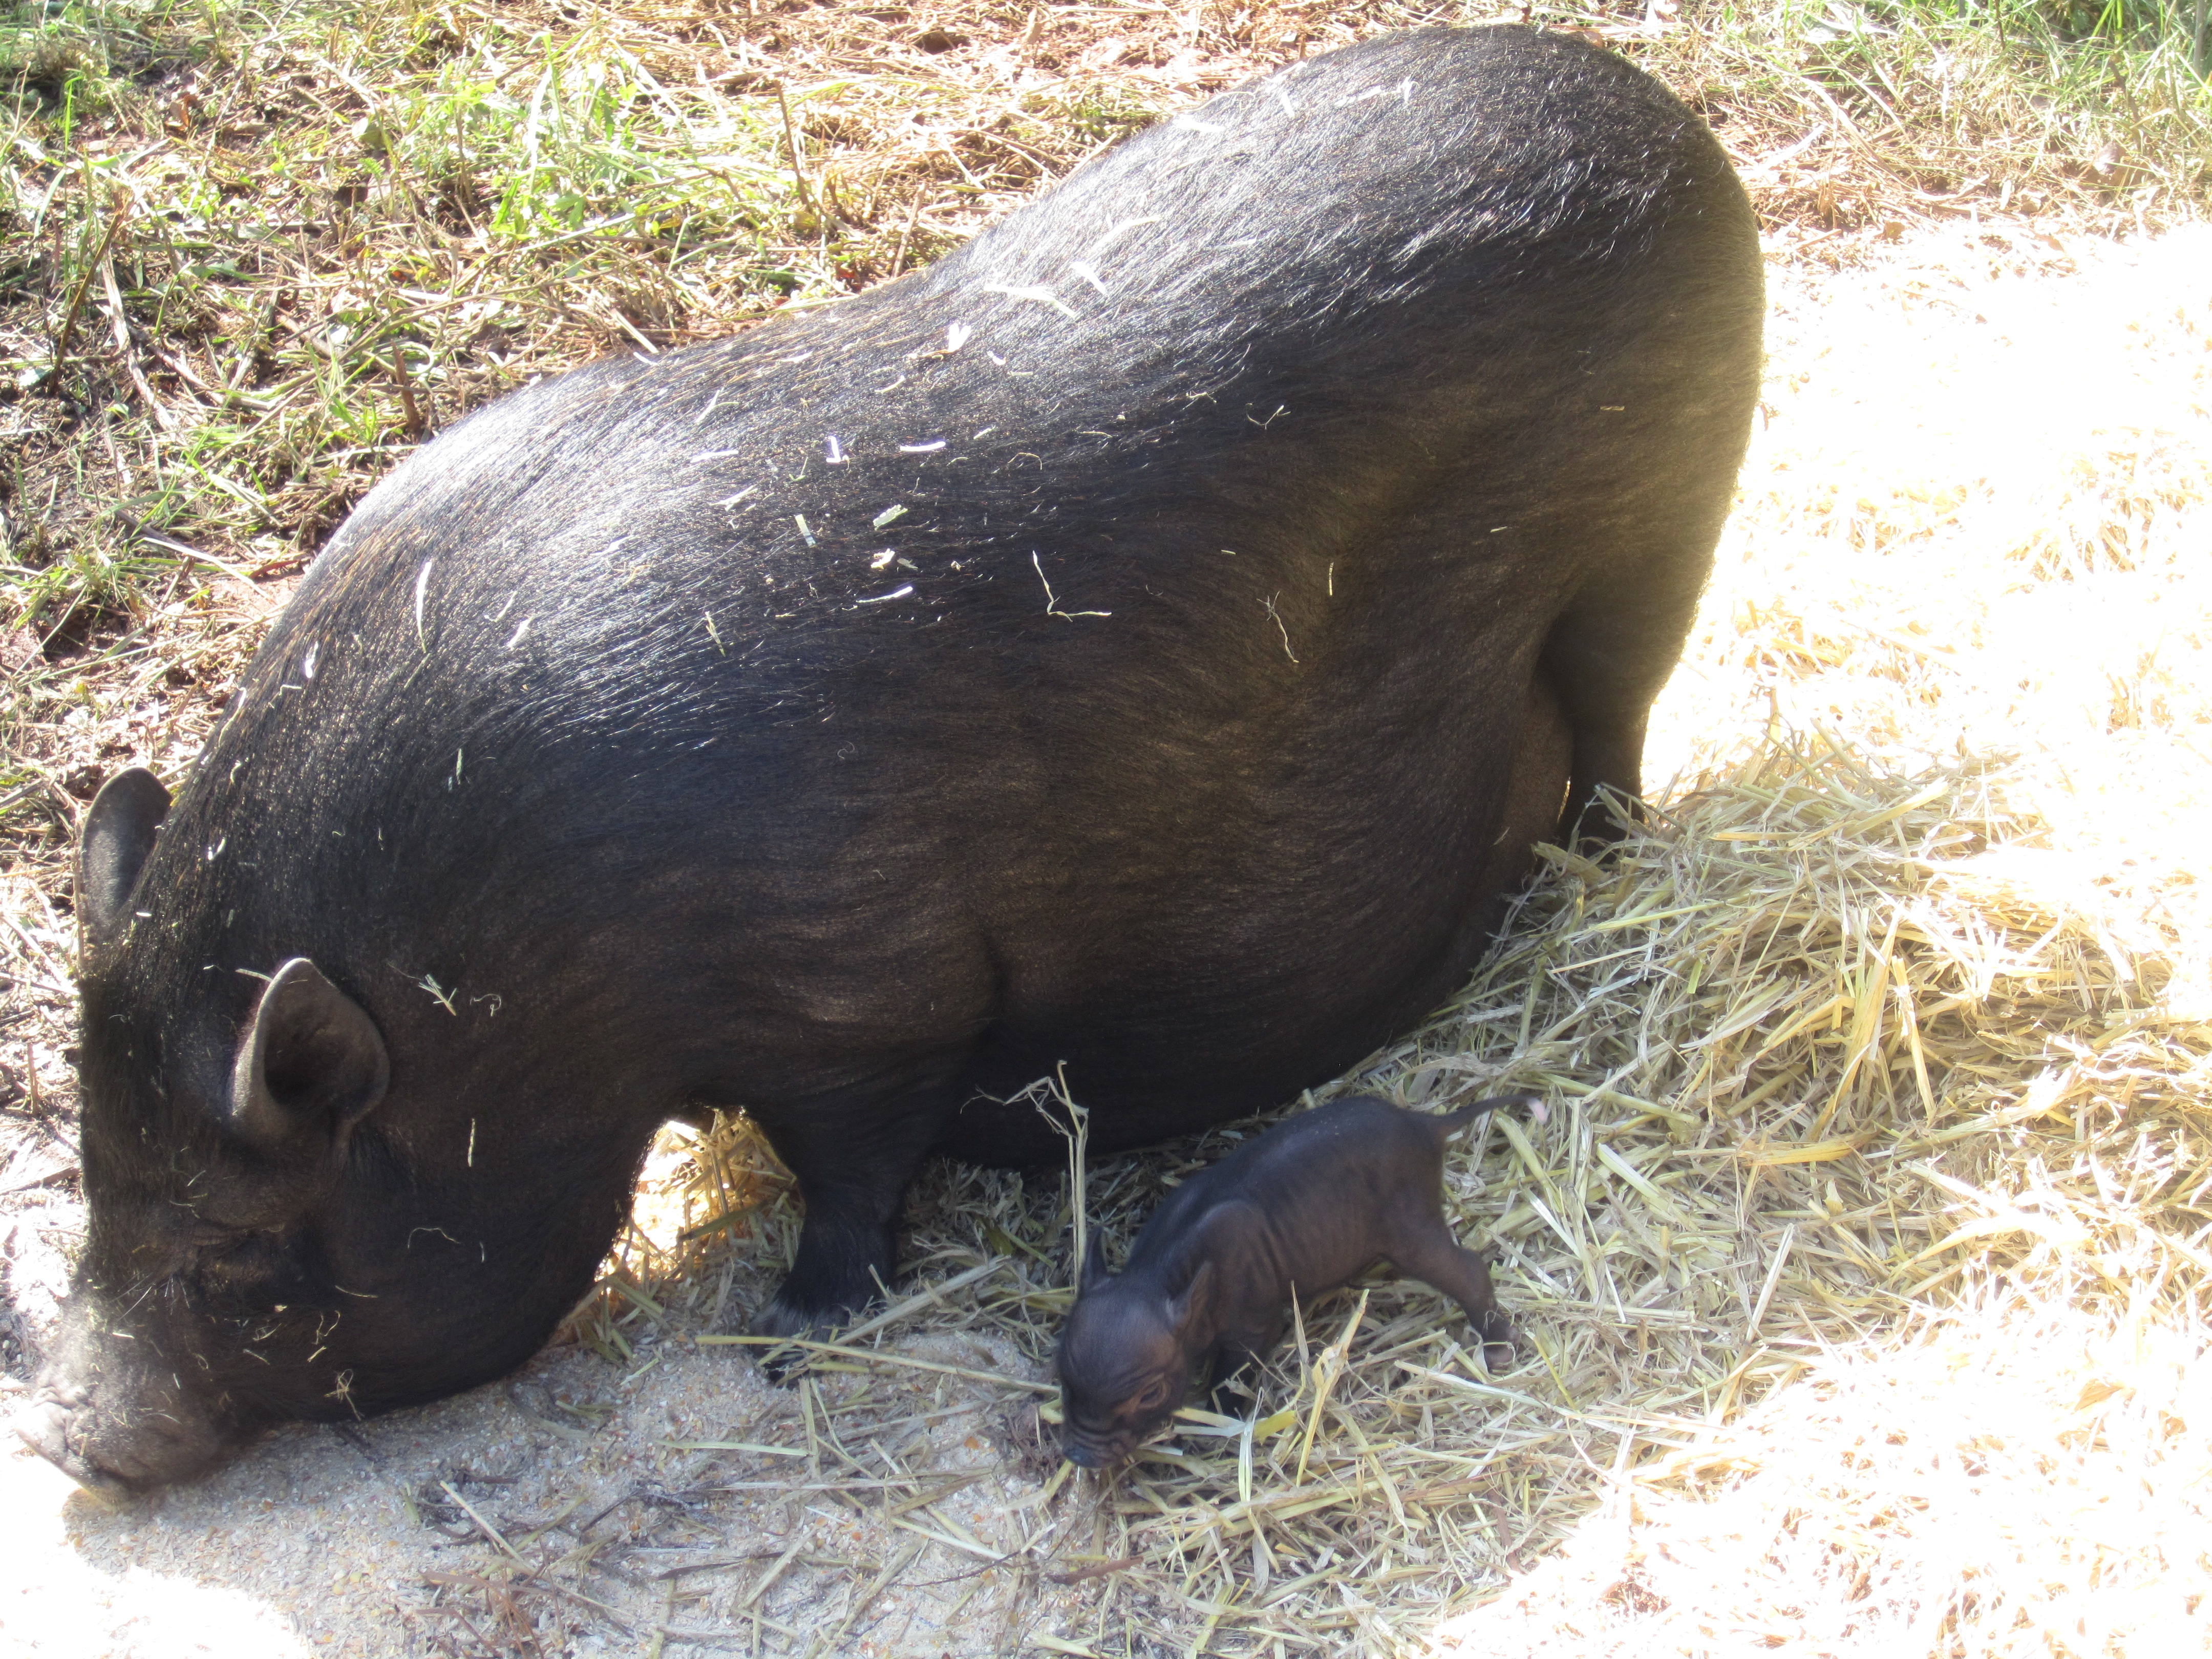
Louise quickly recovered and luckily I was able to pick up a couple of her babies before she was up on her feet again (since she would not have allowed it if I had tried just 30 minutes later).
Out and about!
Hanging out with mom!
Like mother, like son!
Hey, wait for me!!!
She ate her second placenta (or so I assume since it disappeared), drank water, and did not eat other solid foods that day. Mother pigs don’t need food on the birth day, but do need extra food after that!
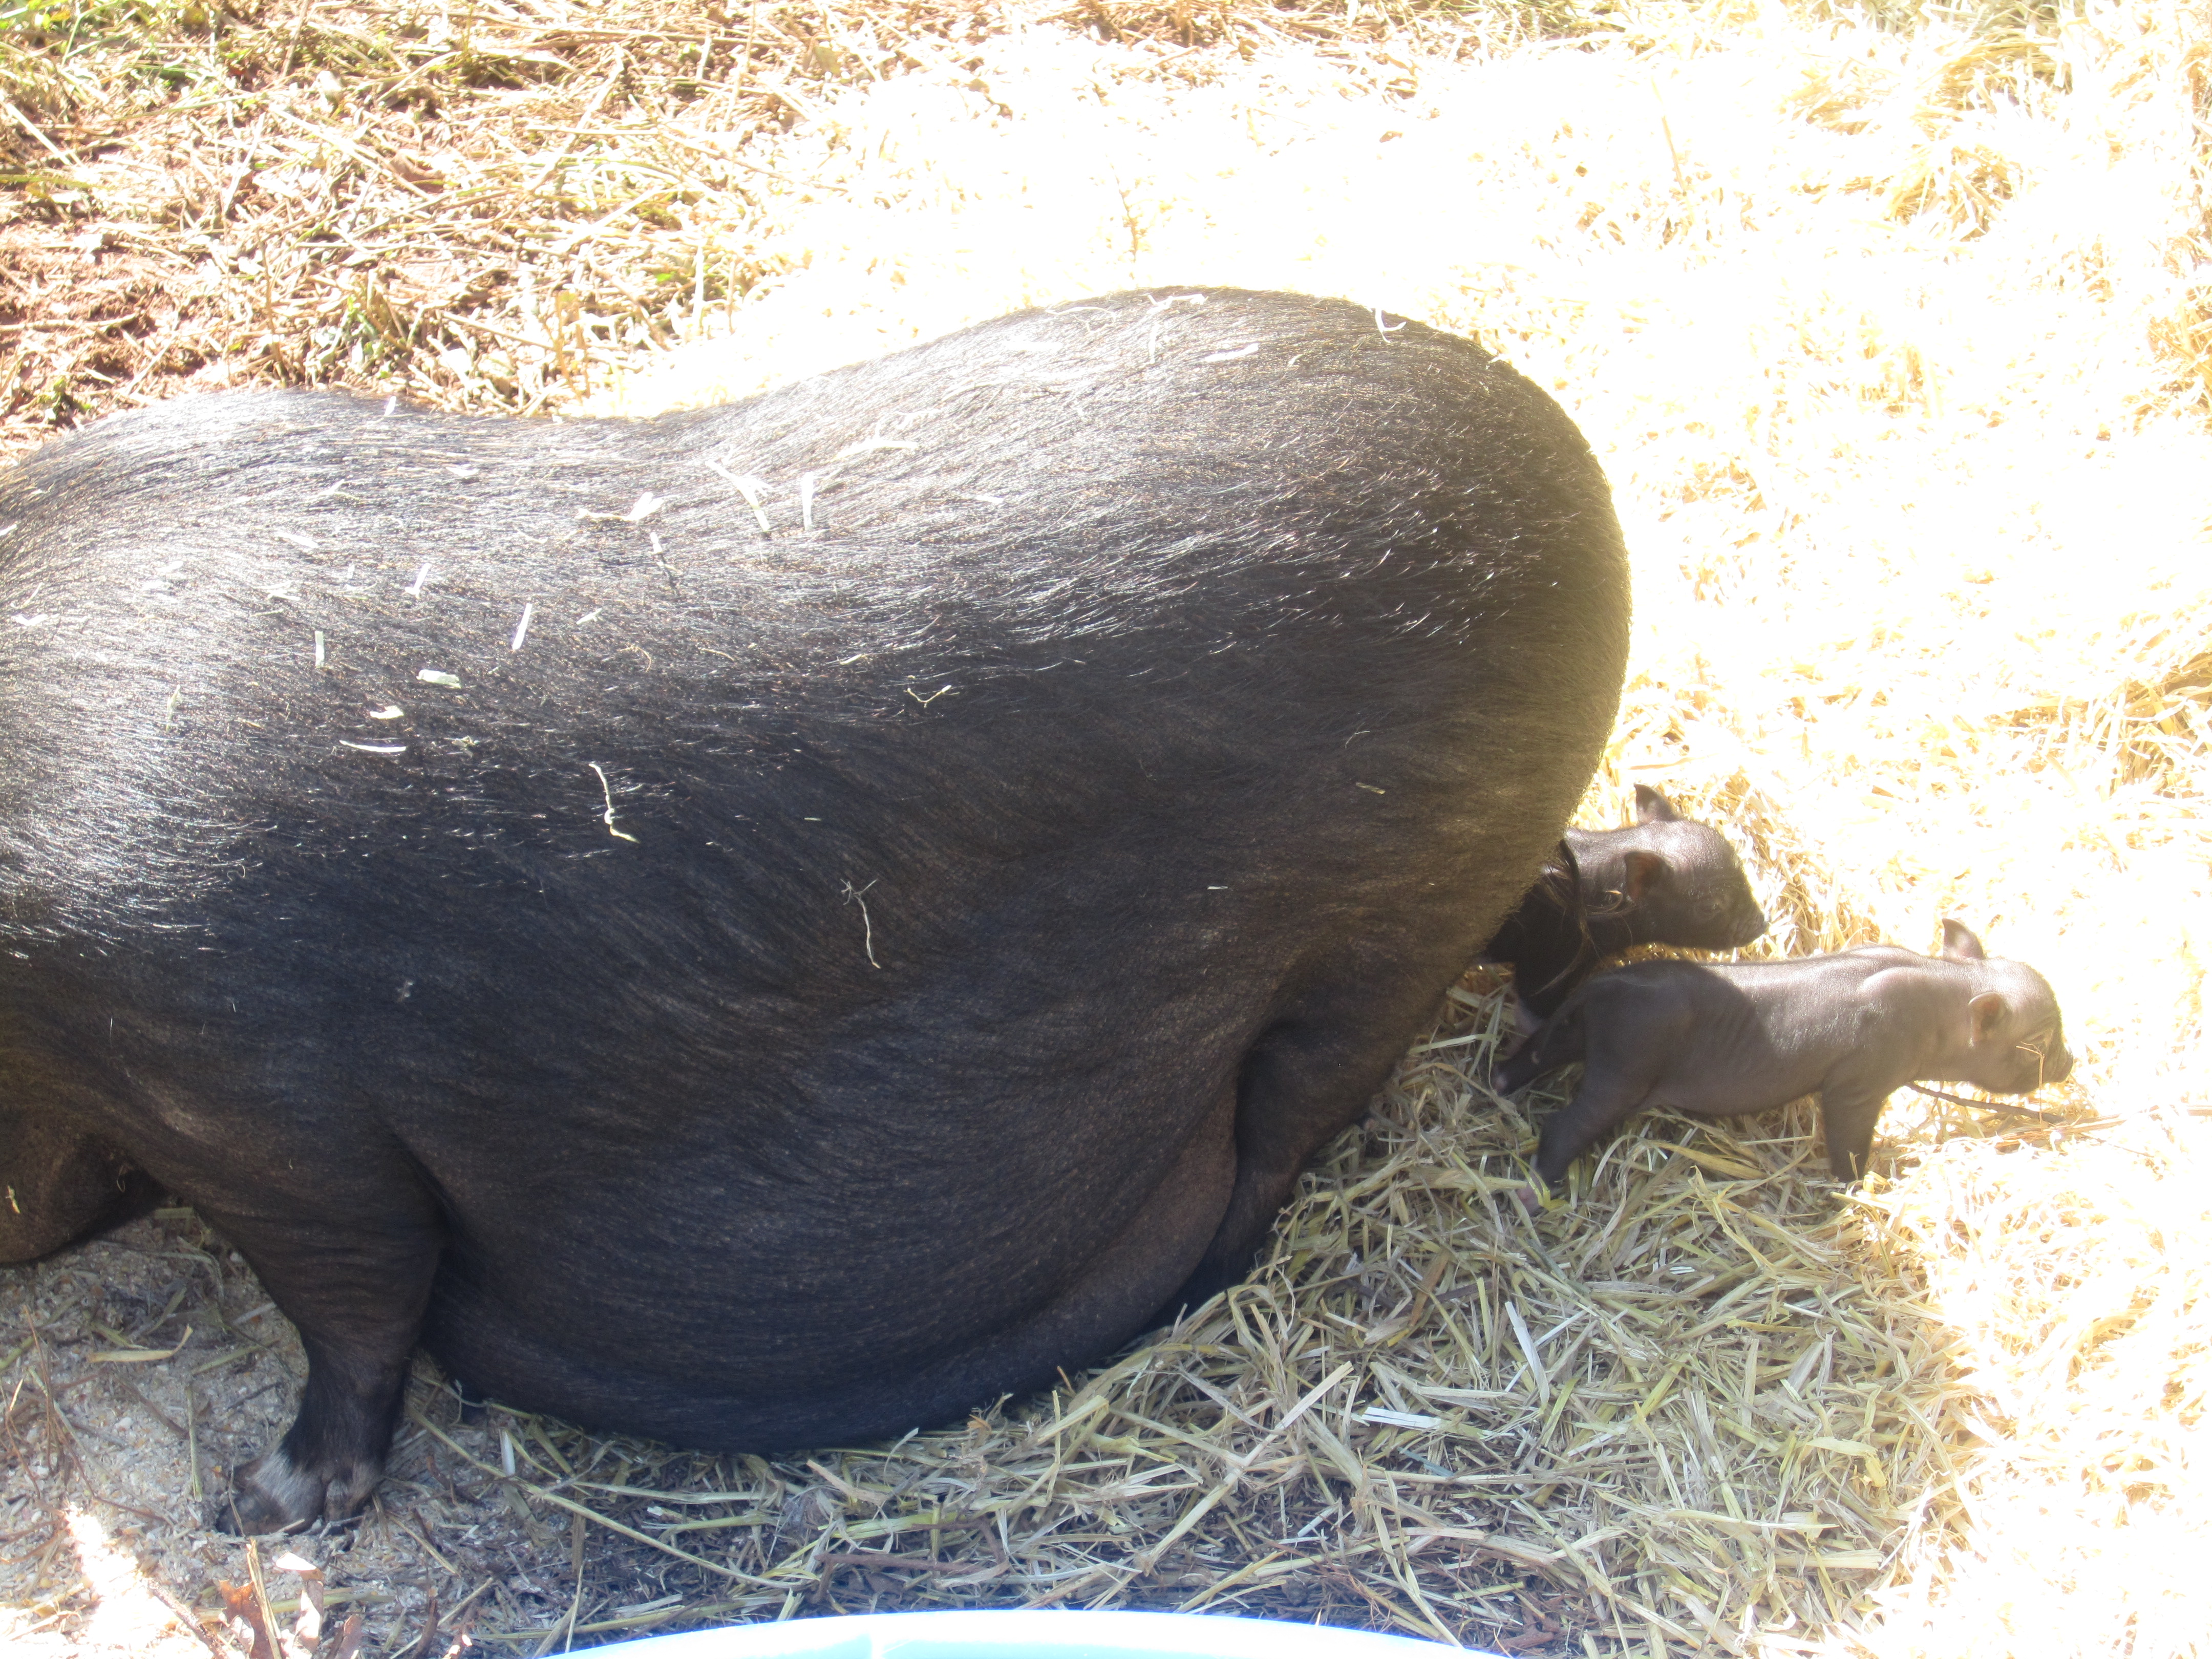
Now her babies are amazingly fatter and cuter and are started to look more piglet-like. Five are pink and two are black, one with white “stockings.” 4 are male and 3 are female, and the stillborn was also a male. She has let me touch a few of them gently both from outside the cage and from within. She always keeps an eye on me, though.
Her piglets are innately very socially conscious… They are born knowing to leave the nest to pee or poop and they spend a lot of time snuggling with each other and walking around, exercising their legs!
Overall, an extraordinary experience! I’m so happy to see many more pot belly pig births in my life!
May 6, 2015 / Emma / Comments Off on Waste Not: Respecting the Rooster By Using It All
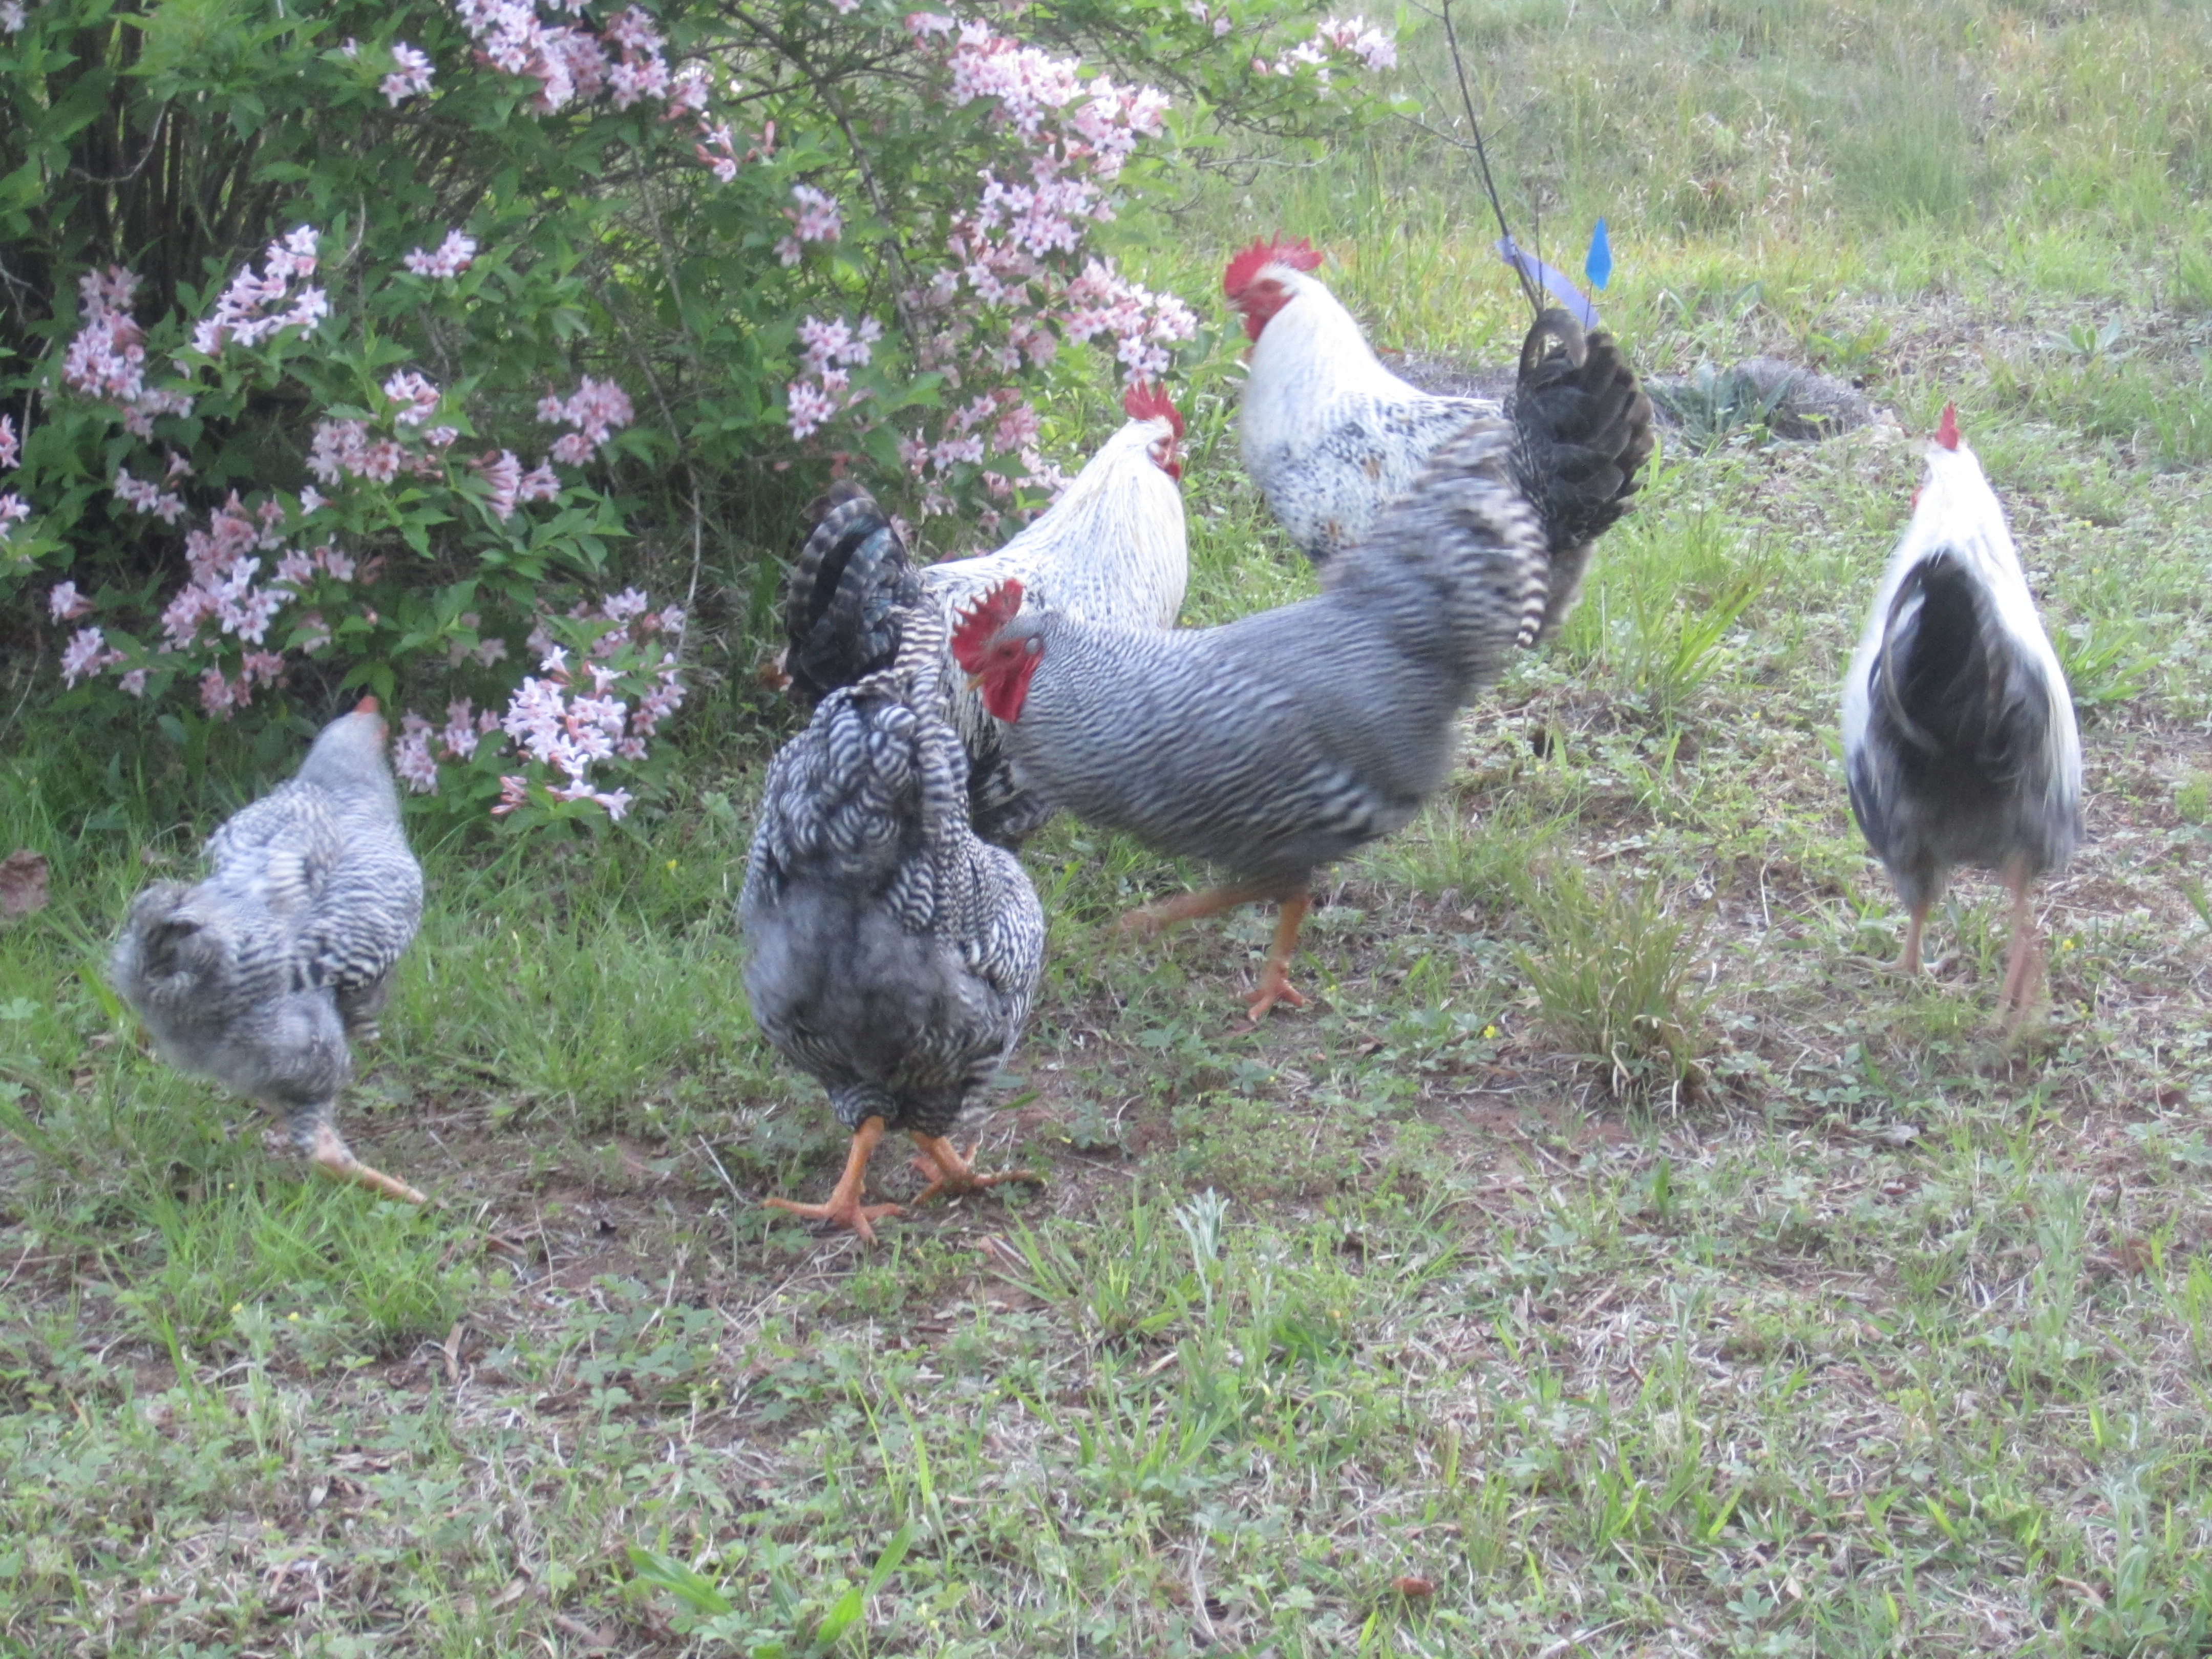
Some of the roosters, enjoying their time in the yard.
Recently we made a delicious rooster soup, and used all of the bones for the broth. We came out with a fantastically fatty stew that we will certainly enjoy again!!!
We wanted to be sure to use the entirety of each rooster, since wasting any part of them would feel like a disrespect. I watched each of them come into this world, hovering over the incubator like a ridiculous, nervous mom. I spent time with them and they came to know me as a creature to trust. Witnessing life’s full circle is a meaningful event, one that makes me all the more aware of our responsibility to honor the roosters after they have been dispatched. Here is how we used all of our roosters…
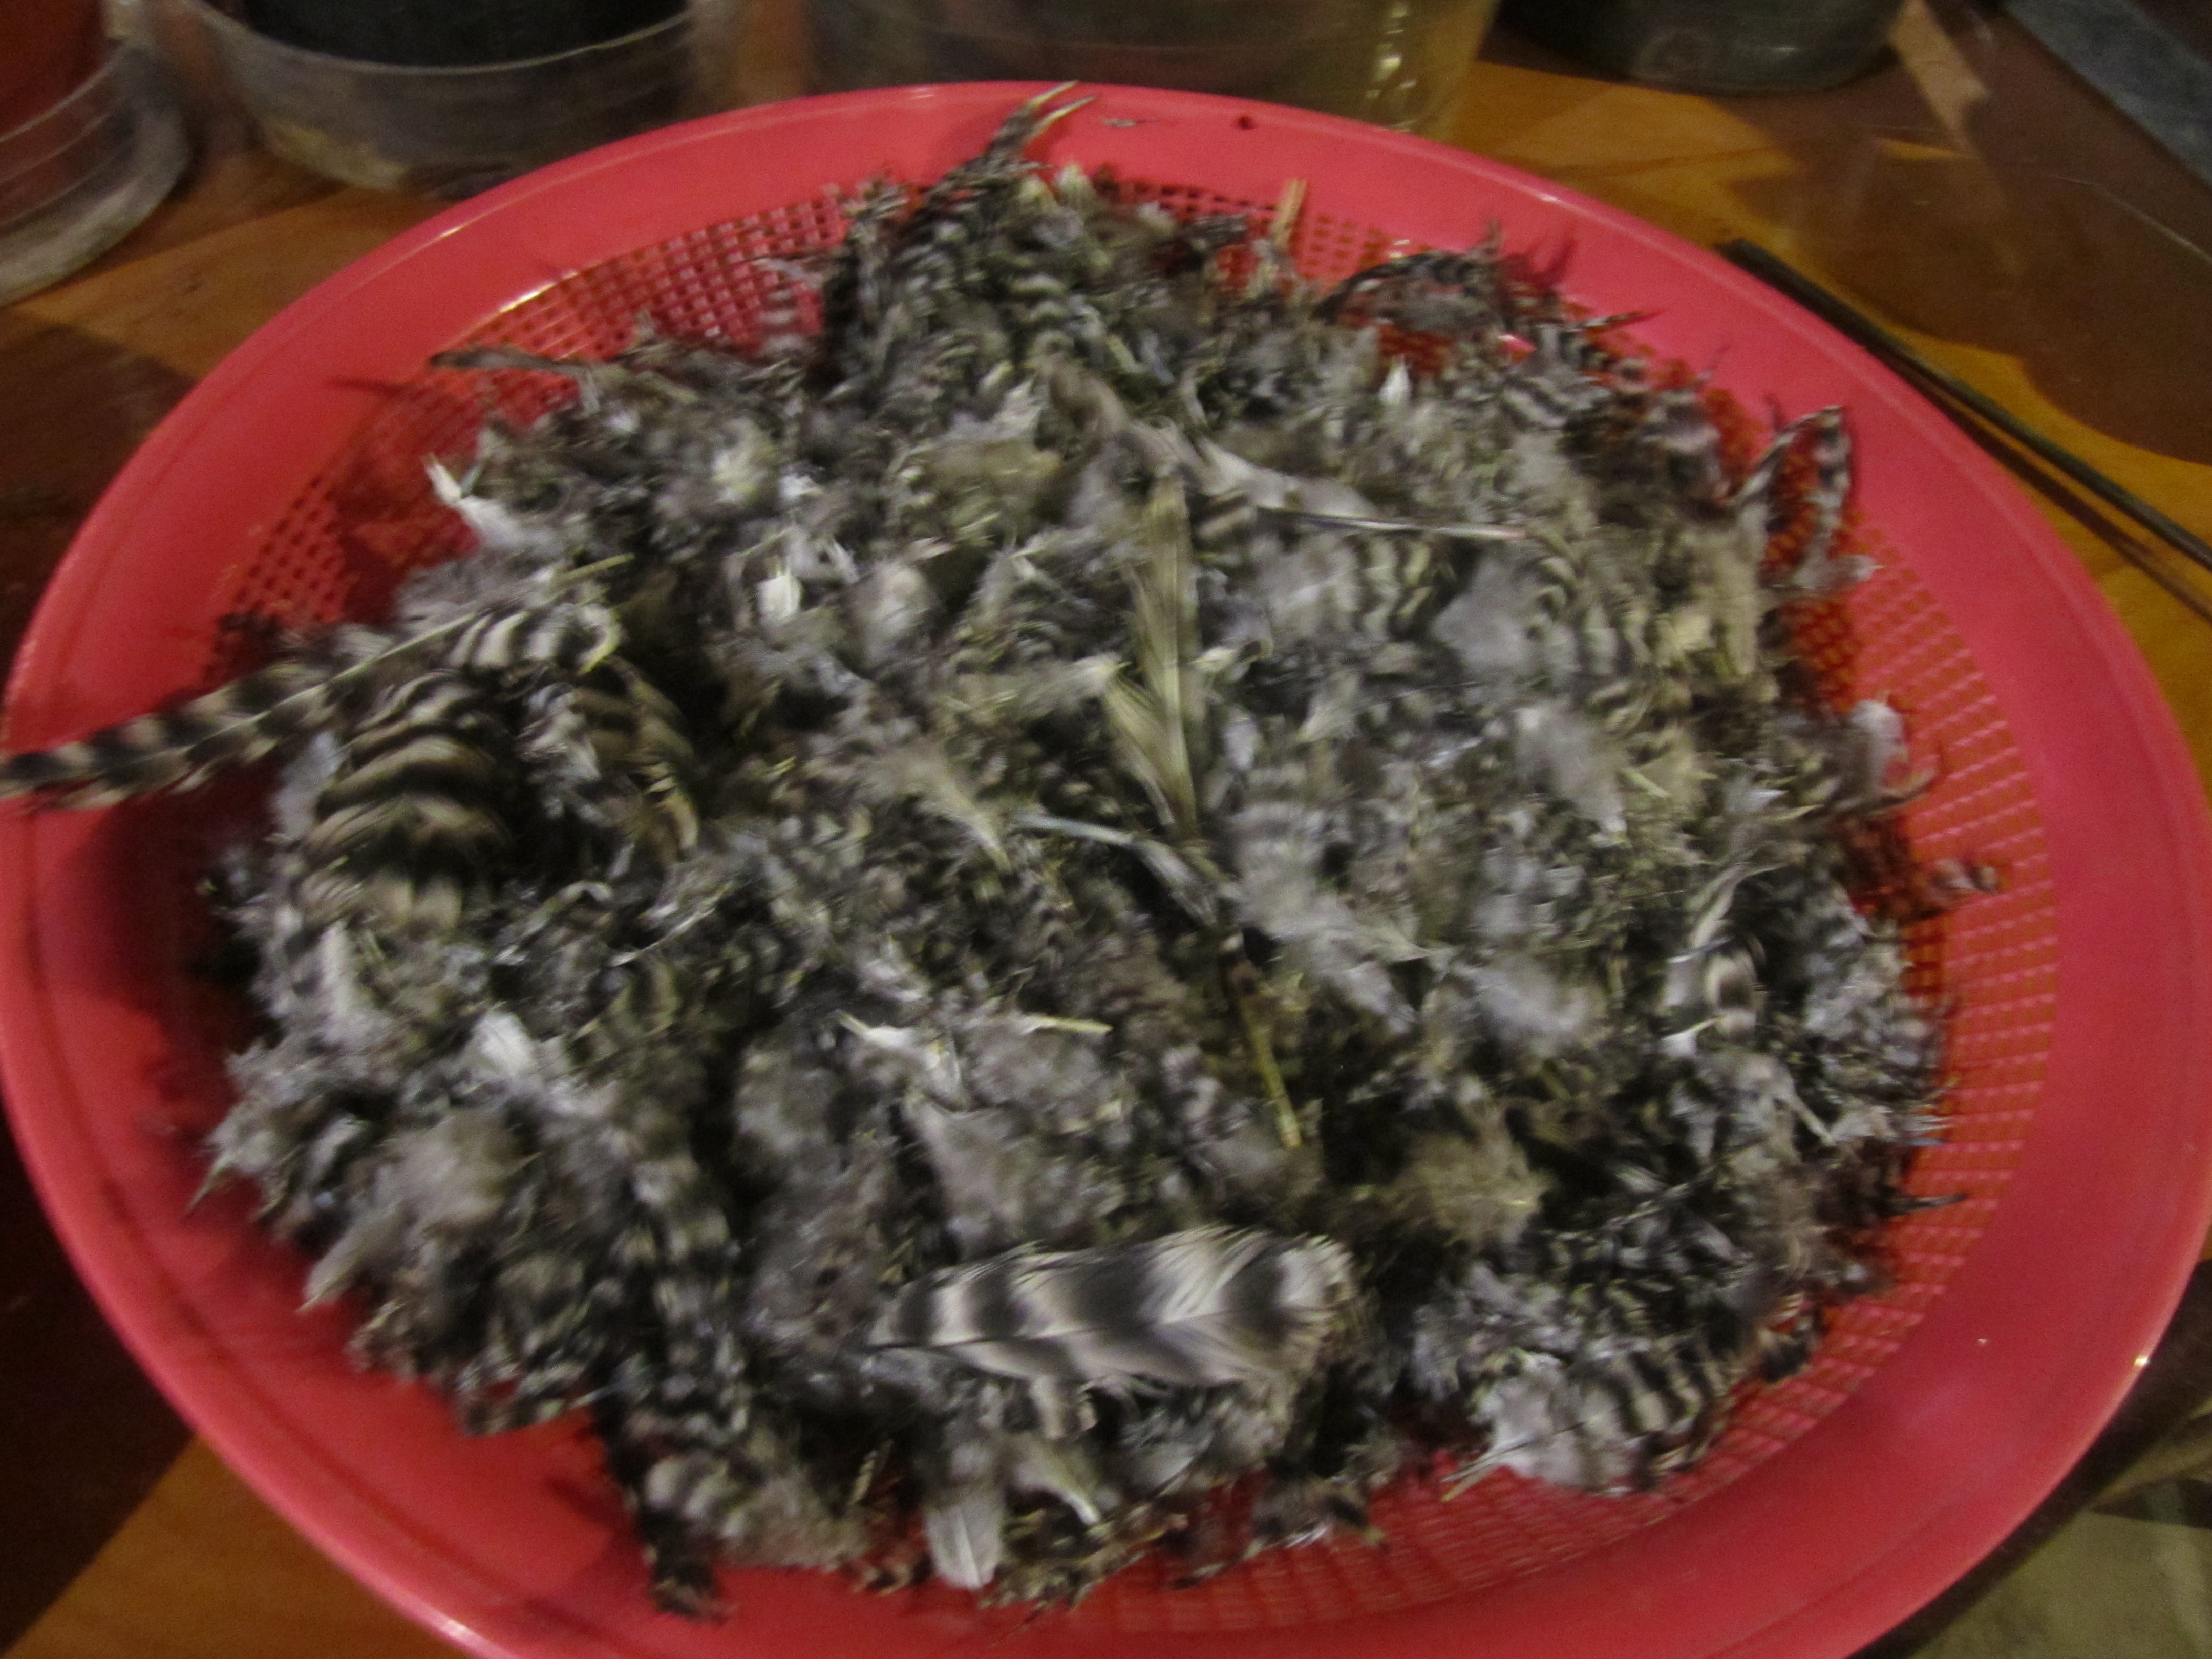
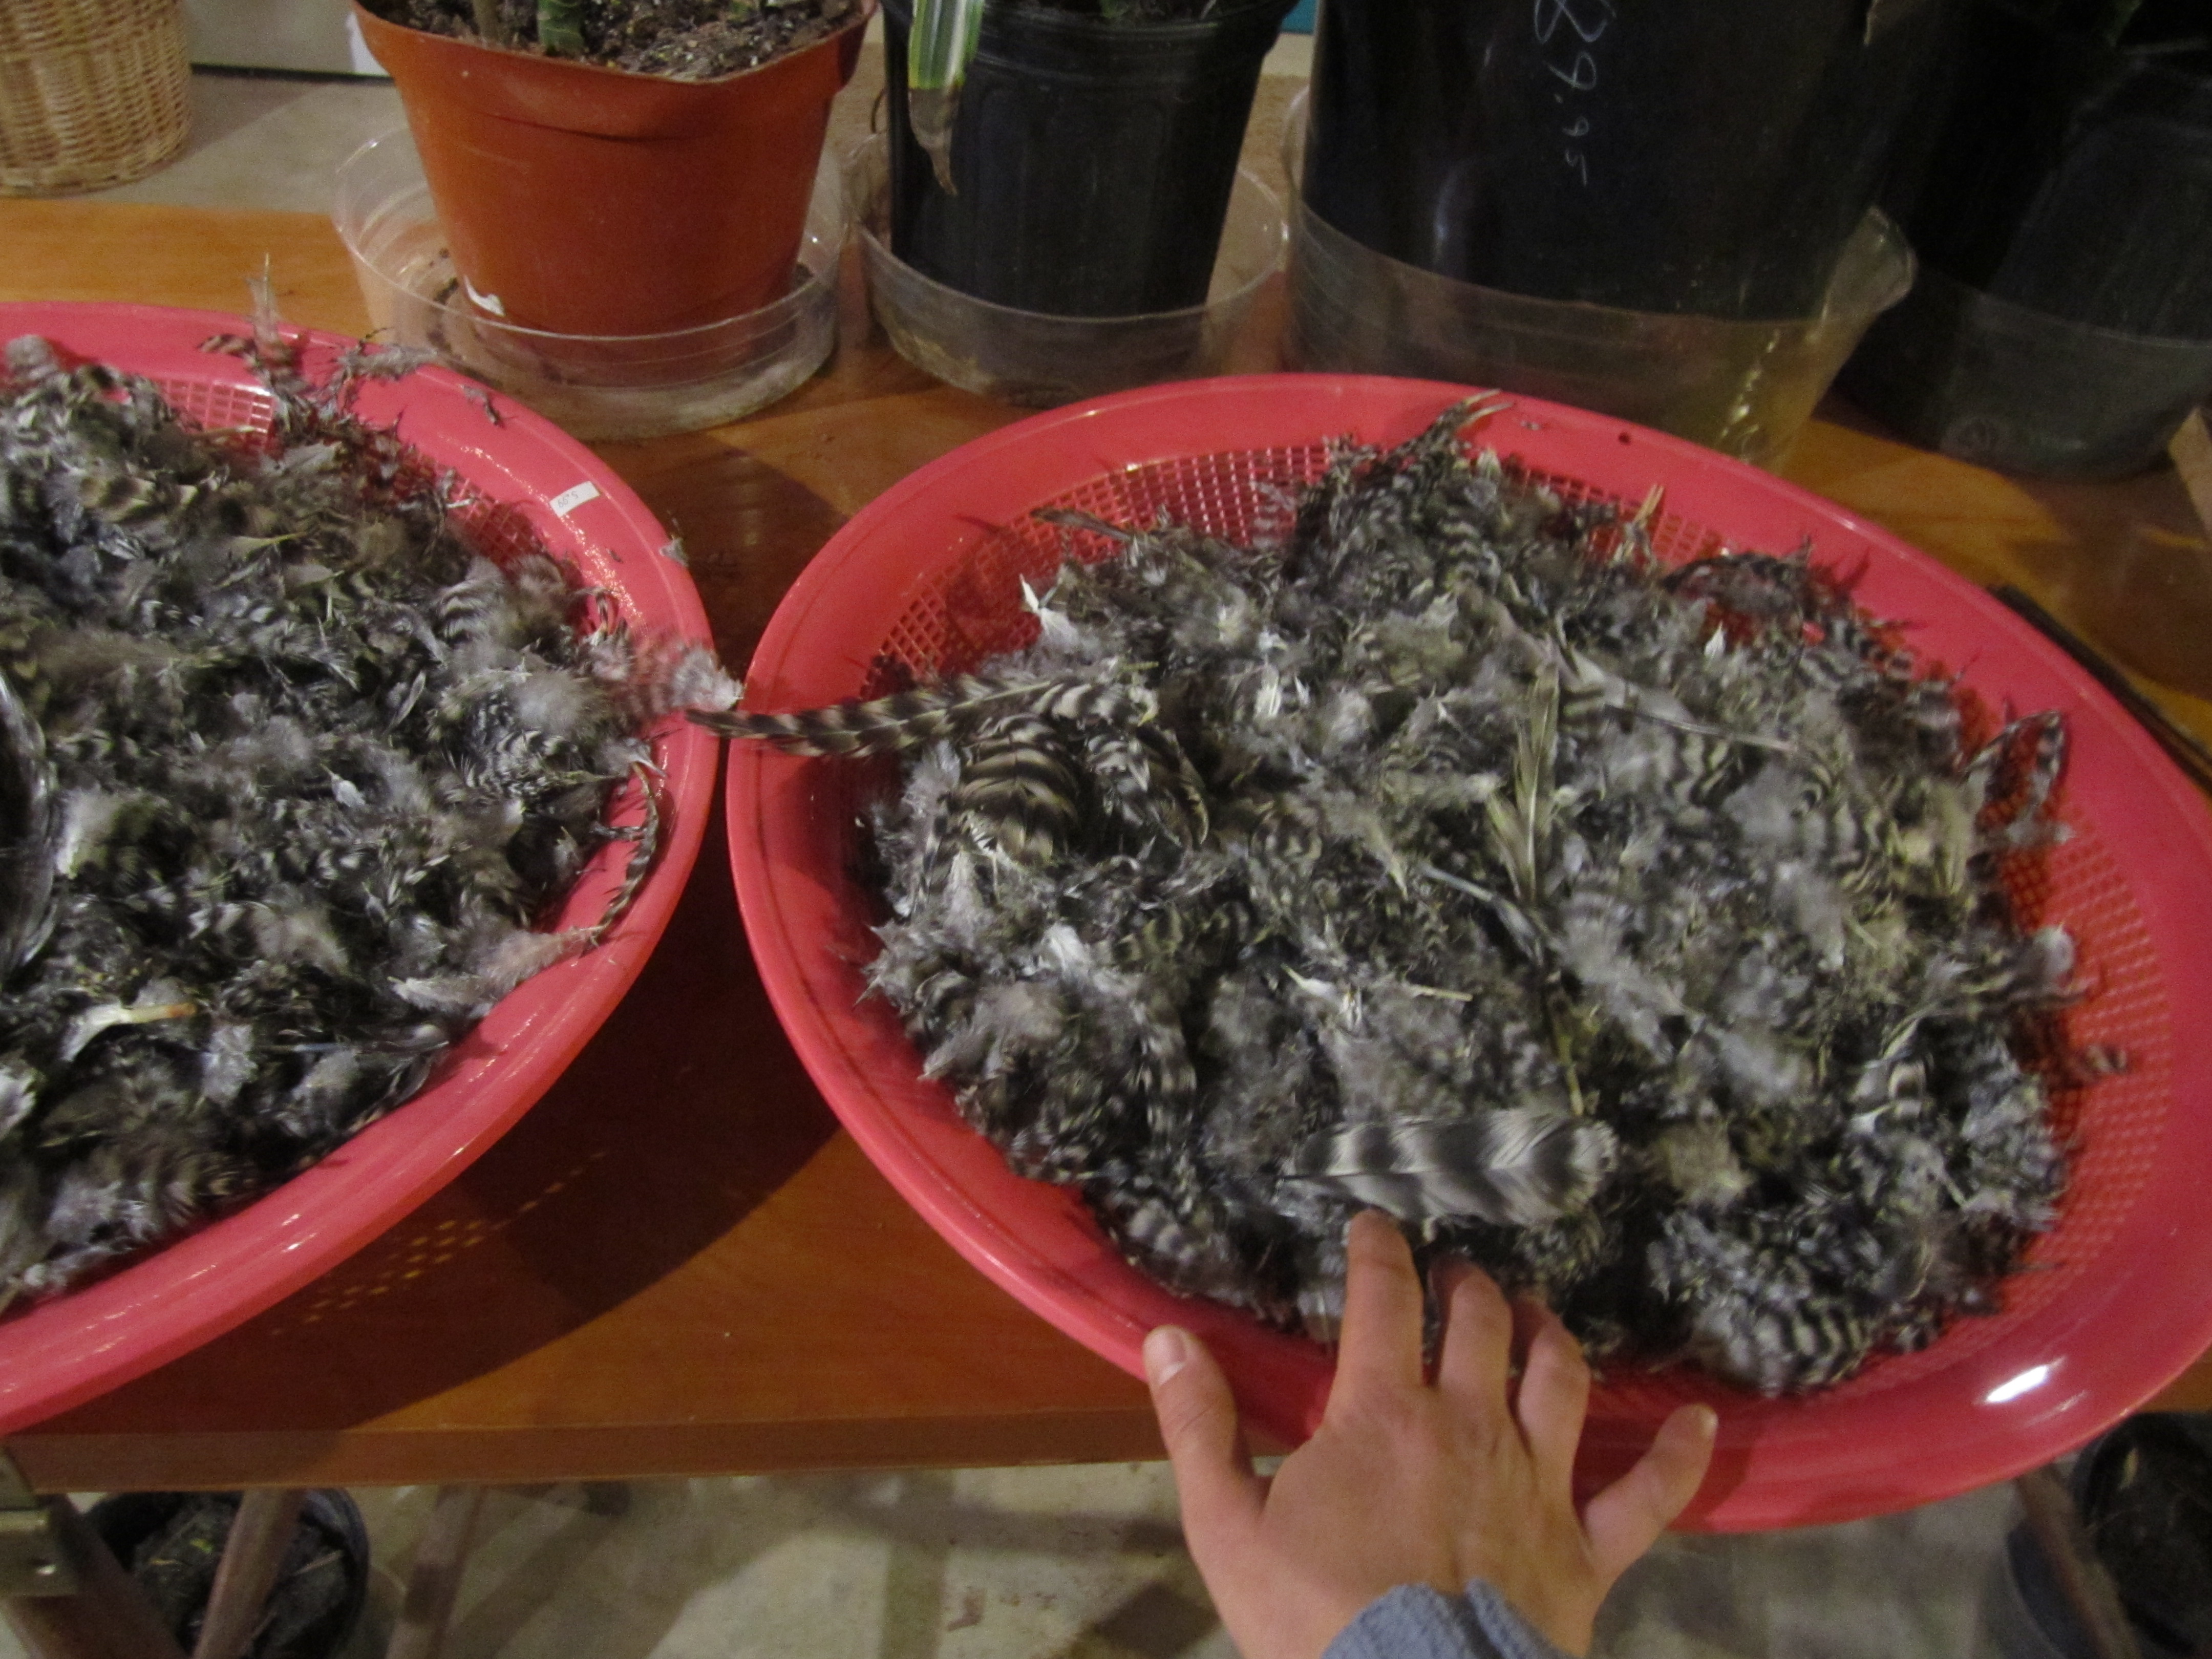
After they were killed, they were scalded in hot water to make plucking their feathers easier. All of these feathers were saved and I will be using them for earrings, a headdress, or even for stuffing fun, homemade pillows.
Feathers!
So many feathers!
Their heads were removed and we later put them in the compost pile so they can contribute their nutrients to our garden beds.
Their internal organs were removed, and the majority were fed to the pigs, who loved this snack!
We saved the livers for our dog, Bolt, and he got a snack also.
Then we fried the 3 hearts with salt and ate them ourselves. Delicious! This is one of my favorite little snacks… It makes me think of my childhood!
The feet were removed, cleaned, and steamed so that the skin would be easy to peel. These peels were given to the pigs and I saved the toenails for making jewelry.
The peeled feet were added to the soup… There is such great gelatin in chicken feet and it is so good for your body!
Once the broth was complete, the meat was removed from the bones and put back with the broth for our soup base.
I saved some of the more beautiful bones (the wish bones, phalanges, and other foot bones) for jewelry.
The remaining bones were cooked down over the course of a few days to make bone broth, a highly nutritous supplement to any future soup.
The bones that didn’t beak down fully were then mashed into a pulp to give to Bolt as a supplement… One better than money can buy!
So, thank you dear roosters! For all you have given us! We certainly appreciate it.
May 4, 2015 / Emma / Comments Off on Maternal Magic: Pig Preparing to Give Birth
Today one of our sows is preparing to go into labor. She knows just when the time is right and she starts to make the bed on which she will labor and give birth. It is a ritual, really, a dance. Just like human women, when allowed to labor in natural, animal ways, her female body knows just what to do and when to do it.
She’s nesting, just like women often do before labor!
I find this video to be magical, since it is the first proof that birth is sure to begin soon… How exciting!
Check out our pot belly pig, Thelma, as she prepares her nest for her babies…
Notice that at the end of the video, she has her eye on the tarp, and starts to rip it to shreds. Her instincts are telling her that that blue flapping thing is a perfect addition to her babies’ nest!
We recorded this video today… The turkeys are doing very well and are the friendliest birds that we’ve ever had! They even try to follow you out of their pen!
April 17, 2015 / Emma / Comments Off on Turning the Shed Into Our New Broodhouse (Upstairs)
Finishing up the upstairs portion of the shed was much less time consuming than predator-proofing the structure and completing the downstairs. I was able to finish this up by myself, which was nice because the drill gun and I got some time to ourselves!
The first thing I did was frame in the area that was going to be the gate inside the upstairs. I did this with old lumber we had lying around and some old tobacco sticks that we found while cleaning out the shed!
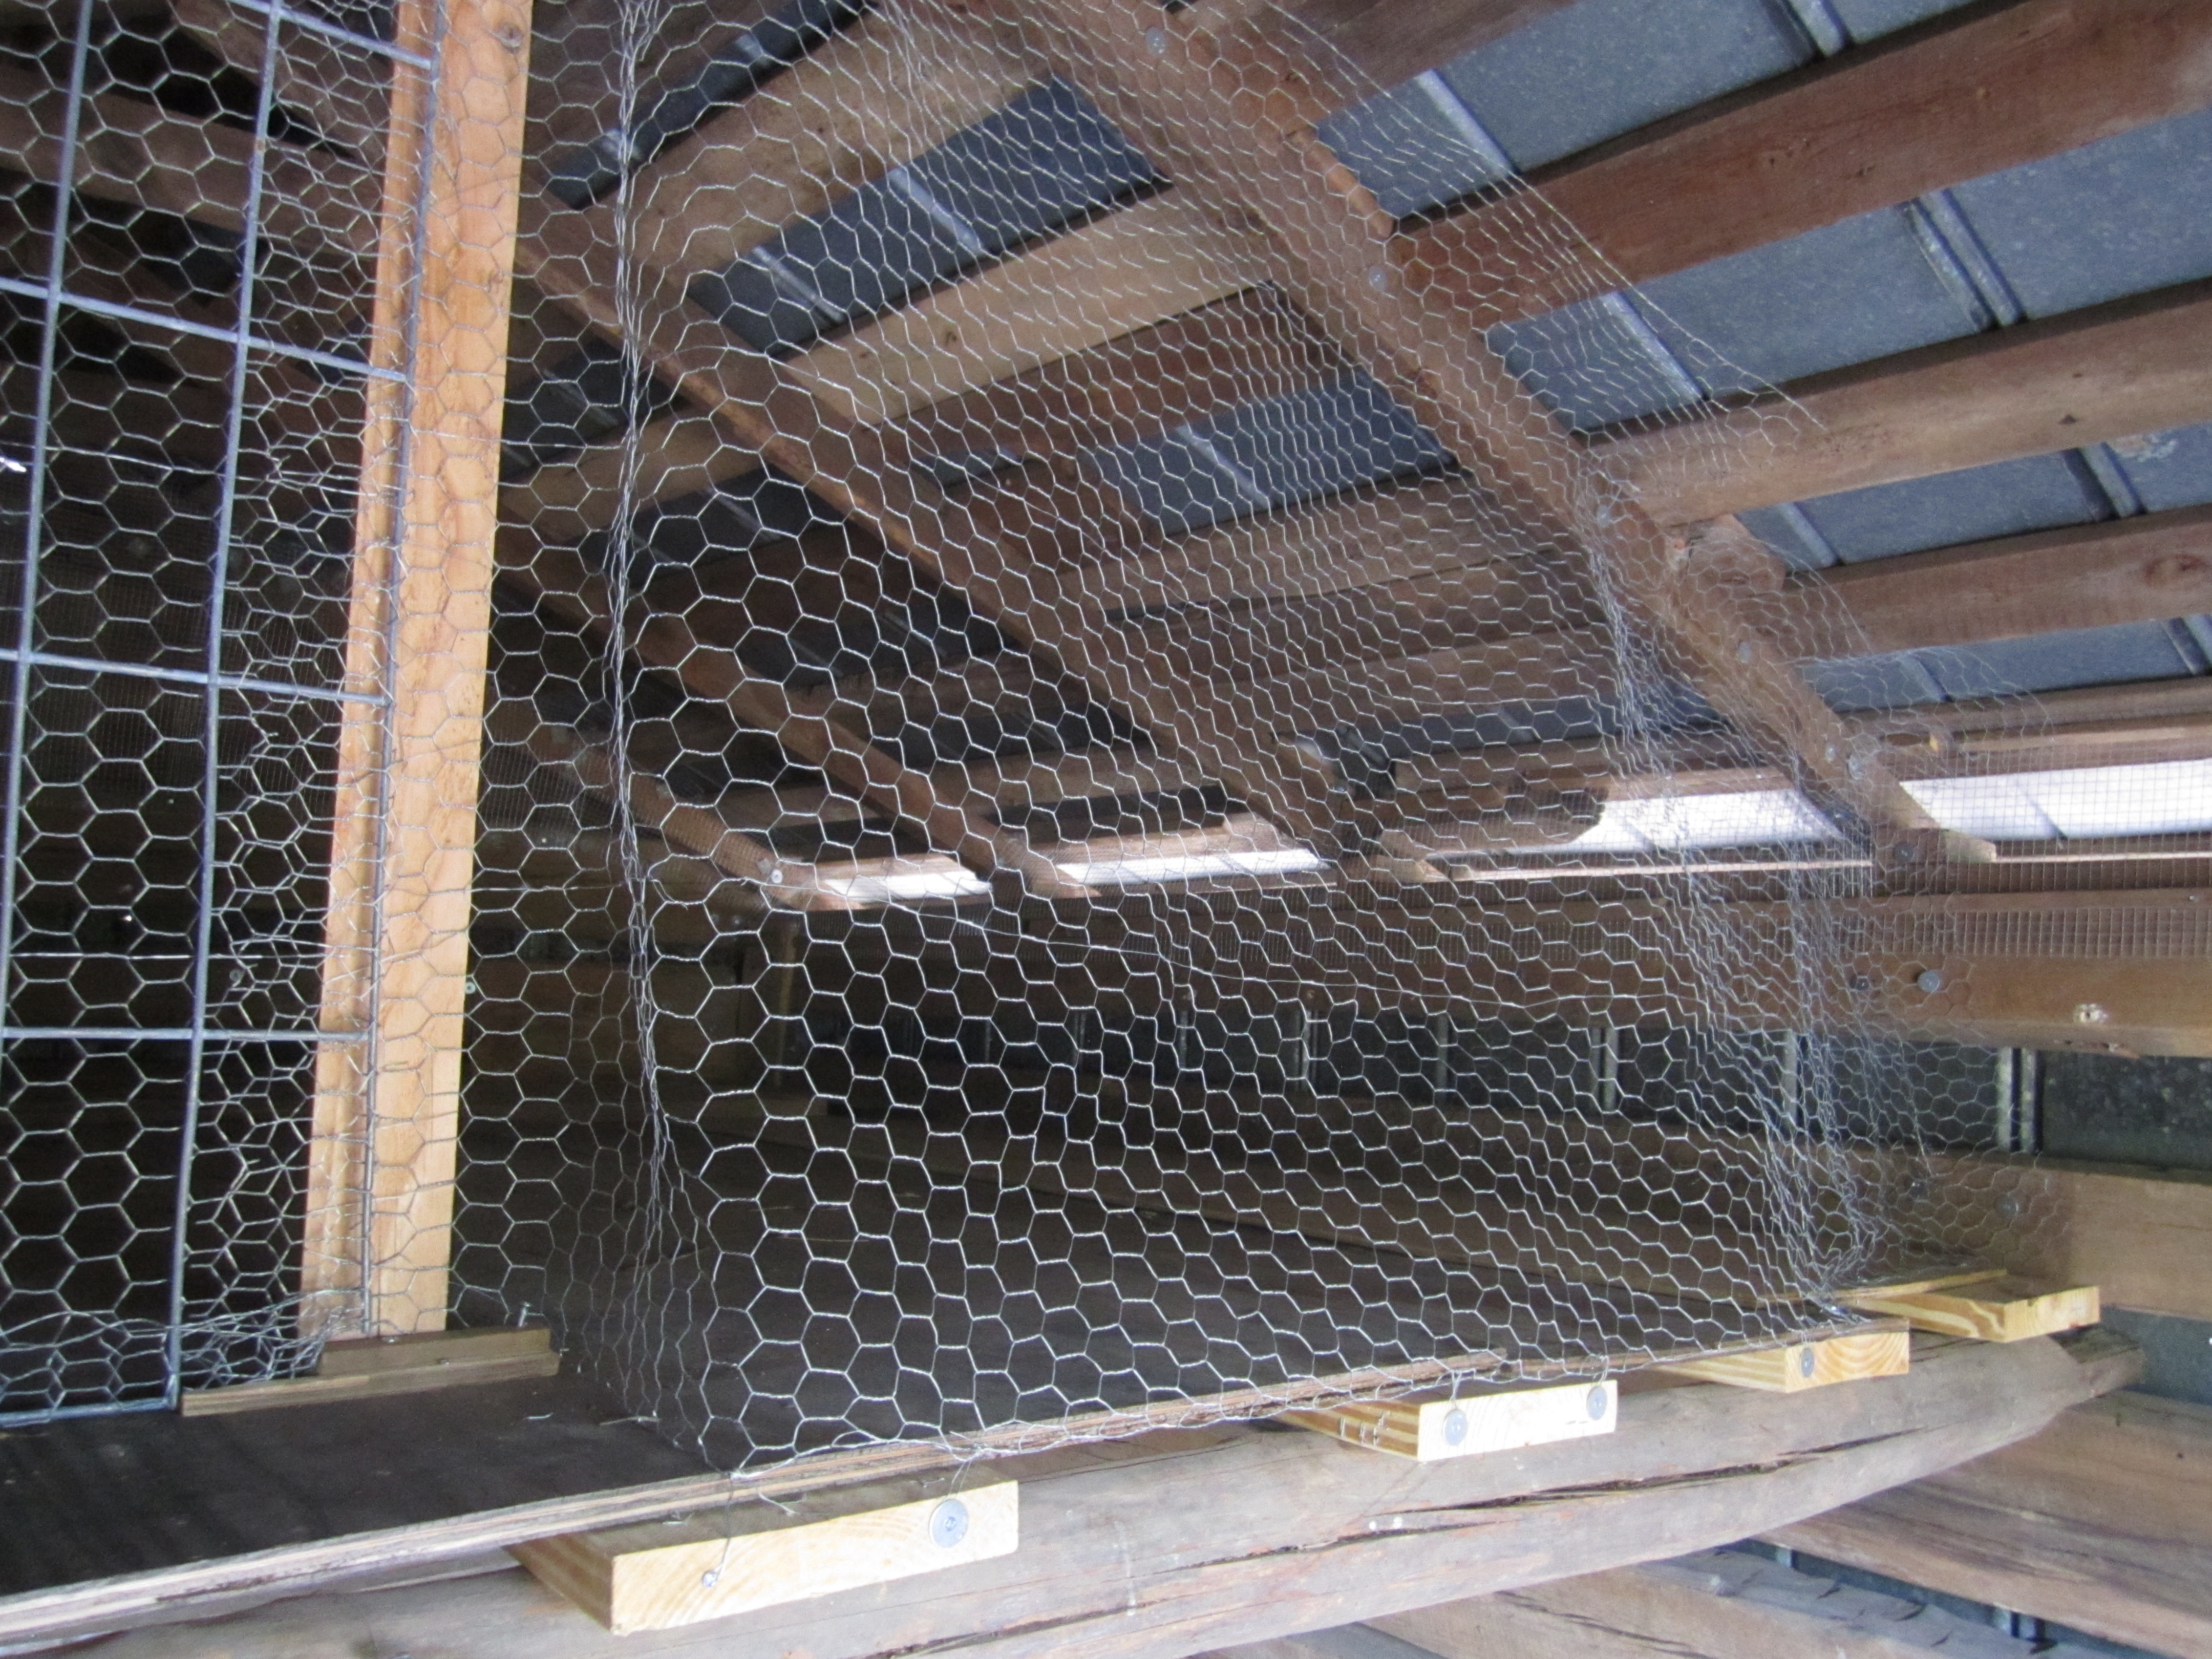
Framing and adding wire.
Then I tacked chicken wire on the outside of the frame, essentially walling in the upstairs so the turkeys won’t fall off the ledge!
Then I climbed on up there and used 1 foot chicken wire to cover the gaps in the wooden walls. We decided to do this so that no baby turkeys could climb up on the ledge between the wood and get stuck.
The last (and most fun) thing that I did was make the gate/door out of a cut-up cattle panel that I wrapped in chicken wire.
A gate, what fun!
I made sure that all overlapping wire was tight or woven together, just to be sure that the babies don’t fall through of get stuck.
It felt wonderful last week to have more time to devote to my homestead to-do list, and I felt super productive!
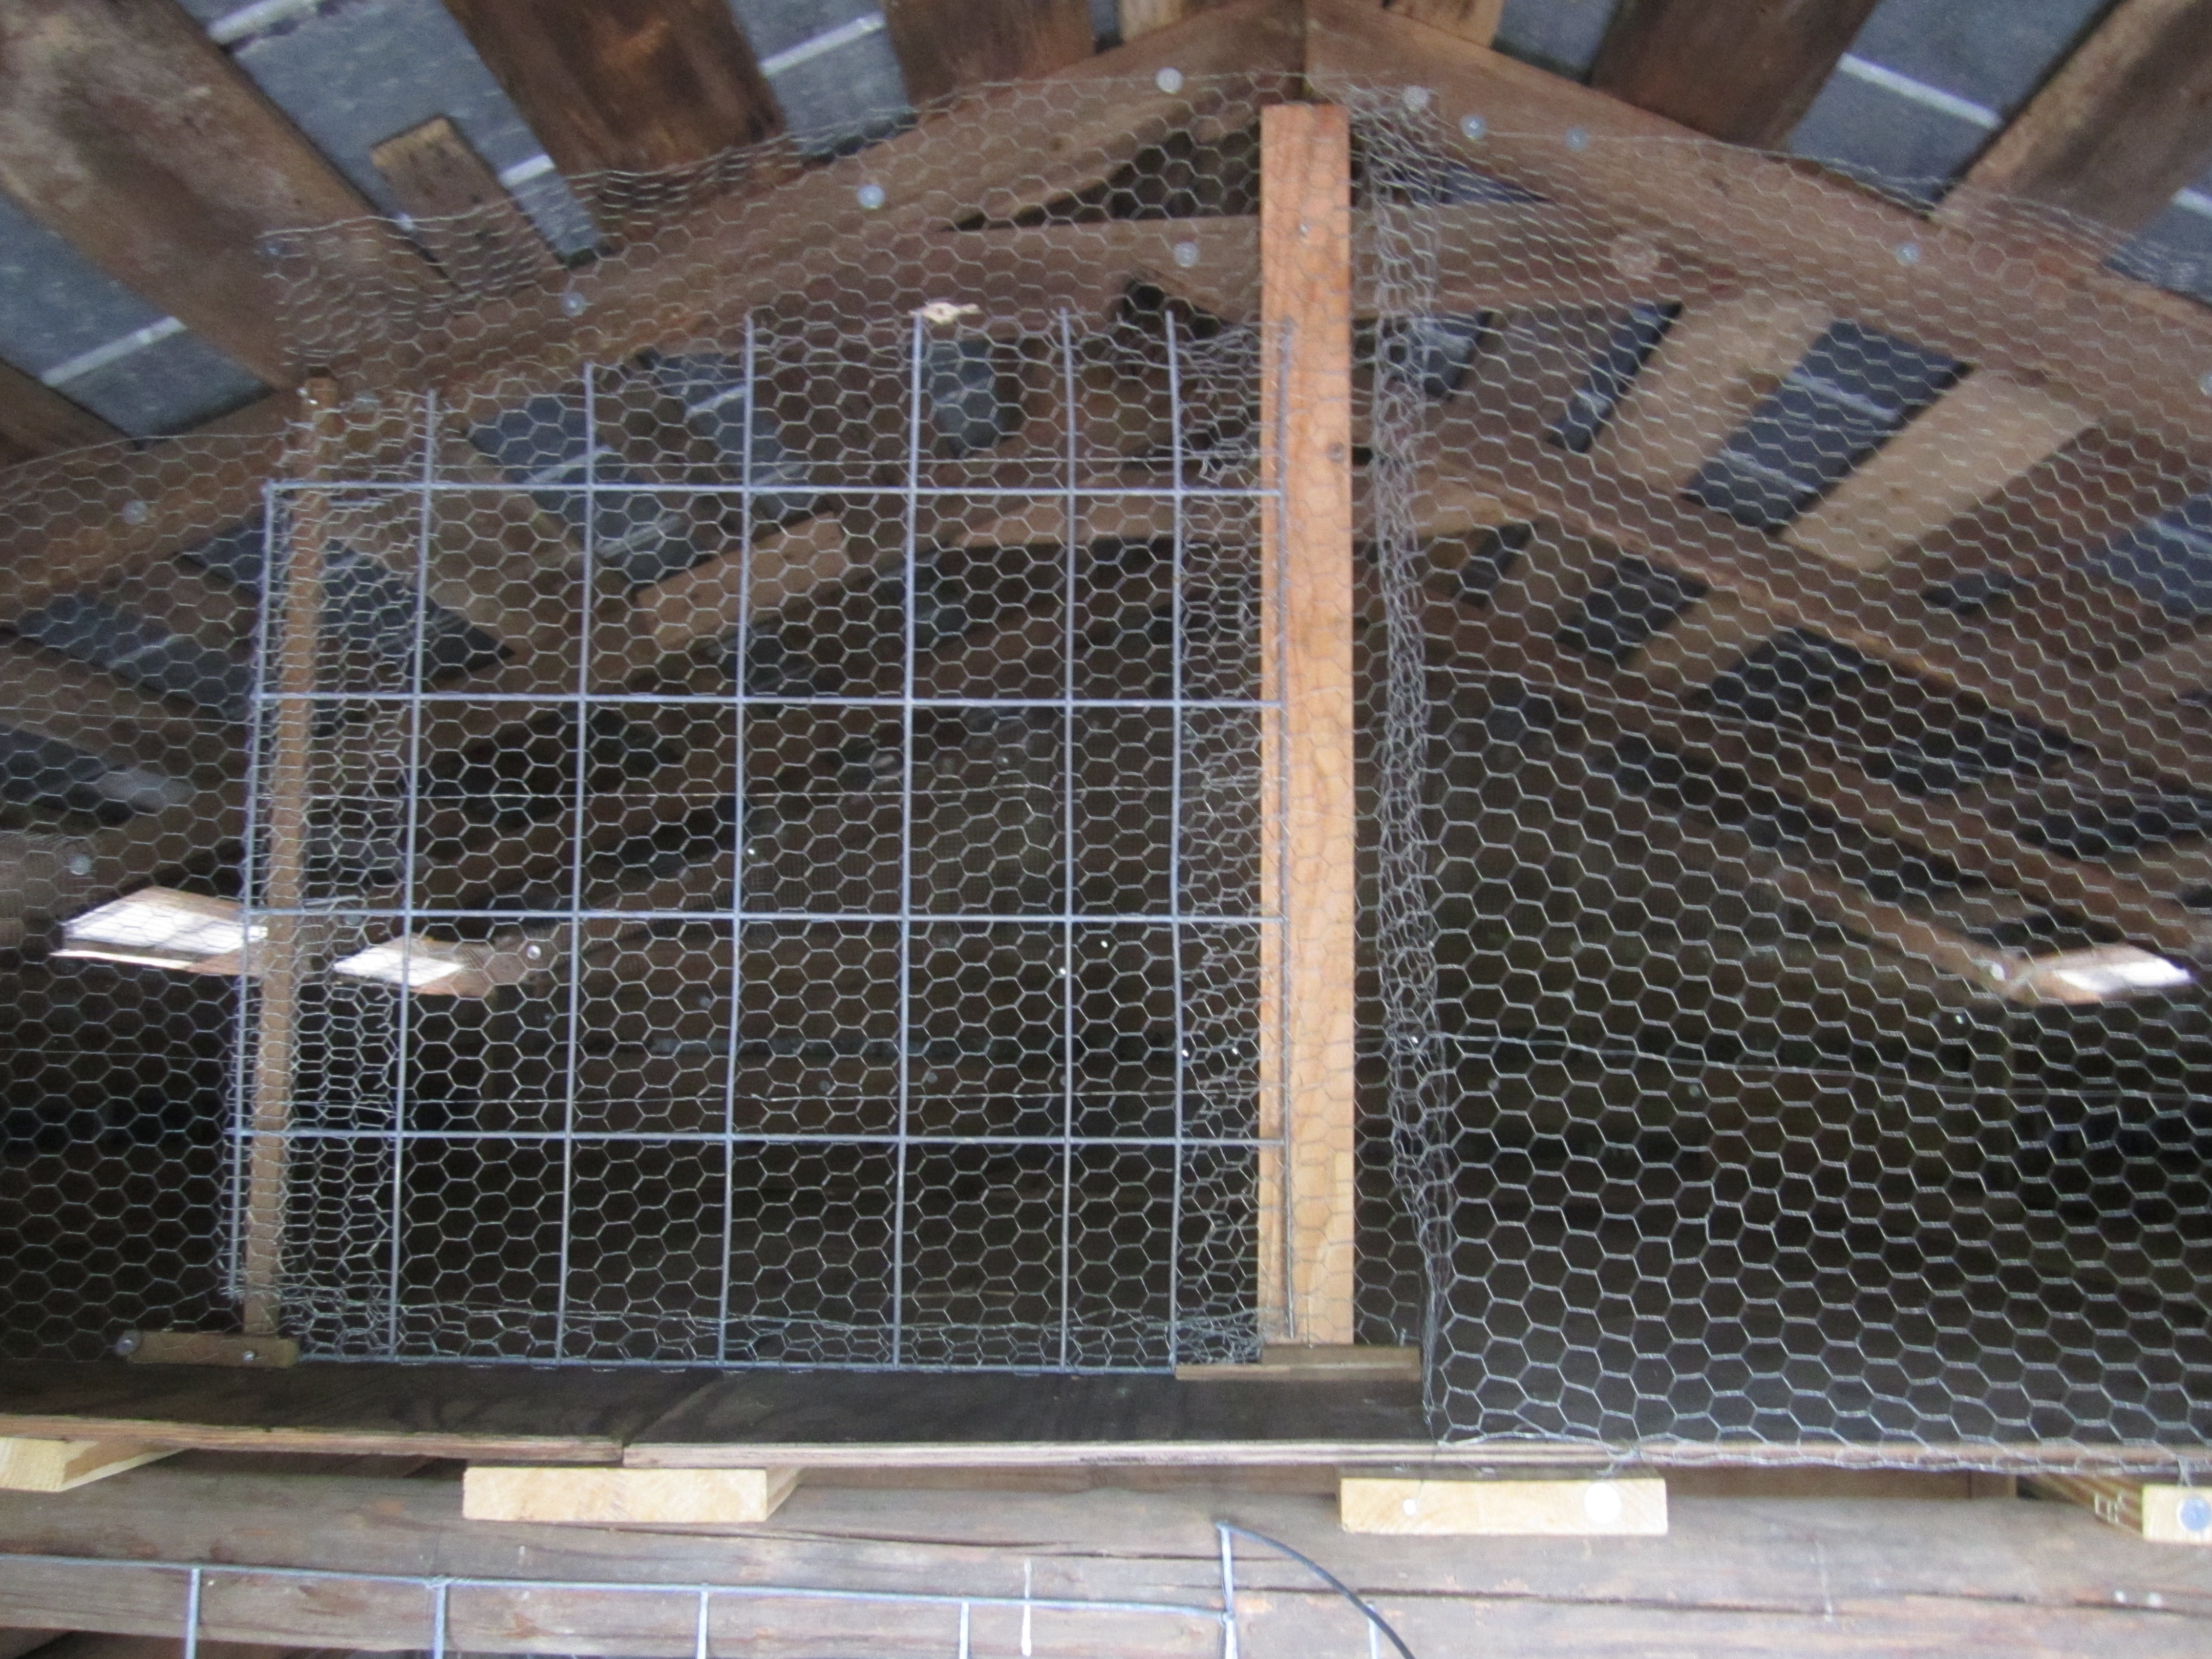
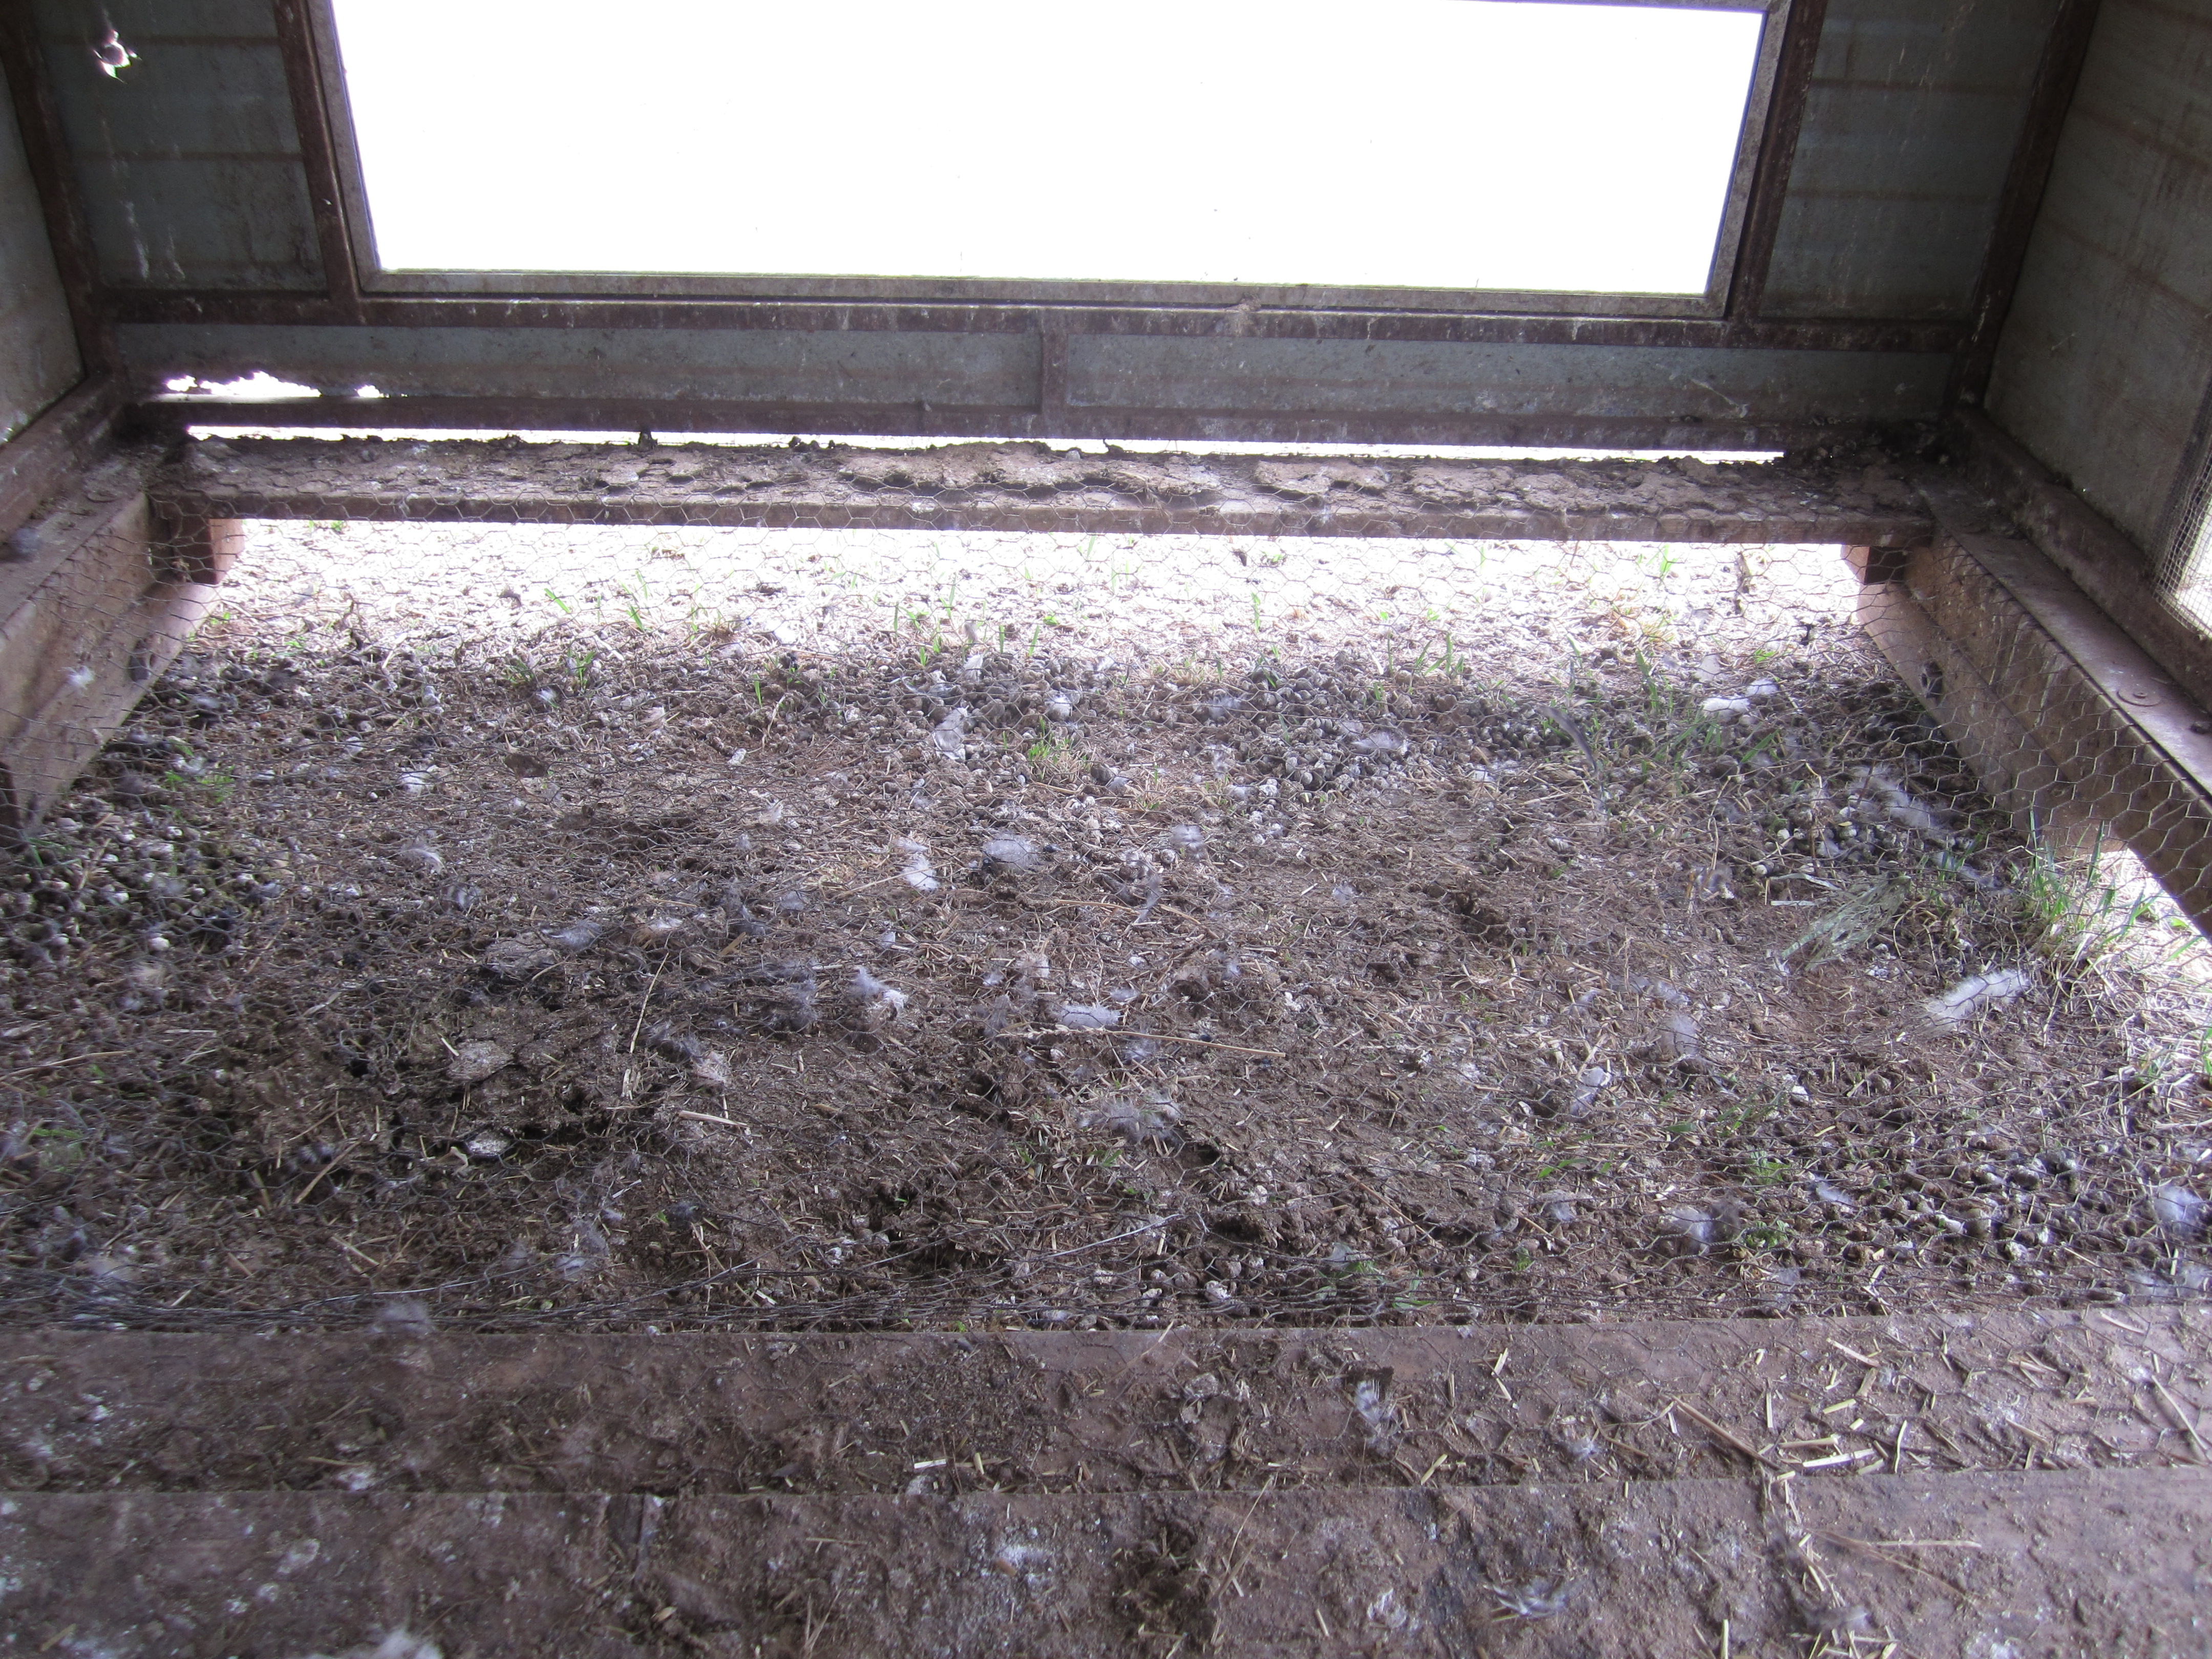
One of the things that I had been meaning to do for a long time, was fix up some things in the chicken house. The chicken netting floor was caving in and holes were forming that were big enough for bantams to escape and potential predators to get in (altough none had yet), the walls of the nest boxes were caving in, and the roost bars were sliding around and making 3 roost bars bunch up into 2.
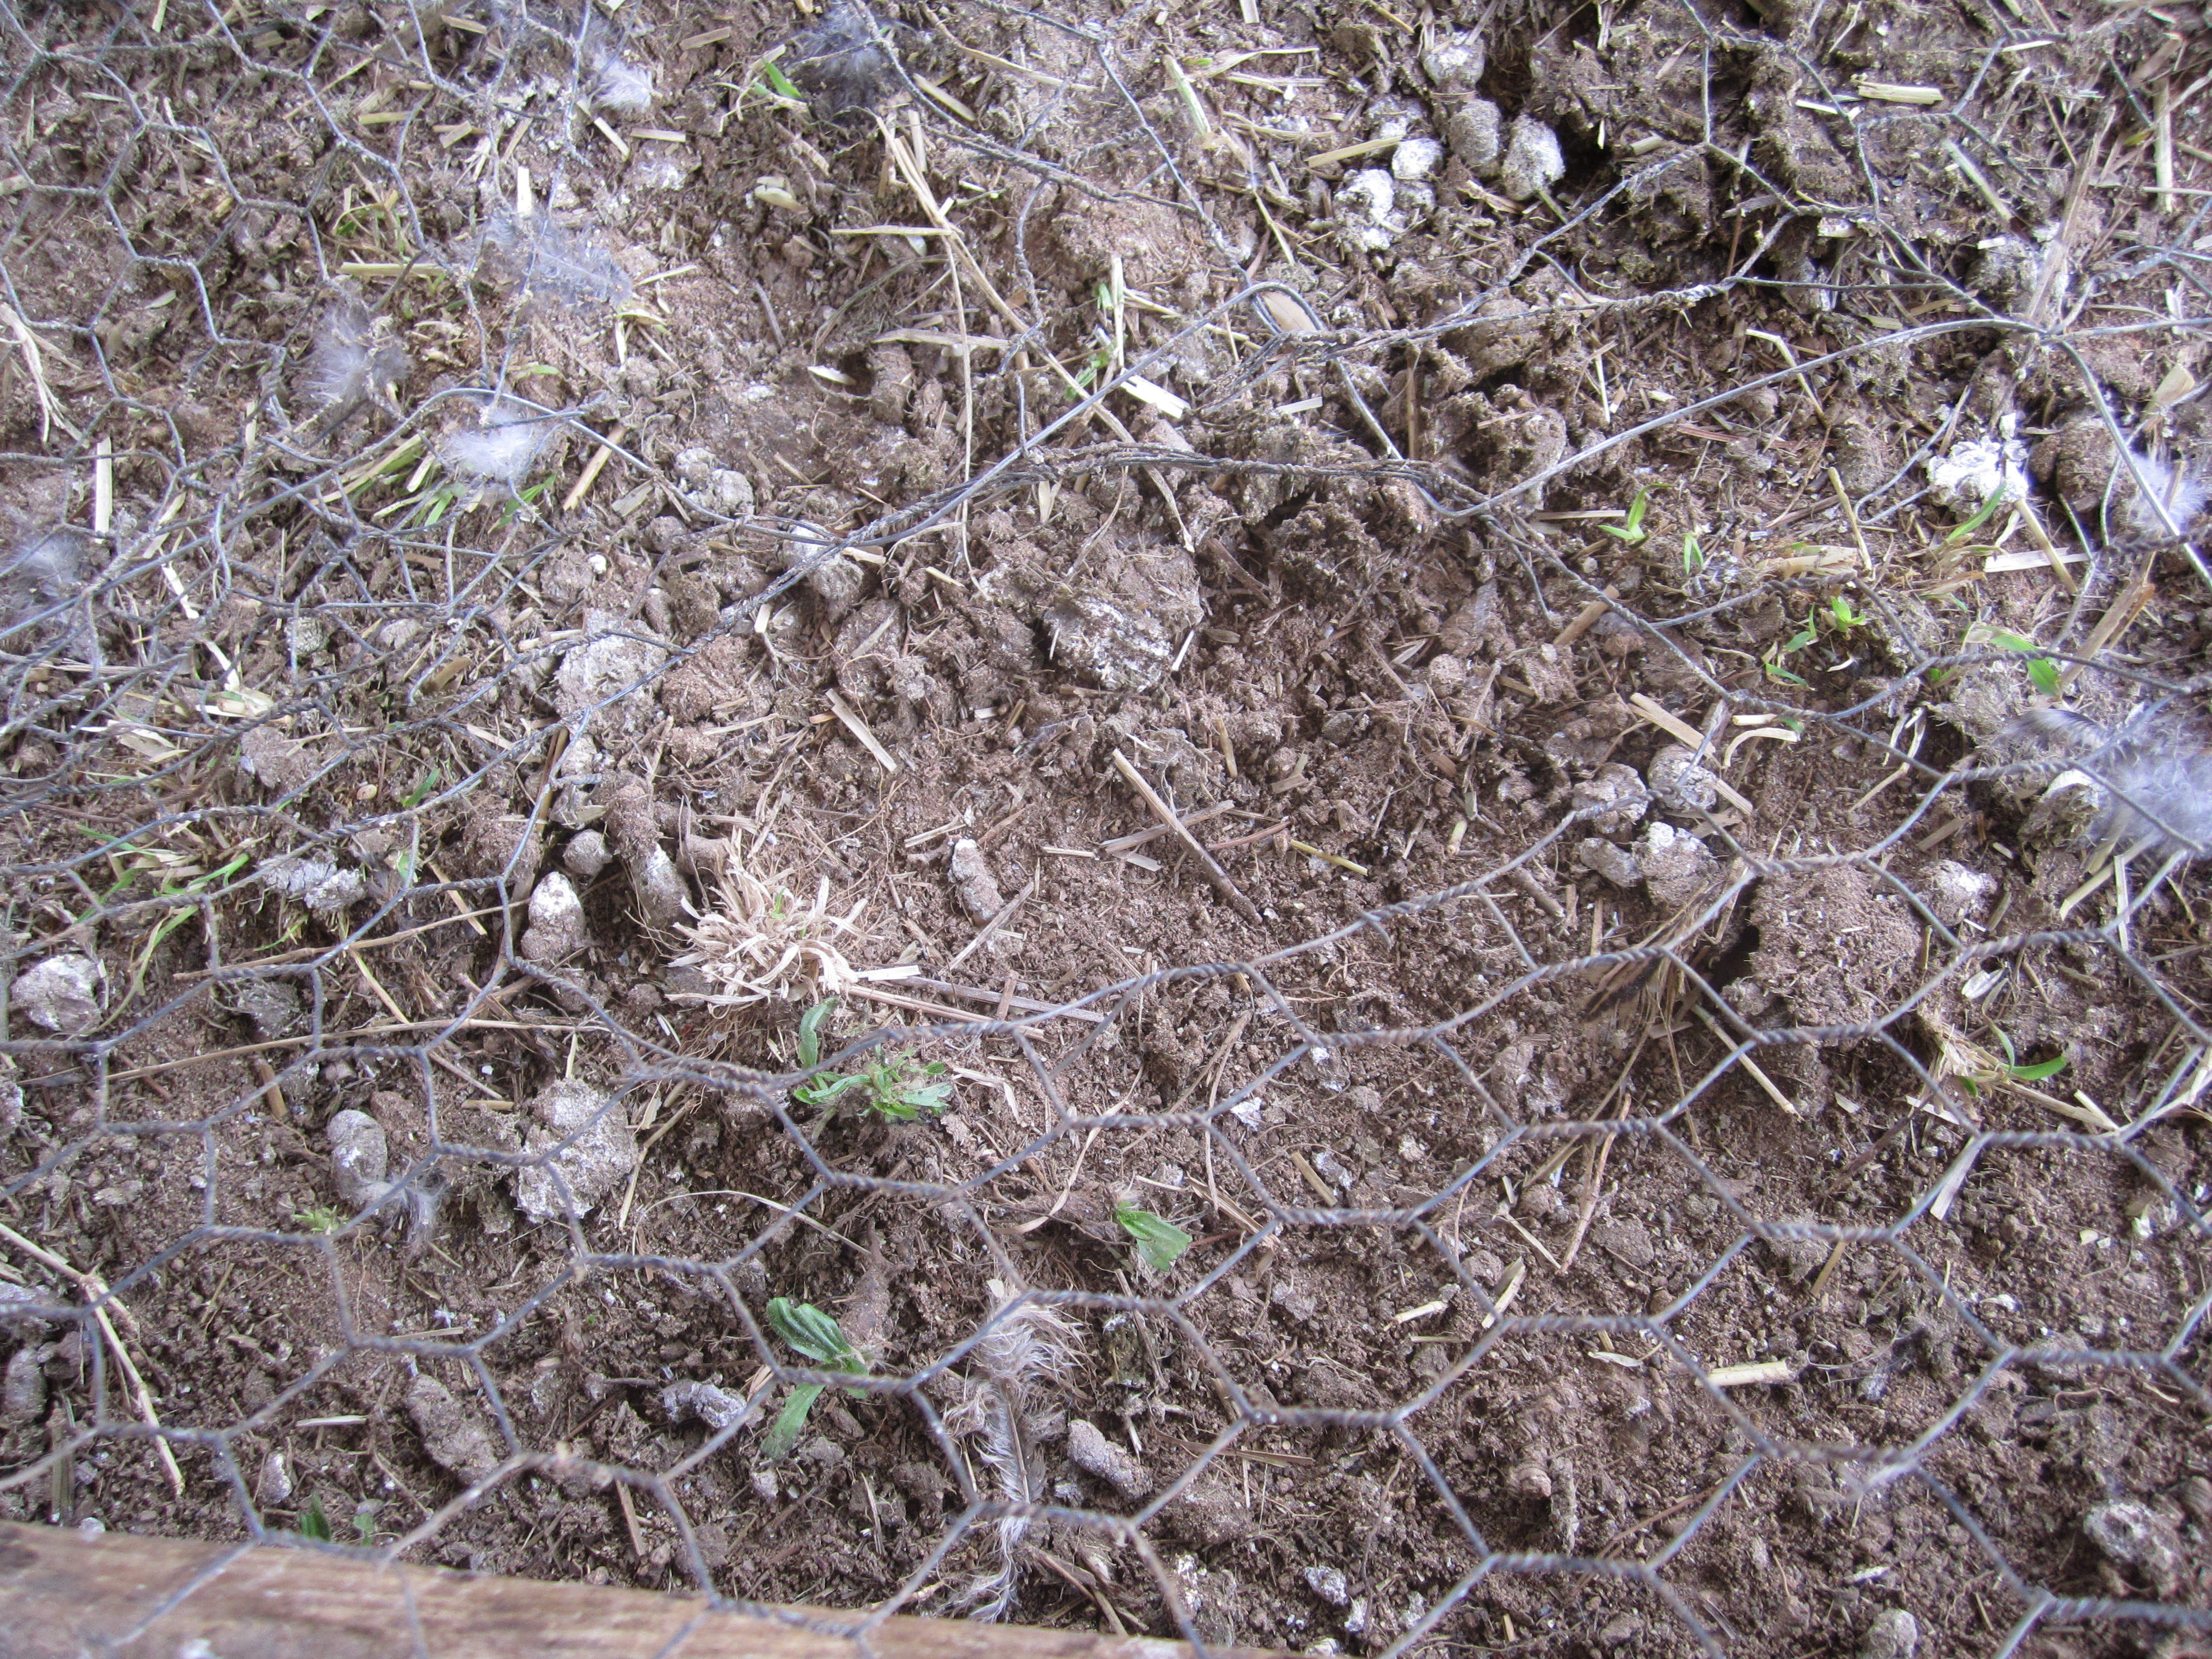
The caving floor of the house.
Lots of holes!
I decided to start with the floor. After some brainstorming I realized that it would be too hard to replace the netting on the floor since when Jason and my dad made it, they had the entire coop upside down so they could get to the best spots to drill. Instead I opted for a removable frame that fit the dimensions of the floor perfectly but had extra support so that when the chickens walked on it, it didn’t cave in so badly.
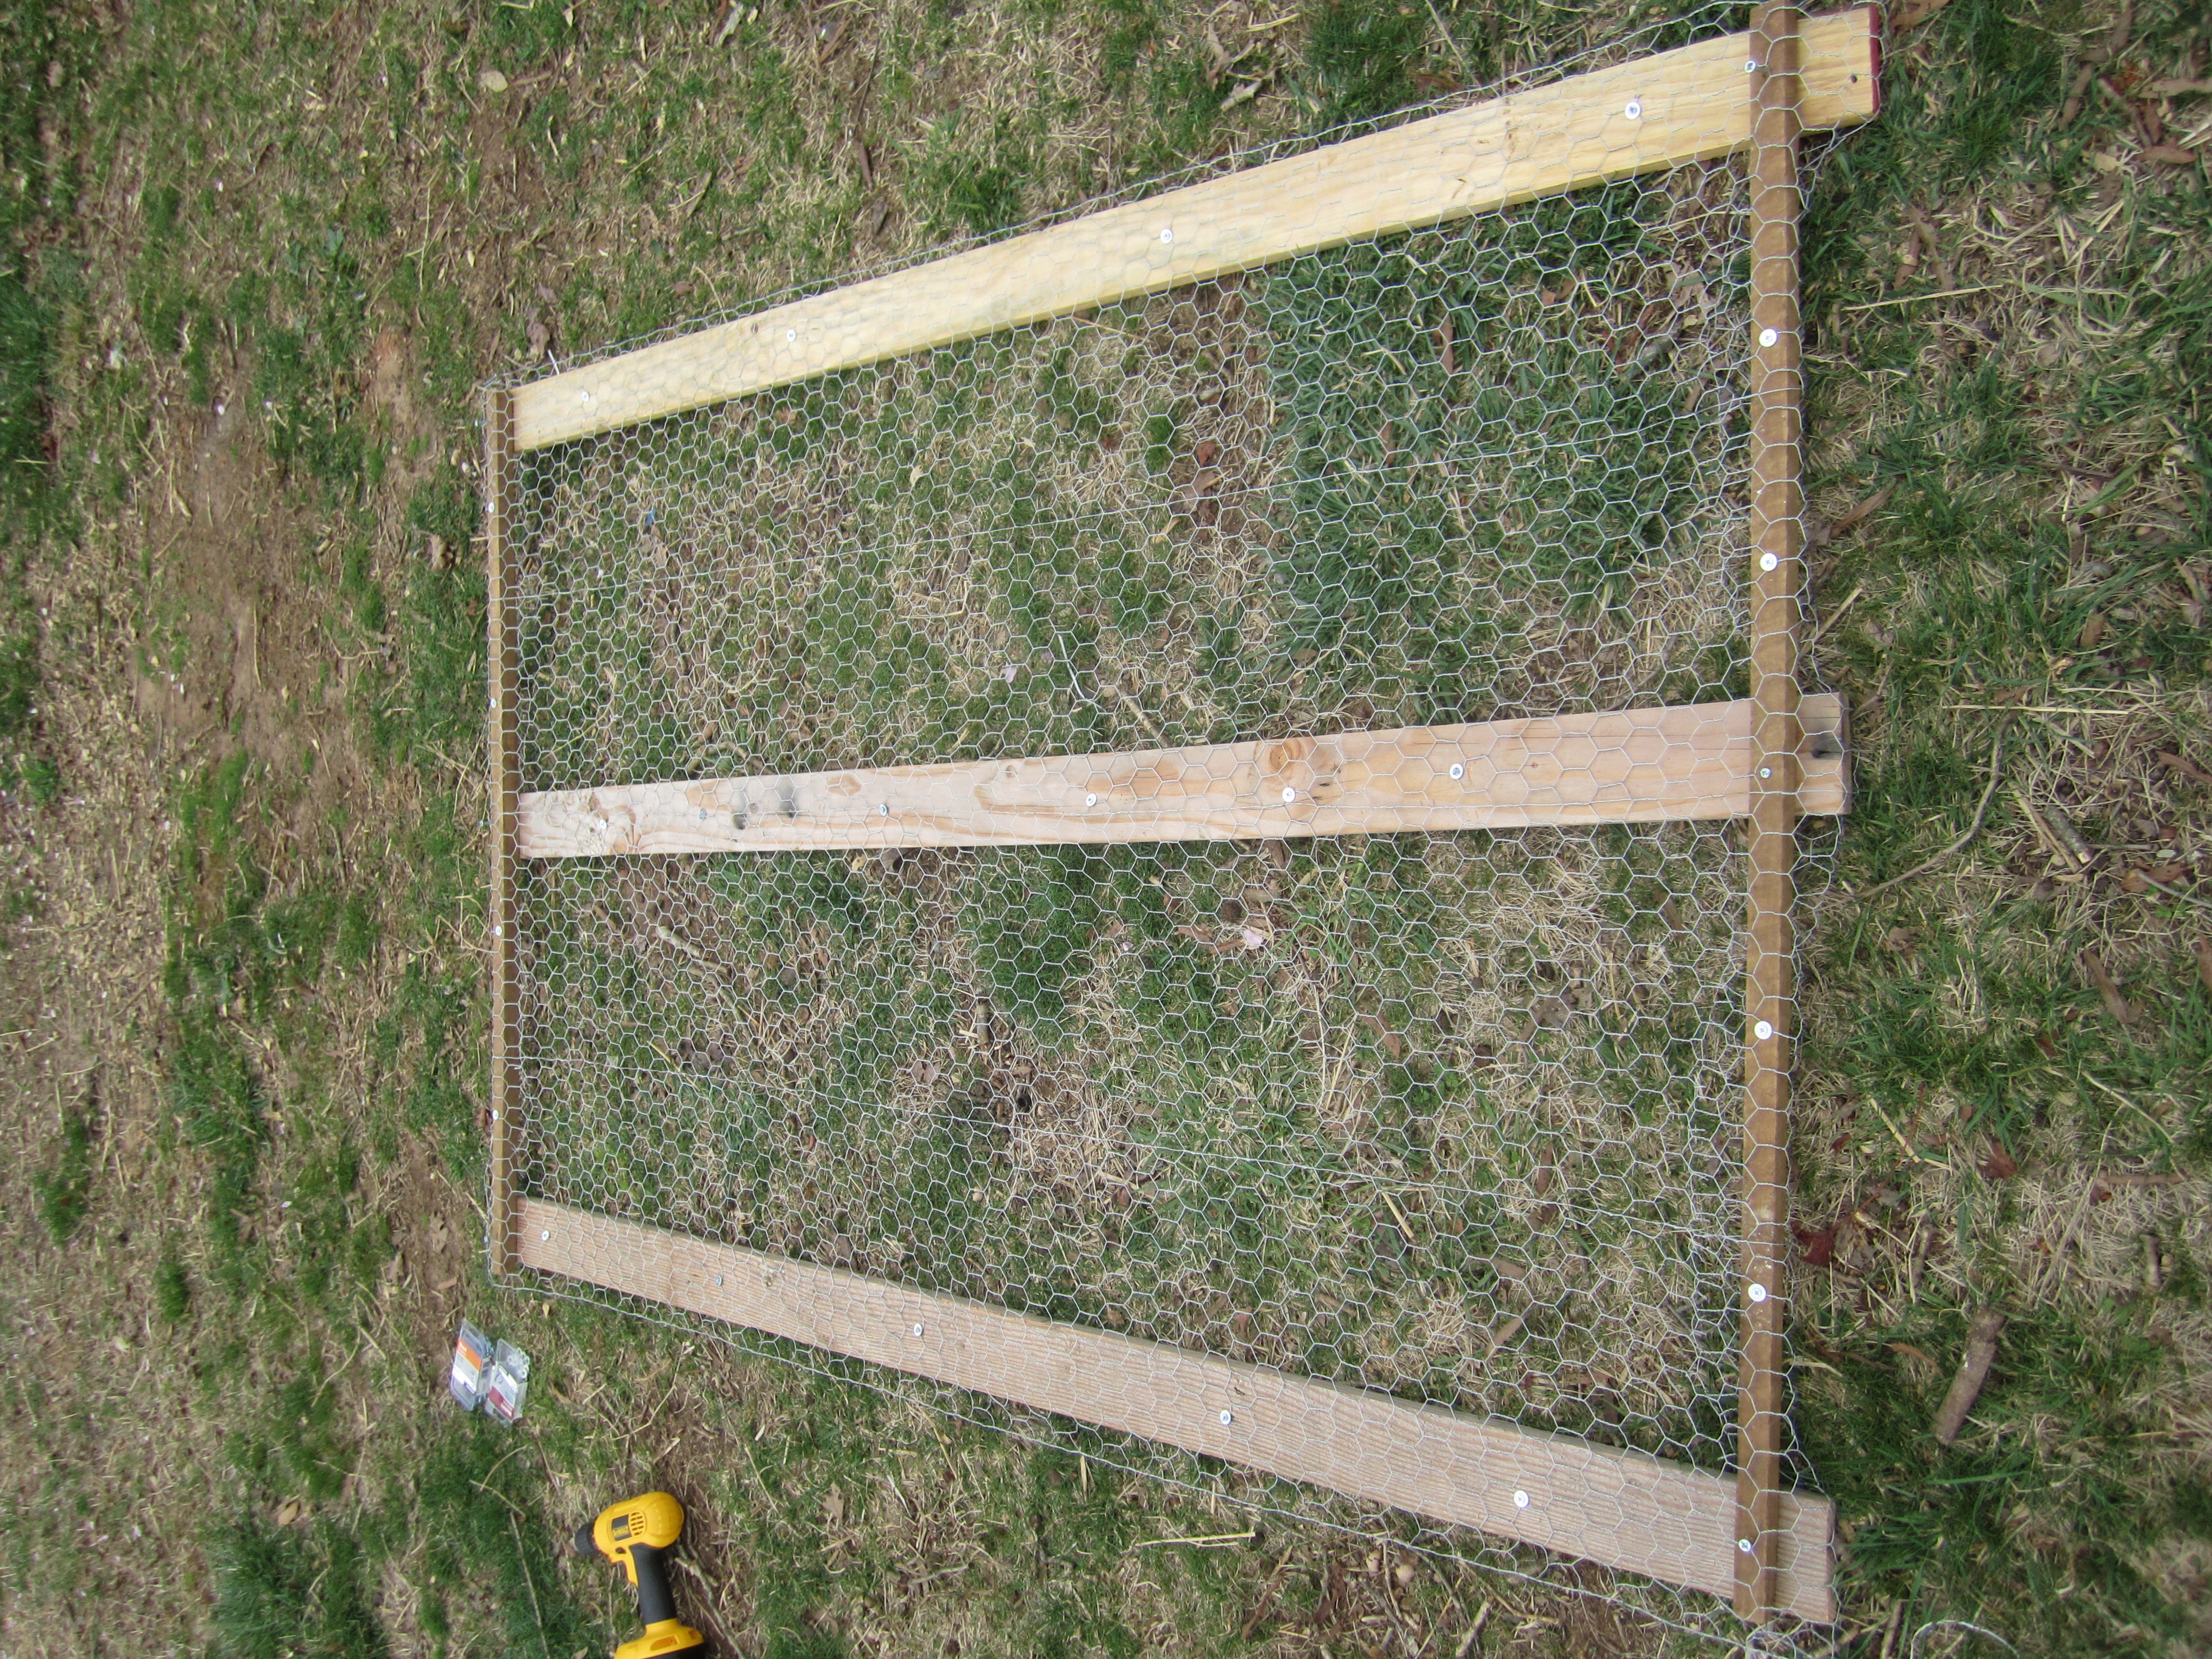
I was lucky that the dimensions of the floor frame would allow it to fit in and out of the door to the house perfectly (with a little squeezing).
I made a frame outside of the house and attached chicken wire to it, using washers and screws to grab the holey netting better.
The new floor!
Then I fit in the floor!
A perfect fit!
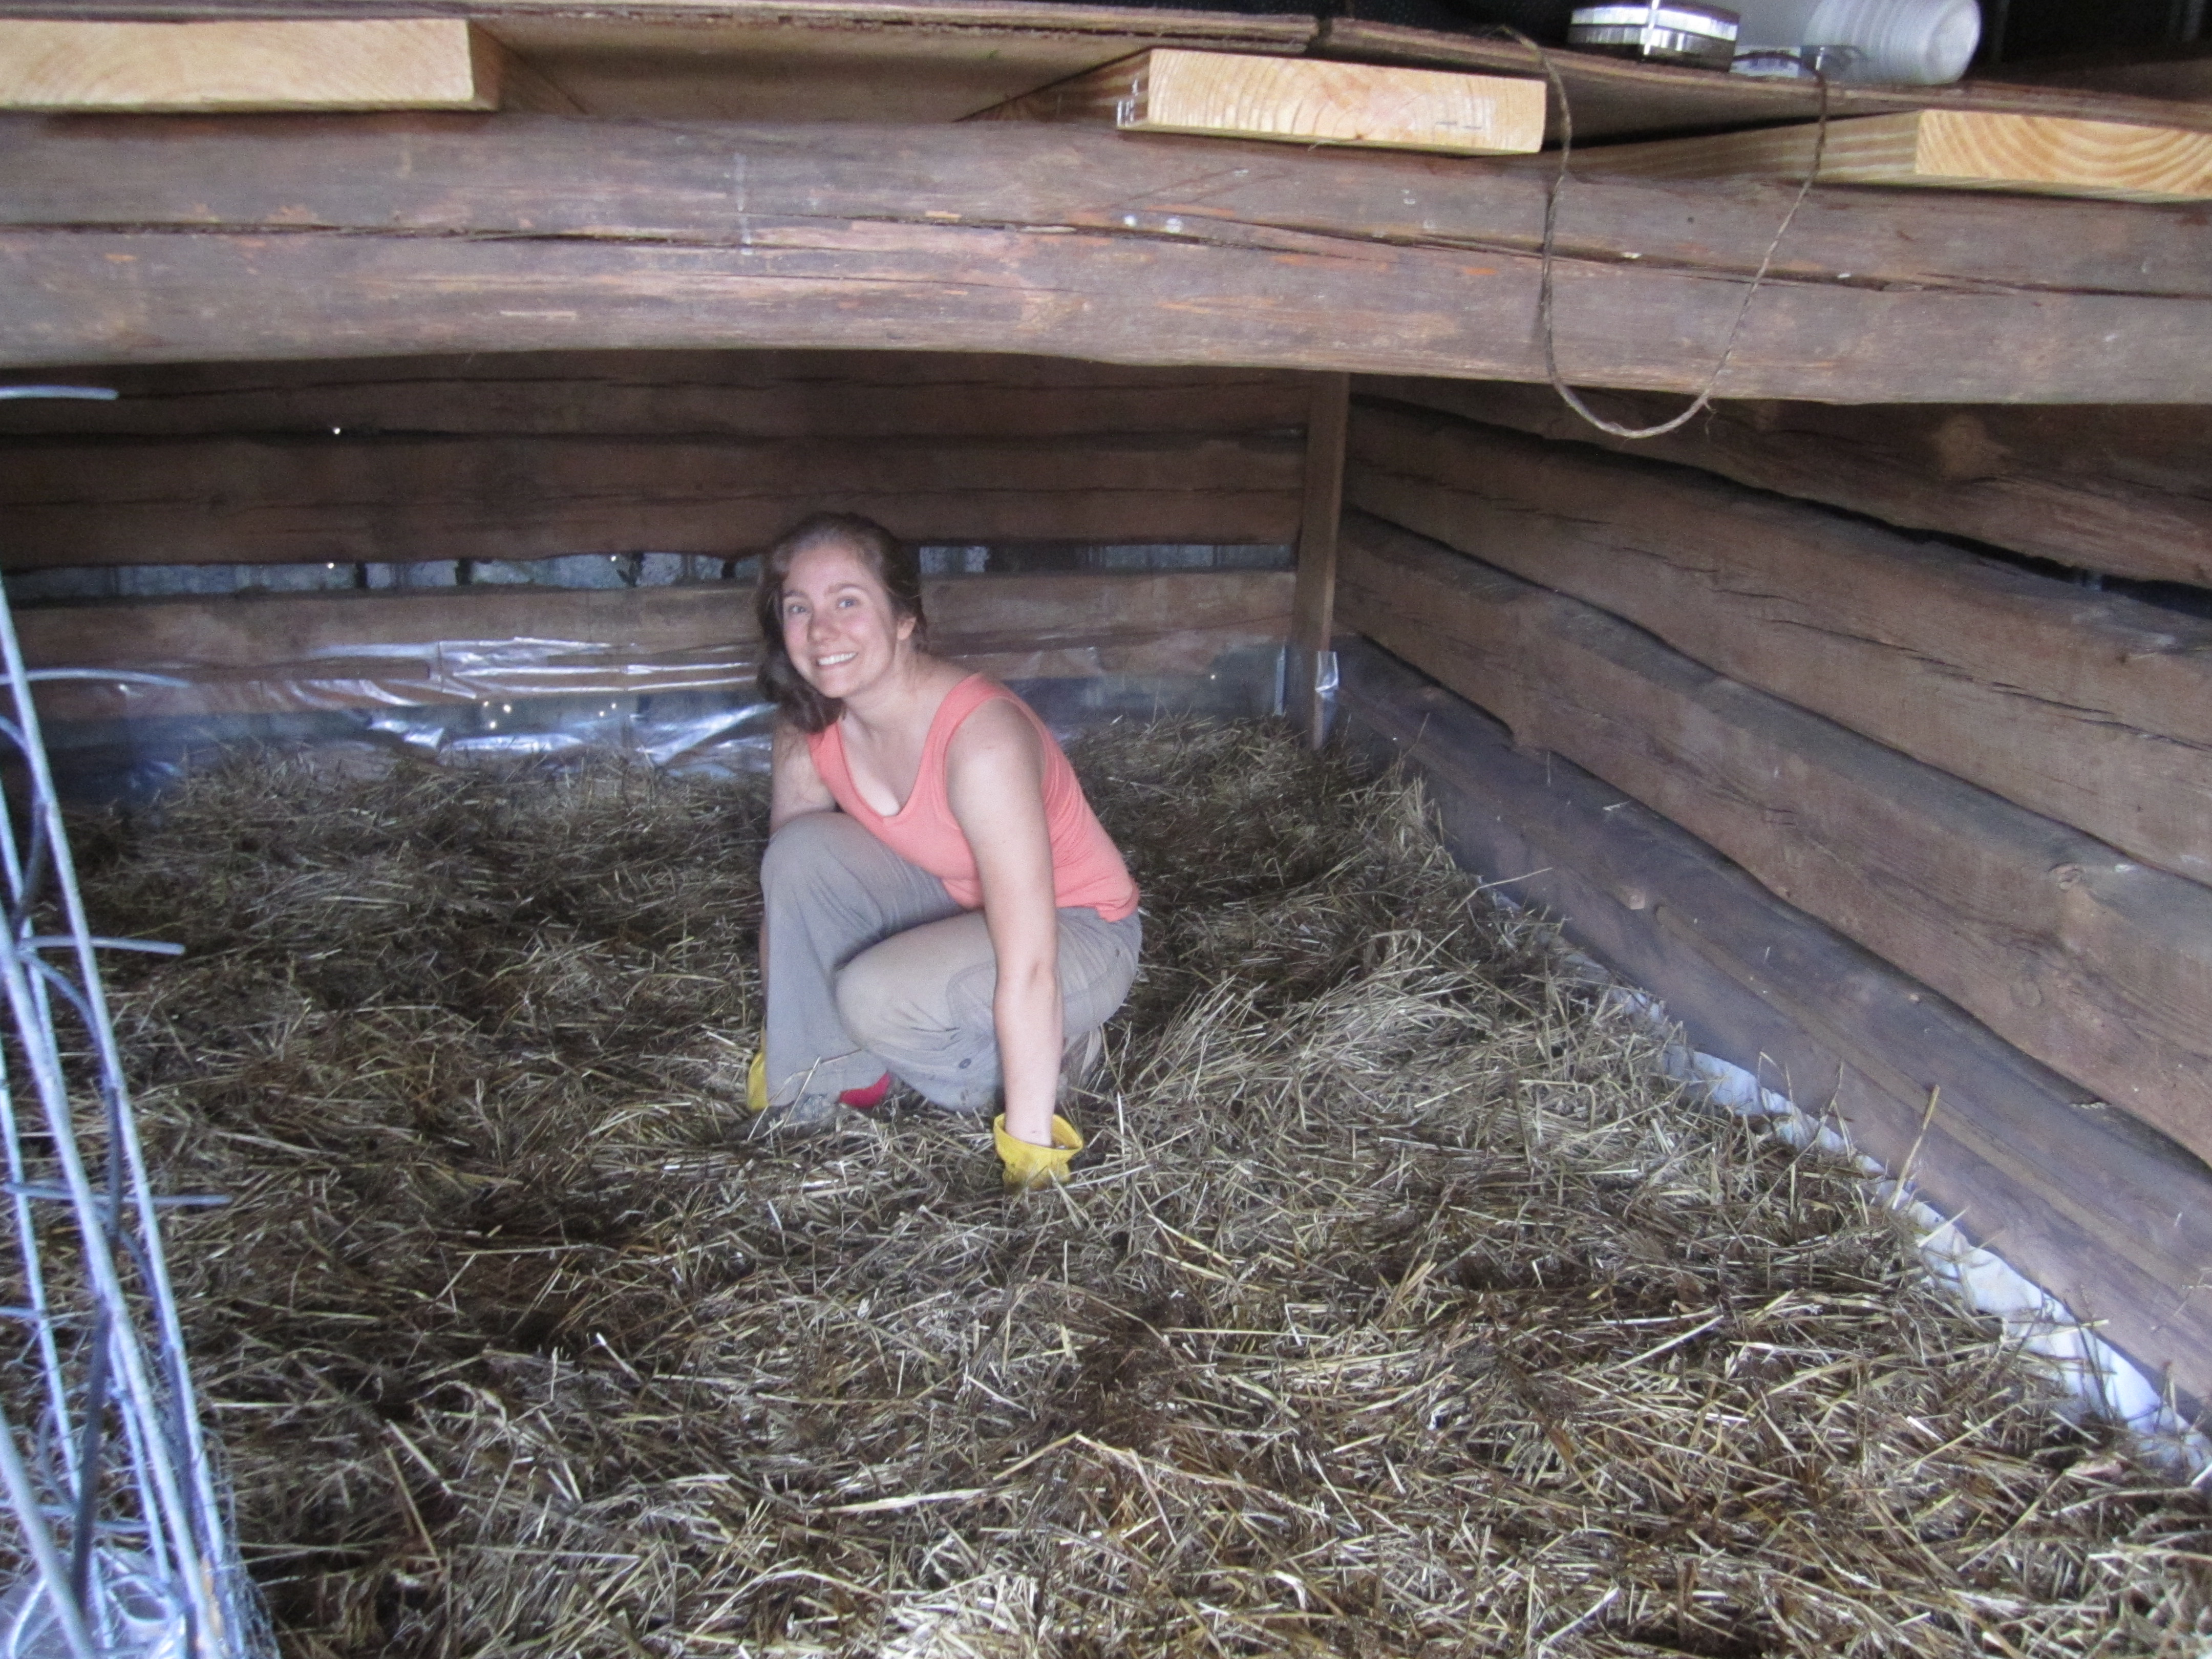
Next I rescrewed the walls of the nest boxes into the base so that the. Hens wouldn’t knock them over and replaced those and added straw.
Last, I cut some tobacco sticks into short spaces to place between the roout bars so they wouldn’t slide towards each other. This will really help the teenagers learn to roost! Since there wasn’t room up there for them before, they were sleepin on top of the nest boxes. Now they should learn how to sleep like a real chicken!
April 15, 2015 / Emma / Comments Off on Turning the Shed Into Our New Broodhouse (Downstairs)
A few weeks ago, Jason and I were really excited to complete the first big step in getting our old, junk-filled shed emptied out and fixed up for our ducklings and our turkey poults. Before we were able to start the construction on our grand idea, we enlisted the help of my dad so we could clean out the shed and get all of the crazy junk moved out!
After all of the heavy lifting, sweeping, and cleaning we finally had an empty shed made from old- fashioned pine poles and aluminum siding.
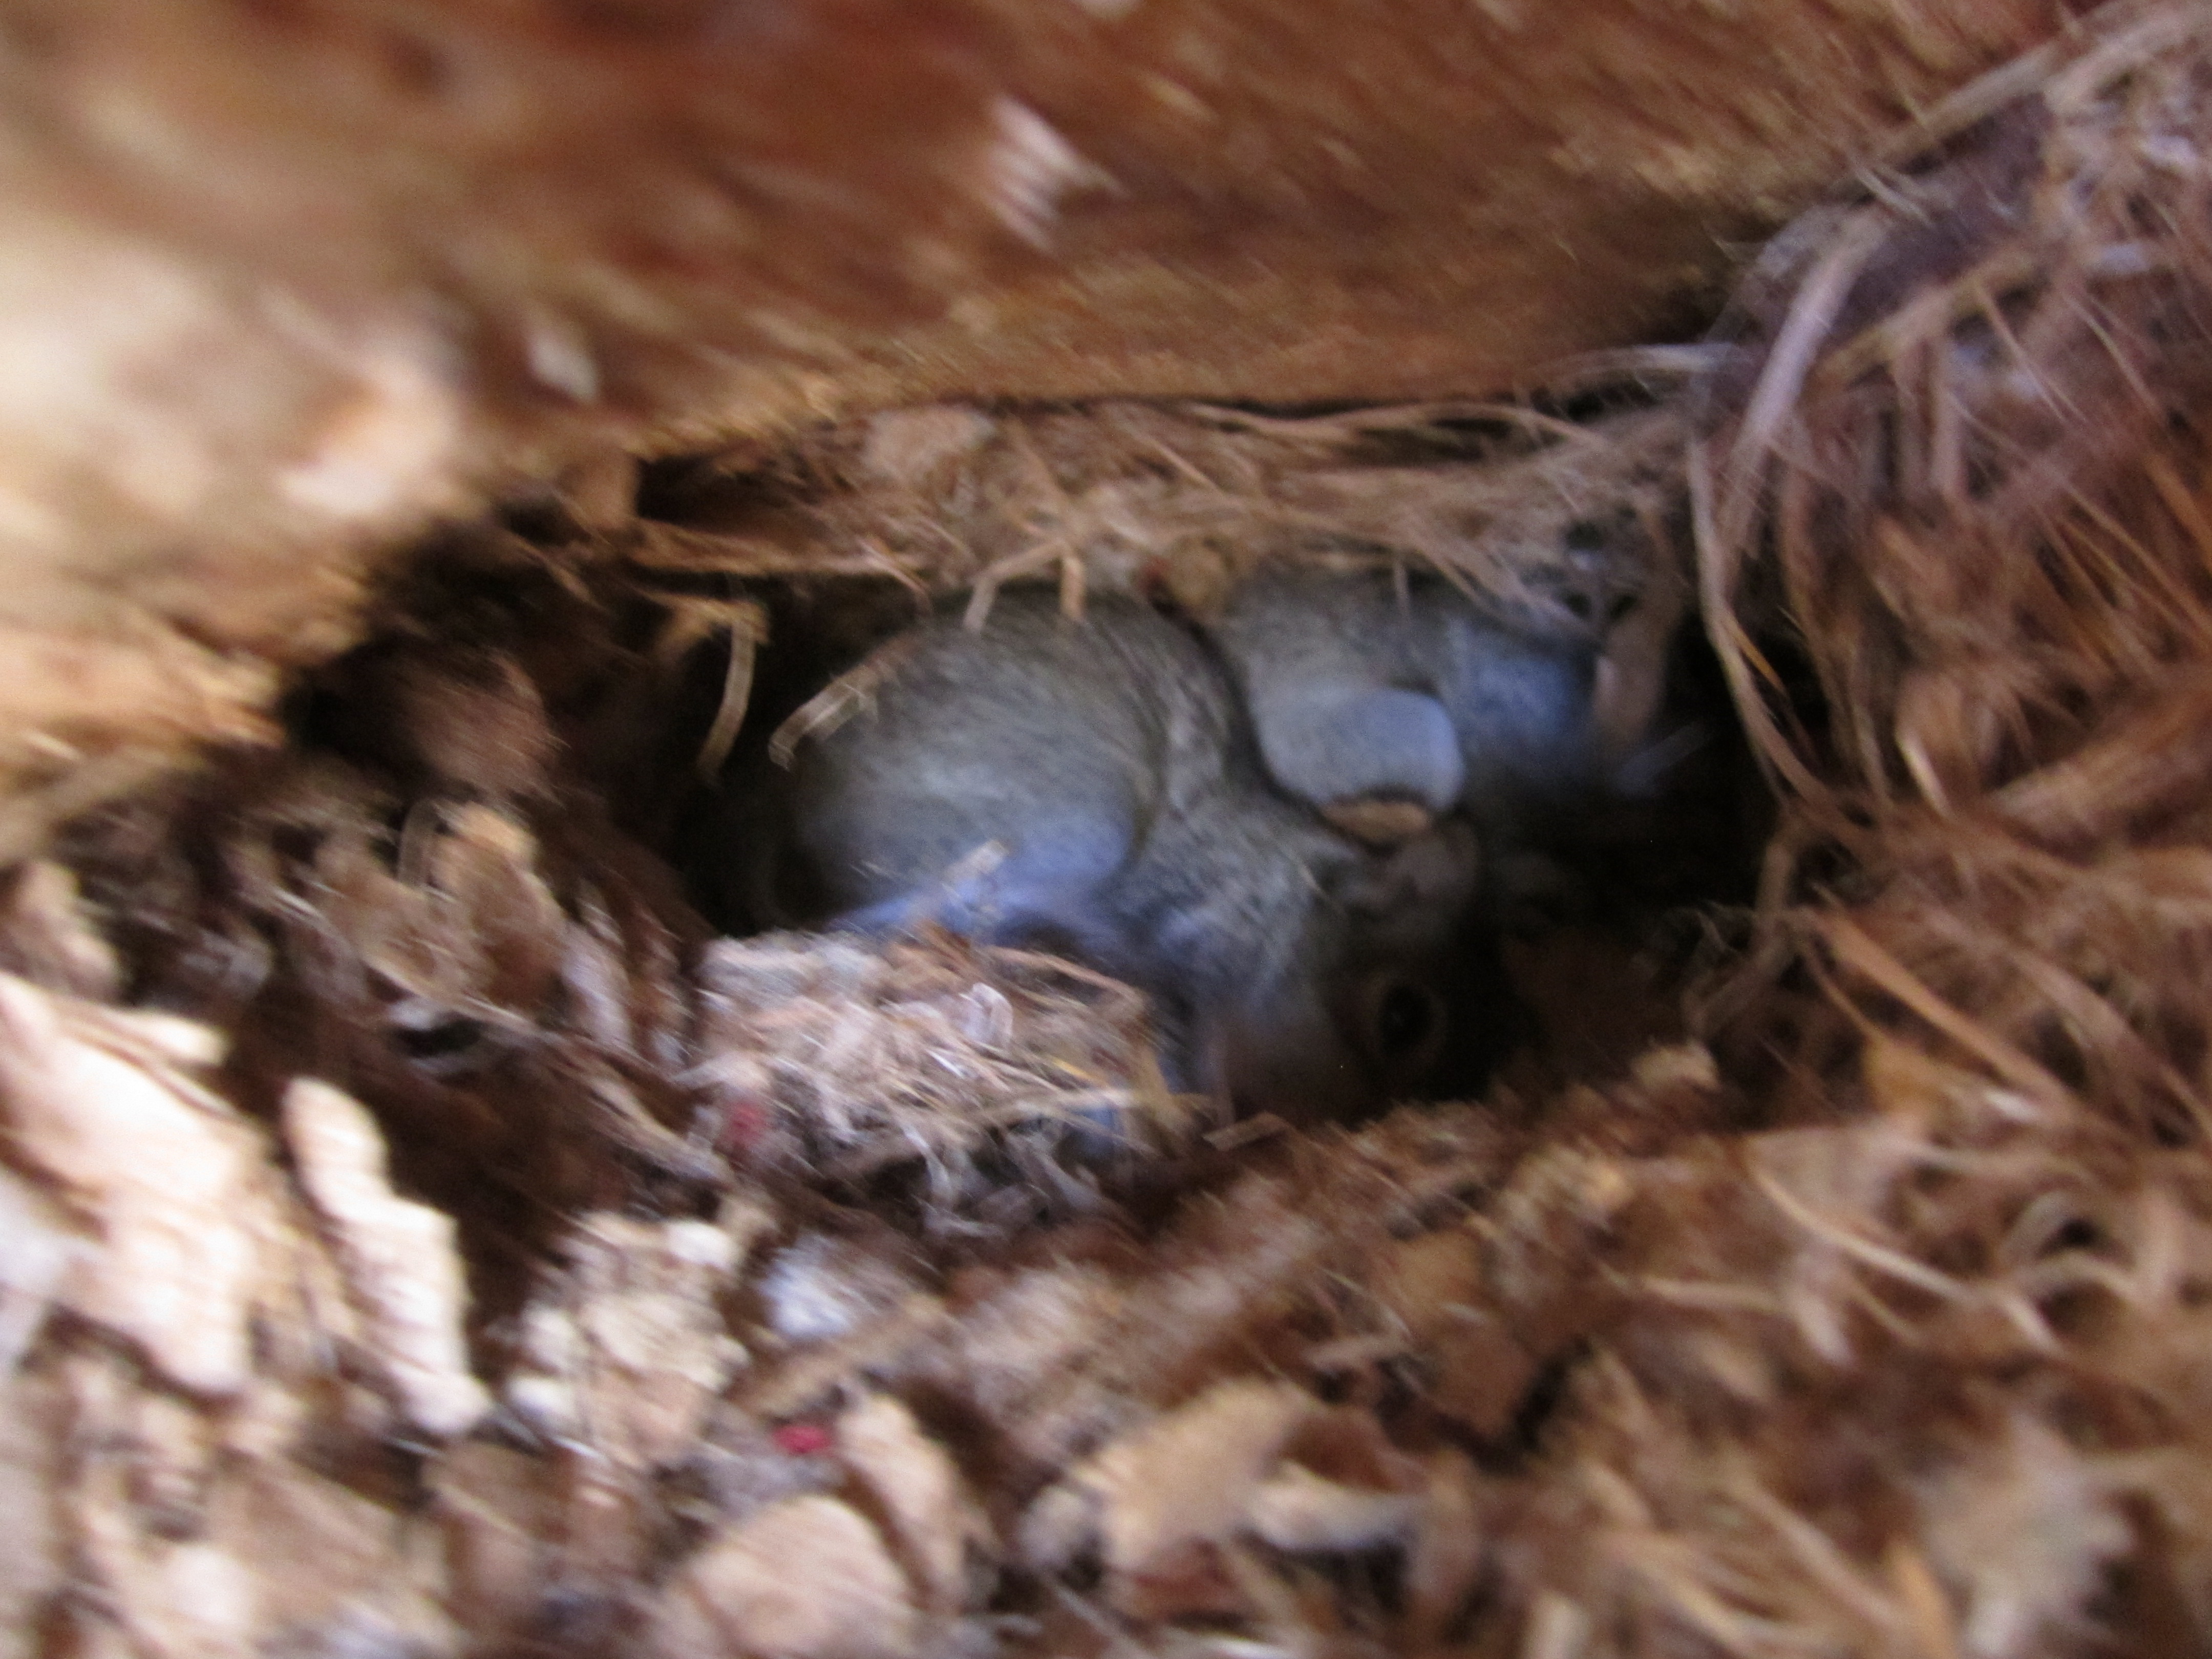
When we peeled the old, stained cardboardish material from the inside of the walls, we found a squirrel’s nest, with 2 babies inside. The mother ran just as I peeled off the cardboard that covered her nest, and darted out of a hole in the roof. We decided to ignore the nest while we worked and to leave it intact, and sure enough, the mother came back overnight and relocated her family.
Baby squirrels!
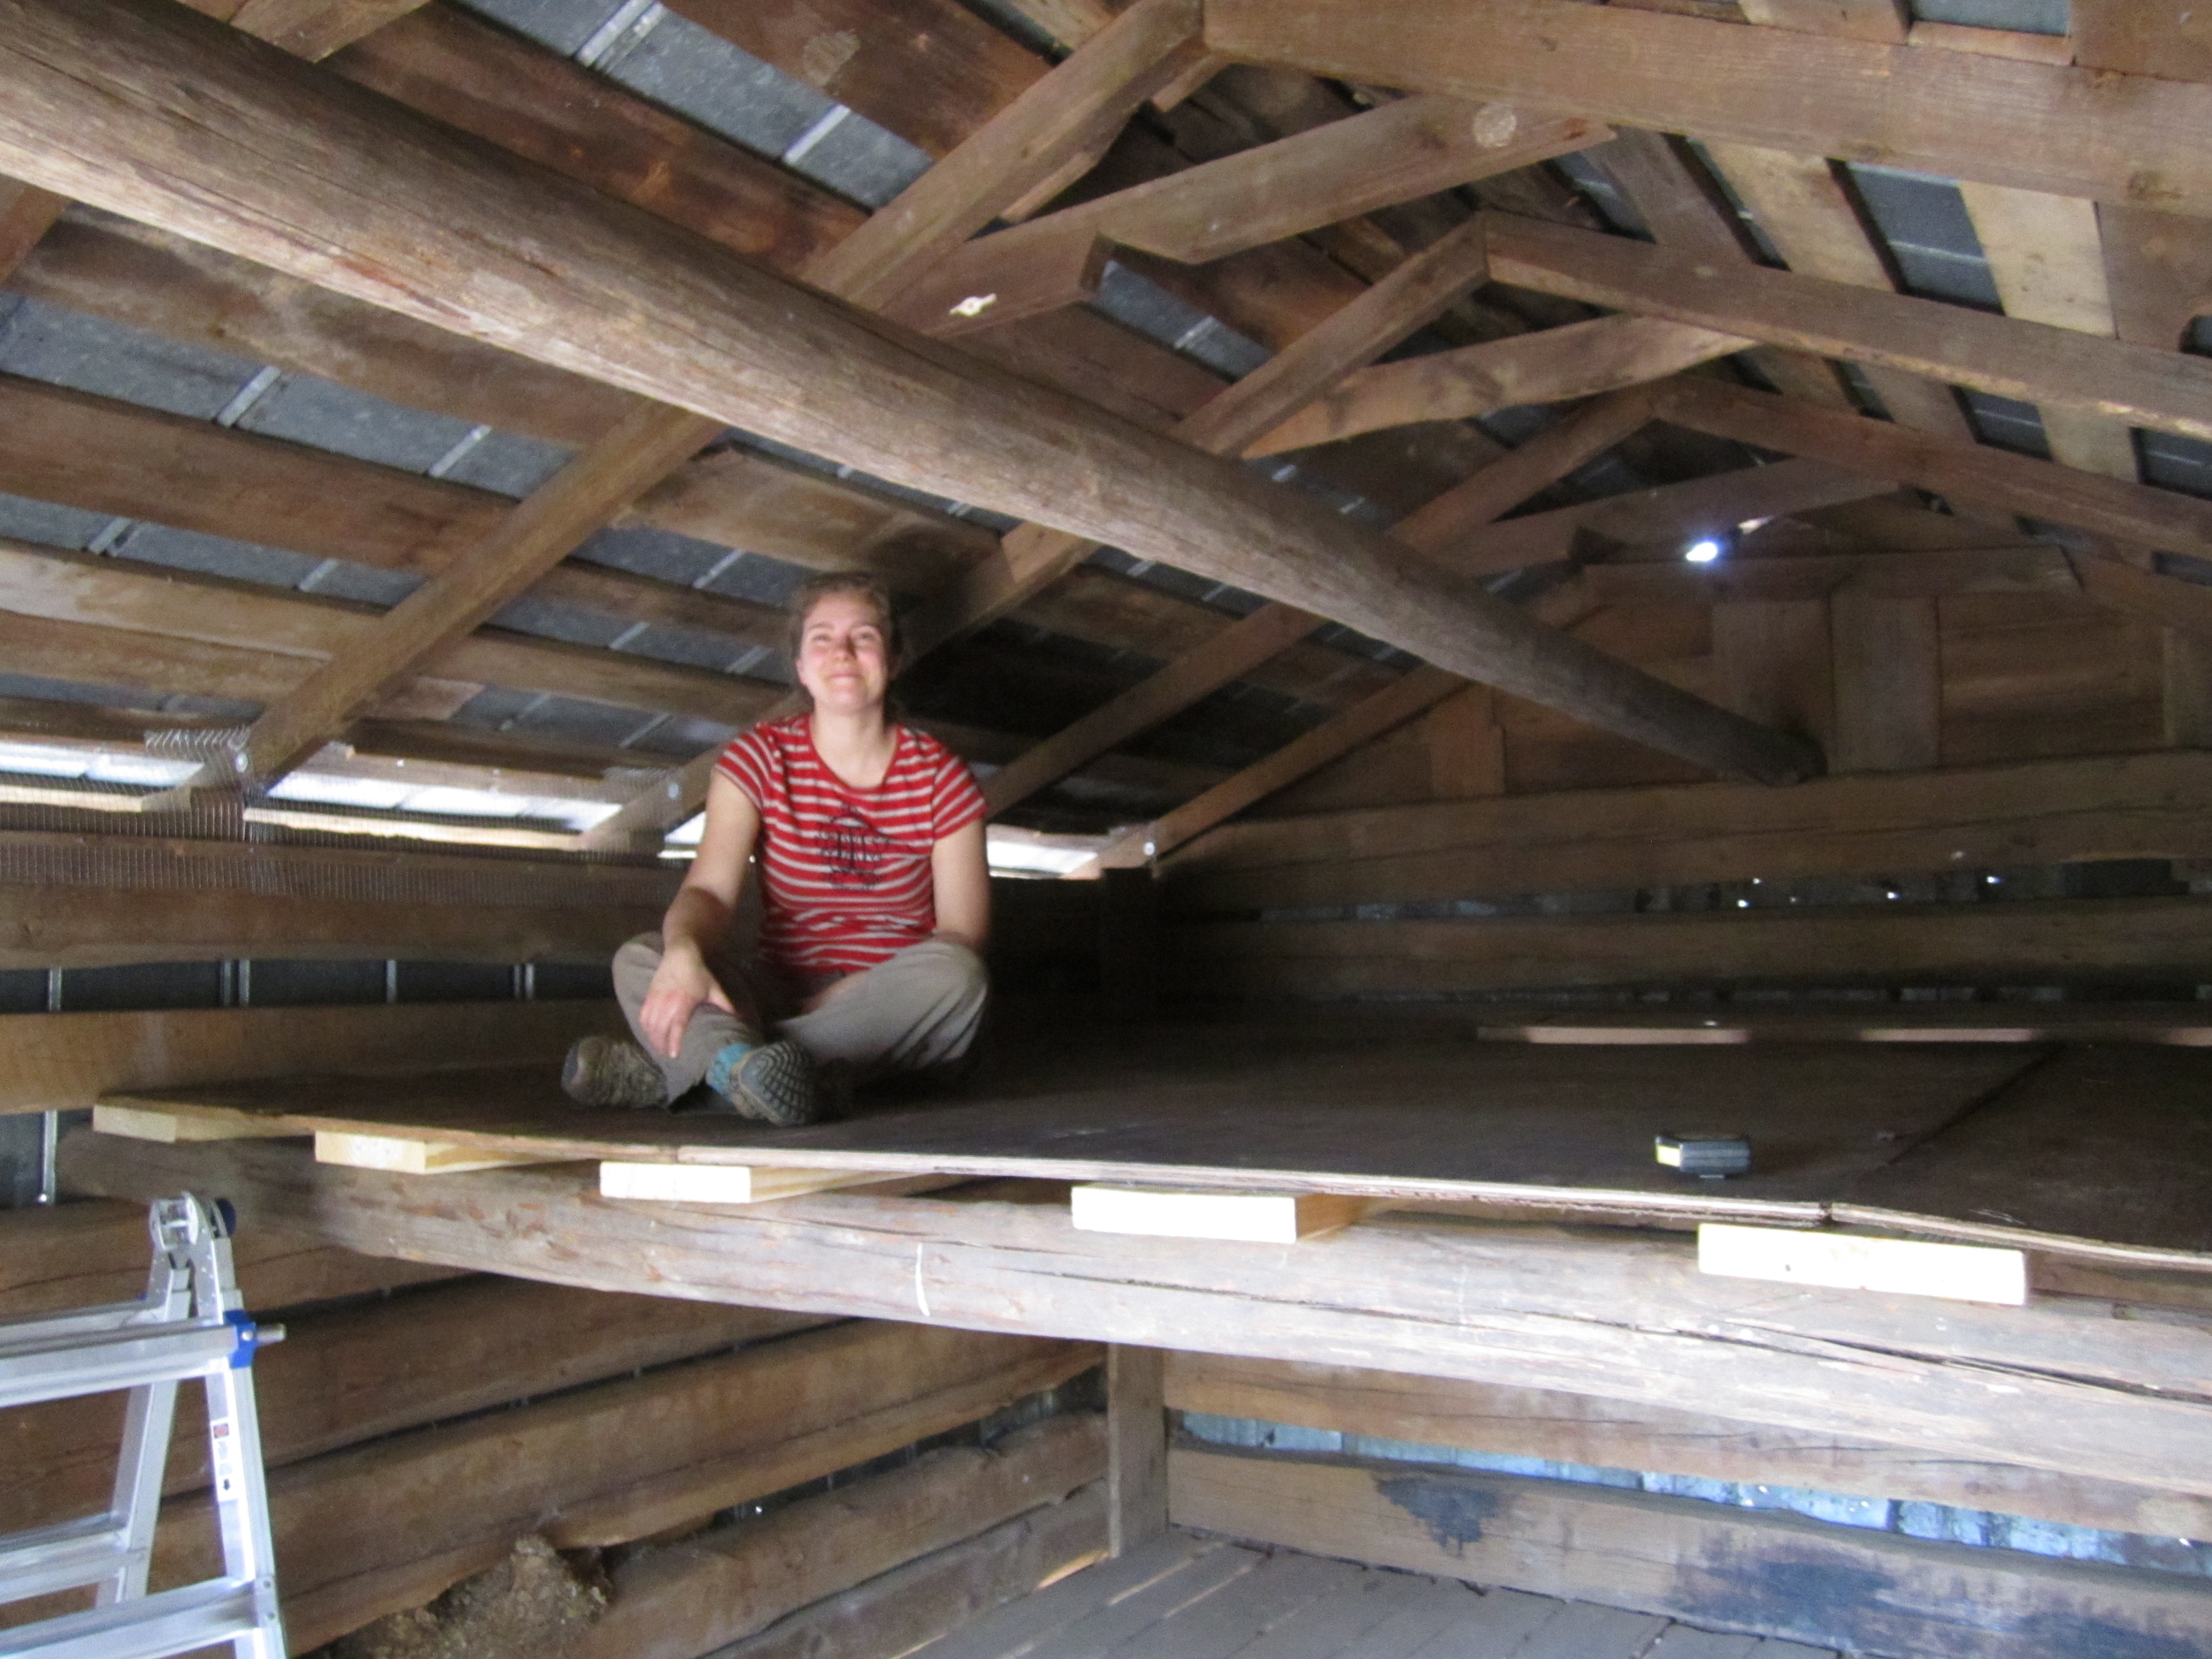
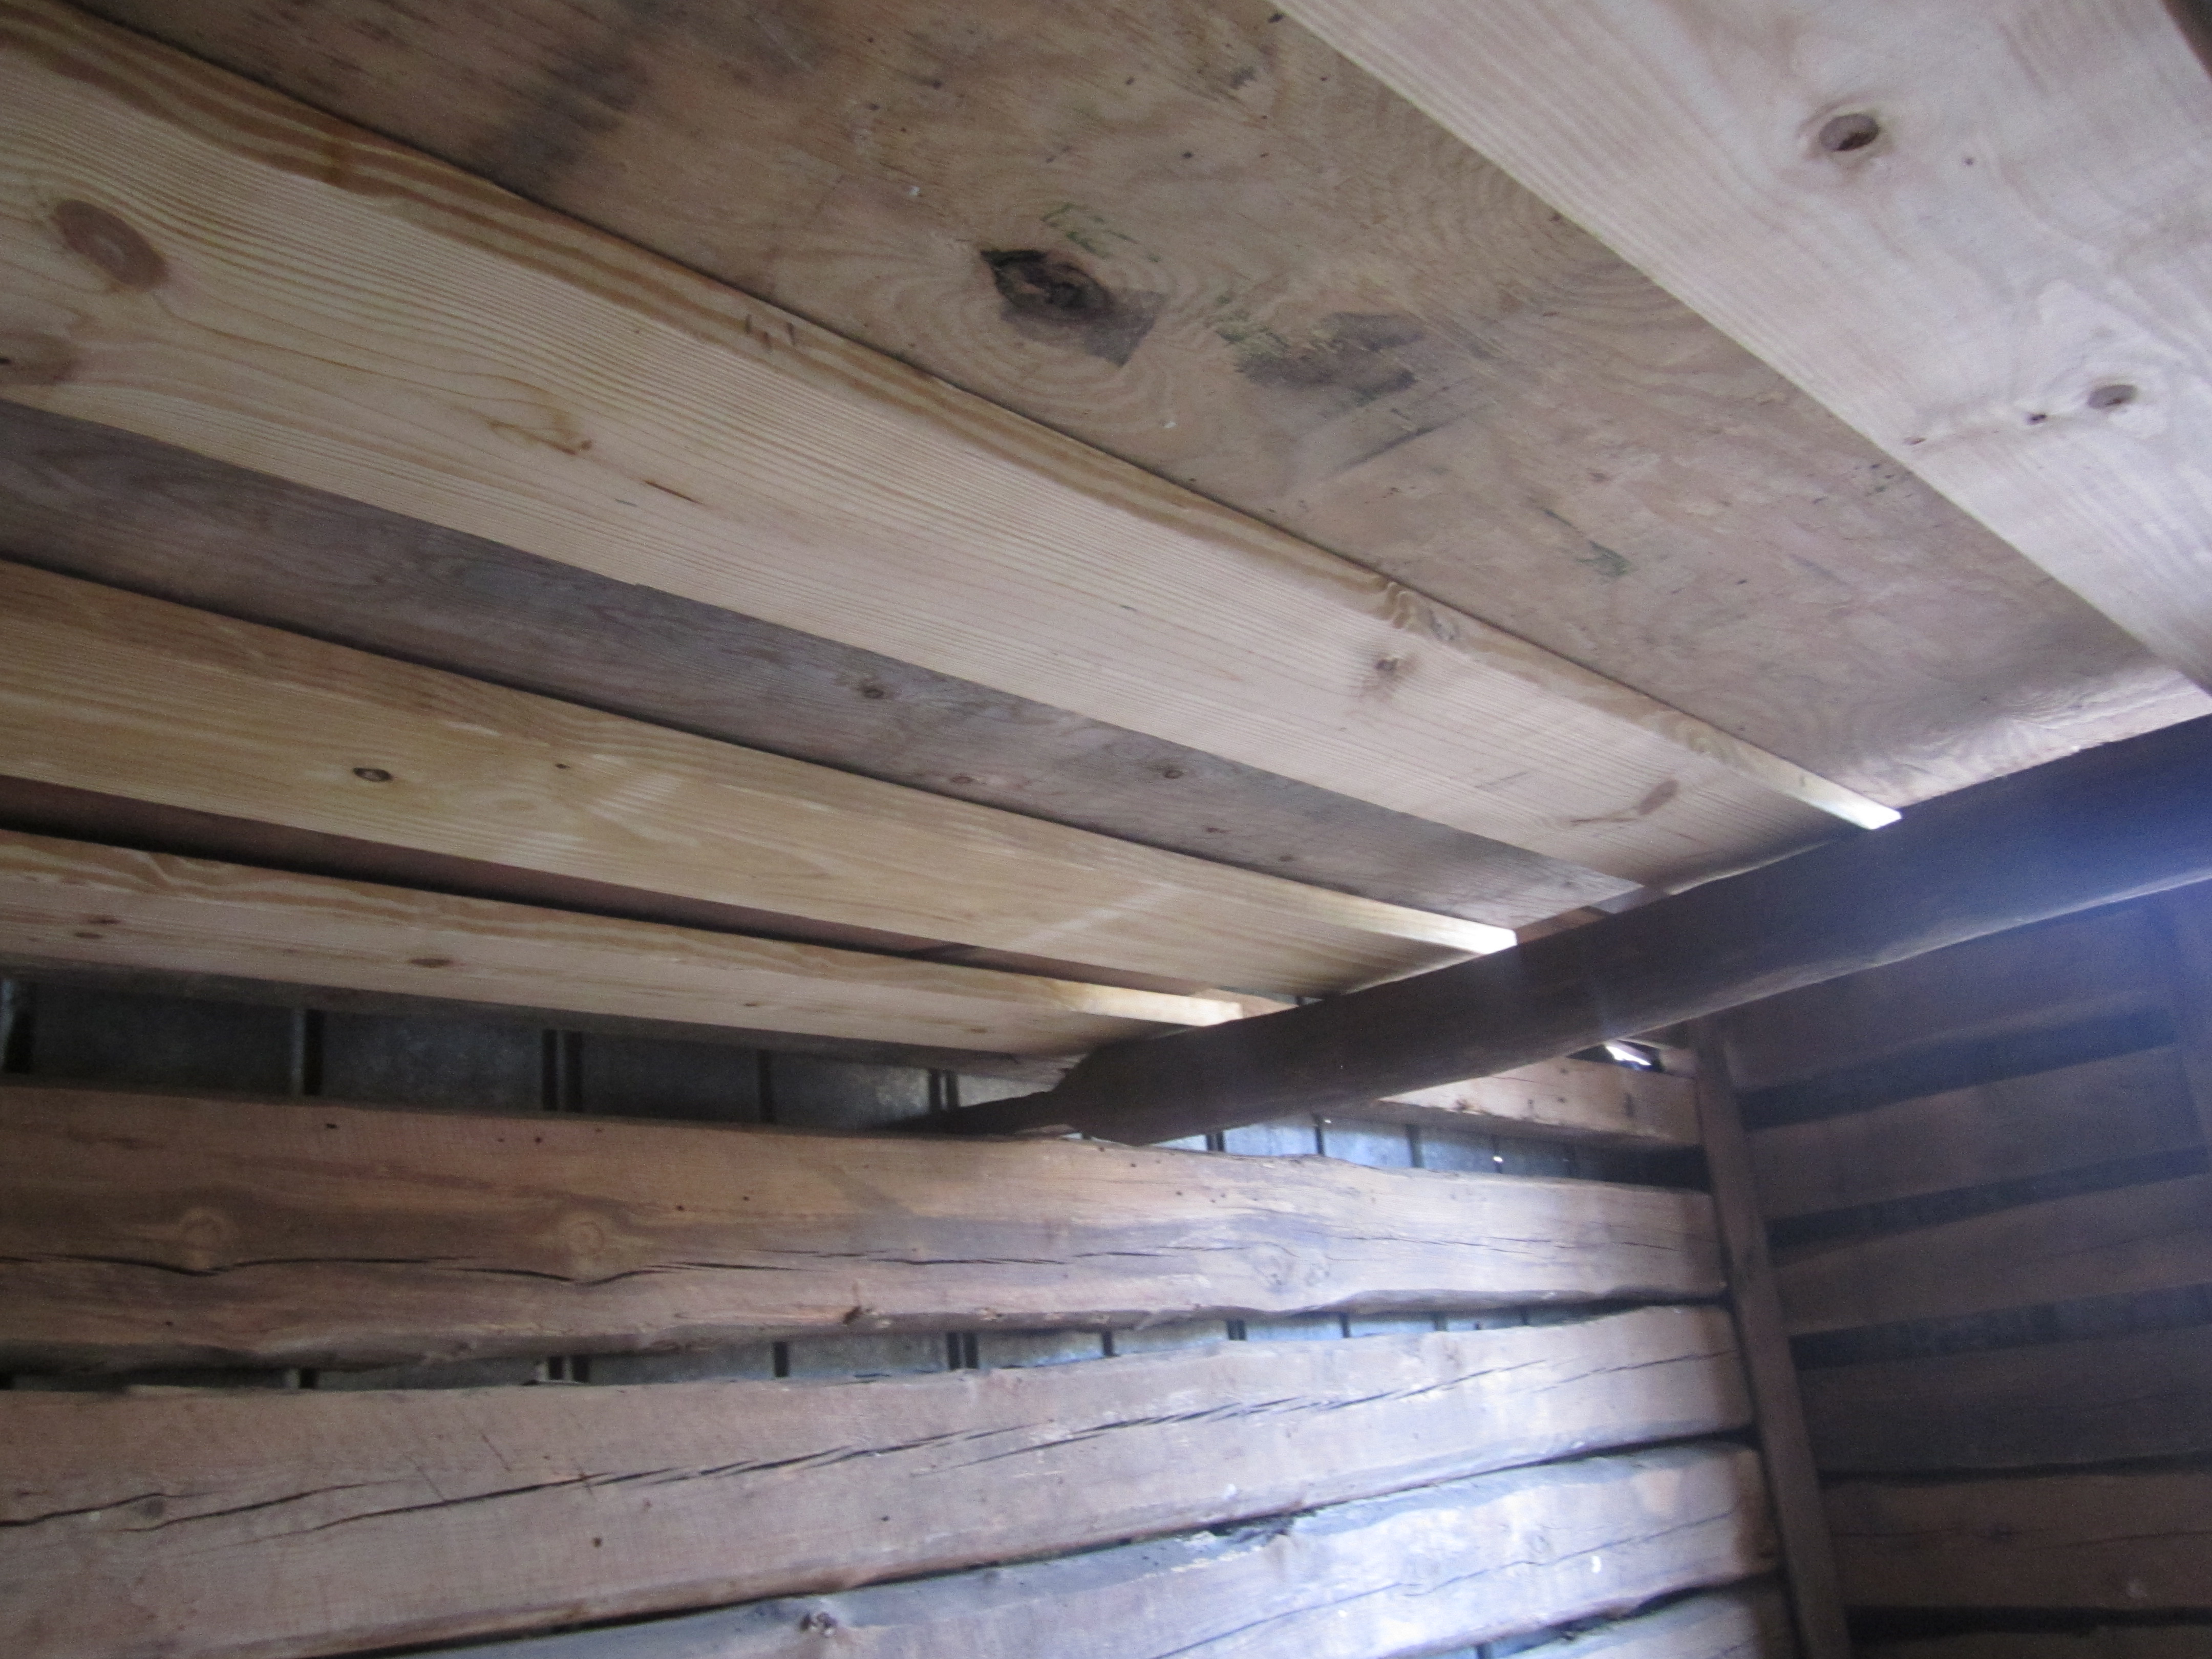
Once the squirrel family moved out, we could start on our construction. We used 2 heavy, pine poles that were made to fit the shed as supports, and added 6 of the 10 foot x 10 inch boards that we covered in cloth and used as seats for our wedding. On top of these supports, we layed down heavy plywood and a couple other miscellaneous pieces of wood to make sure the floor would be solid.
Pine pole supports!
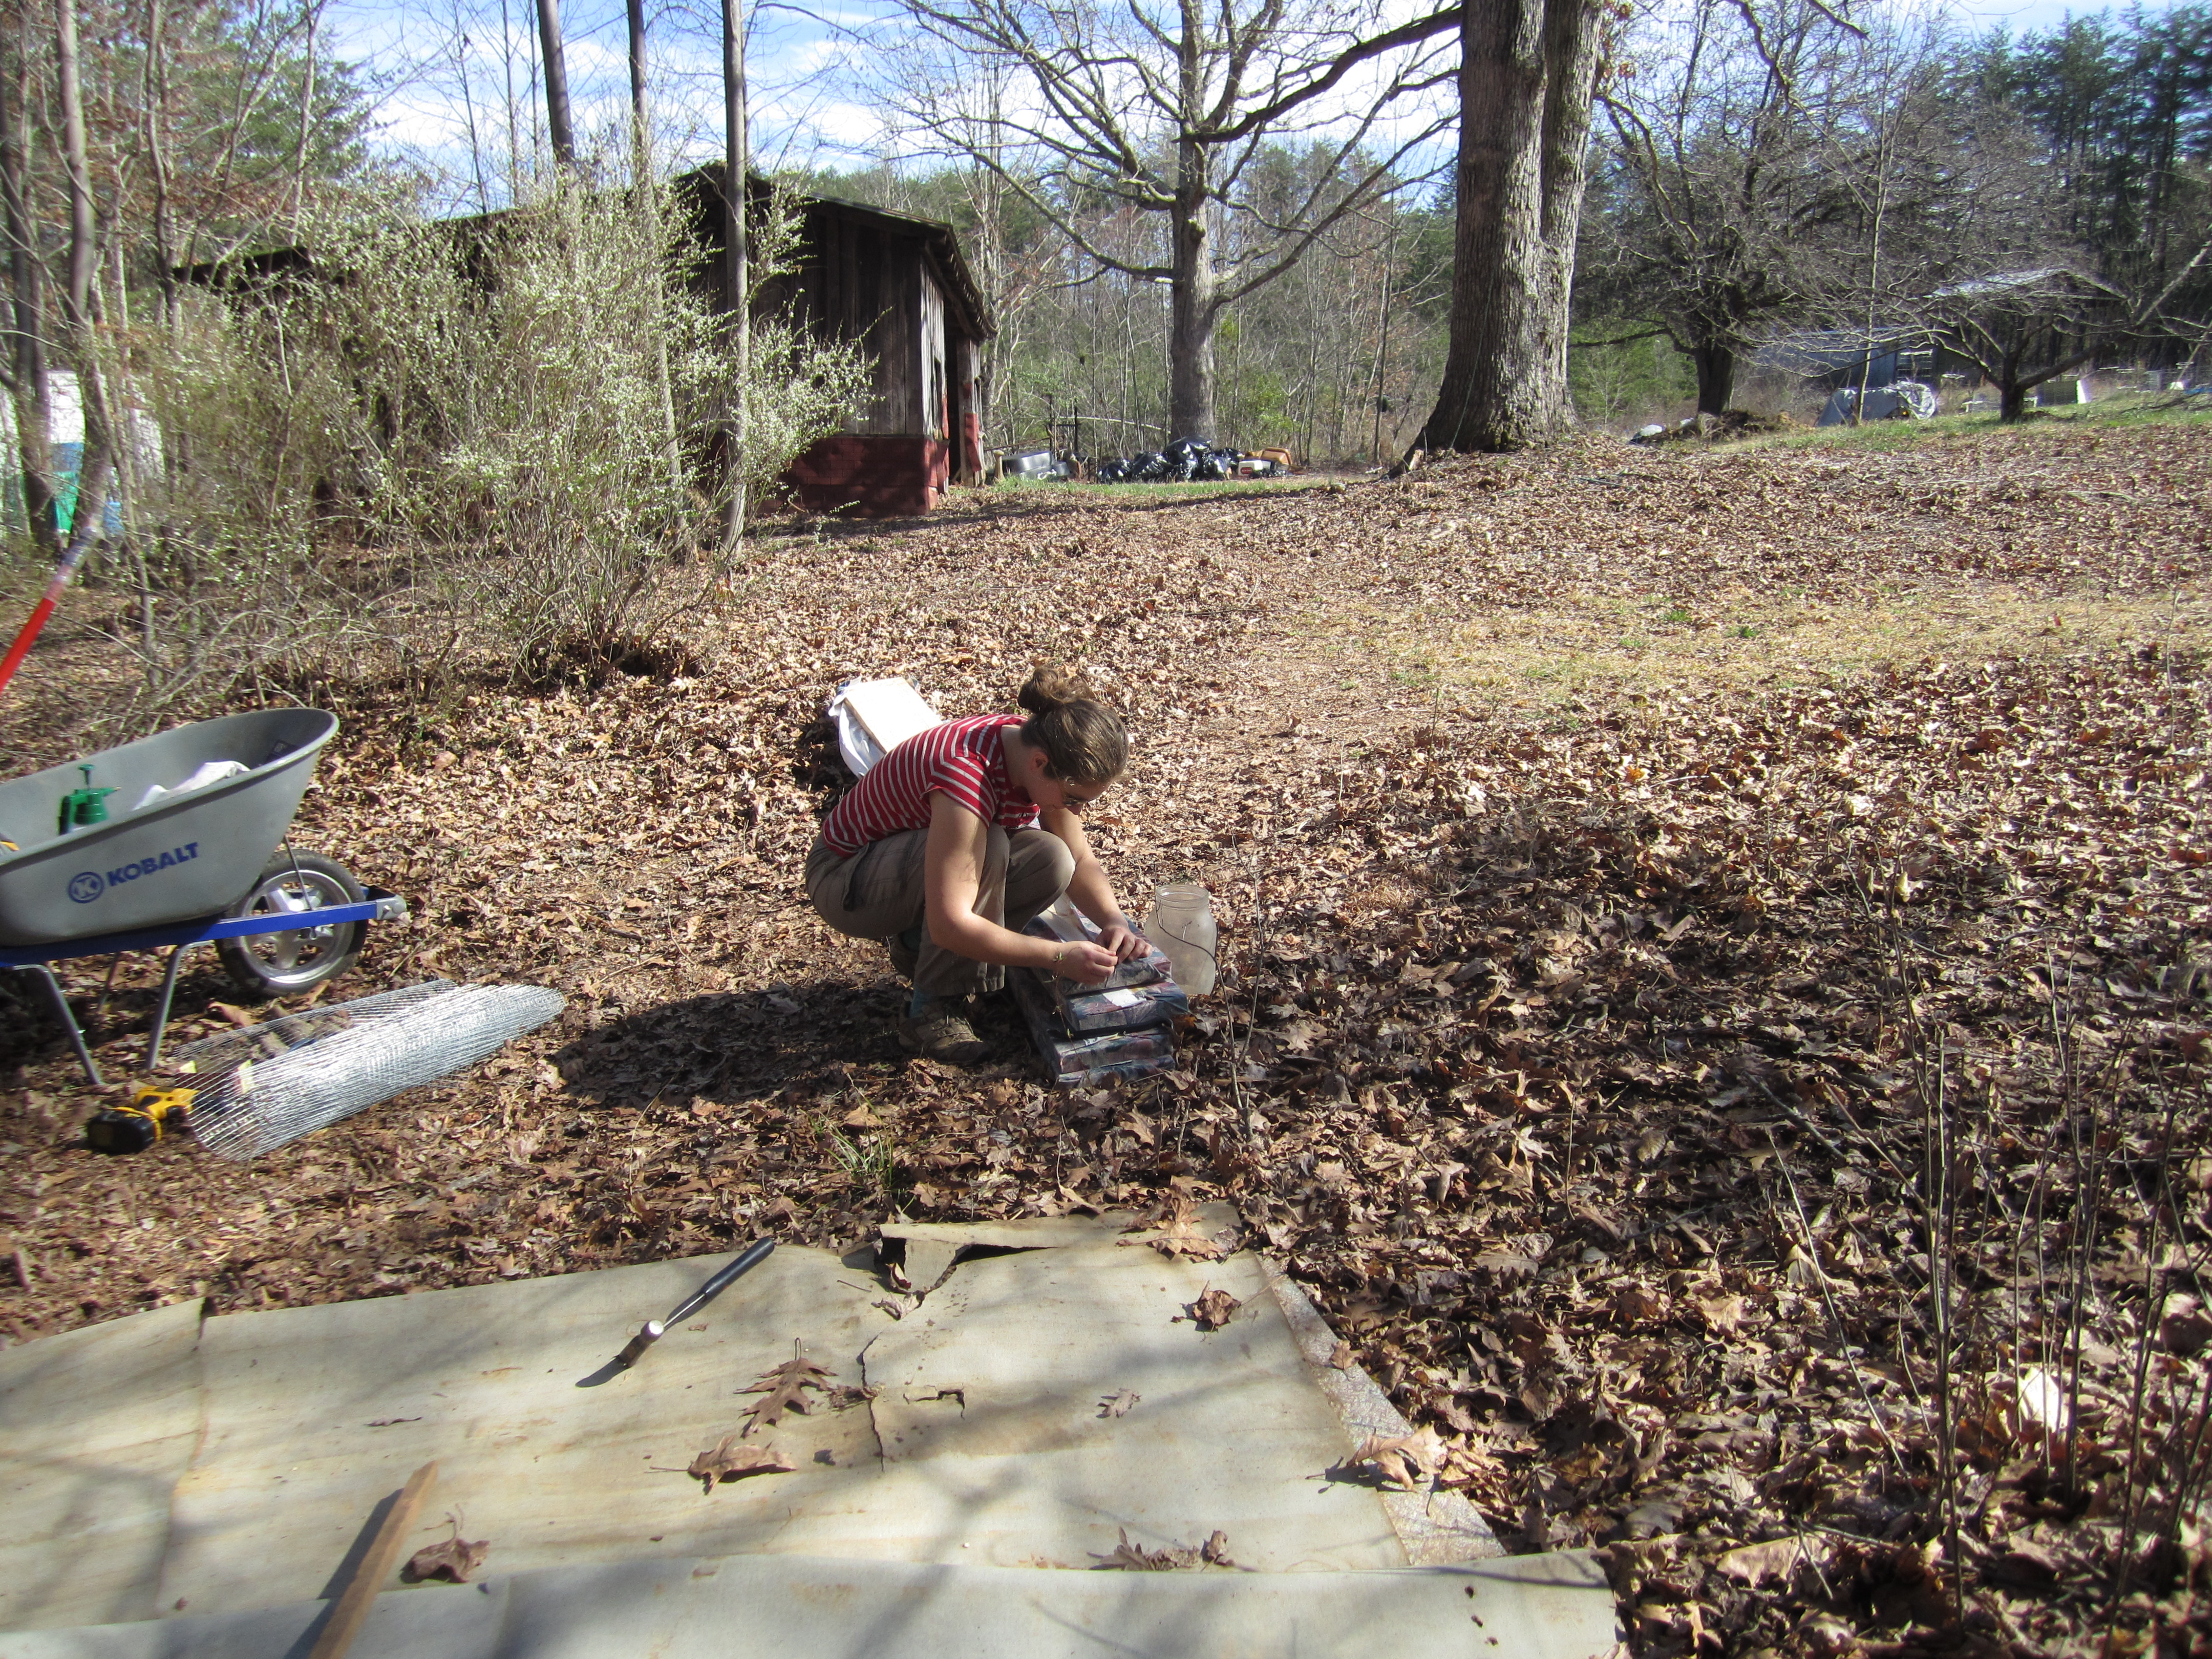
Emma removing fabric from the boards.
The boards go on the pine poles…
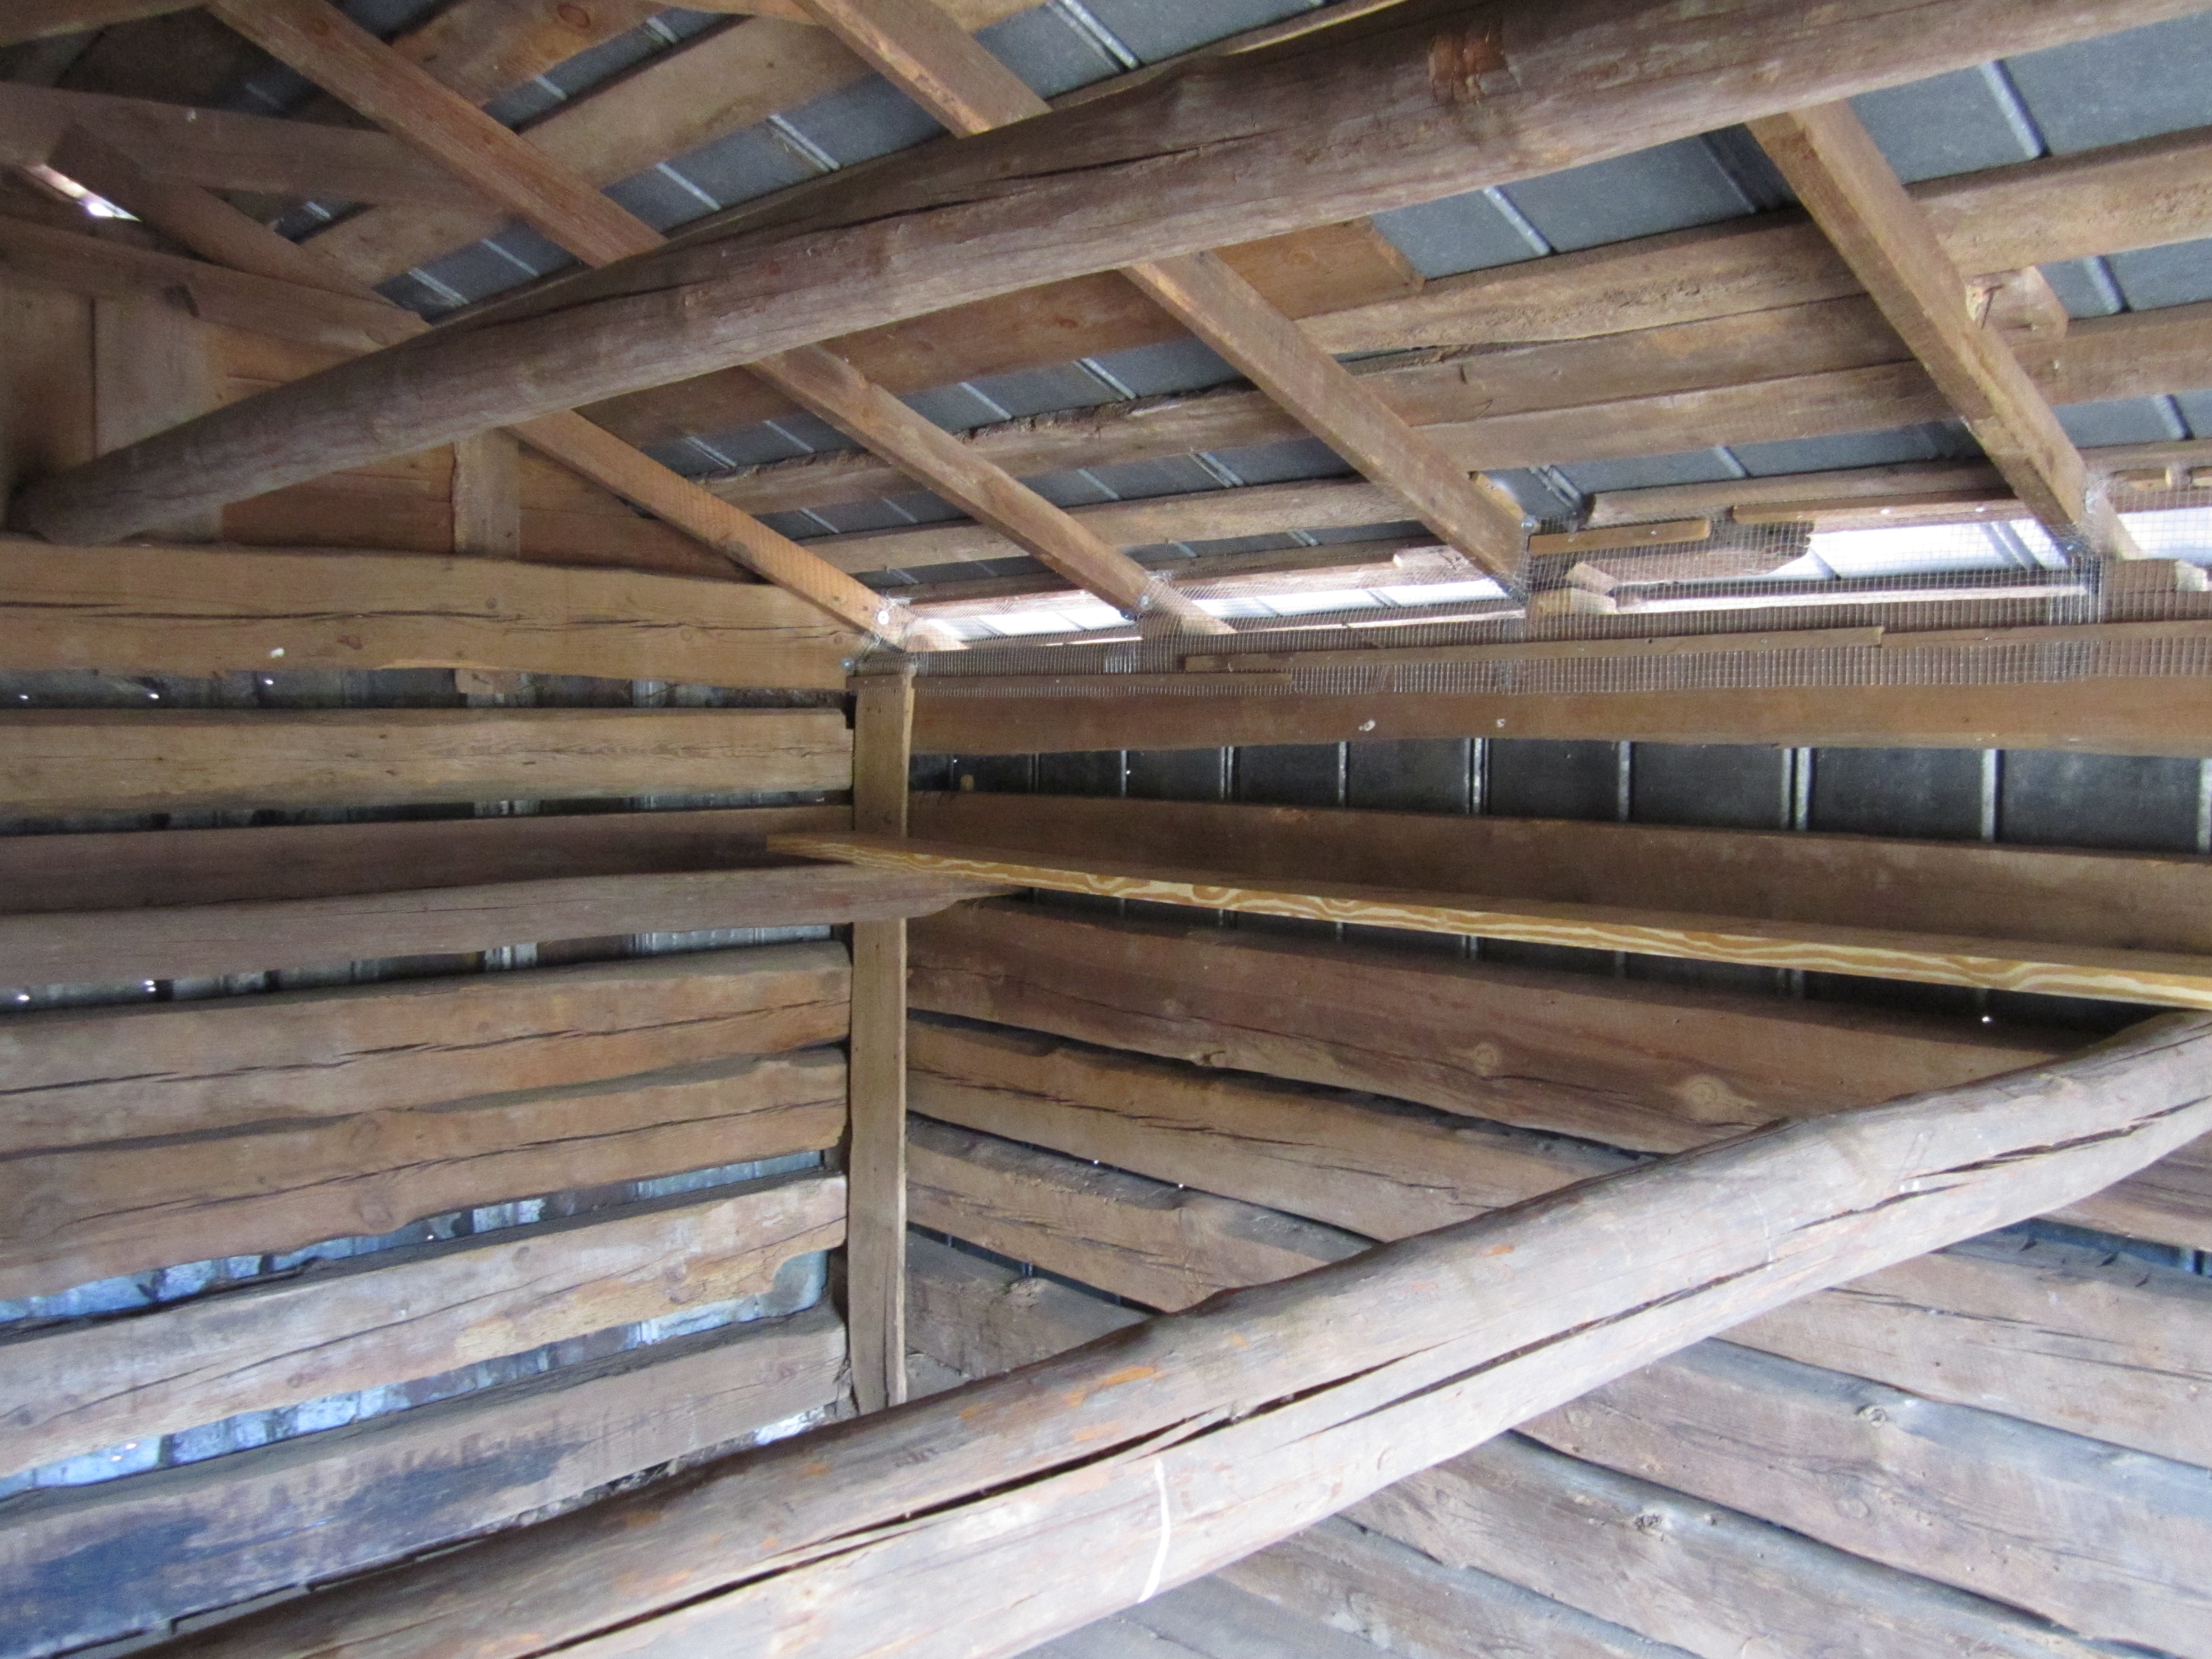
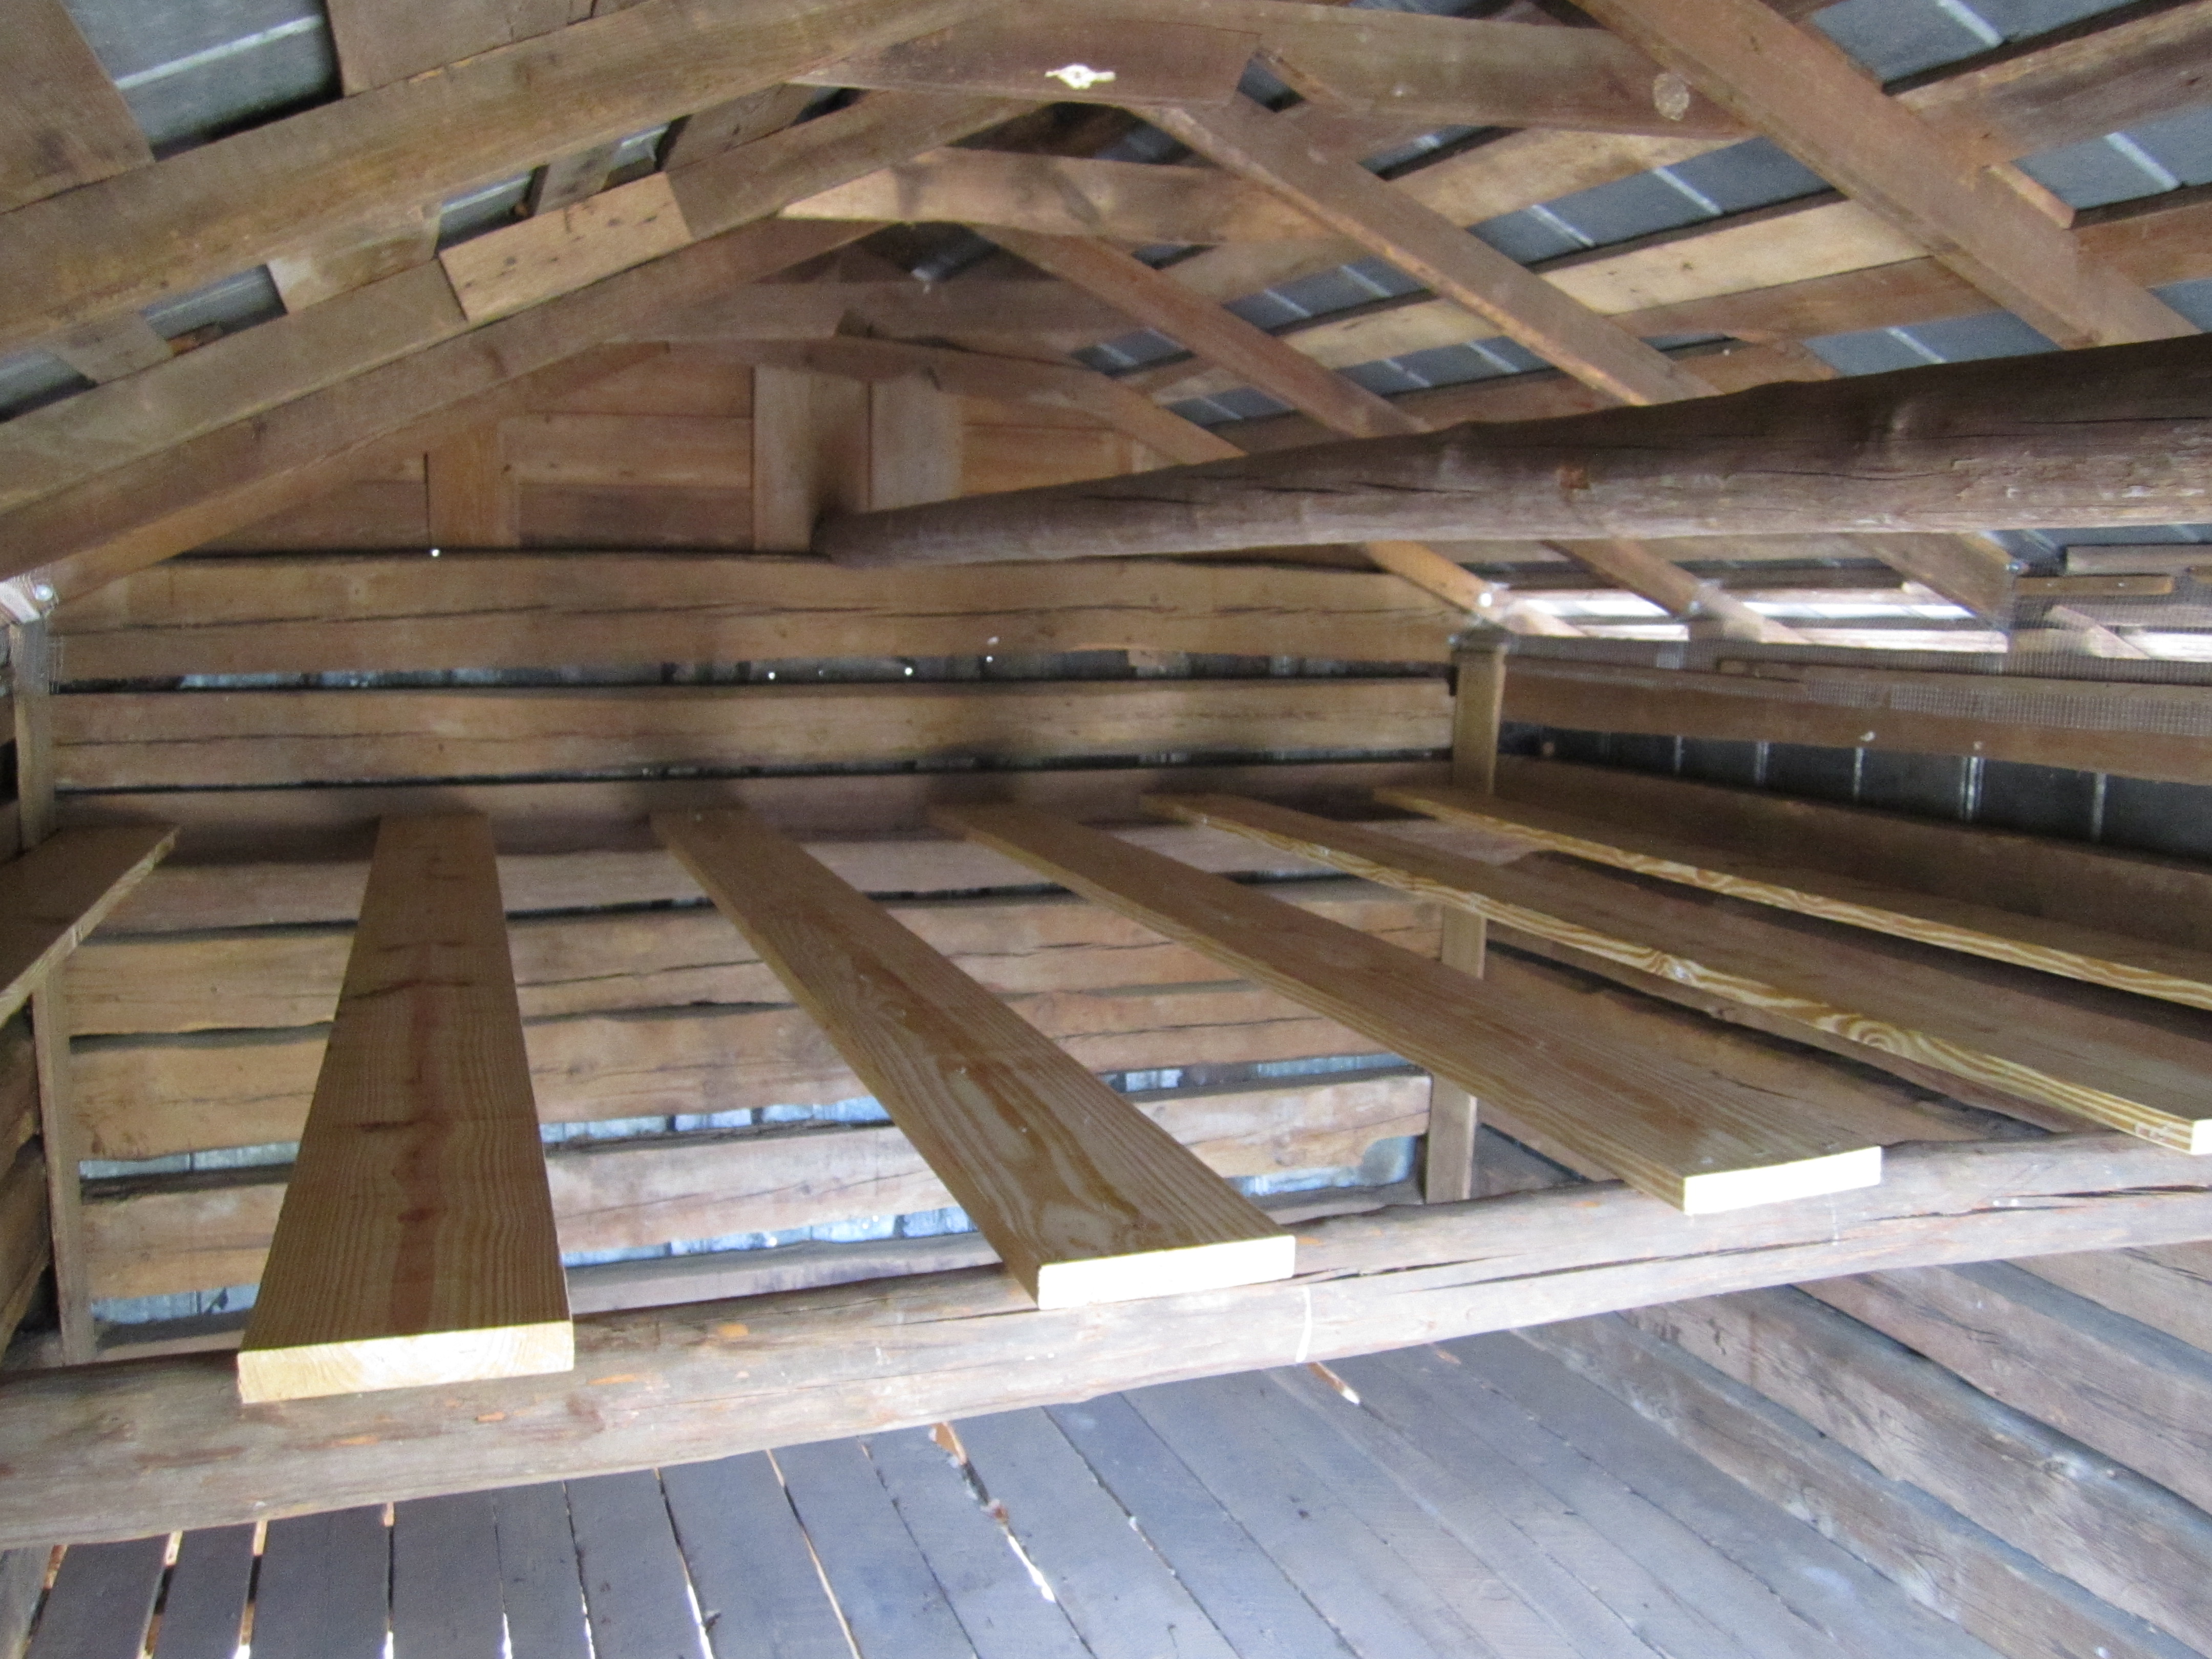
The second story!
The second story!
A view from below!
A view from below!
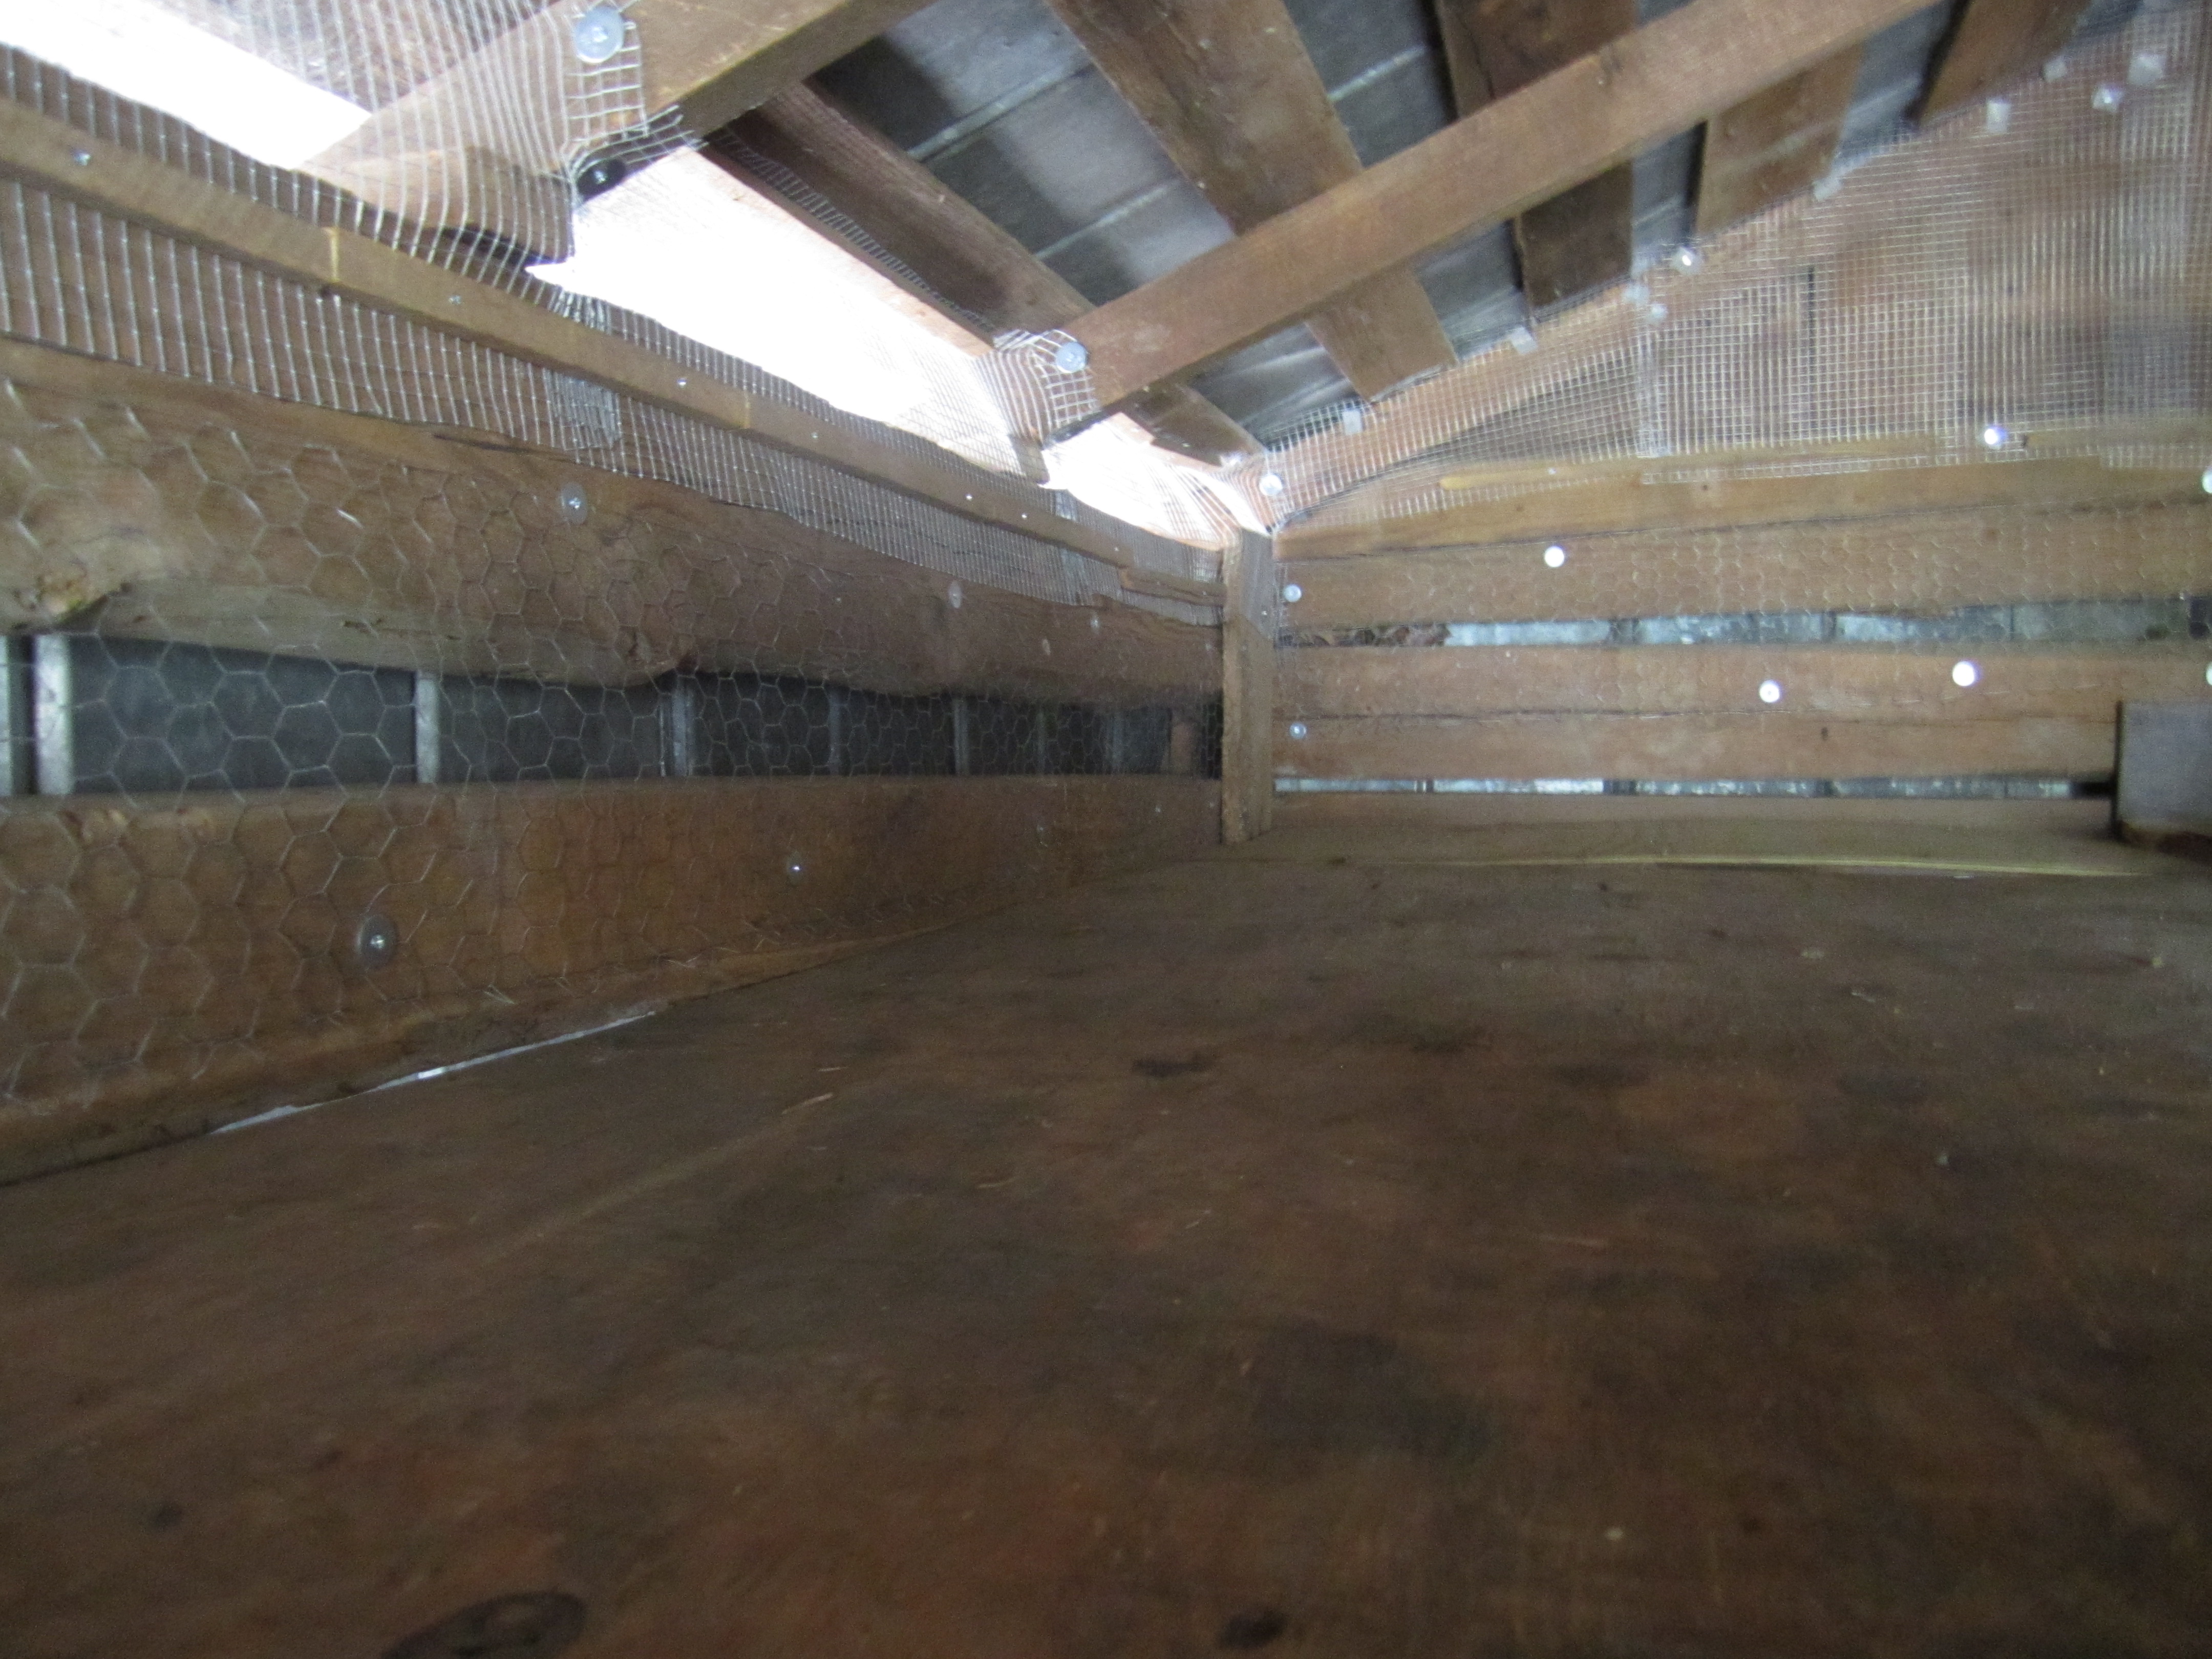
This created a second story in the shed, about 4 feet high, that will be the turkey loft!
More about the downstairs and about predator-proofing the shed…
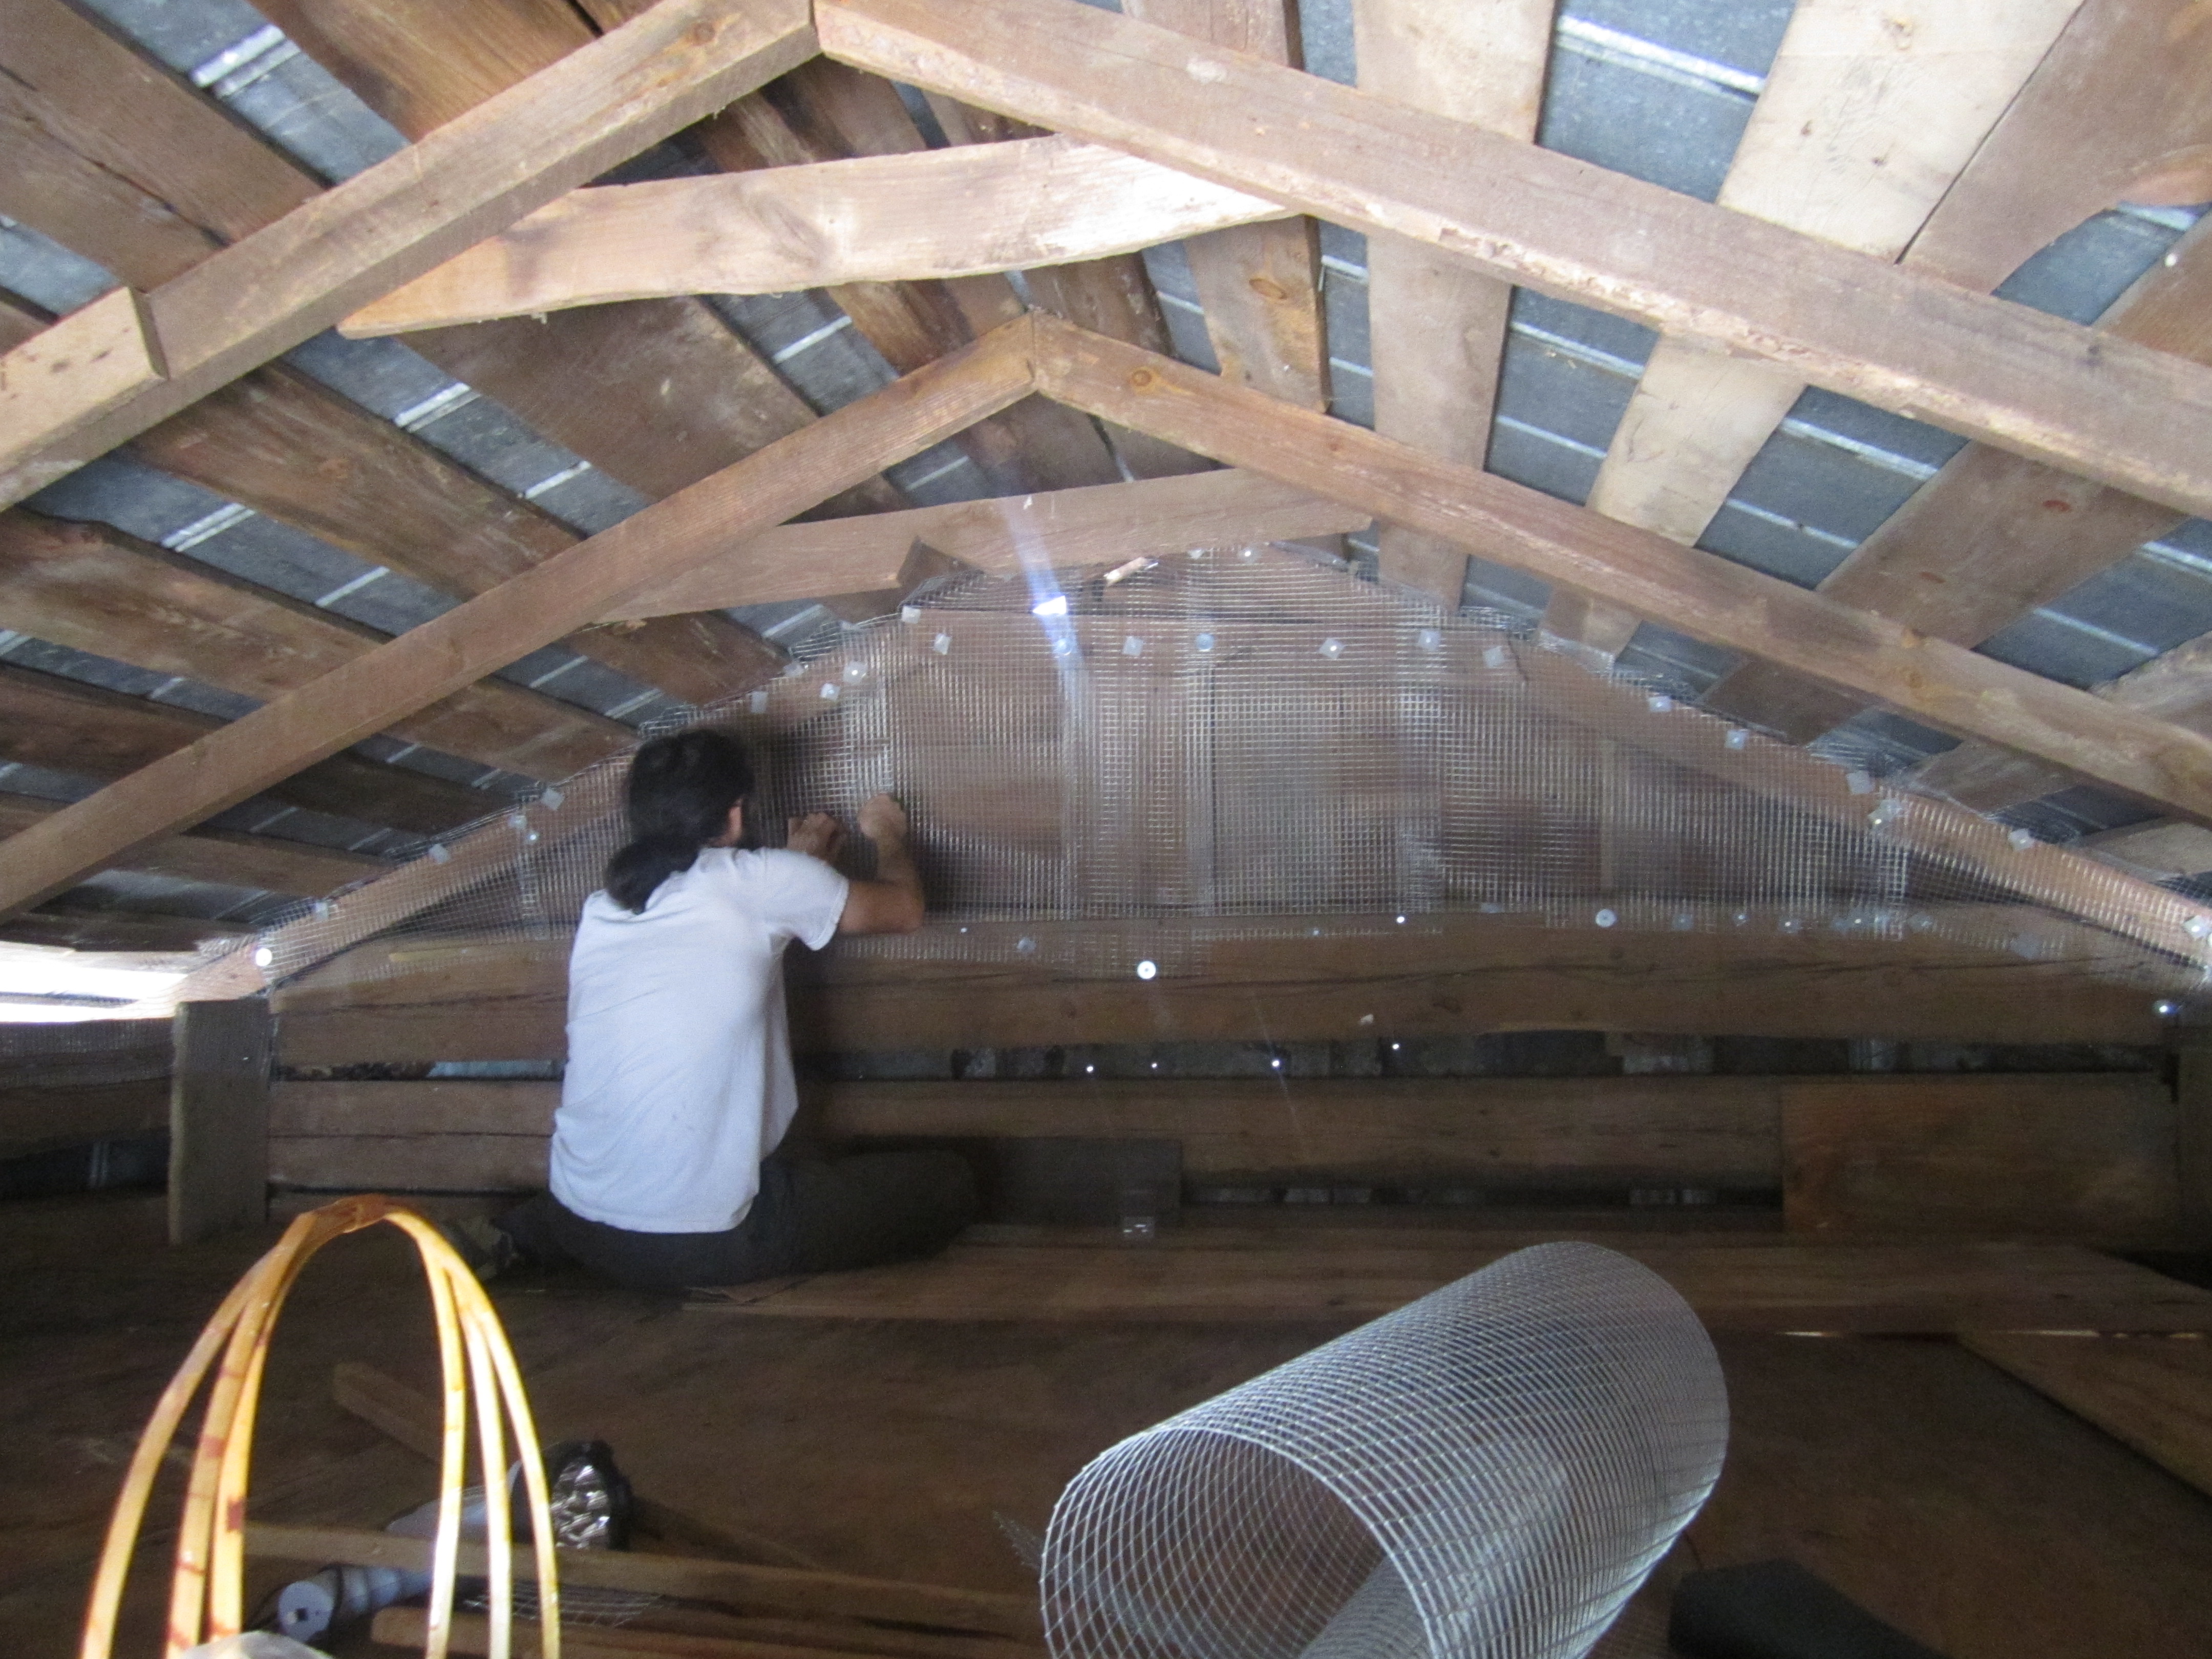
Jason attached pieces of hardware cloth to the natural openings near the top of the building, so they could still provide ventilation and light, but so that no racoons or oppossoms could get in. This took a really long time and lots of energy!
Jason attaches hardware cloth.
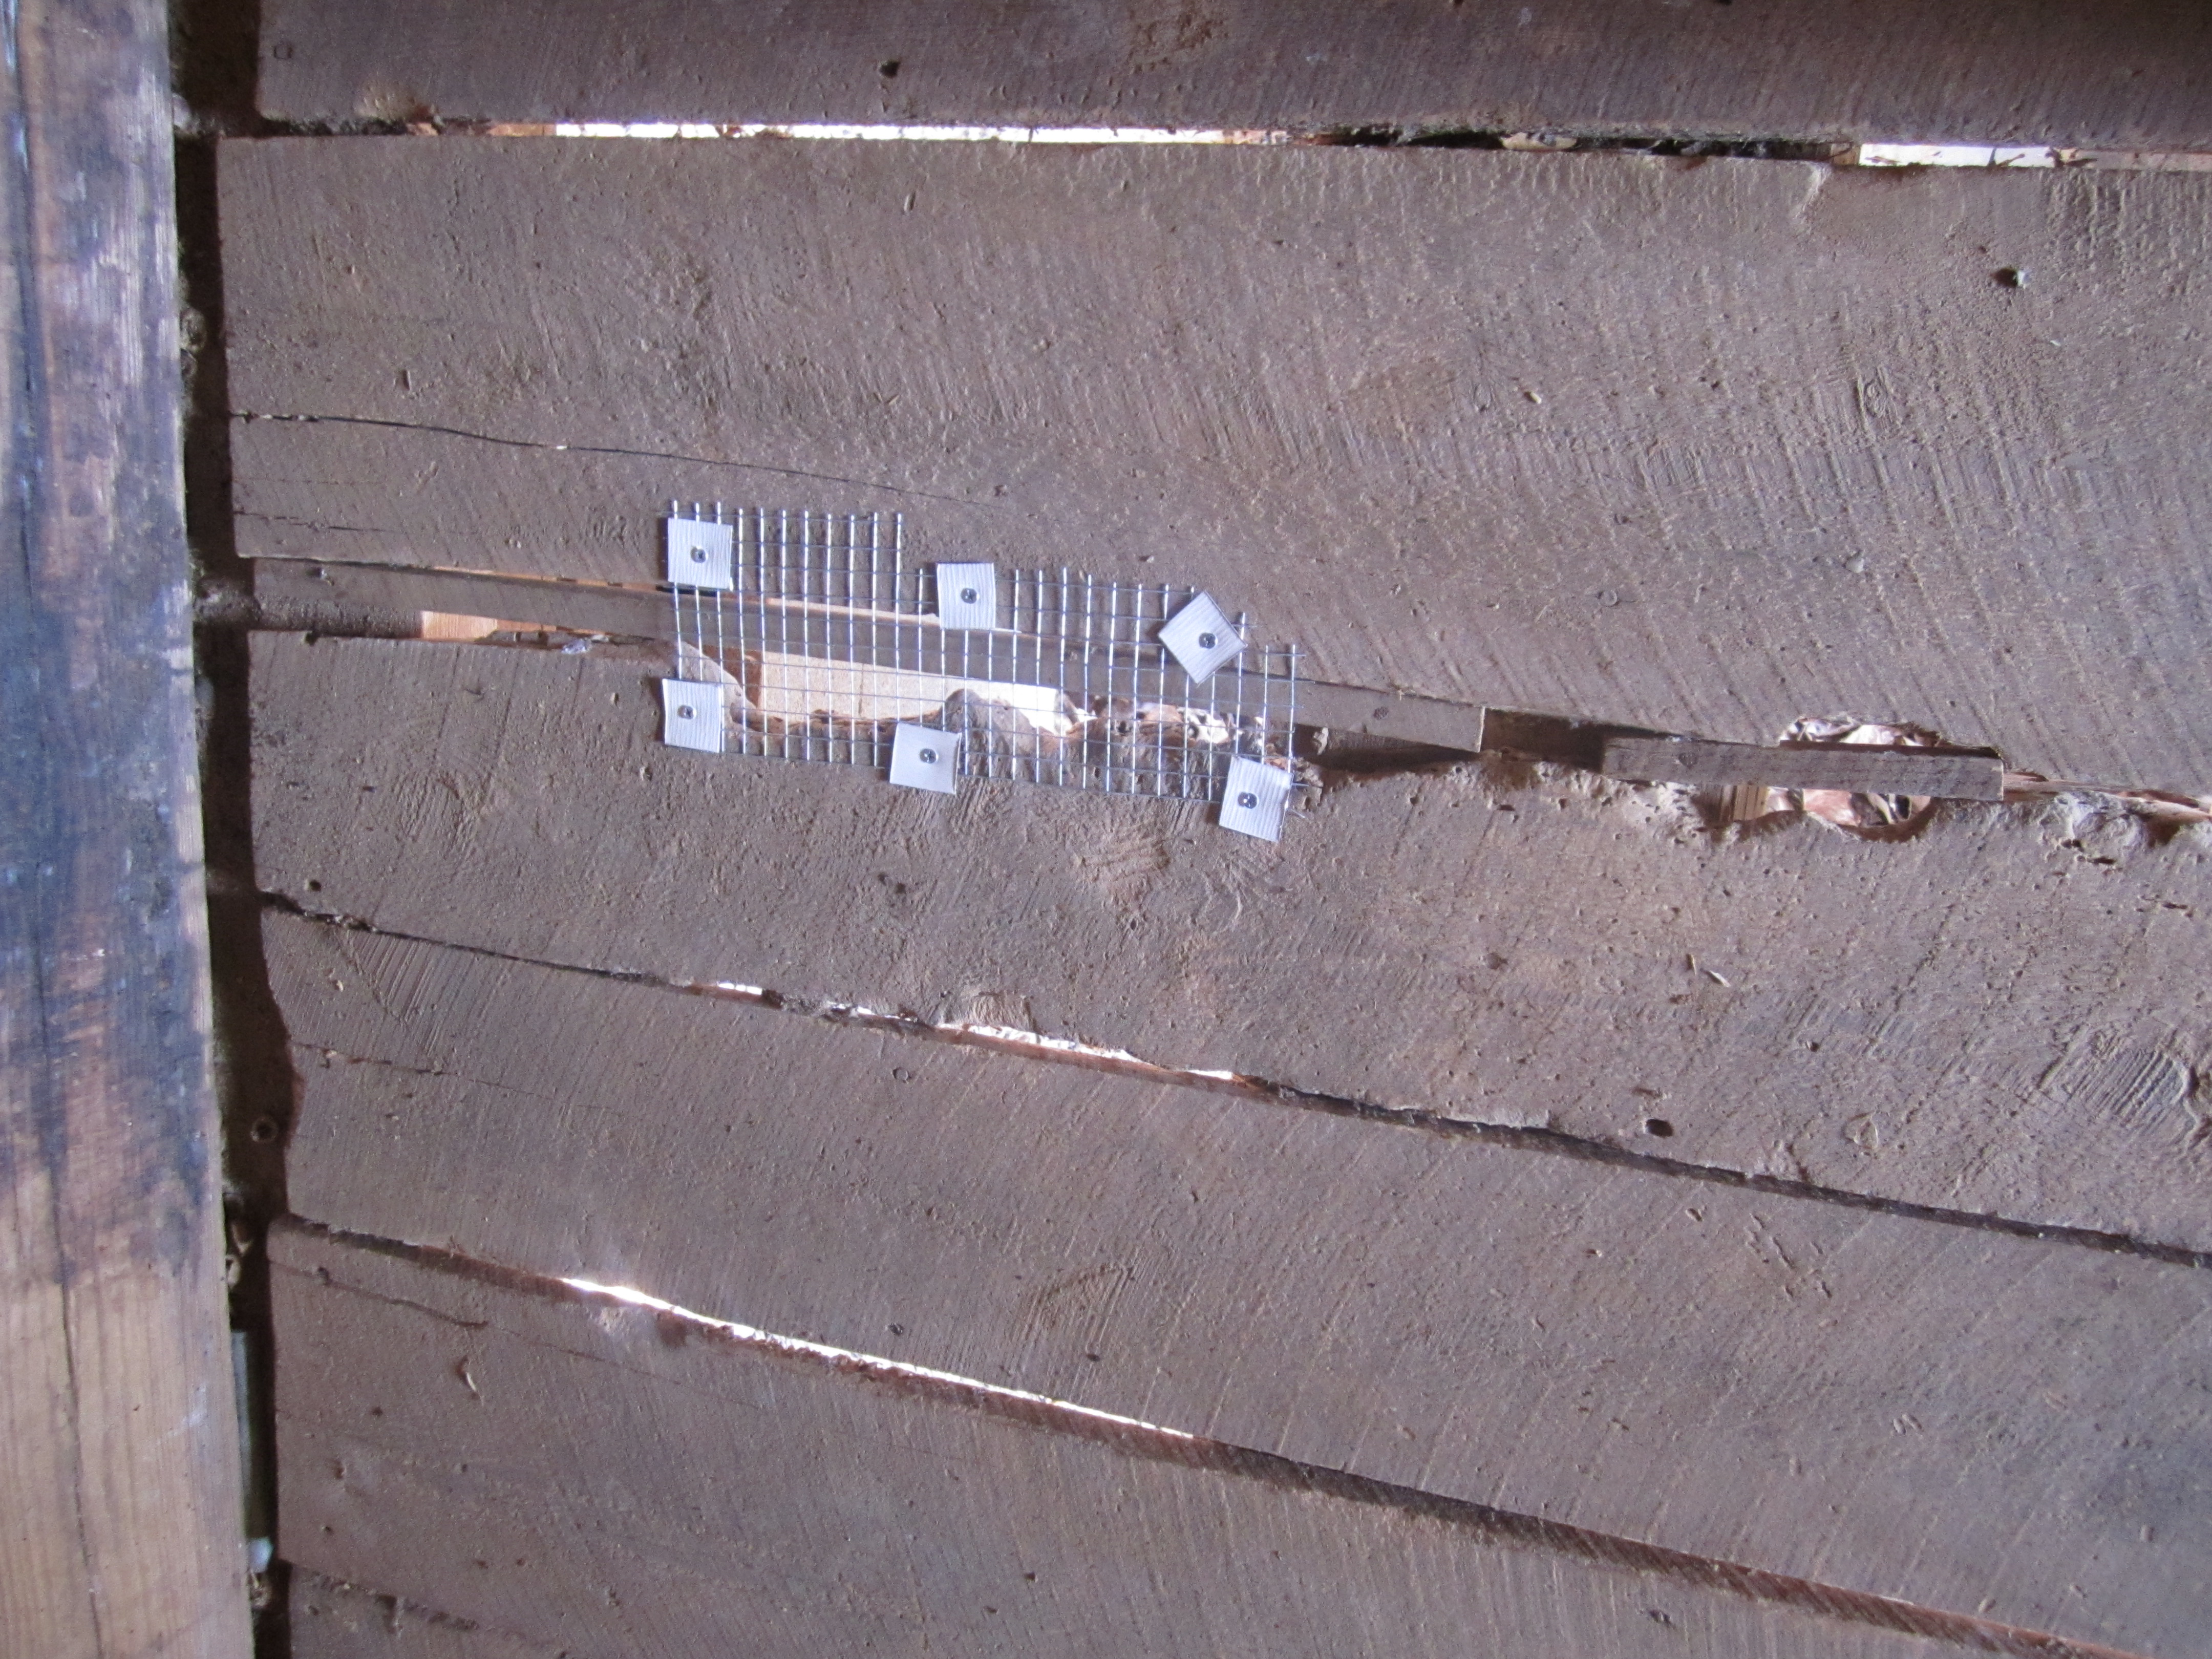
While he did this, I patched holes or gaps in the floor, sometimes with skinny tobacco sticks and sometimes with hardware cloth.
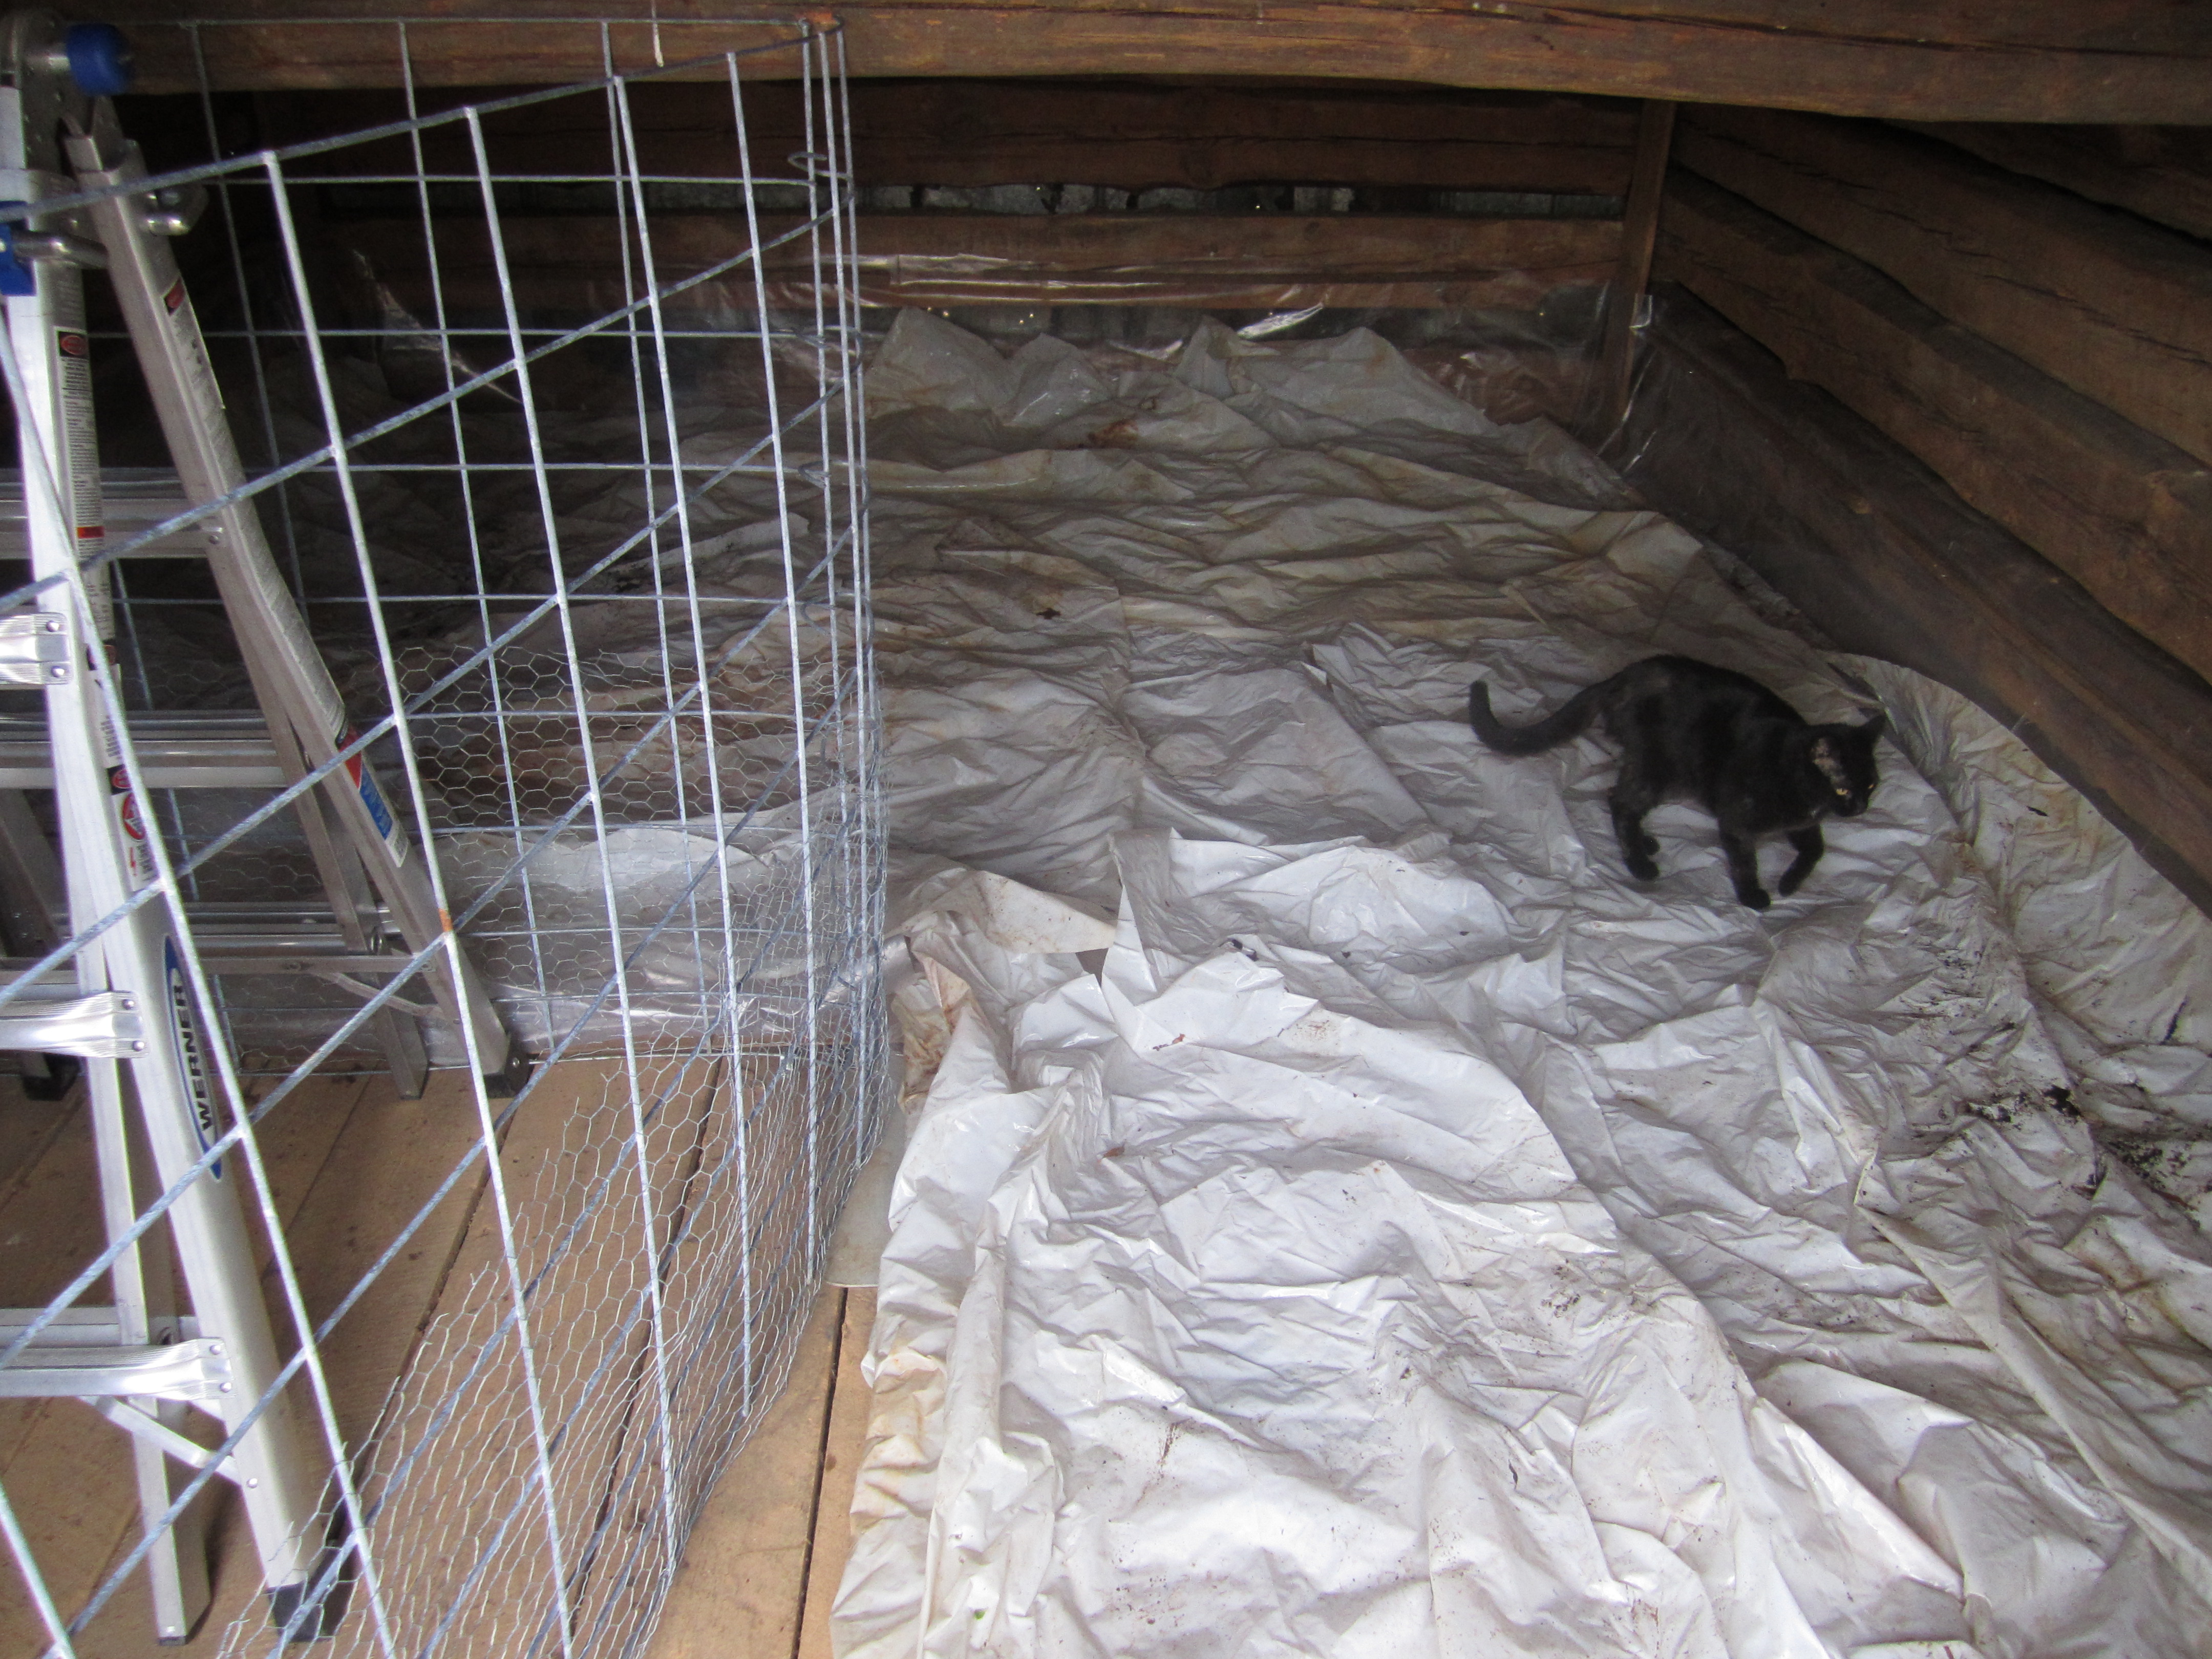
I also made the gate that would keep the ducks from having the entire downstairs area for themselves. The gate blocks off one half of the front, walk-in space so that we can store feed there and have access to the turkey space above.
The duck-free space beyond!
Patching holes.
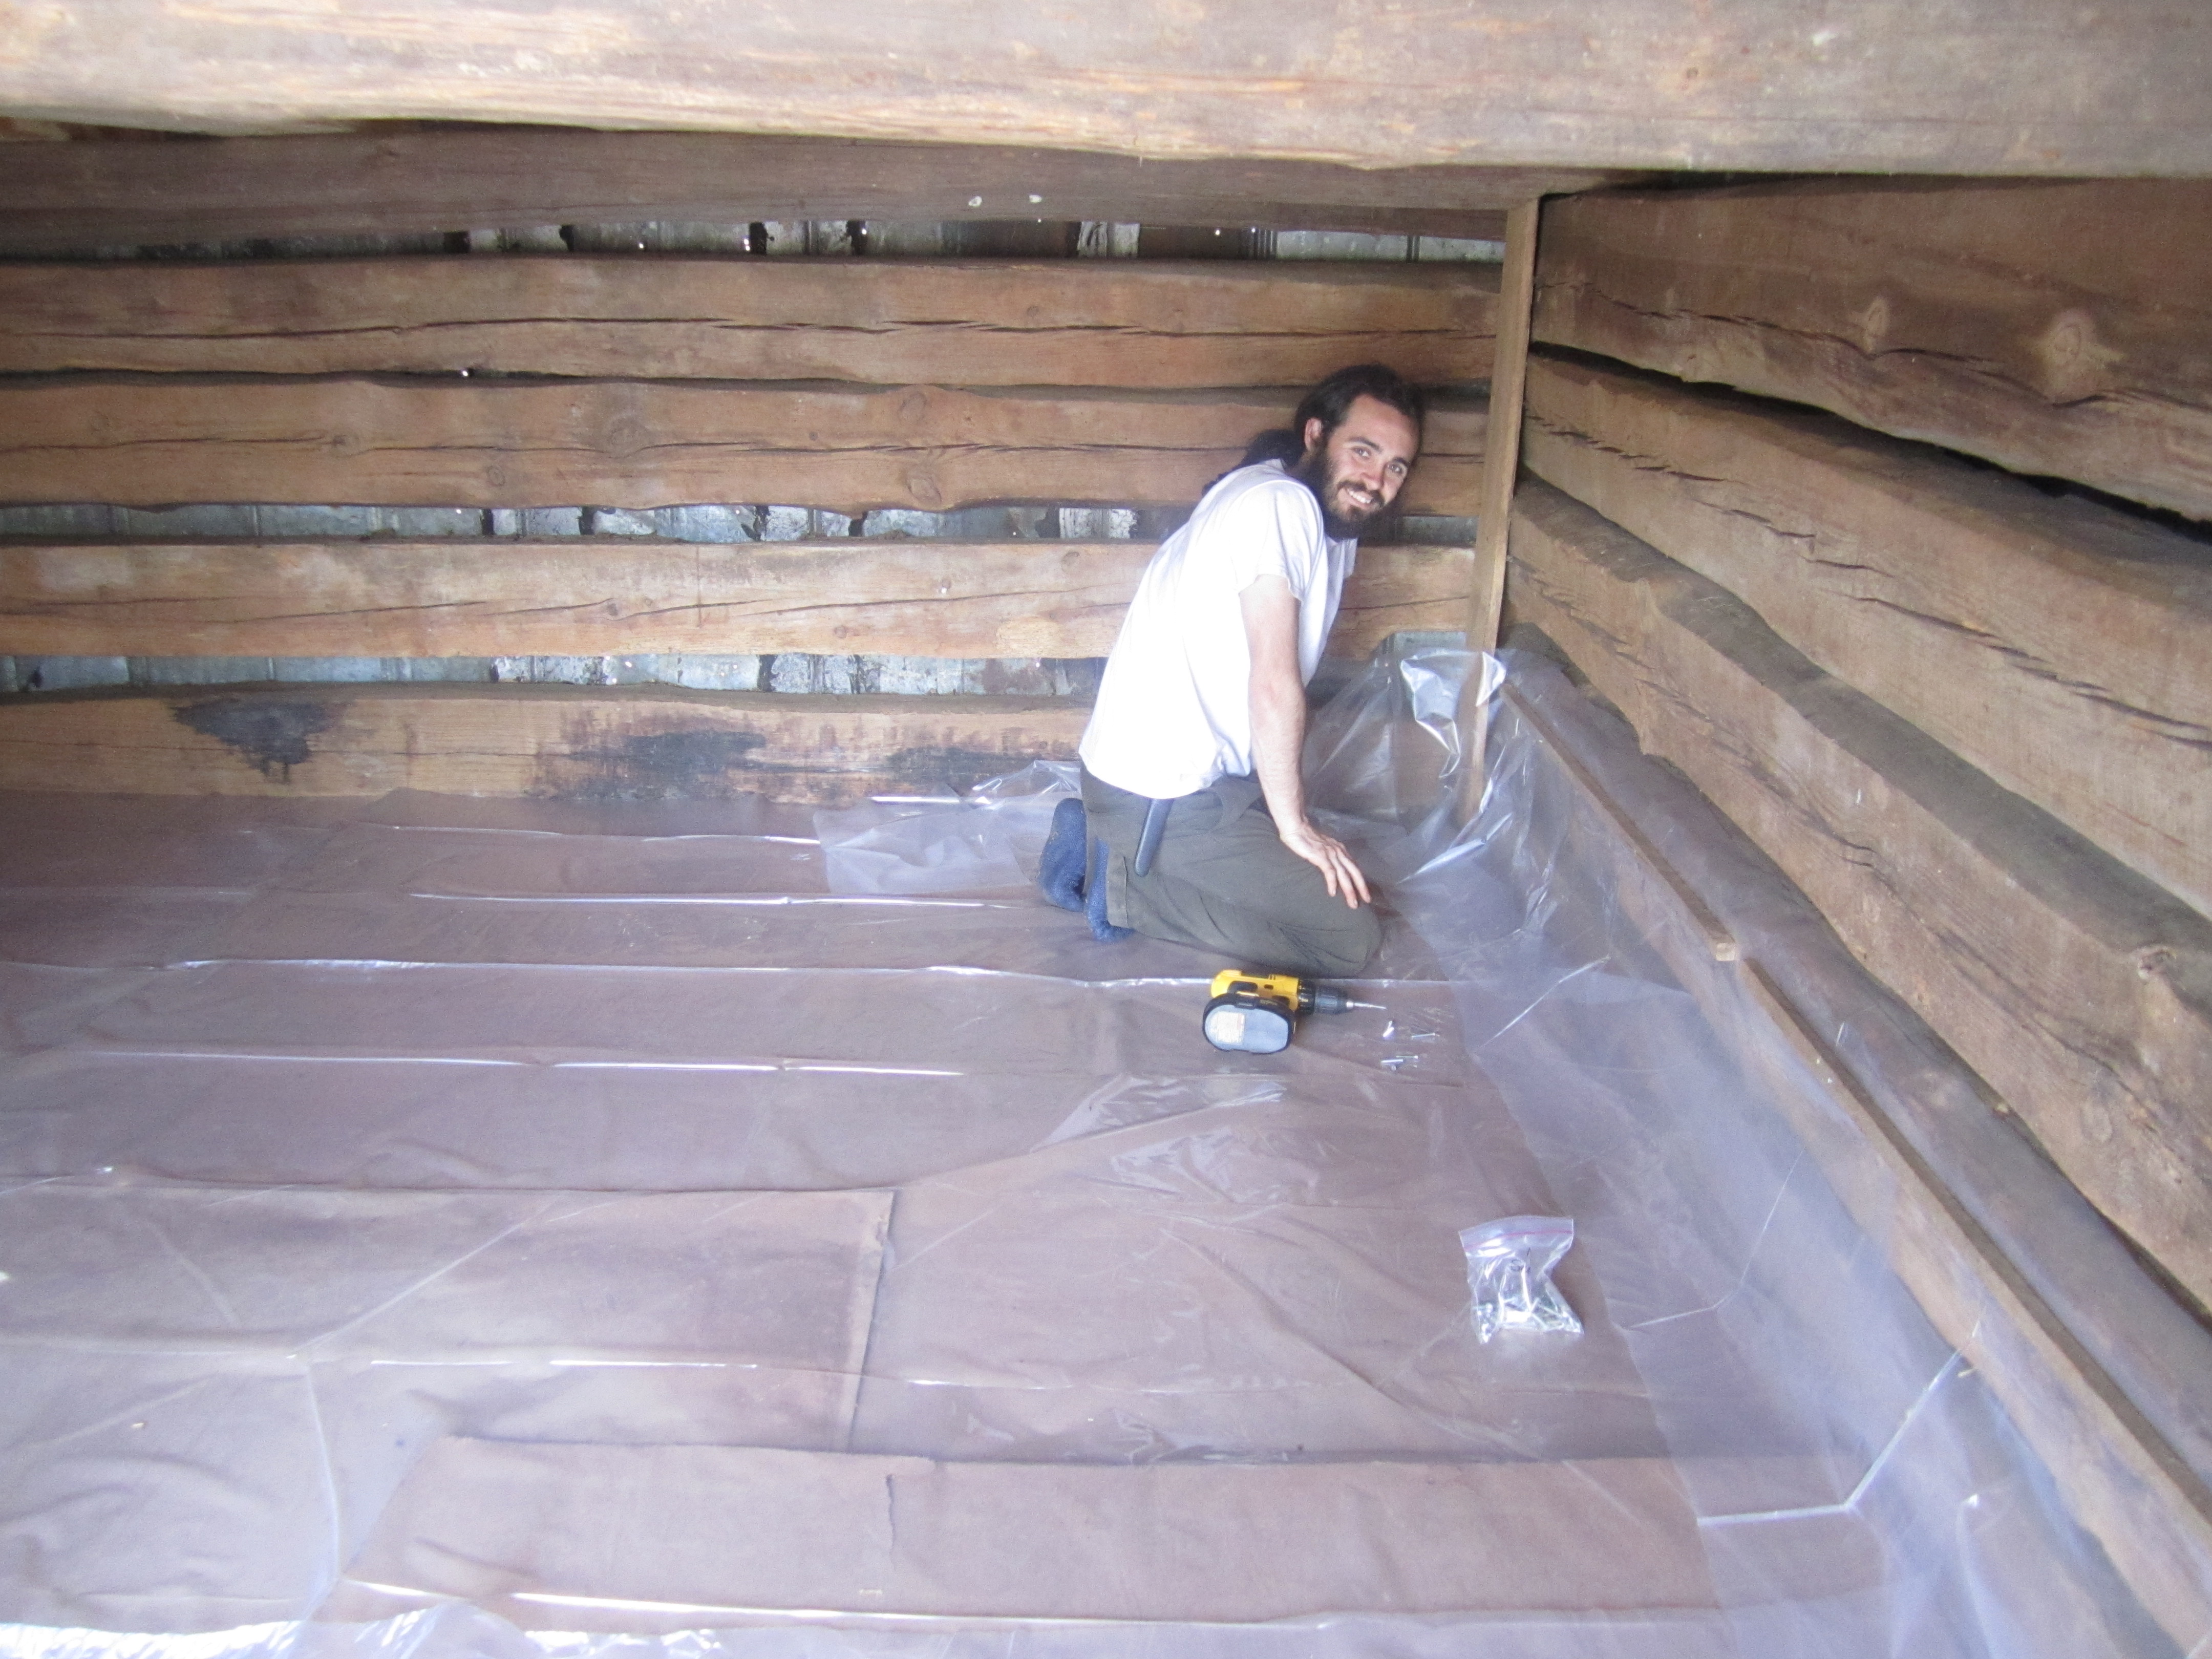
We used the old, cardboardish material to line the floor and on top of that we put a layer of plastic with “skirts” that ran up the walls to protect the wood from duck poop. A third layer was added: more plastic! This way we can be more certain that the duck poop and bedding will be easy to drag out and clean!
Adding plastic “skirts.”
Dodger helps with the last layer of plastic.
One must duck in the house!
When we were finally done with the predator-proofing and the downstairs area, we ready for dinner!
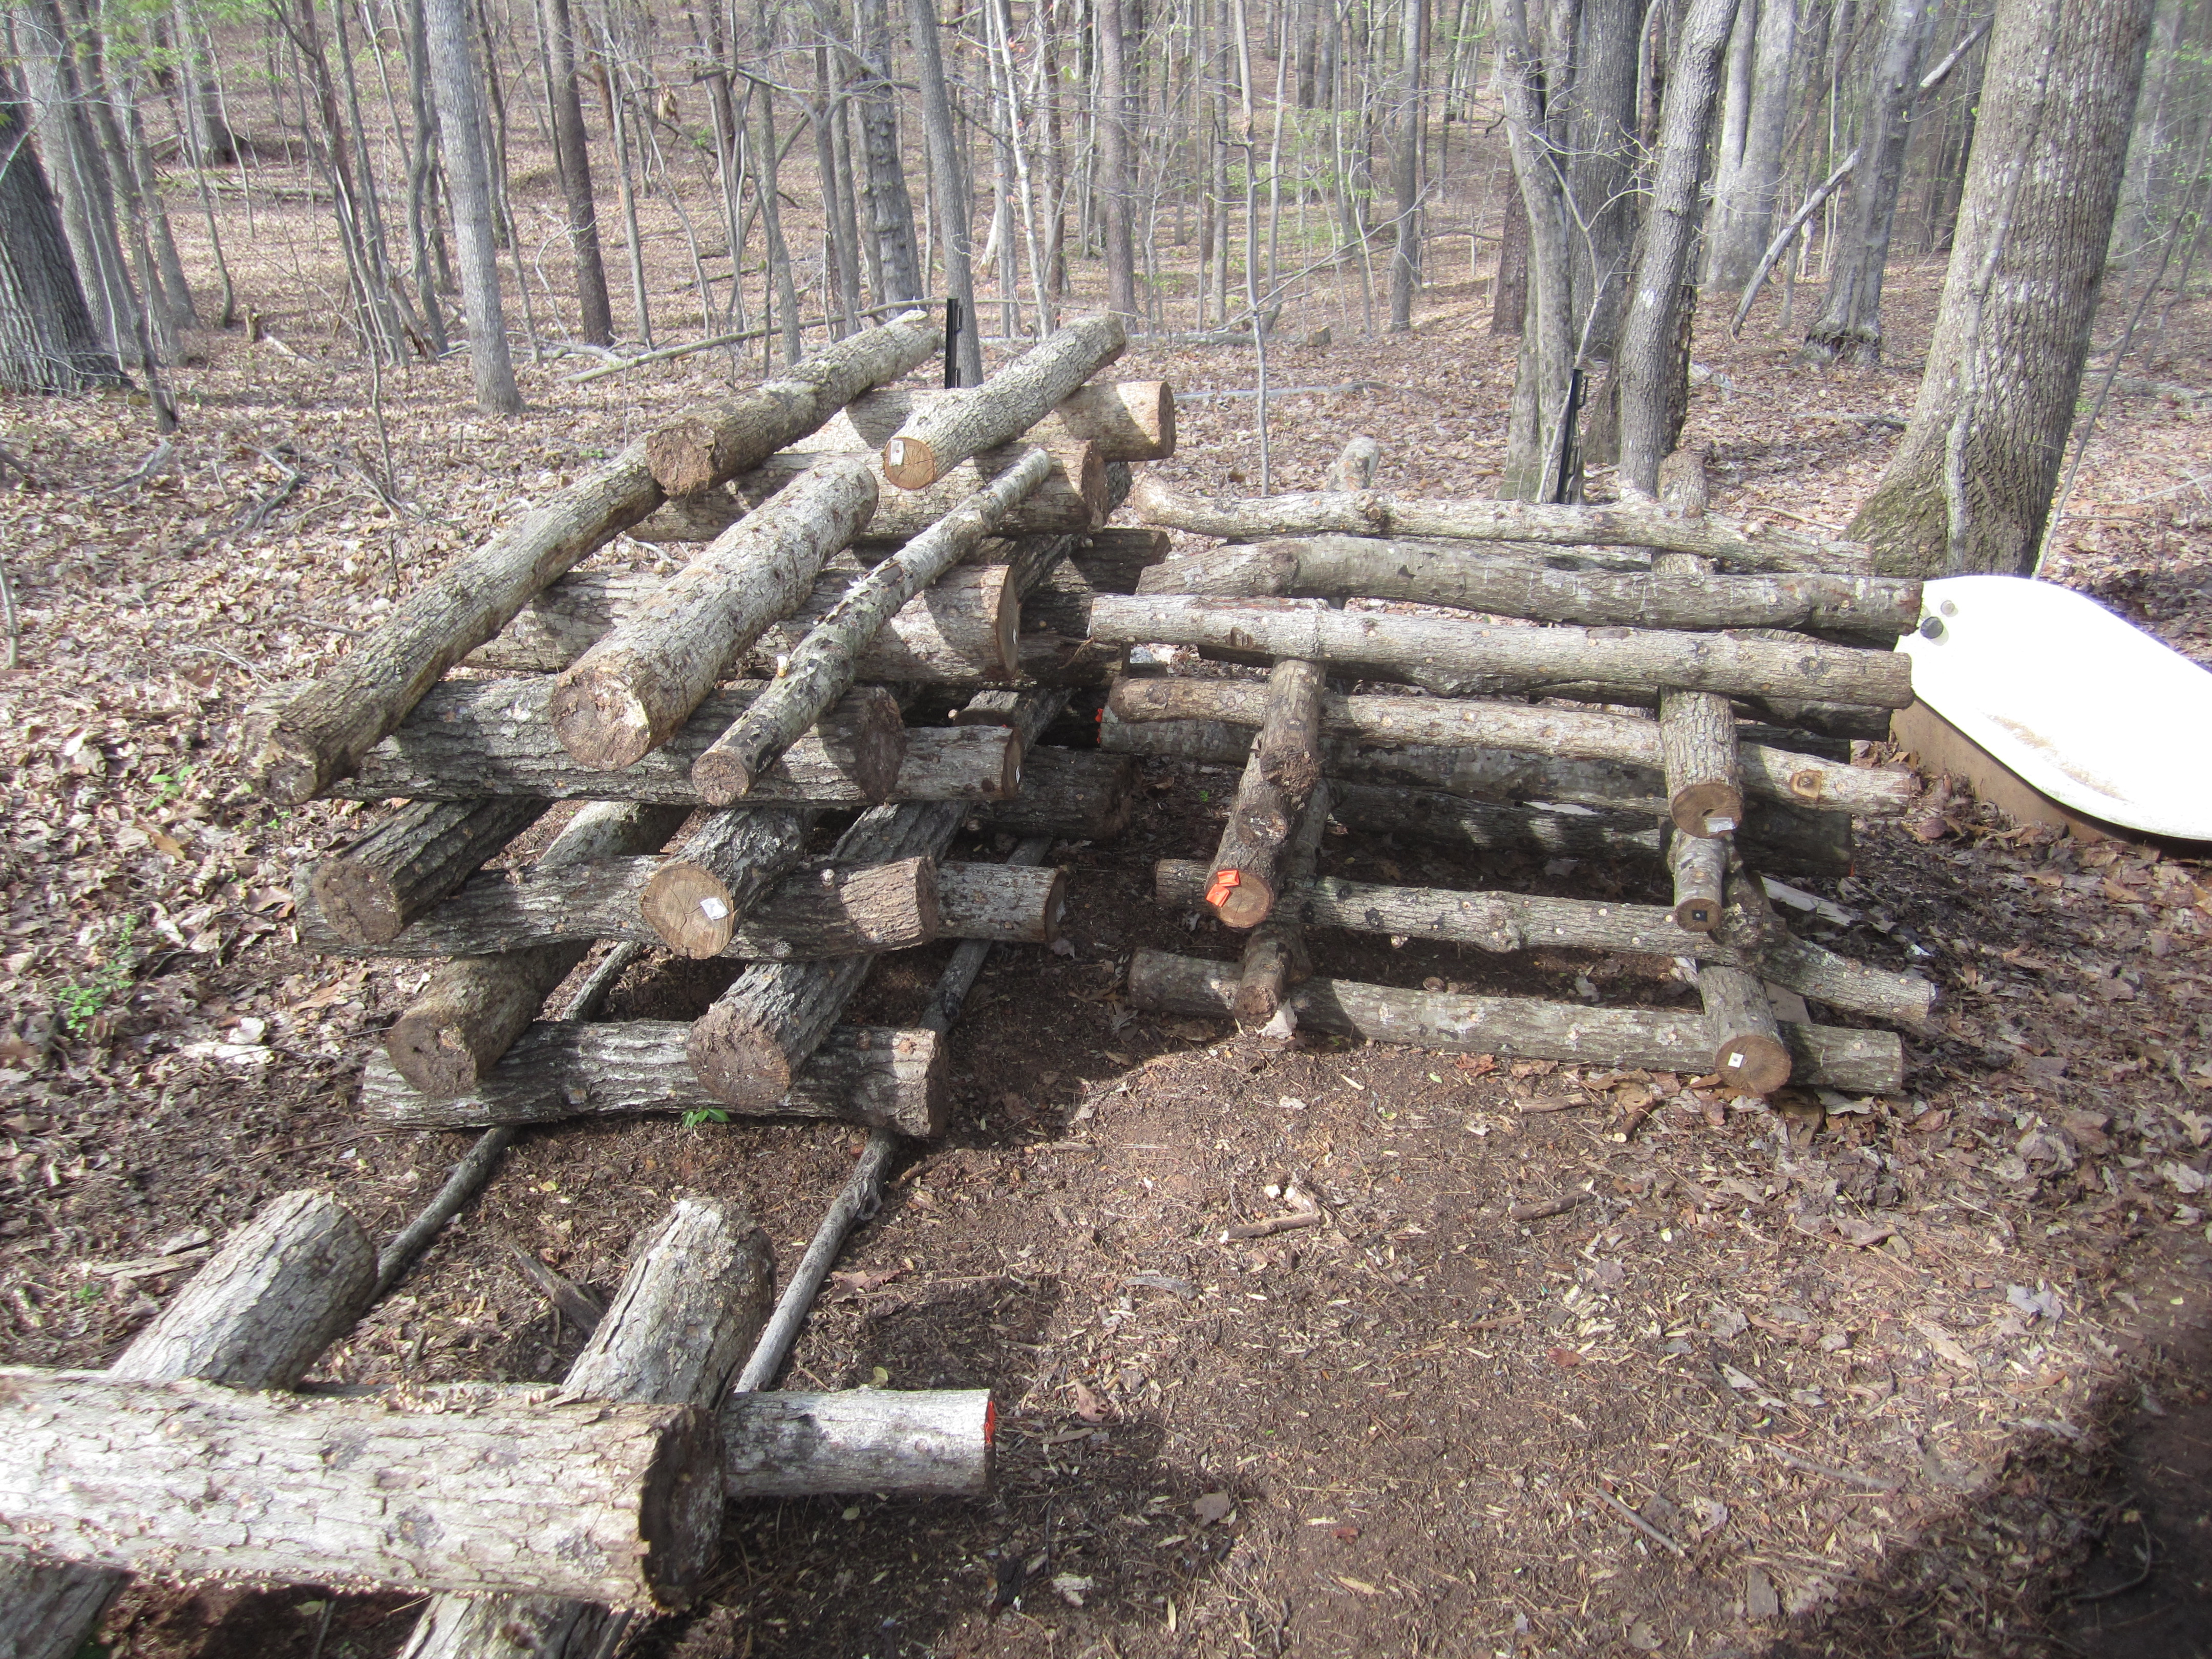
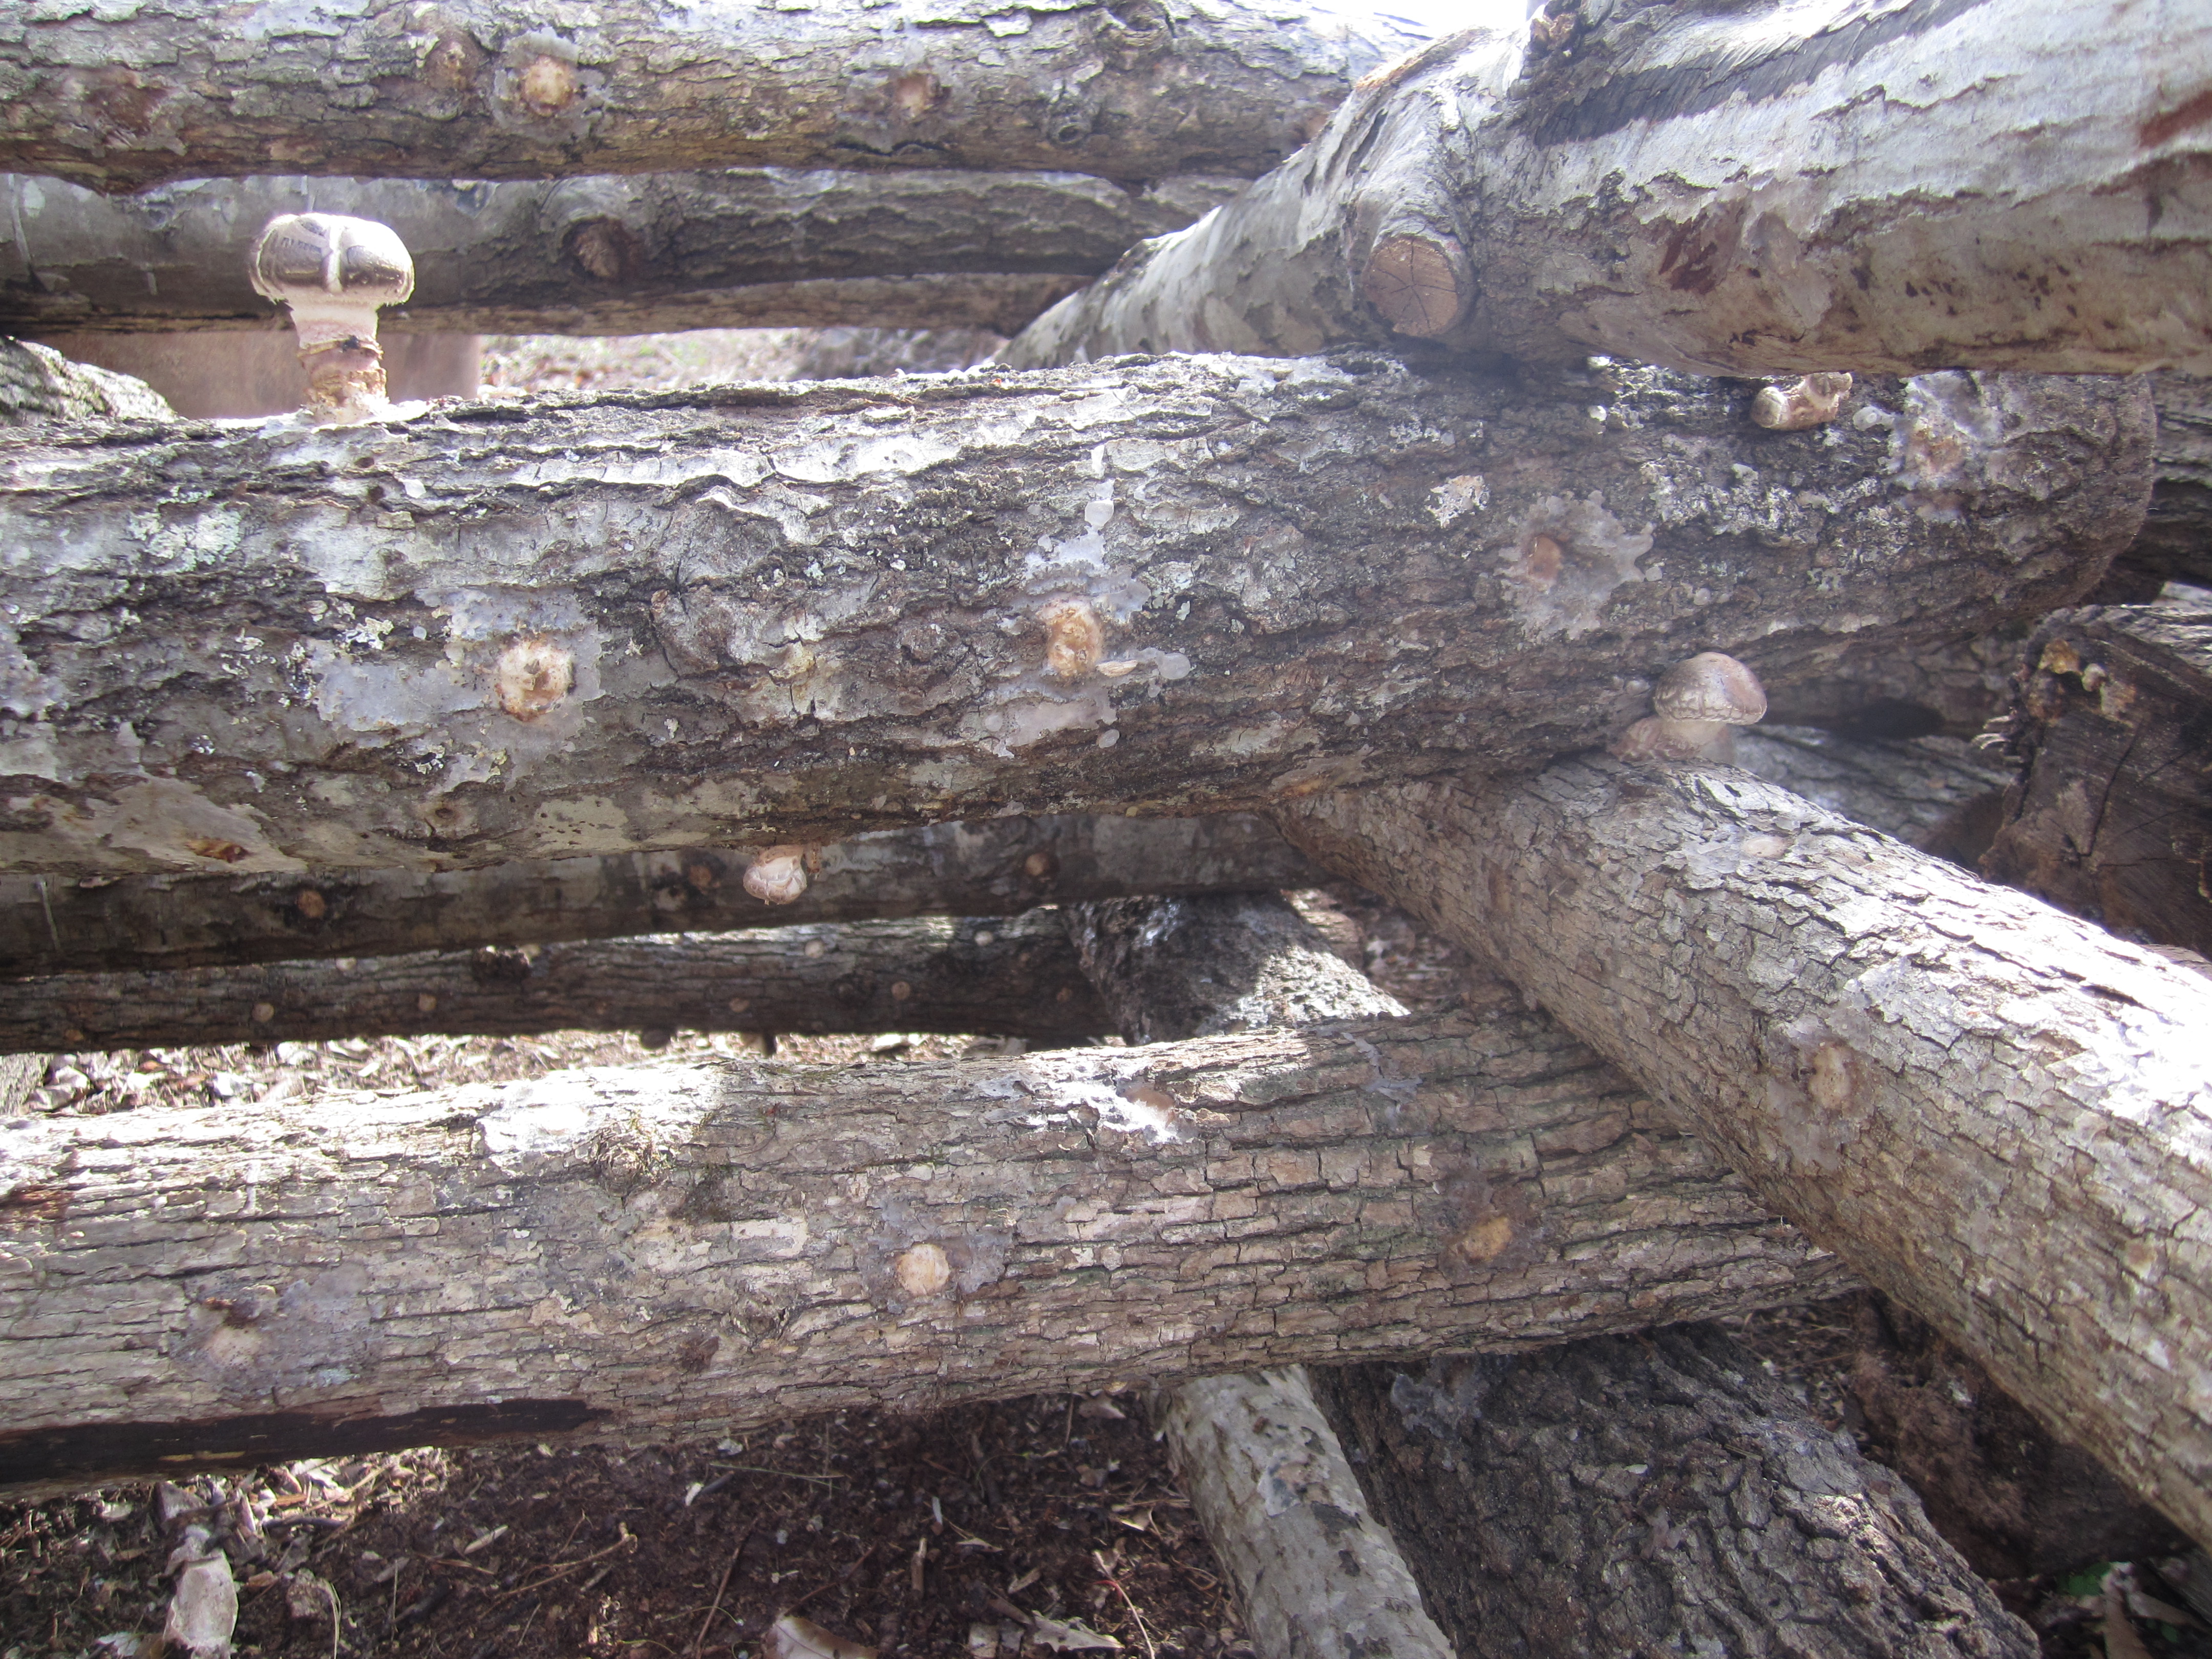
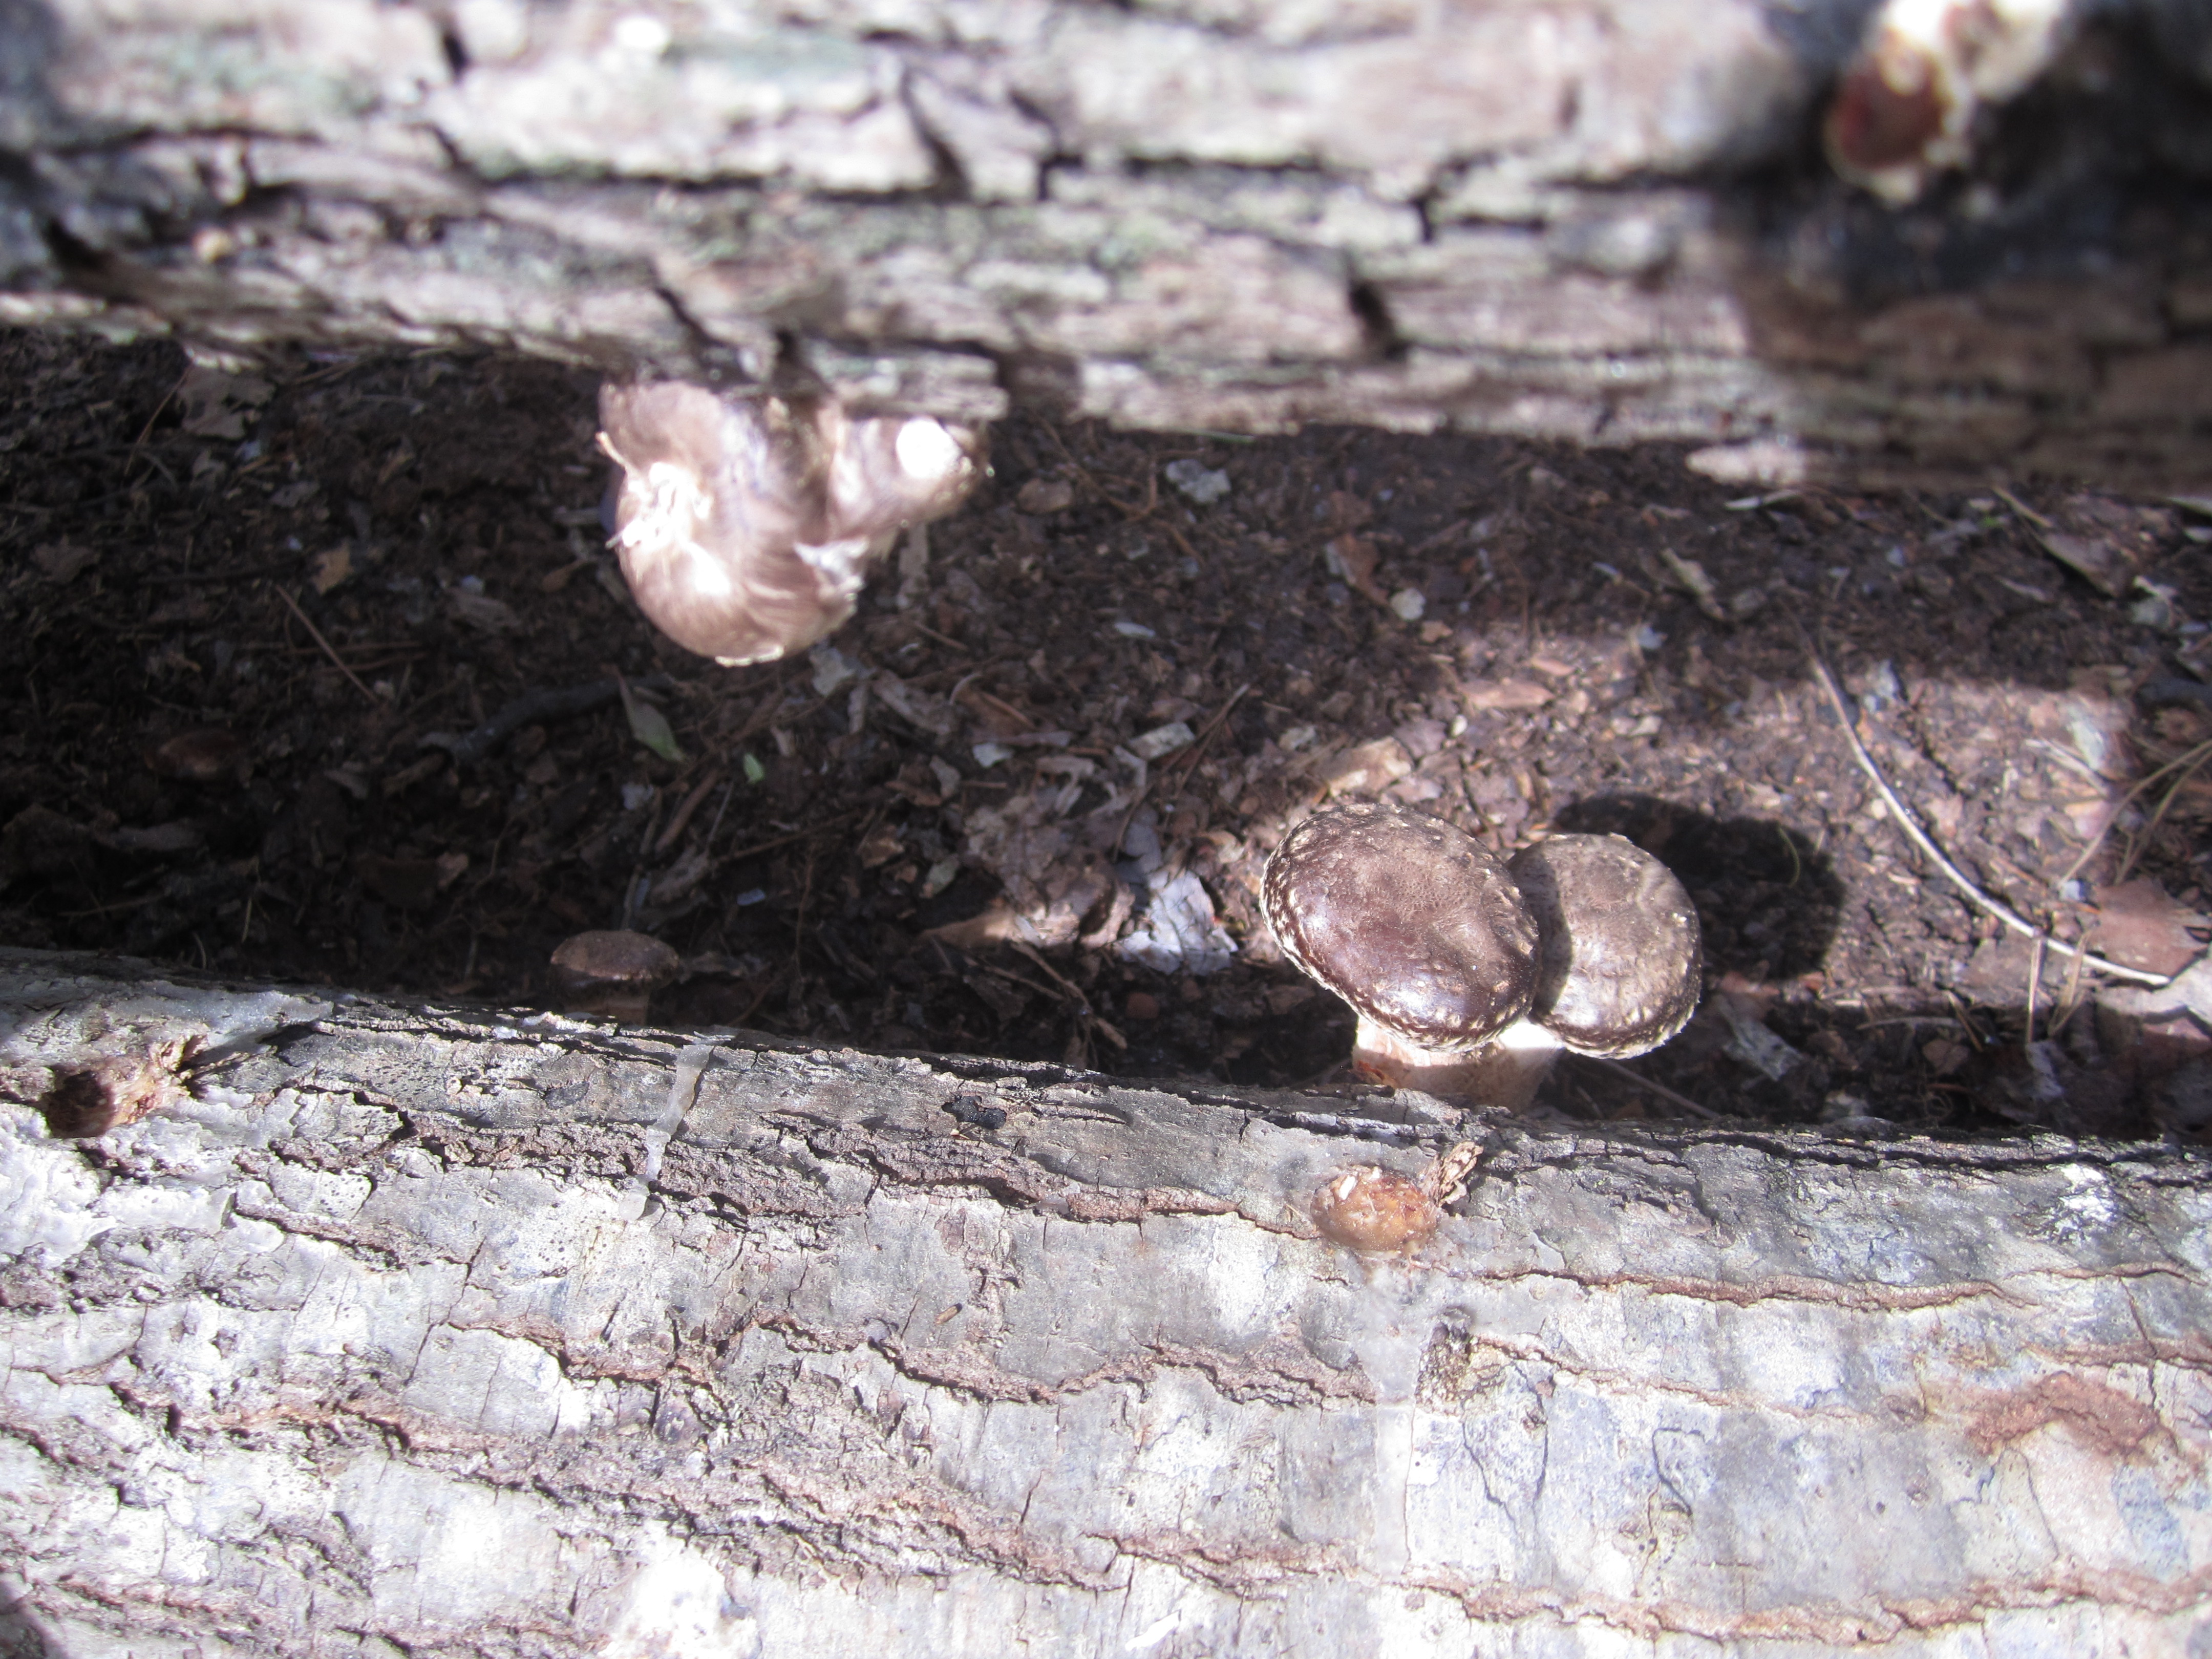
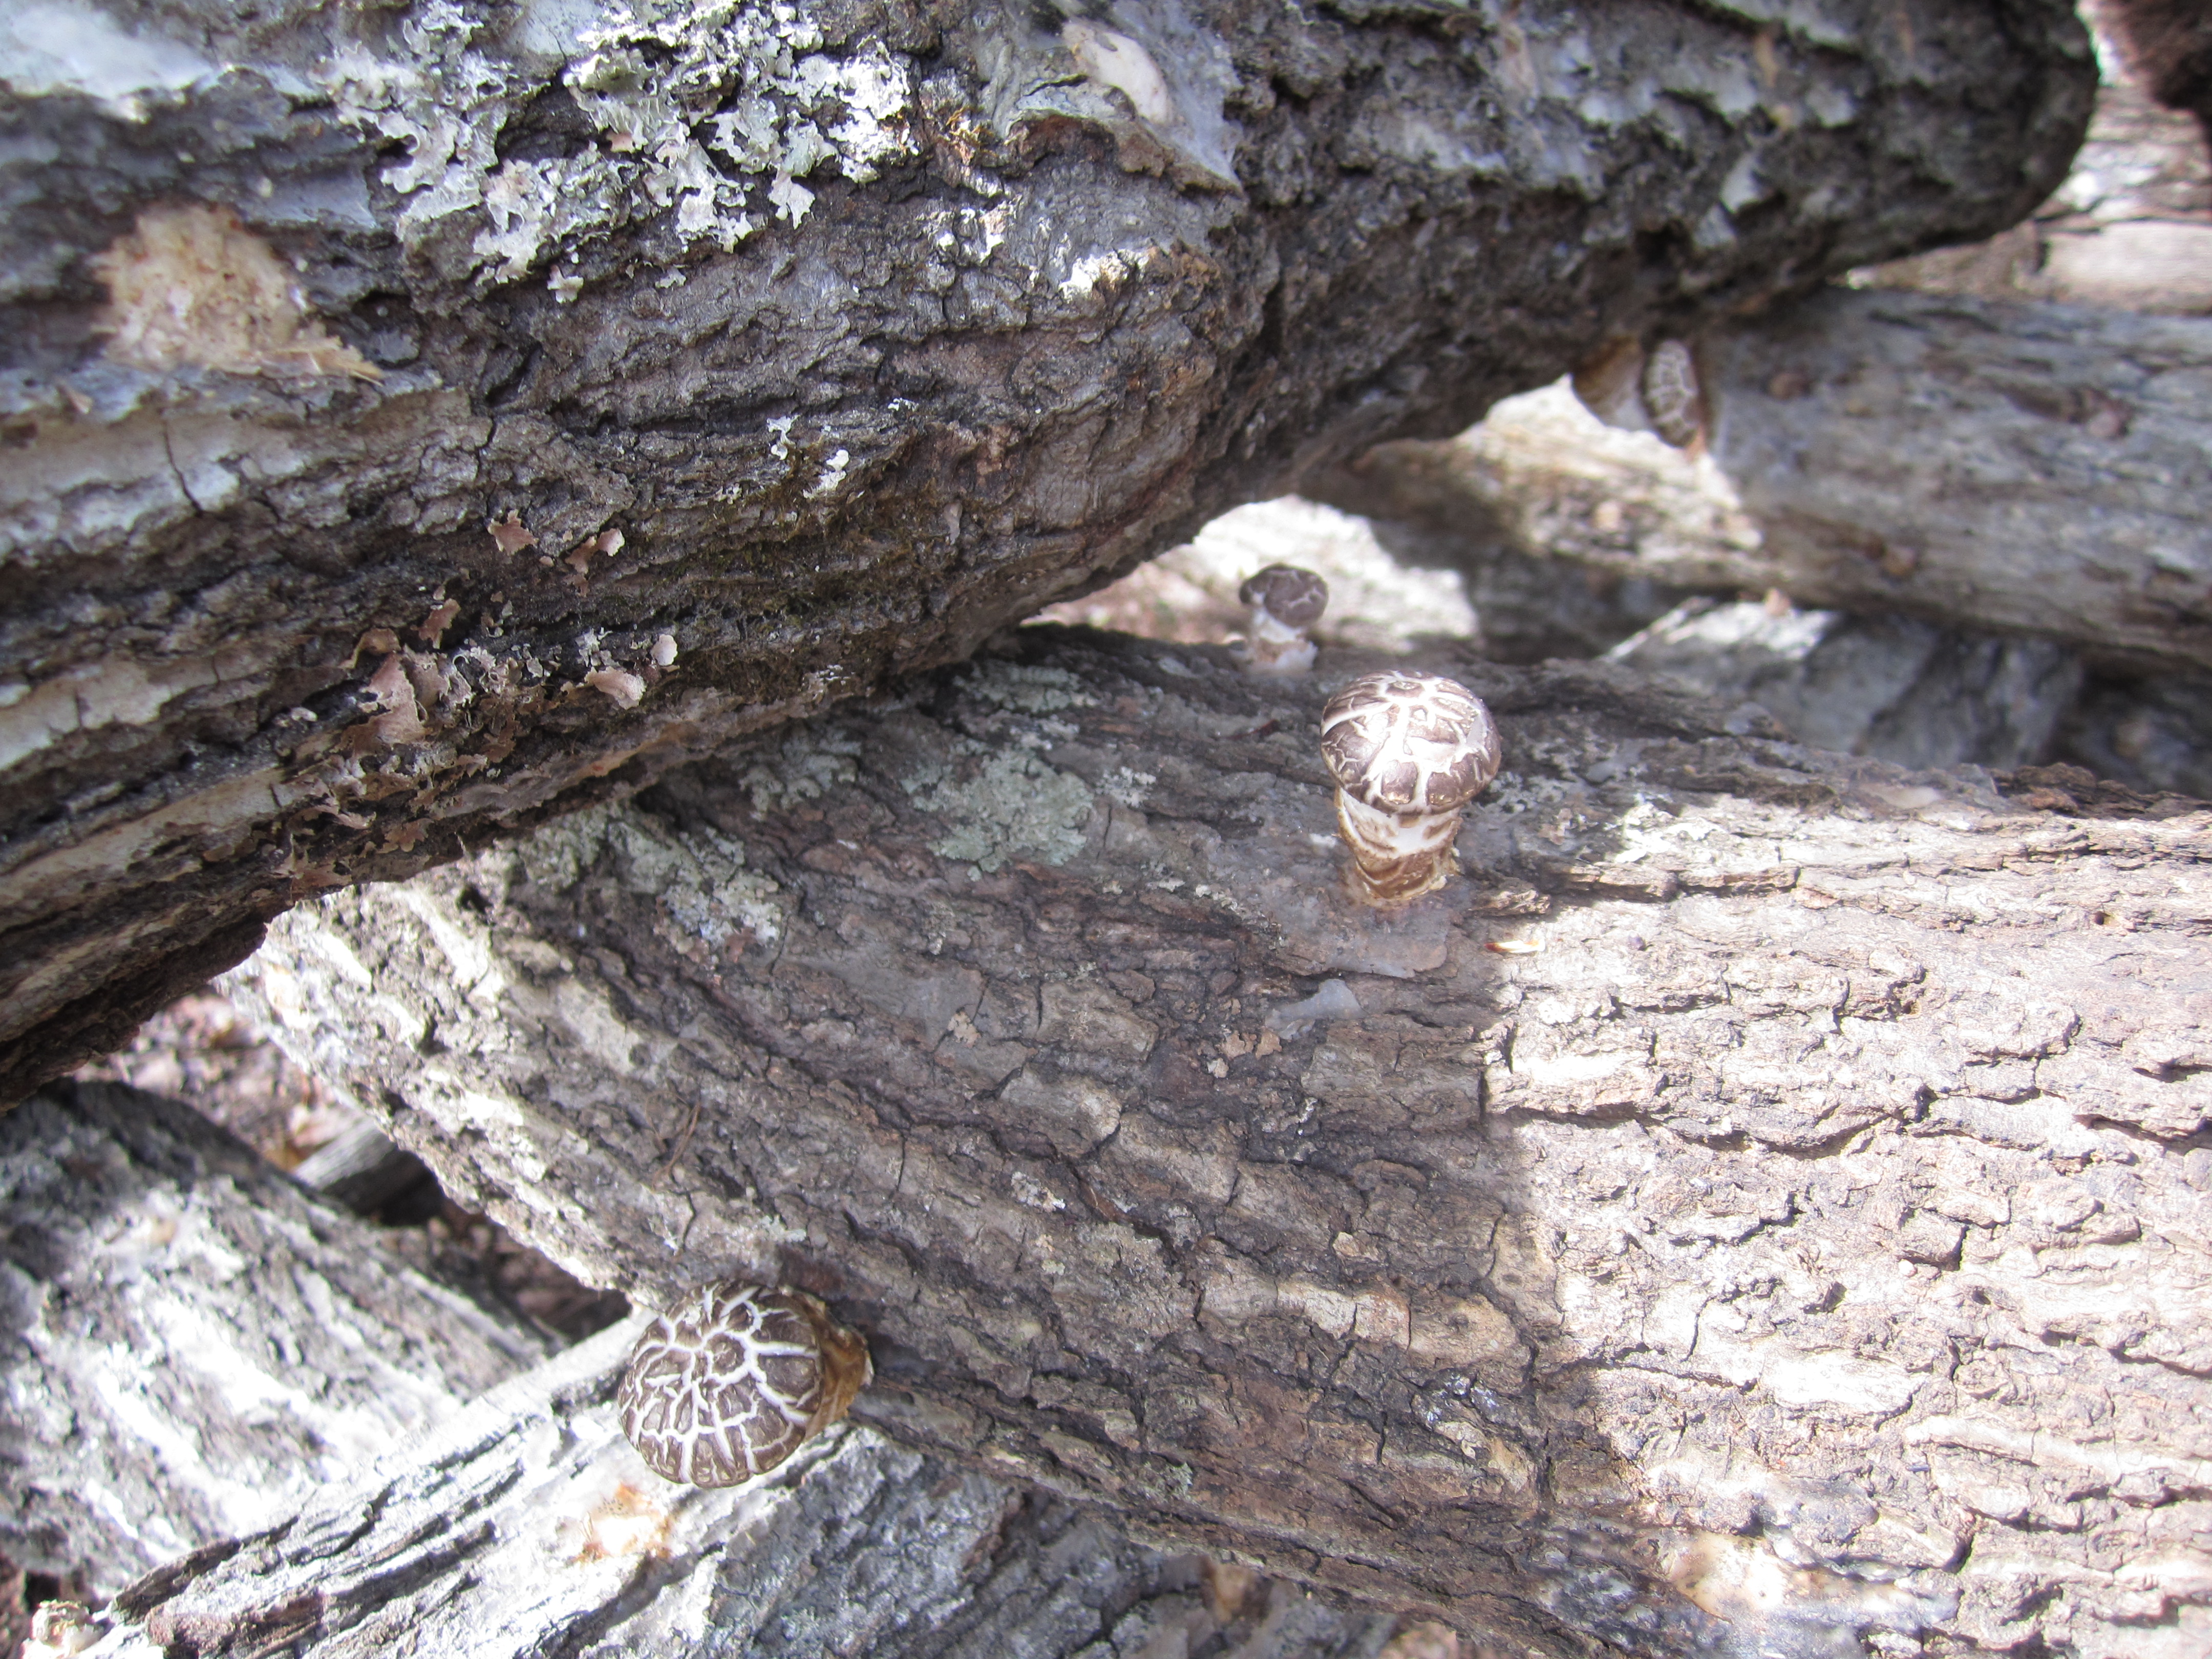
Last week I soaked them again to be sure to kick start them into spring, and stacked them, log cabin style, so that I could keep watering them periodically with the hose. This week, the logs have started to fruit!
None of the mushrooms are quite ripe for the picking yet, but I will be checking them everyday and I imagine that in a few days we will have our first shiitake mushroom meal! Stay tuned for more!
Our newest addition to the homestead, our Hybrid Layer and Cayuga ducklings, finally got to explore the outside world for the first time! When they are a little bit older, we plan to keep them in their newly finished shed/house during the night, and every morning usher them out to a pen so they can enjoy the world and the sun!
We tried our hand at herding them for the first time the other day, to see if they would be easier to herd than our Khaki Campbell ducks. They did super well, and were so excited to leave their cage and find new bugs to eat and rocks to peck at!
We herded them to a small, exposed space with one of the kiddie pools inside. It was filled with water, and the ones that could figure out how to get inside had a great time… Diving under and splashing water everywhere.
Check out this video for the full experience… Beginning with their first glimpse of beyond the cage and ending with wet and sloppy babies!