KW Homestead

Pasture Raised Poultry & Edible Landscaping Plants Since 2013

Author: Emma (page 30 of 36)

praying mantises out in full force

we’ve seen a lot of praying mantises around our yard lately, and it makes us feel great!

last fall there were tons of mantis eggs hanging out on the bottom limbs of one of our cedar trees, and we were hoping that they would survive the colder-than-usual winter.

and they did!

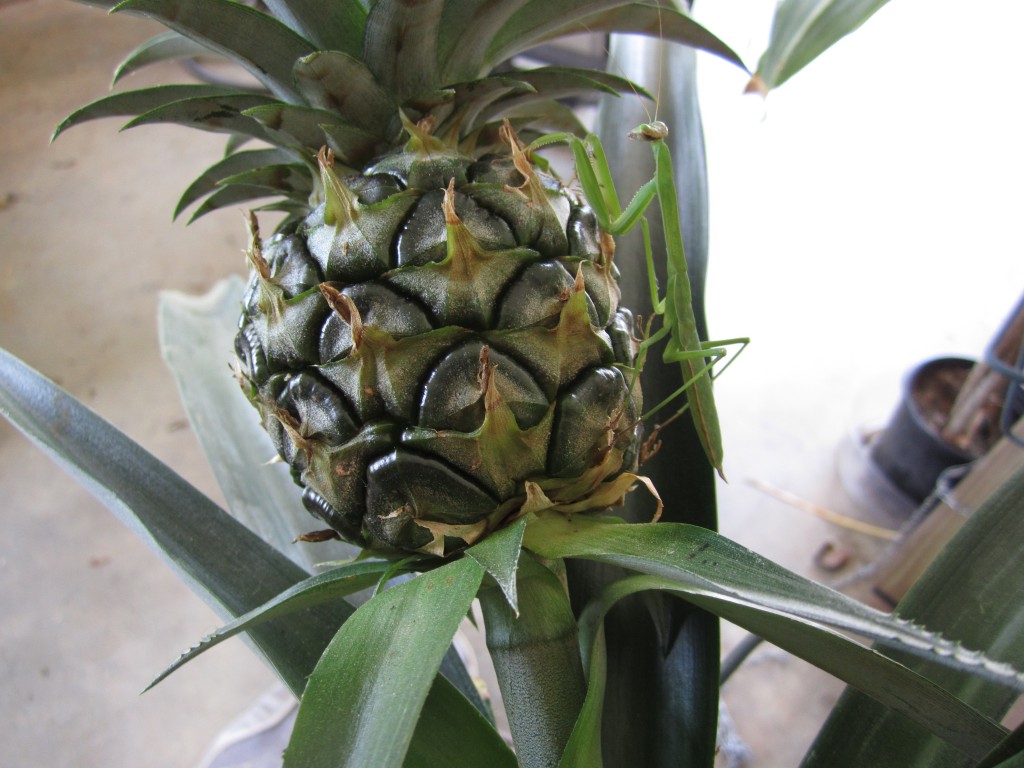
one of the lovely, green mantises has been hanging out in the carport lately, climbing all over the bromeliad, the bamboo palms, and the pineapple plant. i love watching them move, their praying arms held perfectly still while their legs steadily propel them along as though they’re rowing to the next place.

our resident praying mantis!

our resident praying mantis!

mantises are great for the garden, especially when you’ve got some sneaky beetles coming in to munch on your broccoli, cabbage, and greenbean plants. although mantises generally do not discriminate about which bugs they eat, they can certainly munch on some bad bugs and the eggs of those bad bugs!

so for now, we’re going to enjoy watching these amazing insects walk around the garden and the carport, saving us from bad guy bugs!

.:.

homestead bridal shower: having fun and creating art!

this past weekend my best friend and i held my bridal shower at our house. it was a blast,and it was wonderful to see so many of my family and friends at our home. it was great getting the opportunity to share our house and gardens with these folks, and i loved giving “goose tours” and “garden walks!”

we are getting married on our homestead in late september and i’m currently in the process of designing our wedding invitations, brainstorming party favors, and figuring out the final details about the decor, ceremony, and venue. actually, i spent all of today designing and altering my wedding dress with my mom. fun but also a little stressful (but not because of you, mom!).

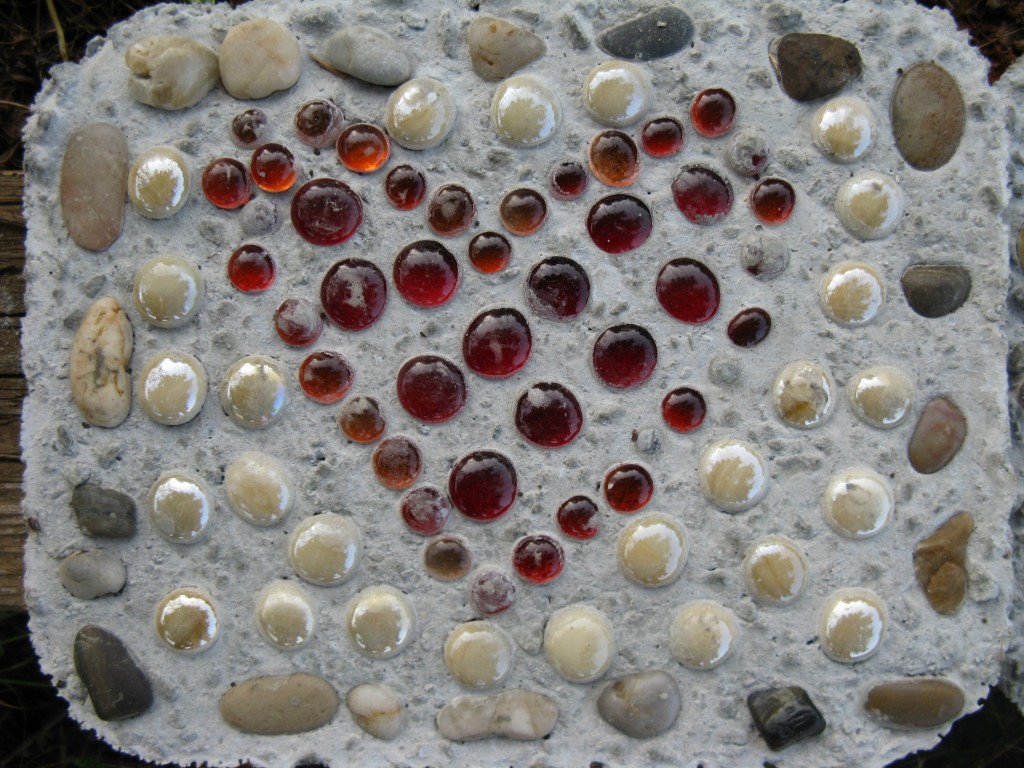
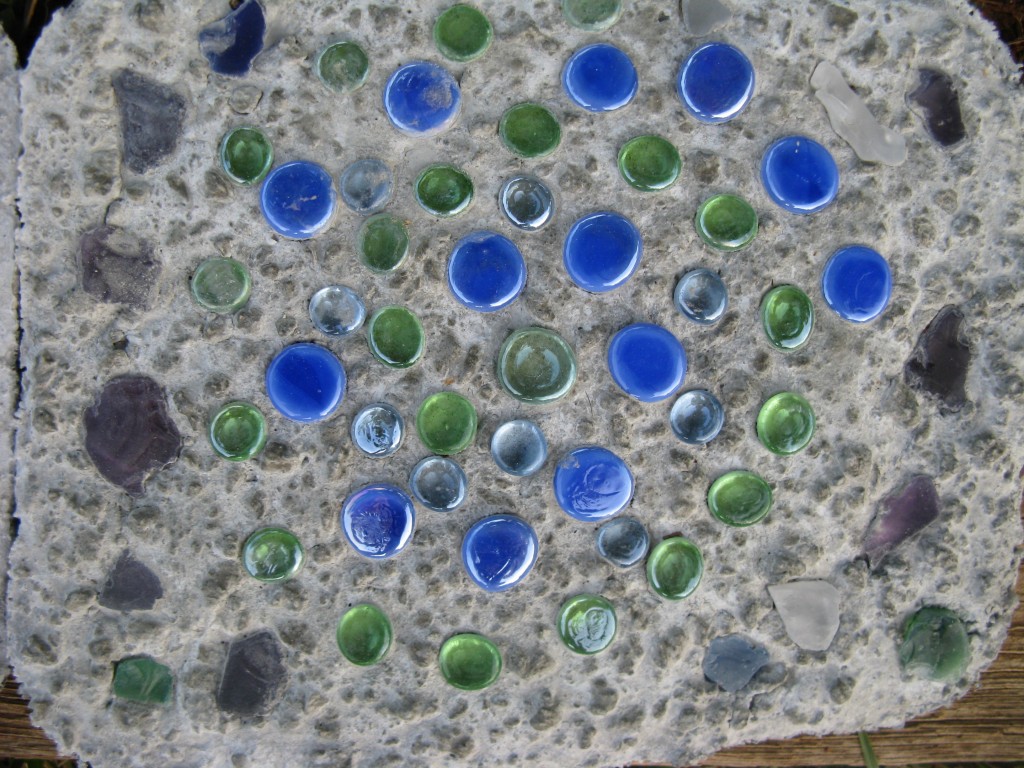
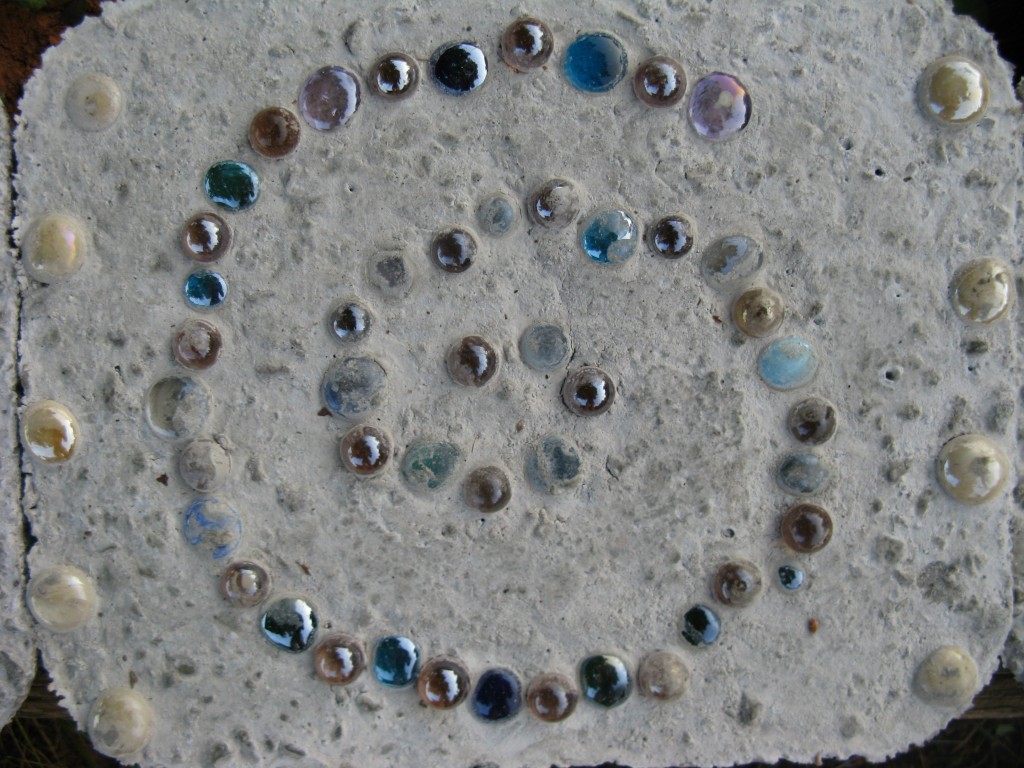
anyway, the shower was great, and this is due in great part to my best friend’s idea for the activity! we really wanted to do something that would fit in here on our land, and something a little more creative than the usual bridal shower games. she had the great, genius idea to make stepping stones out of cement and lovely, colored, glass stones. the stepping stones just finished drying and i’ve removed them from their containers so that can come out in the elements and “face the feet,” although we aren’t yet sure of what we want to do with them permanently. perhaps put them together to make a little grill patio? or use them among the garden as decorations? or lay them out for jason and i to walk on as we walk together to get married? who knows!

the directions/ingredients are simple. all you need to make 16 stepping stones is:

  • two 50-pound bags of quickrete
  • a cement mixing tray
  • a small hoe for mixing
  • water
  • 16 half-size aluminum casserole dishes
  • loads of pretty beads, stones, or whatever you plan to use for decorations!
  • aprons and latex gloves for protecting your undoubtedly stylish outfit

we simply mixed one bag at a time in the pan, adding as much water as we saw fit for the right consistency (porridge, supposedly). then we poured the mix into the pans and smoothed them out on top. some folks let their’s dry a little bit before placing the stones, but it didn’t seem to matter either way… the stones stayed “afloat” enough to be visible in the designs.

we waited 6 days to remove them from the pans, keeping them out of the rain to make sure that they were fully dry. now they’re out in the free air and here is what they look like:

IMG_1240

artist: my mom

artists: jason's mom and aunt

artists: jason’s mom and aunt

artist: my best friend and "matron of honor"

artist: my best friend of 15 years and my “matron of honor”

artist: my grandma
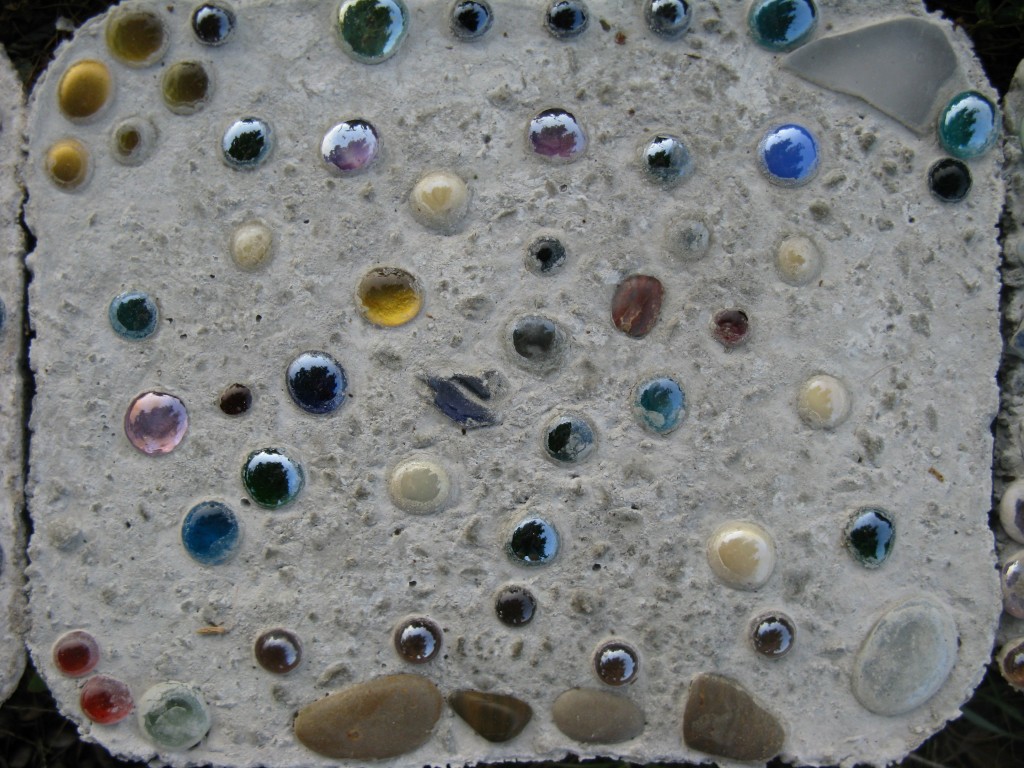
artist: my grandma

artist: my aunt

artist: my aunt
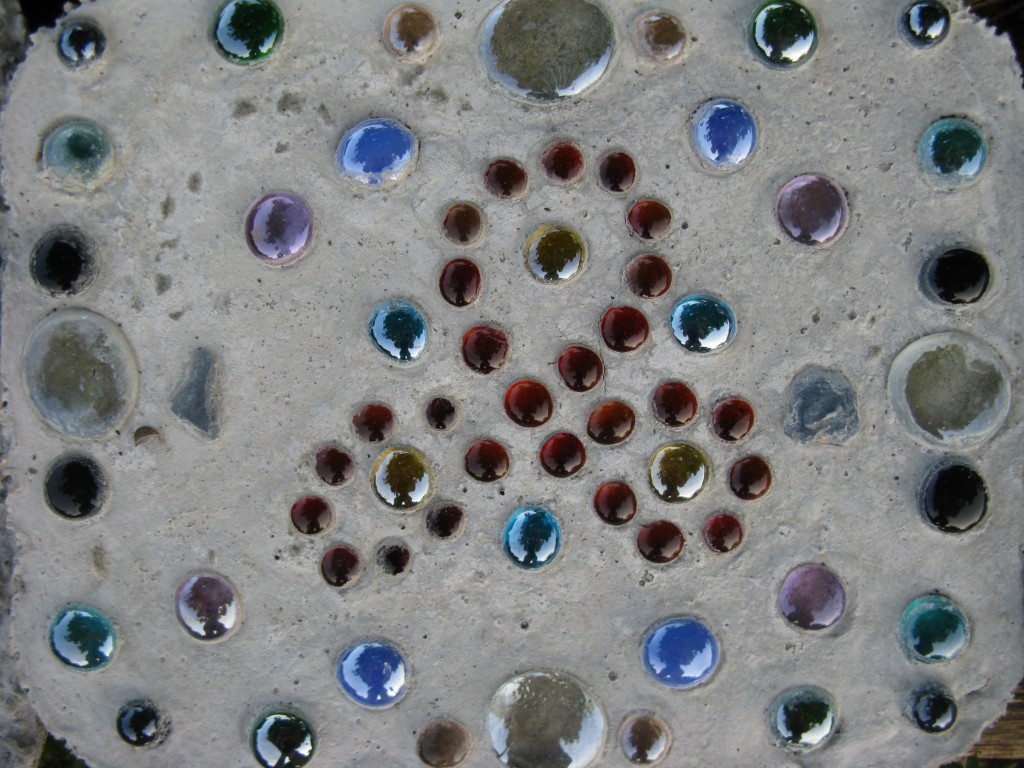
artist: my aunt

artist: my aunt

artist: my cousin

artist: my cousin. can you tell that it’s an irish trinity knot?
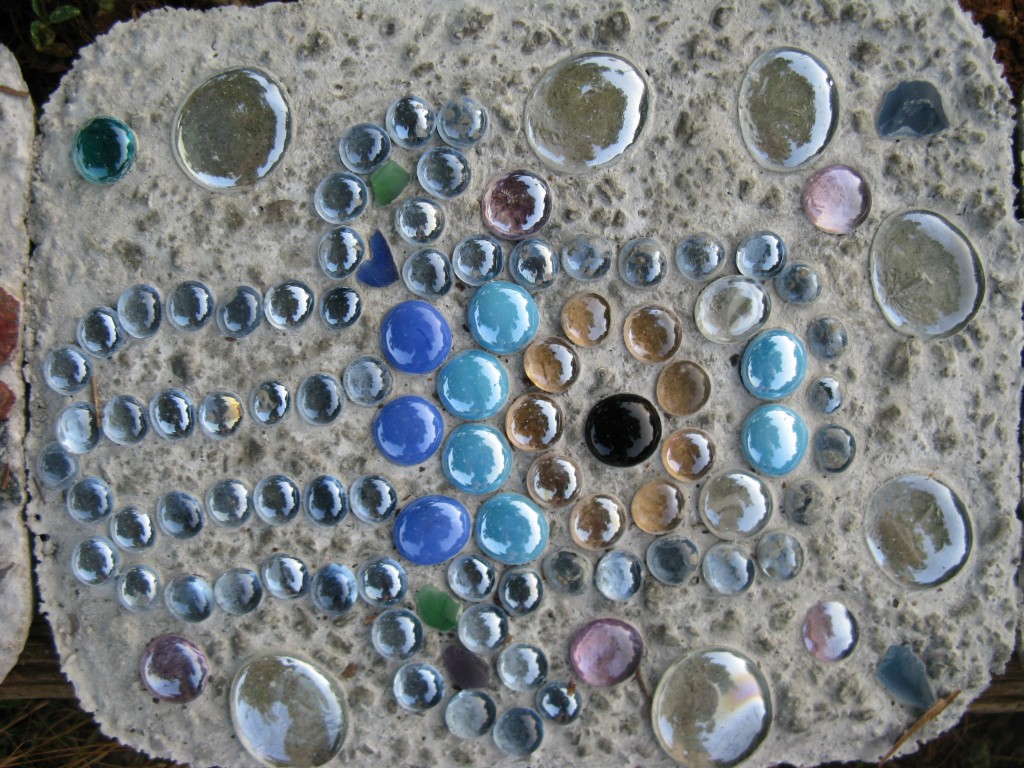
artist: my cousin. can you tell it is a hamsa?

artist: my cousin. can you tell that it’s is a hamsa?
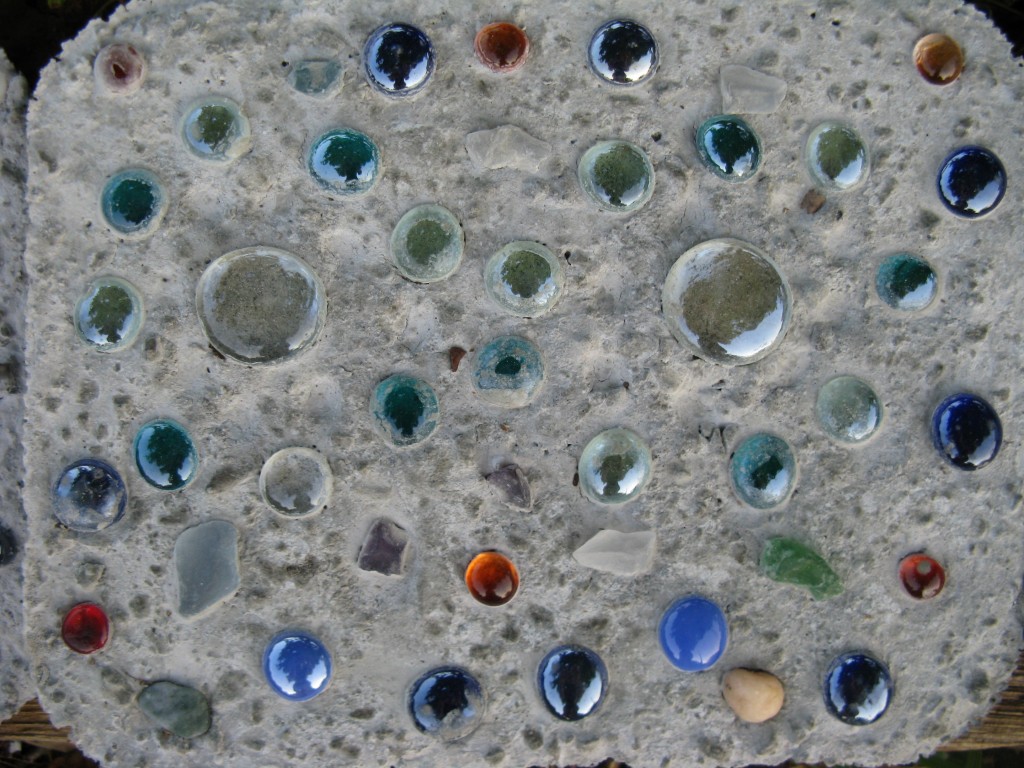
artist: my cousin
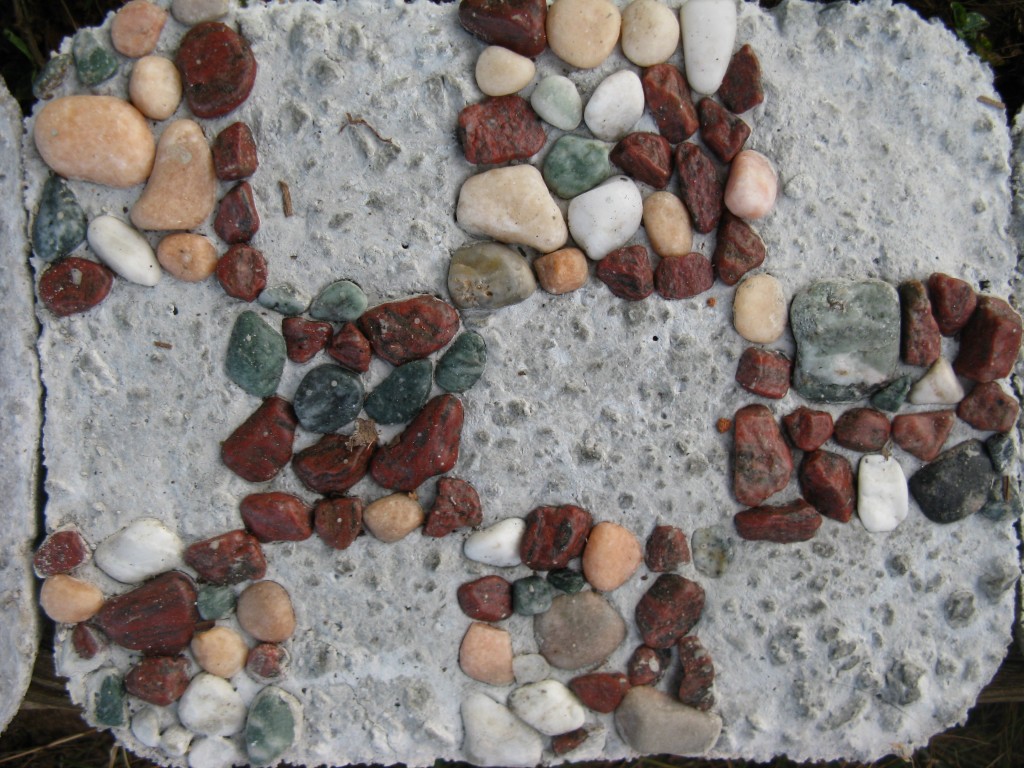
artist: my cousin

artist: my friend of 16 years
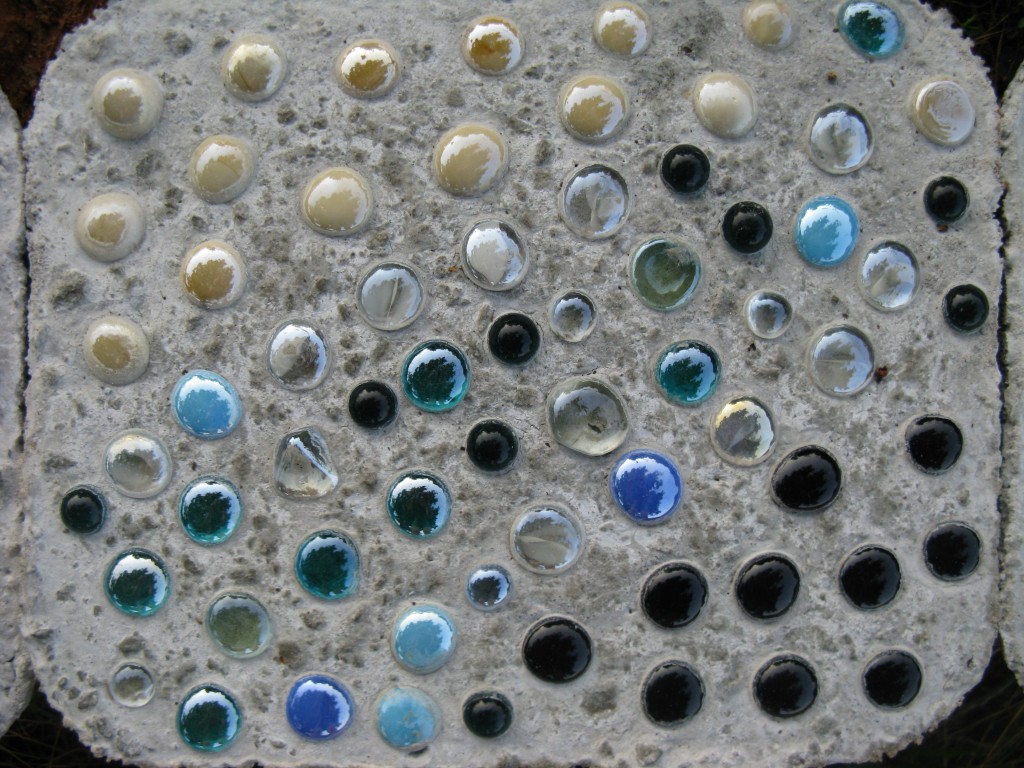
artist: my friend of 16 years

artist: my friend of 15 years
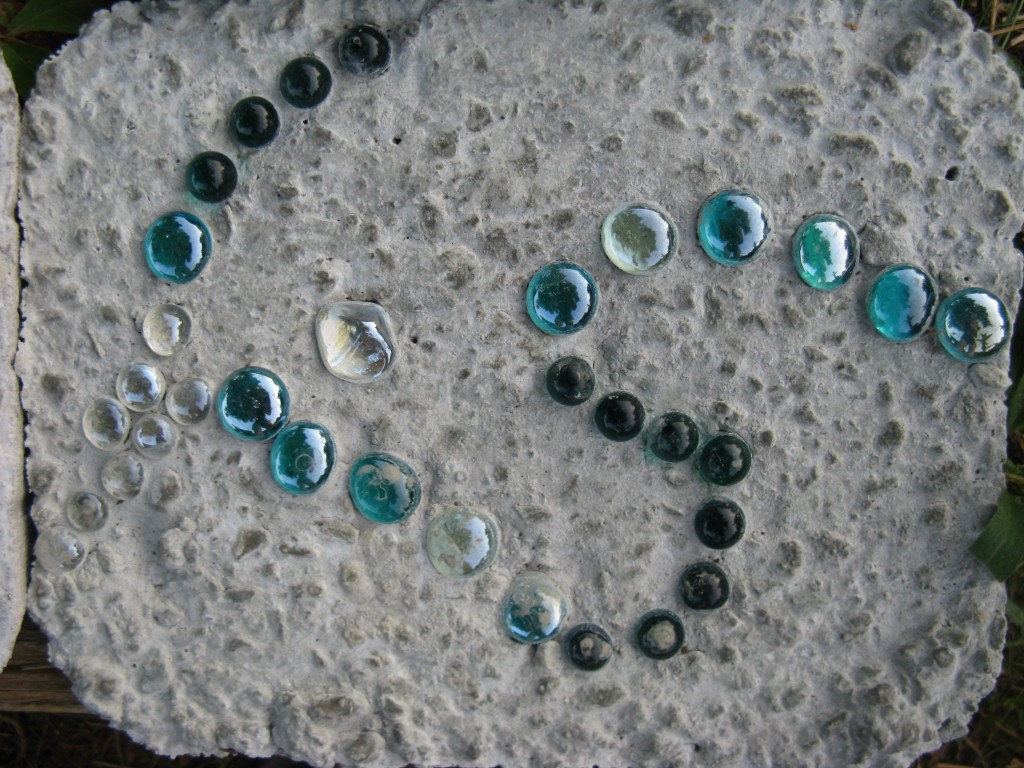
artist: my friend of 15 years

artist: my friend of 12 years. can you tell it is a unicorn?

artist: my friend of 12 years. can you tell that it’s a unicorn?
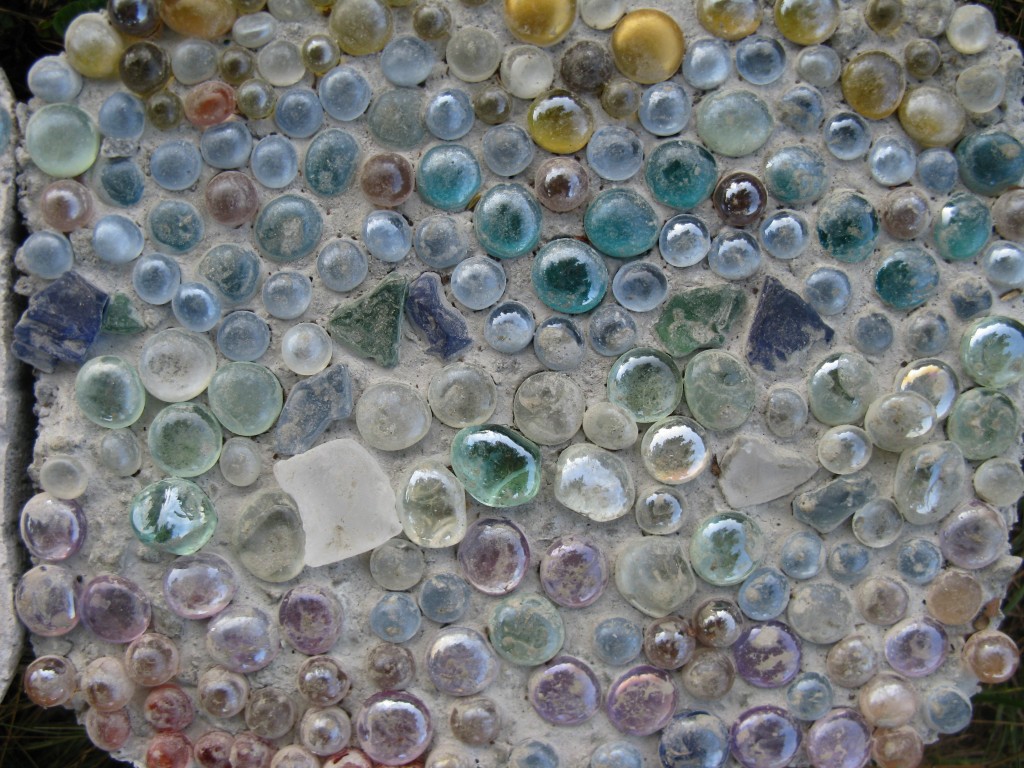
artist: my friend of 8 years
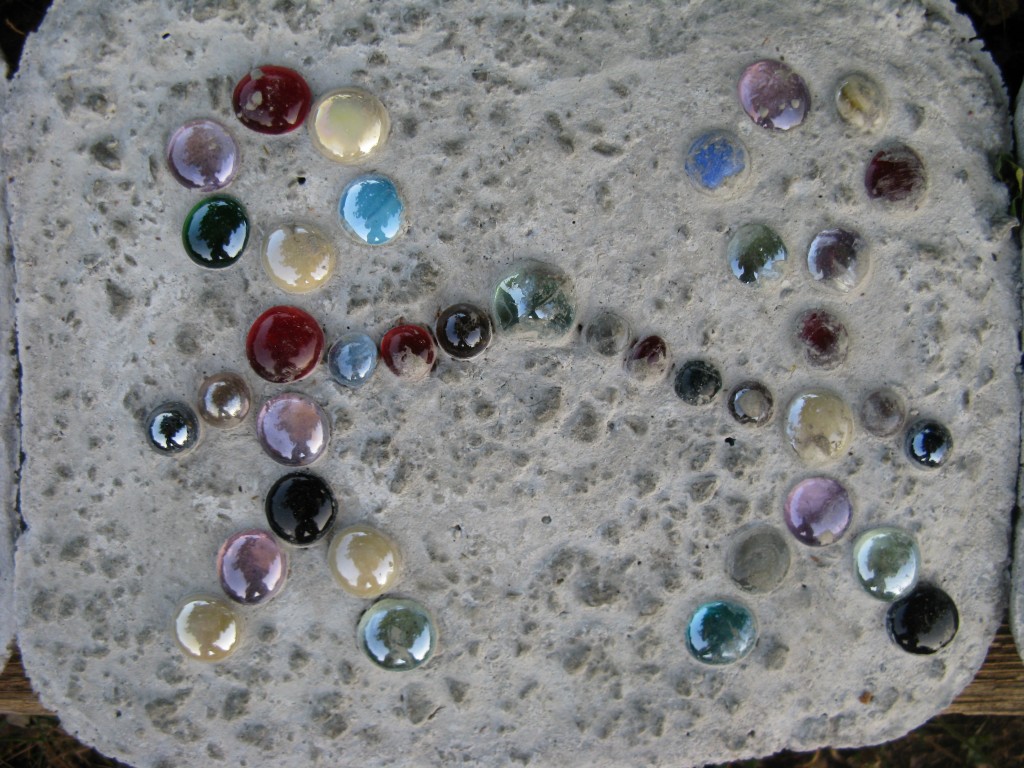
artist: my friend of 8 years

artist: my friend of 7 years. can you tell it's two people holding hands?

artist: my friend of 7 years. can you tell that it’s two people holding hands?
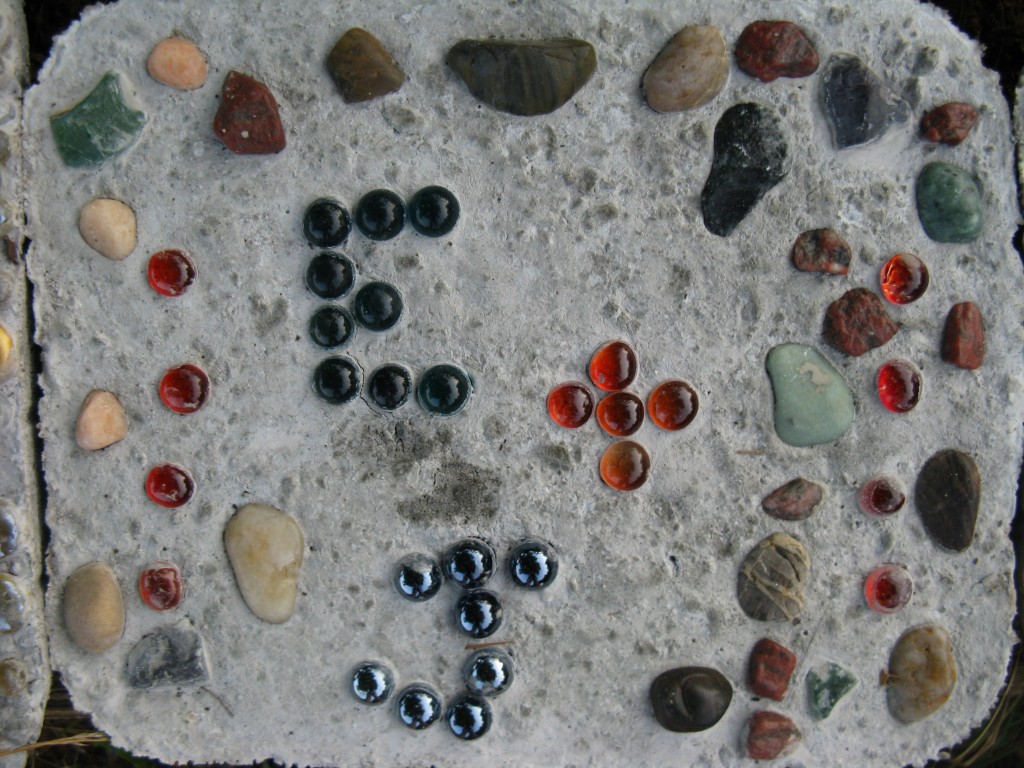
artist: my friend of 5 years. can you tell it's our initials?

artist: my friend of 5 years. can you tell that it’s our initials?
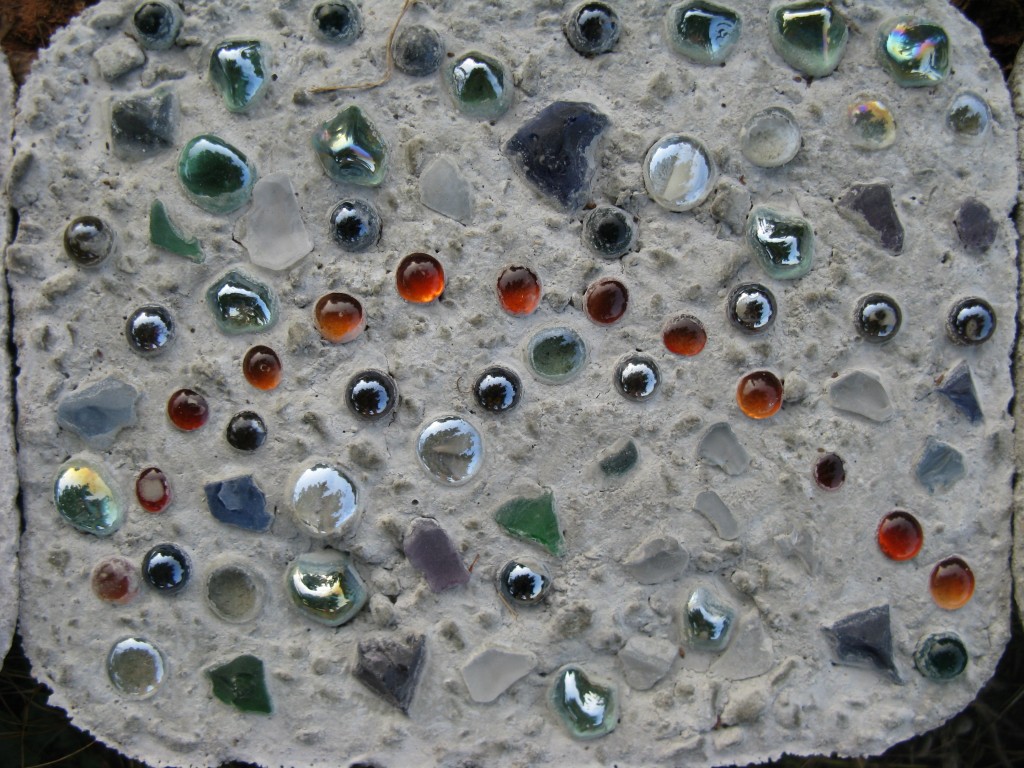
IMG_1241

artist: me!

i’m so happy to forever have these as memories from our pre-wedding celebration season! now i’m wondering… should we have this as a possible activity at the wedding? hmmm…

.:.
homemade cranberry fruit leathers

we recently busted out our new, fantastic food dehydrator, which was a bridal shower gift from jason’s amazing aunt and uncle!

we’ve used it for tons of things so far: sweet potato shreds, celery, greenbeans, pigeon peas, kidney beans, tomato paste, and venison jerky! delicious!

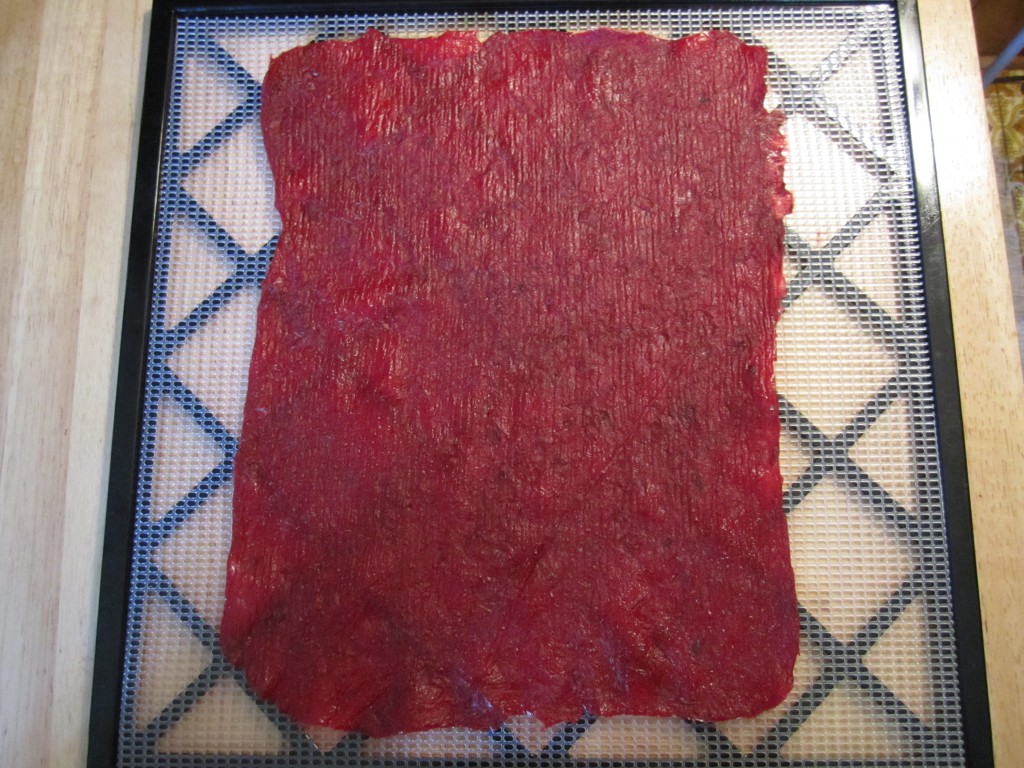
we’ve also started making our own fruit leathers and they are phenomenal. the only flavor i’ve made so far is cranberry. here’s the recipe:

i cook the cranberries down the exact same way my mom does when making cranberry sauce for thanksgiving, so this is her recipe, actually. i’ve just turned it into fruit leathers.

all 9 trays in the dehydrator get filled up when i start with 2 pounds of frozen cranberries. i cook these down on medium in a large saute pan. as they cook i add 1 cup of sugar and 1 cup of water. i also add a couple splashes of lemon juice to tone down the tart cranberry flavor. just these simple ingredients and you have the perfect fruit leather recipe!

i advise you to leave a lid on your concoction as it cooks so that your kitchen doesn’t end up splattered with pink dots! once you decide that most of the cranberries have cooked down, i cut it off and let it cool for about an hour. afterwards, it gets blended to smoothness in our food processor and gently spread onto saran wrap sheets laid out on top of the dehydrator trays.

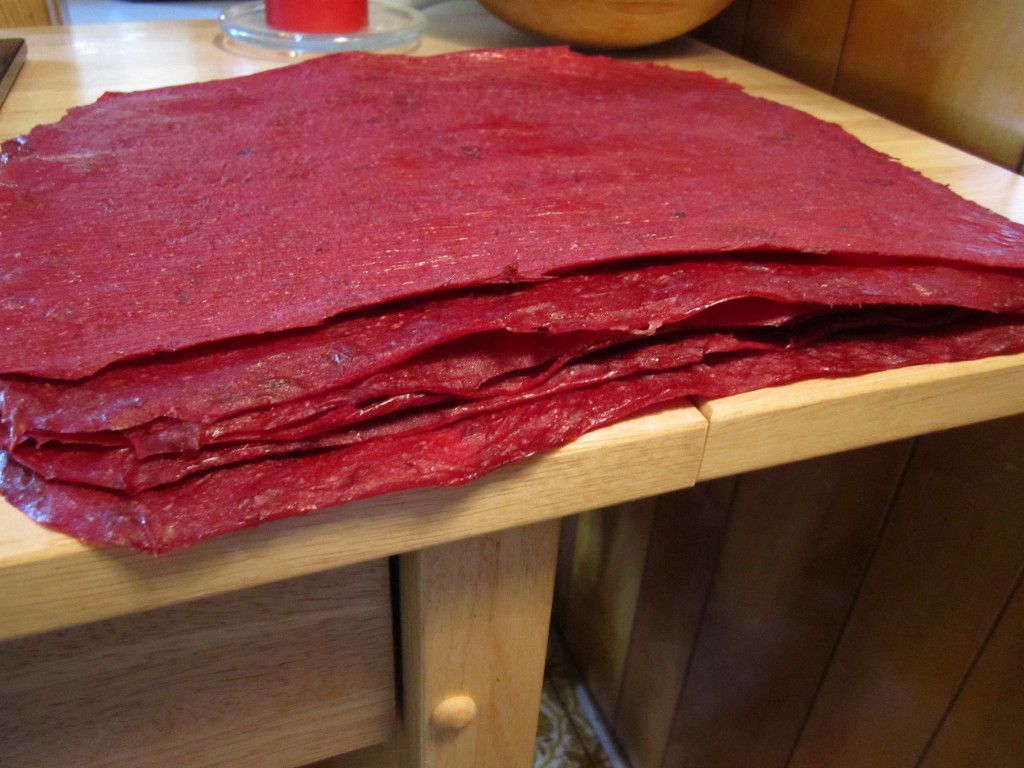
a sheet of cranberry fruit leathers fresh out of the dehydrator

a sheet of cranberry fruit leathers fresh out of the dehydrator

all 9 sheets of fruit leather, waiting to be sliced

all 9 sheets of fruit leather, waiting to be sliced

your dehydrator should have directions telling you how thick to spread the jelly and how long to set your machine for, but i usually just eyeball it. i’ve notice that the fruit leathers i’ve made so far take between 6-8 hours and need to be peeled off of the saran wrap and flipped over at least 4 hours into the drying process.

after they are done, they get cut into serving size slices and stored in a container of some sort. putting them in the fridge will make them last longer but ours are out on the counter since i know they will get consumed in the next few days… we just can’t get enough!

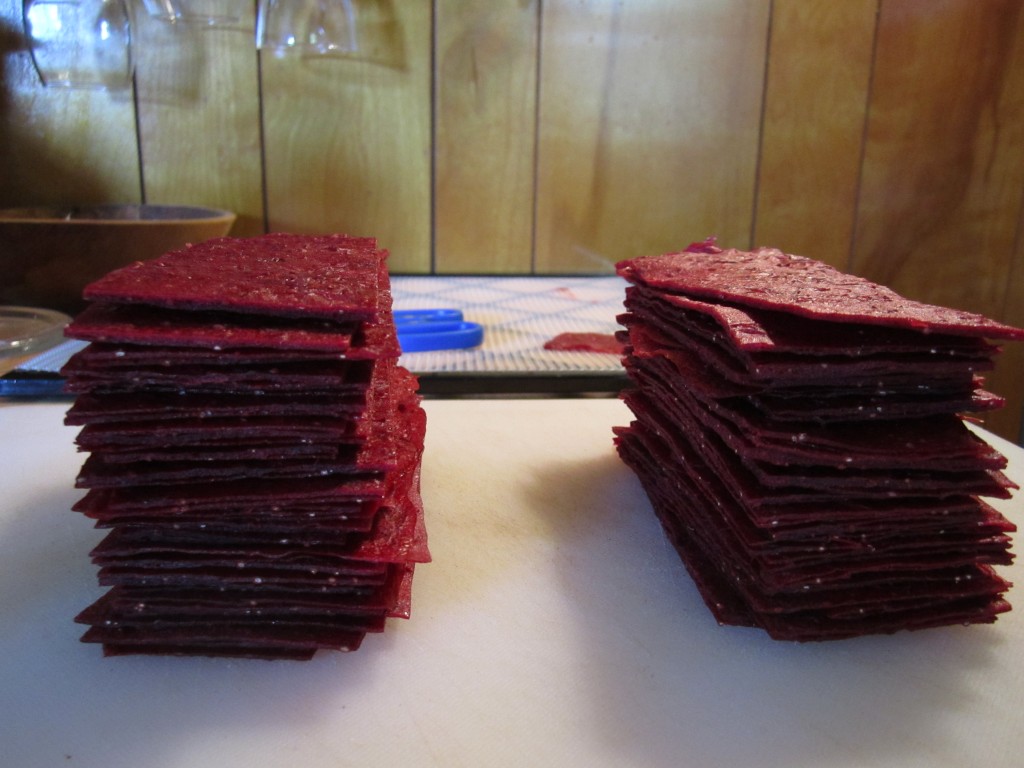
stacks of serving size fruit leathers slices. dare you not to eat 20 at once!

stacks of serving size fruit leathers slices. dare you not to eat 20 at once!

.:.
BOT: tomato sandwiches!

the time has come for tomato sandwiches!

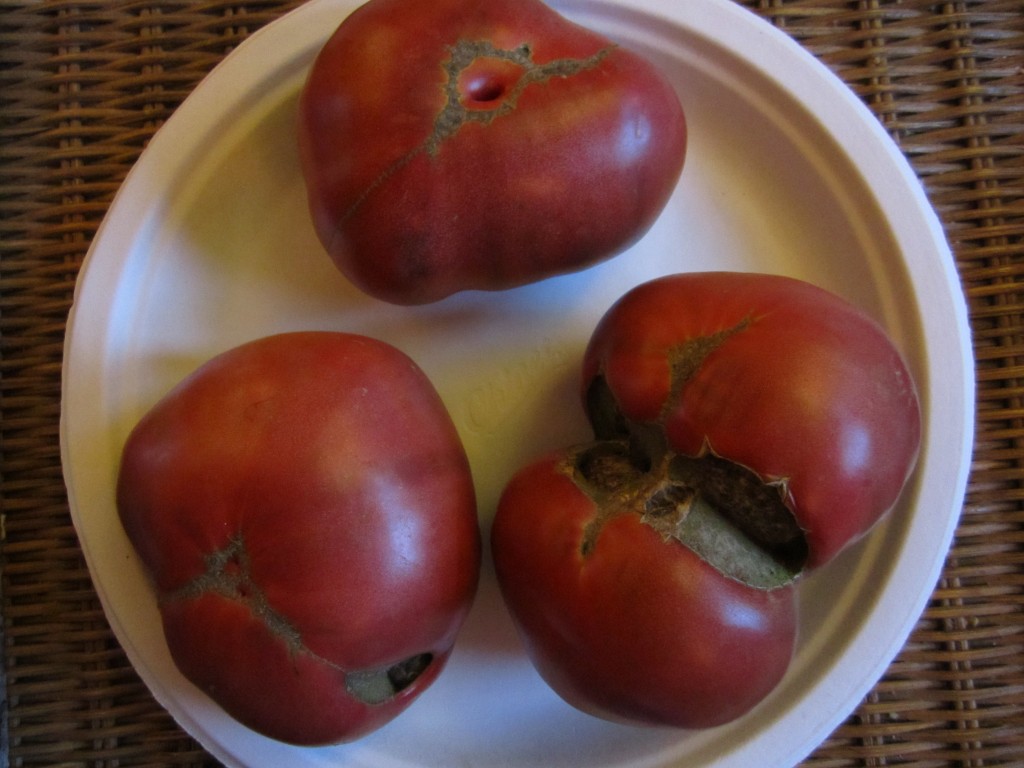
we’ve grown cherokee purples as our only slicing tomato variety this year, and man, they sure are the best. an heirloom variety, they have a purple/red/brown color and at first glance might be overlooked. this makes them all the more delicious!

cherokee purple tomatoes!

cherokee purple tomatoes!

tonight we had our first tomato sandwiches of the year. here’s how it went:

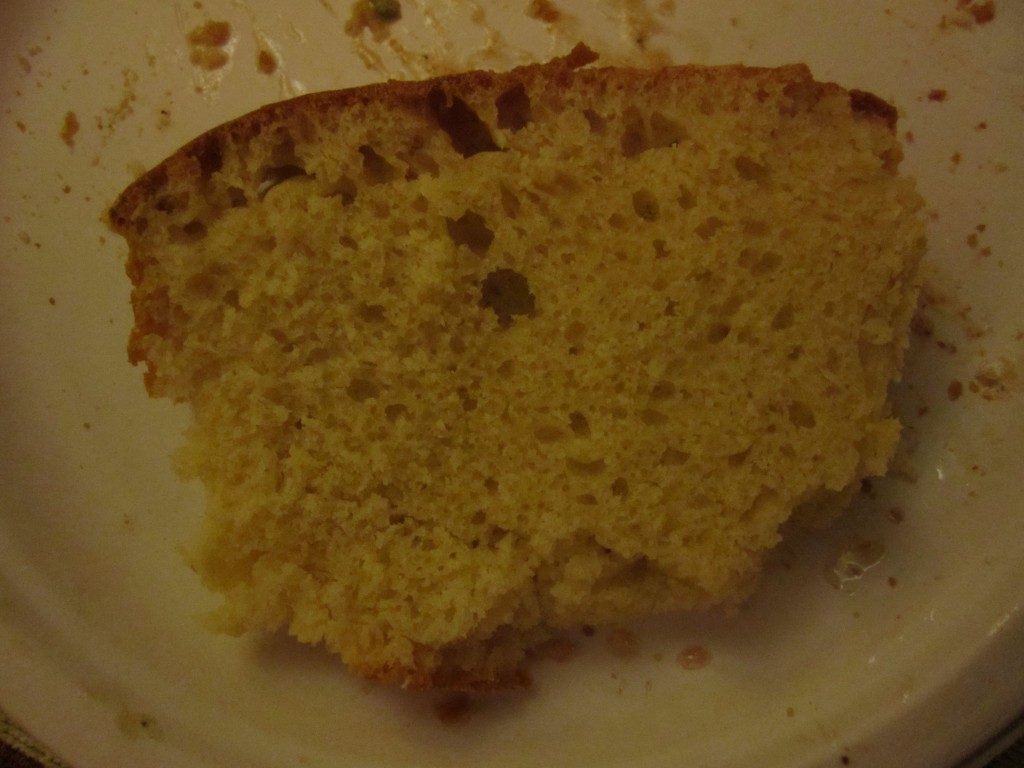
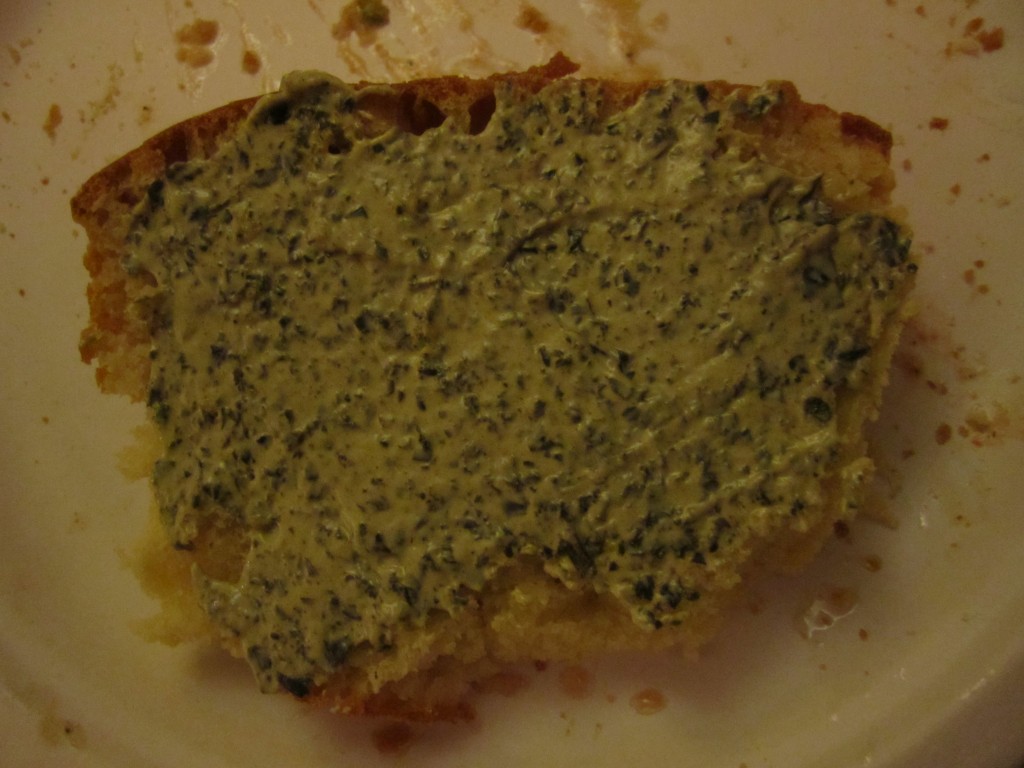
  1. first, sometime around mid-afternoon i started working on baking a loaf of bread for what i knew would be a super special meal! jason had 2 open-faced sandwiches and i had one open-faced and one regular sandwich. the slices were delicious!

    a slice of my homemade bread

    a slice of my homemade bread

  2. i mixed up some of our basil mayonnaise with blended and frozen basil from last year’s crop.

    basil mayonnaise added to the bread

    basil mayonnaise added to the bread

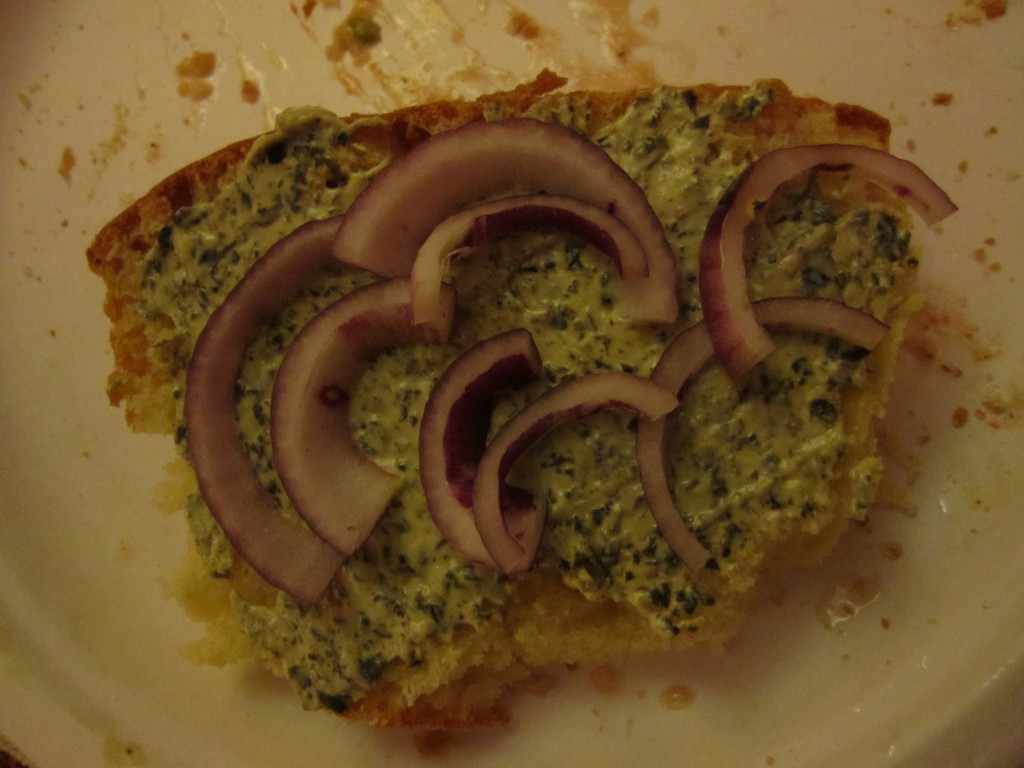
  3. we sliced up a spicy red onion from my dad’s garden this year.

    and now the red onions...

    and now the red onions…

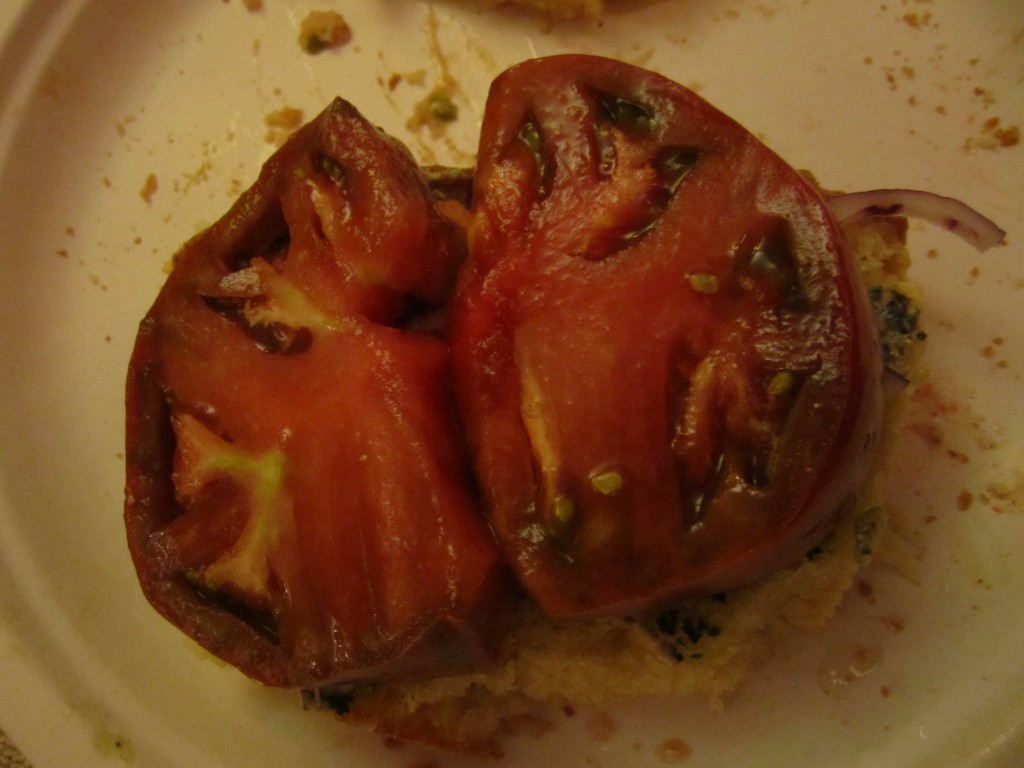
  4. then we cut up 3 cherokee purple tomatoes into large, thick slices… like big hamburger patties!

    cherokee purple slices go on next

    cherokee purple slices go on next

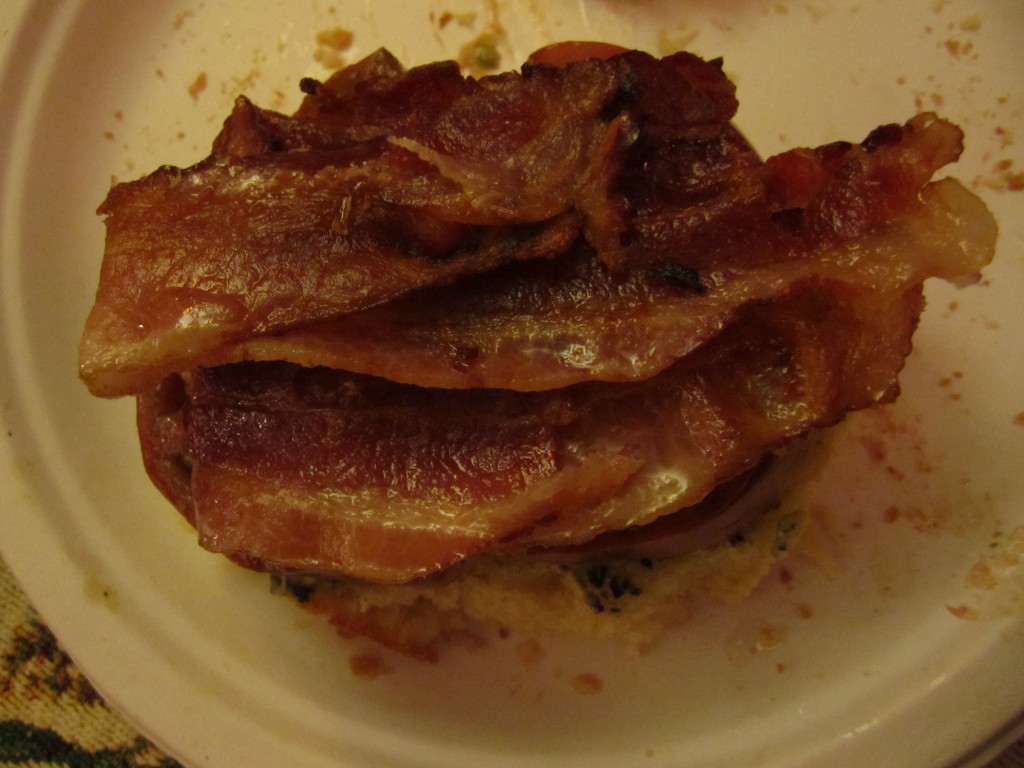
  5. of course we salted the tomatoes and then added some crispy bacon to the top.
and bacon to top it all off!

and bacon to top it all off!

this sandwich is a big hit in our house during the summer months! we call it the BOT (bacon, onion, and tomato), since we think onions are a much more important part of sandwich-making than lettuce.

.:.
 

bunches of broccoli

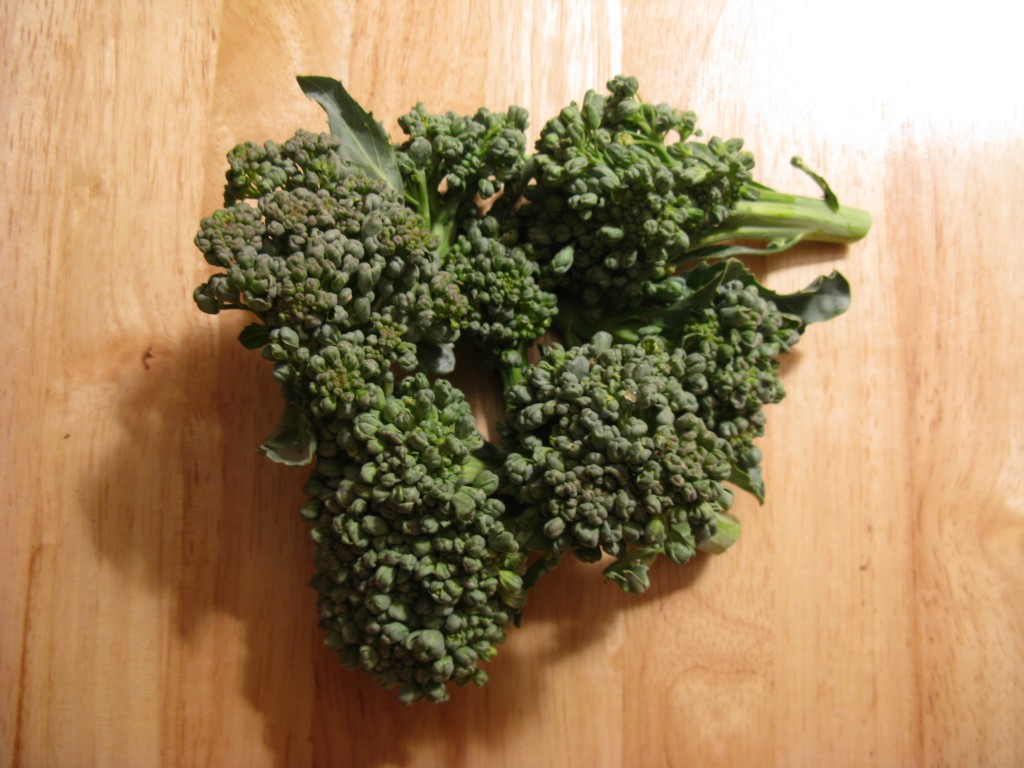
i mentioned how we were able to harvest some of our cabbages, and that they were delicious! we also have been able to harvest some broccoli, simply by cutting off the center shoot, or head. once the center shoots were harvested, our plants sent out side shoots and made numerous, smaller clones of the same old yummy veggie. we’ve included some of our broccoli in stir fries and we plan to steam some tomorrow for visiting family.

here’s a photo of some of the smaller, side shoots:

IMG_1238

we’ll be picking the rest of our smaller heads of broccoli in the next few days, since the weather has gotten warmer and the plants have started flowering. it looks like more stir fries are in our future!

.:.
 

homemade dog diapers

bridey has recently started wearing diapers because she can’t really control her pees and her poops anymore. sometimes she’ll use the bathroom outside when we take her out, but most of the time she just goes as she’s laying down inside. so, the diapers really help!
our homemade diapers are really easy to put together, actually!

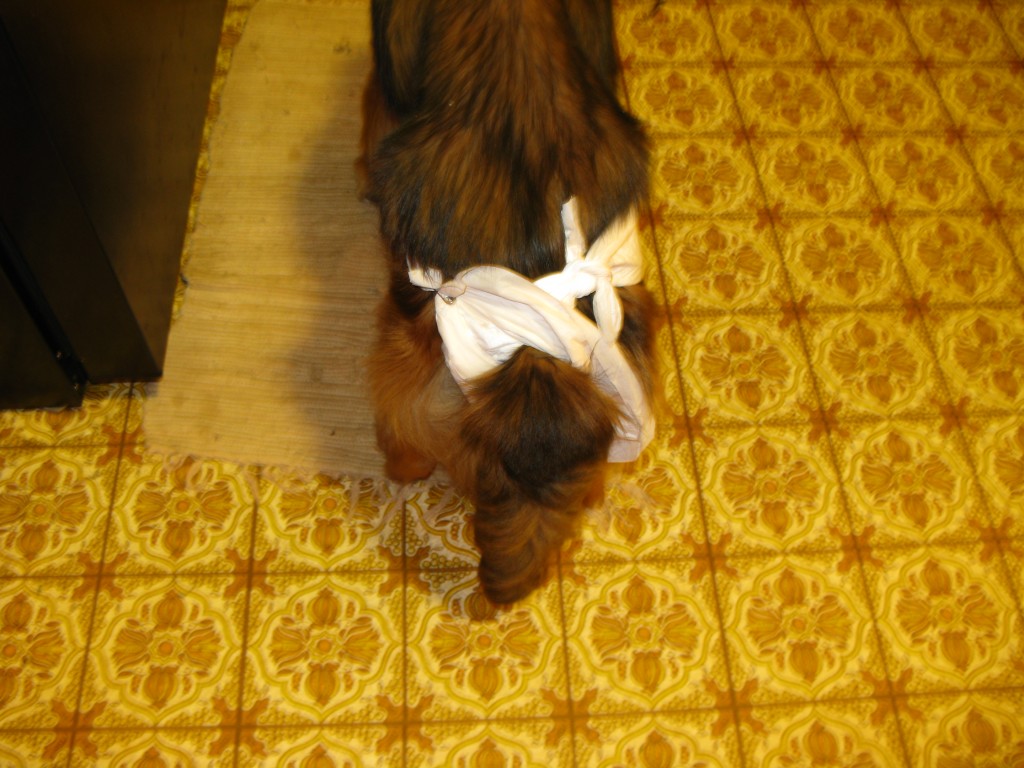
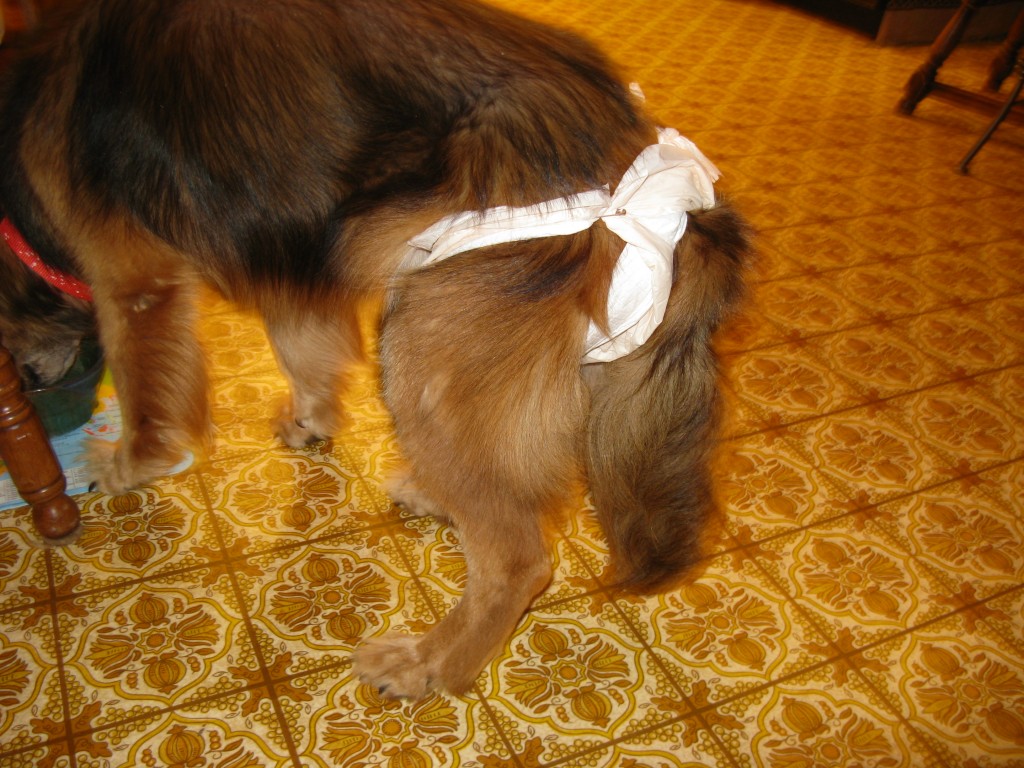
we’ve purchased pee pads from costco, which we were using for bolt’s puppy days, but for bridey i cut a hole in the center, top portion of the pee pad and put her tail through it. once the long side of the pad is tucked under her crotch and stomach i tie one back and one front corner together across her back and safety pin the other two corner together across her back. whenever she’s gone to the bathroom in her diaper i just slide it off of her and get her to step out of it. then i wipe her down with some baby wipes and slap another diaper on her once we get back inside.

so far, this system works really well. the pee pads we have are really absorbent and it is rare that there is a leak!

IMG_1232

bridey’s diaper, tied across her back, criss-cross style

IMG_1235

IMG_1236

a pee pad with the diaper-tail-hole cut out

.:.

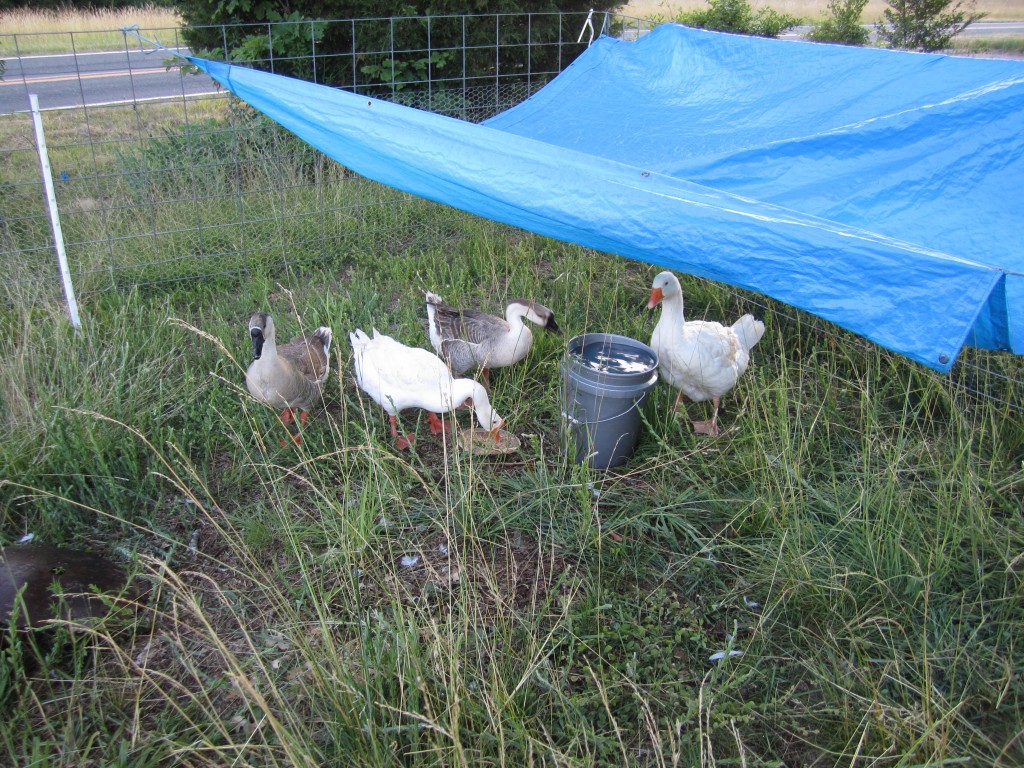
our goose fence!

our geese seem happy in their fence, although when we got them they were used to roaming around wherever they wanted to go. at first, they tried to escape so that they could get to the greener grass on the other side, but once they got used to their pen, during the few times we let them out on purpose they would willingly walk back into the safety of their pen after sending some quality time outside.

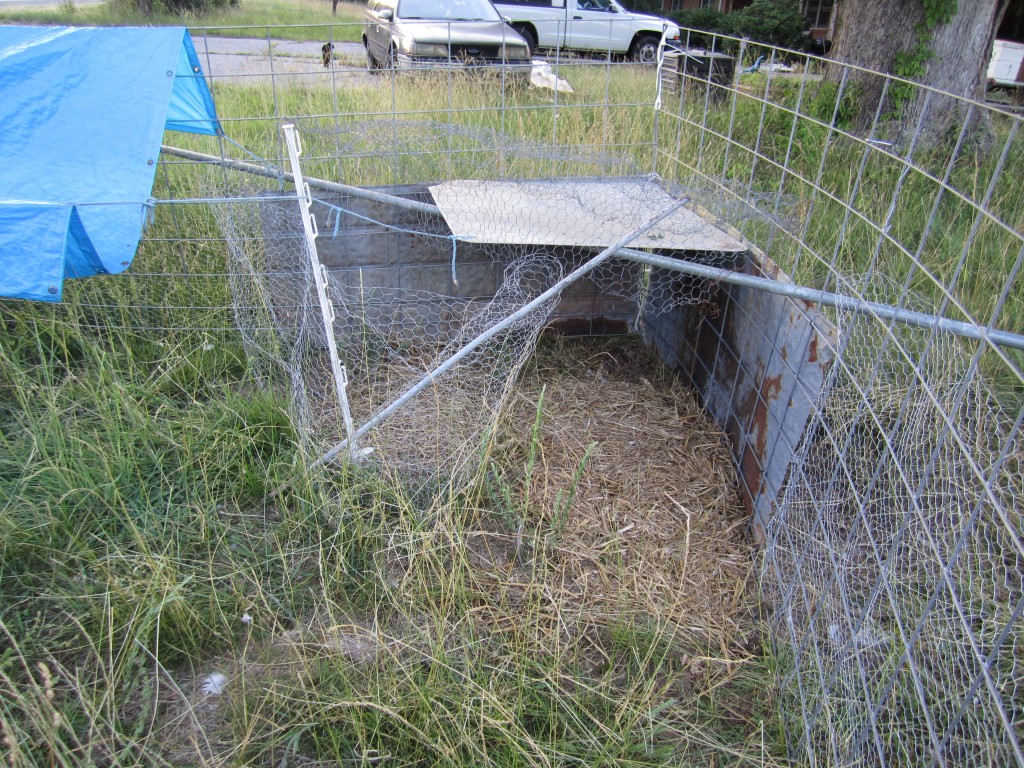
our goose pen is made out of four 16-foot cattle panels that are lashed together with very large and very long zip ties. 3 of the four corners of the panels are lashed at the top and the bottom and the 4th corner is attached with a caribeaner so we can use it as a gate.

3-foot tall poultry wire is attached to all of the panels so that they can’t squeeze out of the larger holes (which they did before we added the poultry wire).

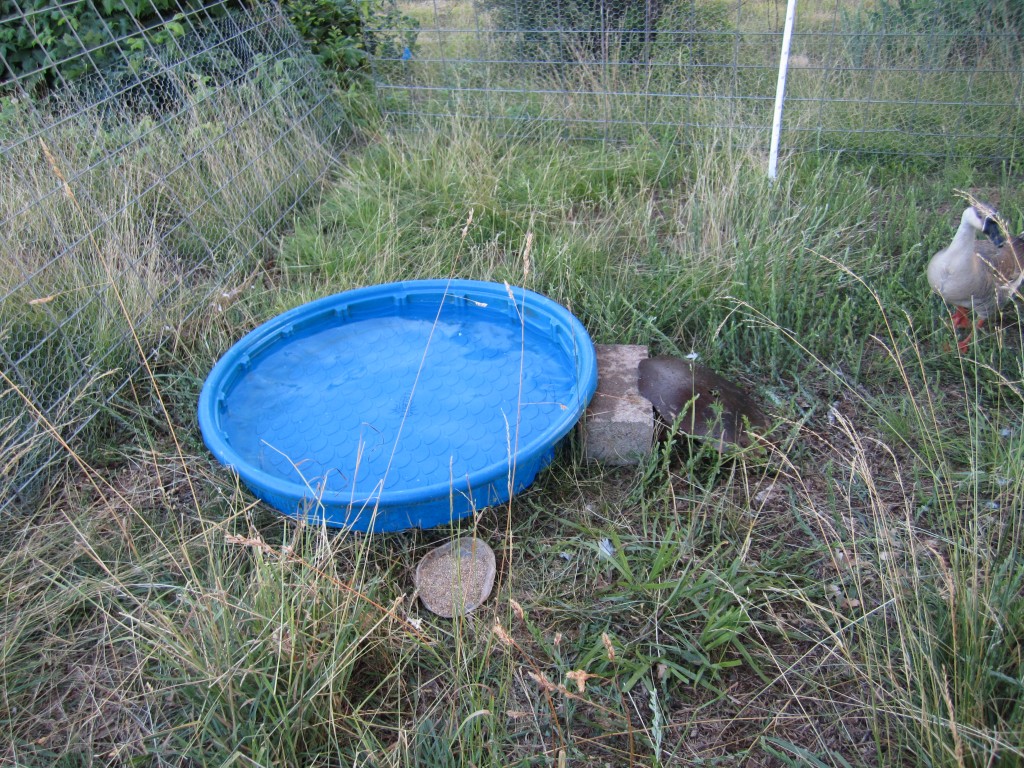
they also have a kiddie pool where they are often seen splashing about and jumping on each other. a few bricks,  a cement block, and a metal disc make up their ramp into the pool.

IMG_1833

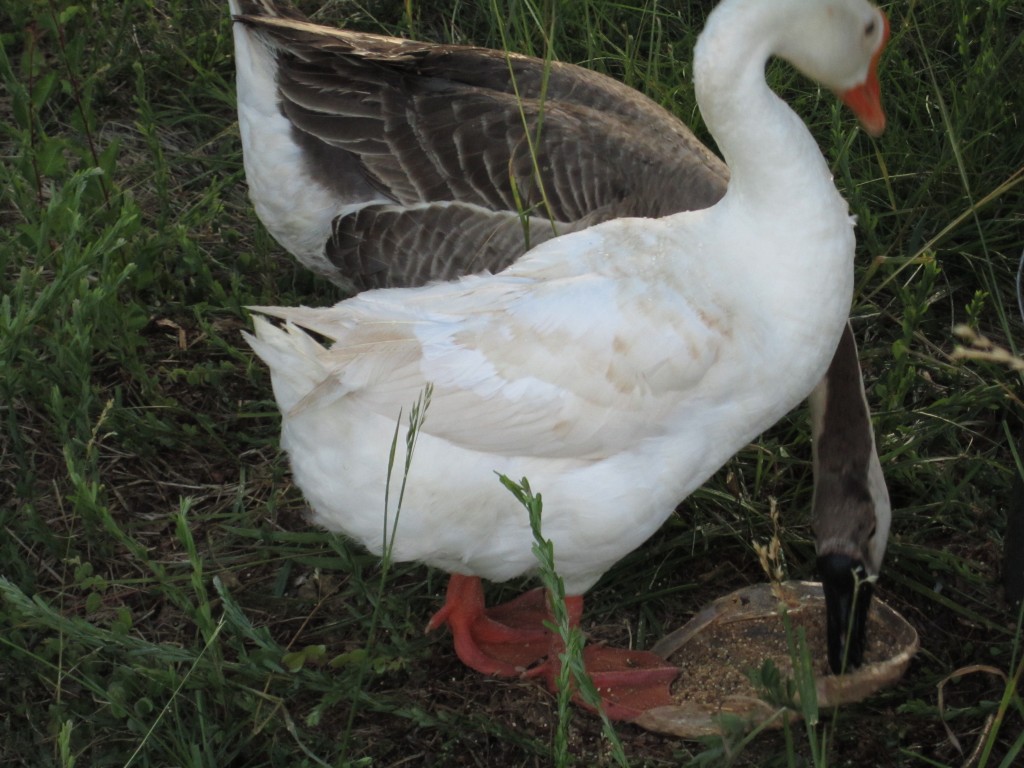
they have a tarp strung over a portion of their pen so that they have shade and a rain shield. their water bucket sits under this shade so that the water doesn’t get too warm. their two dishes get placed near the pool and the bucket when we feed them each afternoon because geese like/need water as they eat their food so it “goes down” their throats easier.we only feed them grain once a day since we move their pen every two or three days and they have fresh, delicious grass to snack on, which they much prefer to the grain.

IMG_1834

one corner of the pen has another metal covering to help keep out the rain and to provide a cozy nest spot whenever they decide to build another nest and lay some eggs!

IMG_1835


and that’s our goose pen!

.:.

first salad of the summer!

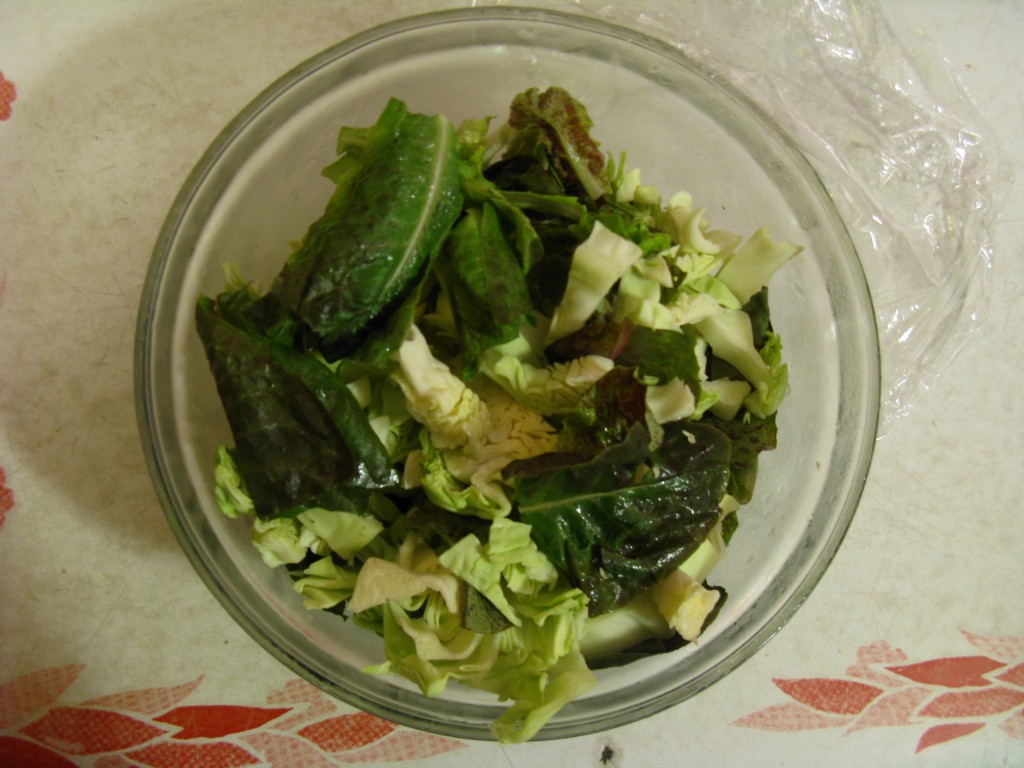
it’s a little late in the year for first salads, because this year it took us way too long to transplant our lettuce varieties into the soil. once they were transplanted, they quickly took off and i finally cut a few of our varieties for a salad this week. i mixed it with a few of our little cabbage heads and enjoyed the salad with a few other additions and salad dressing. so far, delicious!

my yummy lettuce/cabbage salad!

my yummy lettuce/cabbage salad!

.:.

molting time is here in gooseland

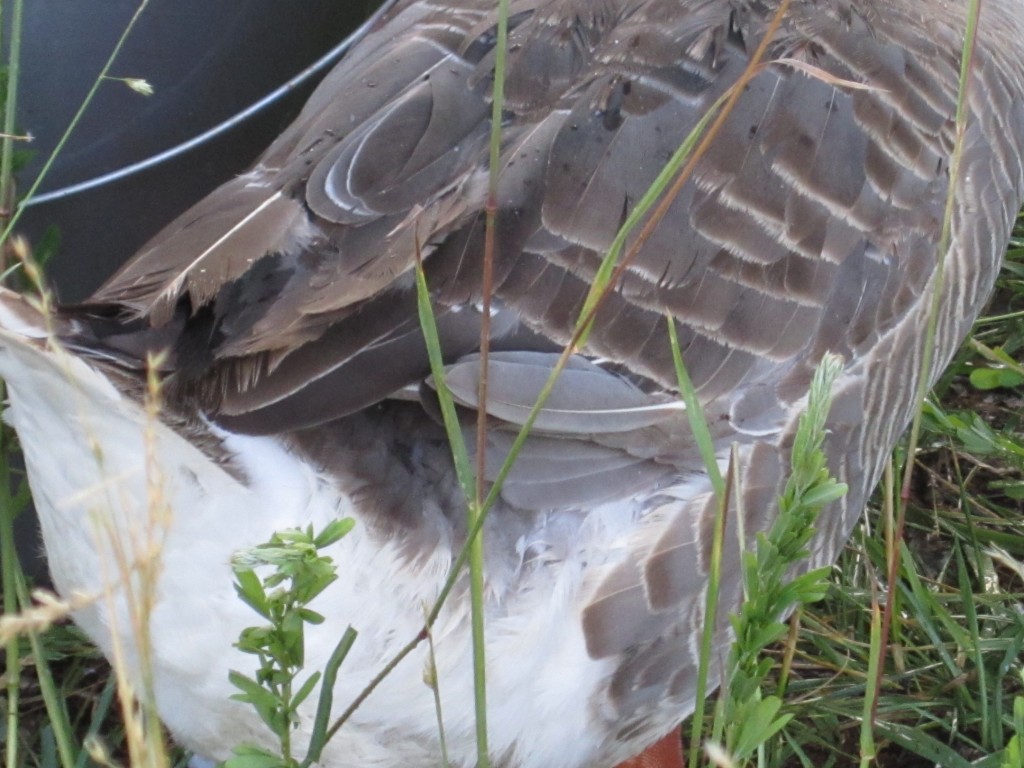
about 2 weeks ago the geese started molting, dropping their old, tattered feathers and bringing in the new!

interestingly, i noticed that the white geese, audo and china, started molting a full week before the africans, houdina and iza.

china's new-growth wing feathers... see how white they are?

china’s new-growth wing feathers… see how white they are?

you can see how iza looks a little scraggly as she loses her old feathers.

you can see how iza looks a little scraggly as she loses her old feathers.

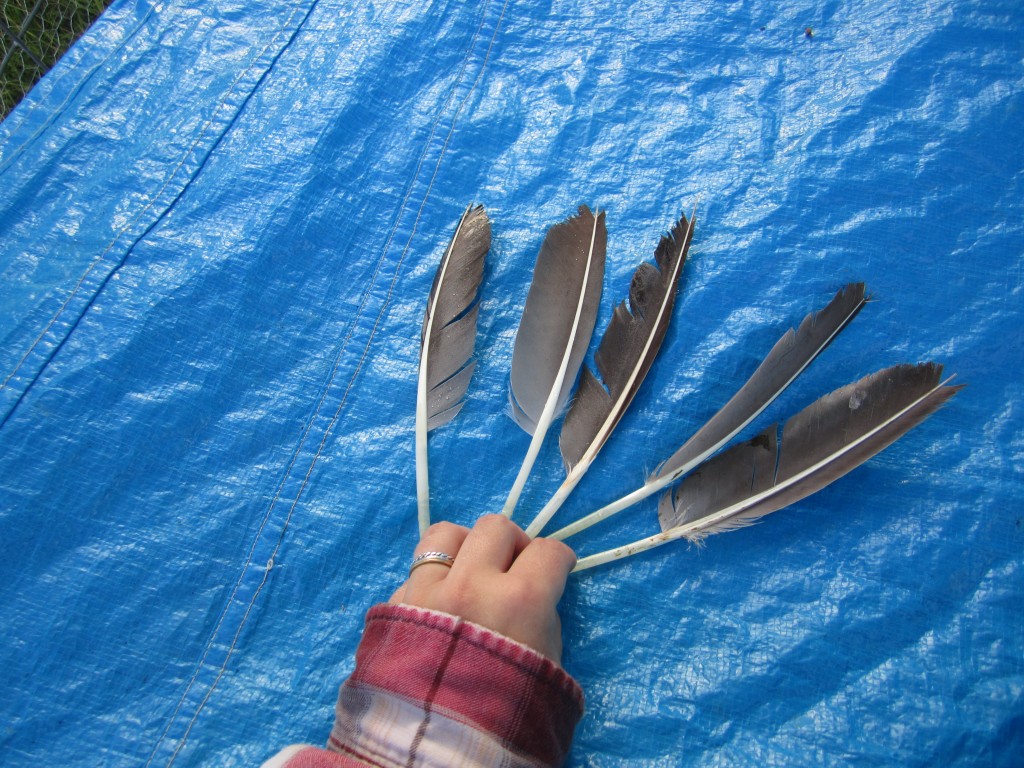
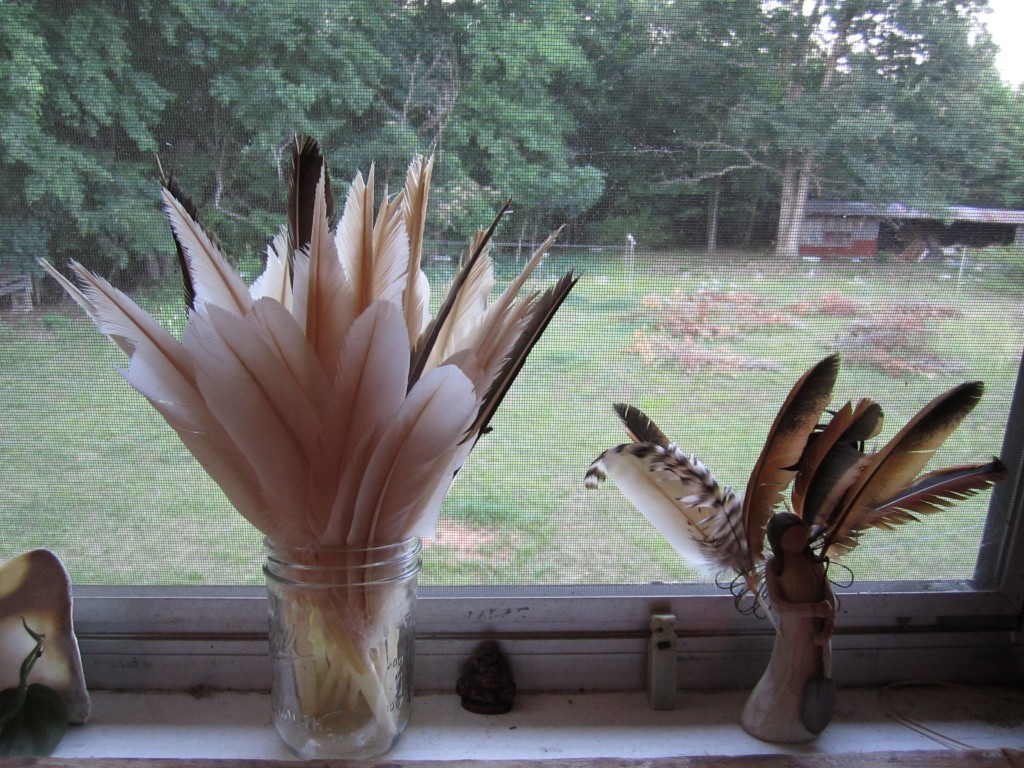
i collected the wing feathers that they dropped and now have a collection of lovely goose feathers! the pure white new-growth feathers are amazing to see. everyday they get a little bit longer. china and audo sure look like fresh, new birds!

how large and lovely goose feathers are!

how large and lovely goose feathers are!

my feather collection: goose feathers on the left and rooster tail feathers on the right.

my feather collection: goose feathers on the left and rooster tail feathers on the right.

.:.

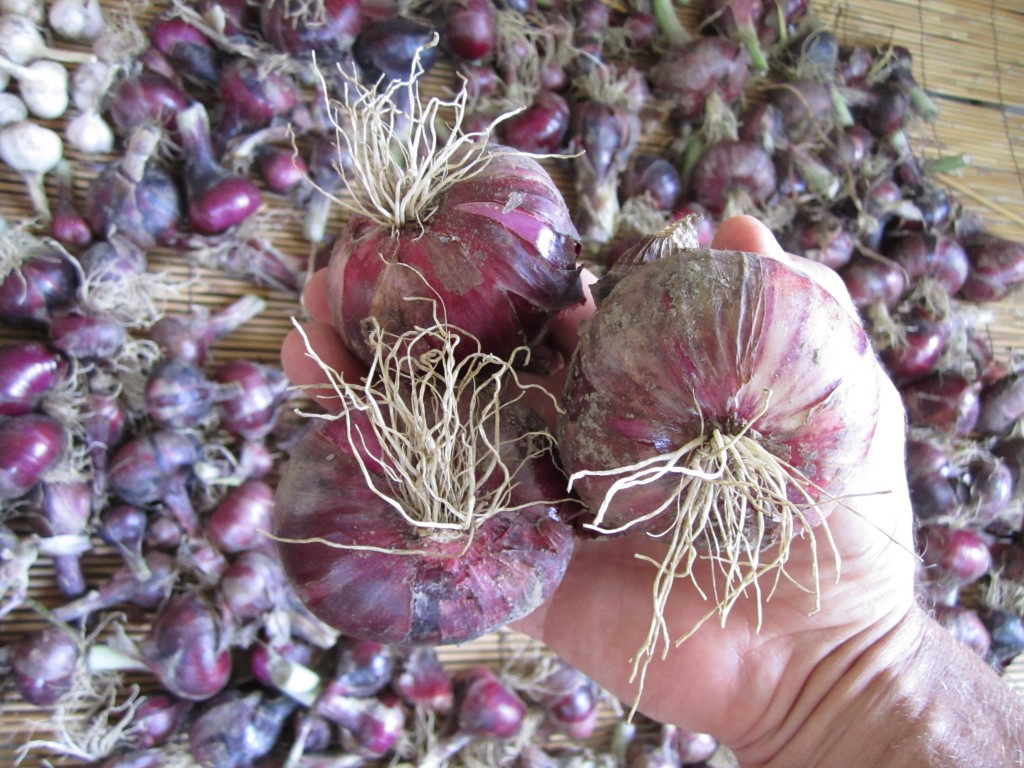
red onions galore!

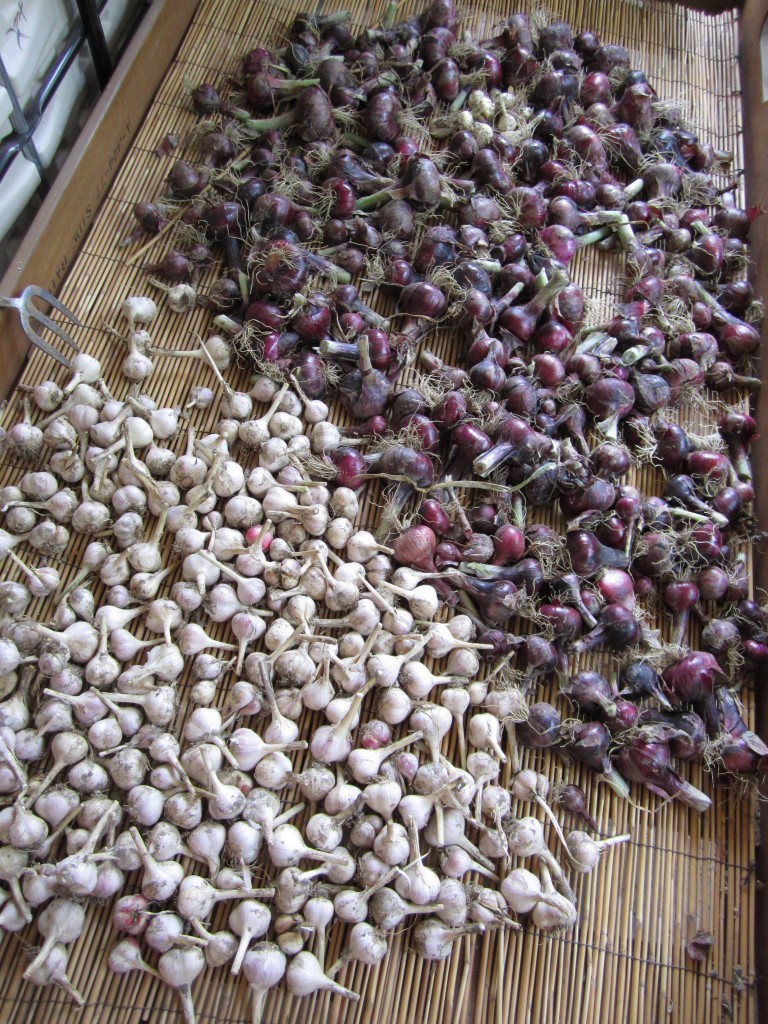
this post is to show one of the delicious crops that my father raised this year… red bulb onions!

he’s been growing onions ever since i can remember, and i have never seen the onions get as big as they have this year. impressive, dad!

in the past, he grew a red, a white, and a yellow bulb variety but after seeing how much larger the red onions got this year than the other varieties, he’s planning on only growing the red onions from now on.

my dad's red onion and garlic crop this year, drying before being stored.

my dad’s red onion and garlic crop this year, drying before being stored.

we went to visit for father’s day, and he sent us home with a bag of crunchy and intense bulbs. i’ve been enjoying them in salads and we’ve even munched on a few slices raw… they are so juicy and crunchy!

look at the size of those babies!

look at the size of those babies!

.:.

Older posts Newer posts

© 2025 KW Homestead

Theme by Anders NorenUp ↑