KW Homestead

Pasture Raised Poultry & Edible Landscaping Plants Since 2013

Author: Emma (page 19 of 36)

Pekin Duck Recipe 3: Medium Heat, Pan-Seared Breast

We’ve been experimenting with Pekin duck recipes over the last few weeks, learning about the best ways to cook our new favorite meal! We want to offer you some of our thoughts about our simple recipes, in case you are new to cooking duck and wonder how it should be done. So far we’ve cooked 4 ducks in 4 different ways, and we do have our favorite techniques! The exciting thing that we’ve learned from all this cooking, is that it’s really hard to ruin duck, short of burning it. There is so much fat that the meat never dries out the way chicken or turkey does when overcooked. Knowing this should help quell your fear about cooking duck… Just go for it!

Here is the third recipe we tried!

Medium Heat, Pan-Seared Breast: 325 degrees for 1.75 hours

Score the skin on both sides so that the fat will cook out of the bird and pool in the bottom of the dish. This allows the meat to stay moist but the skin to get crispy! Do not score the skin over the breast!

Cover the duck liberally with salt and garlic powder.

Place the duck in a dish and cook for 1 hour. At the end of the hour, remove duck from oven and cut out the breast. Return the rest of the bird to the oven and continue cooking 45 minutes longer. Be sure to flip the bird a few times during the total cooking period.

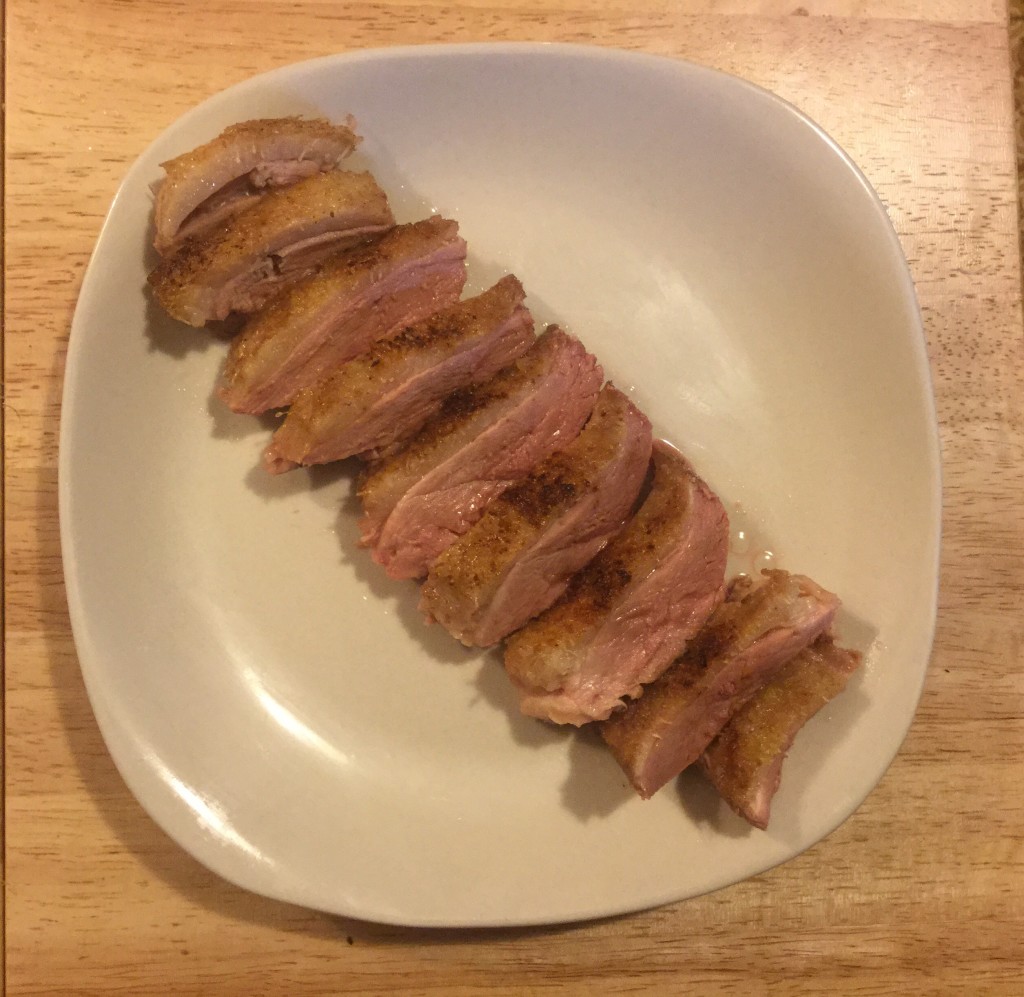
Now, finish off the breast in a skillet on the stove. Cook it on medium heat, skin side down so the skin becomes crispy and the fat runs out into the pan! Cook it to the desired color (pink is the best)!

duck breast

Pan-seared duck breast!

Taste Test:

The breast was moist and delicious, with crispy skin! It tasted like a tender cut of beef, and was best served pink. Our second favorite breast, since we thought that we could have cut it out of the bird earlier, around 30 minutes…. Then pan-seared it.

The legs were moist and very good, but not our favorite thighs to date. In fact, the entire bird remained moist (just like with the second recipe)!

The skin was crispy–perfect for me! Jason thought that we could have cooked the bird maybe 30 minutes longer for even crispier skin.

Stay tuned for the fourth recipe we tried!


.:.


Pekin Duck Recipe 2: Medium Heat, Roasted Breast

We’ve been experimenting with Pekin duck recipes over the last few weeks, learning about the best ways to cook our new favorite meal!We want to offer you some of our thoughts about our simple recipes, in case you are new to cooking duck and wonder how it should be done. So far we’ve cooked 4 ducks in 4 different ways, and we do have our favorite techniques! The exciting thing that we’ve learned from all this cooking, is that it’s really hard to ruin duck, short of burning it. There is so much fat that the meat never dries out the way chicken or turkey does when overcooked. Knowing this should help quell your fear about cooking duck… Just go for it!

Here is the second recipe we tried!

Medium Heat, Roasted Breast: 325 degrees for 2.5 hours with veggies

Score the skin on both sides so that the fat will cook out of the bird and pool in the bottom of the dish. This allows the meat to stay moist but the skin to get crispy!

Cover the duck liberally with salt and garlic powder.

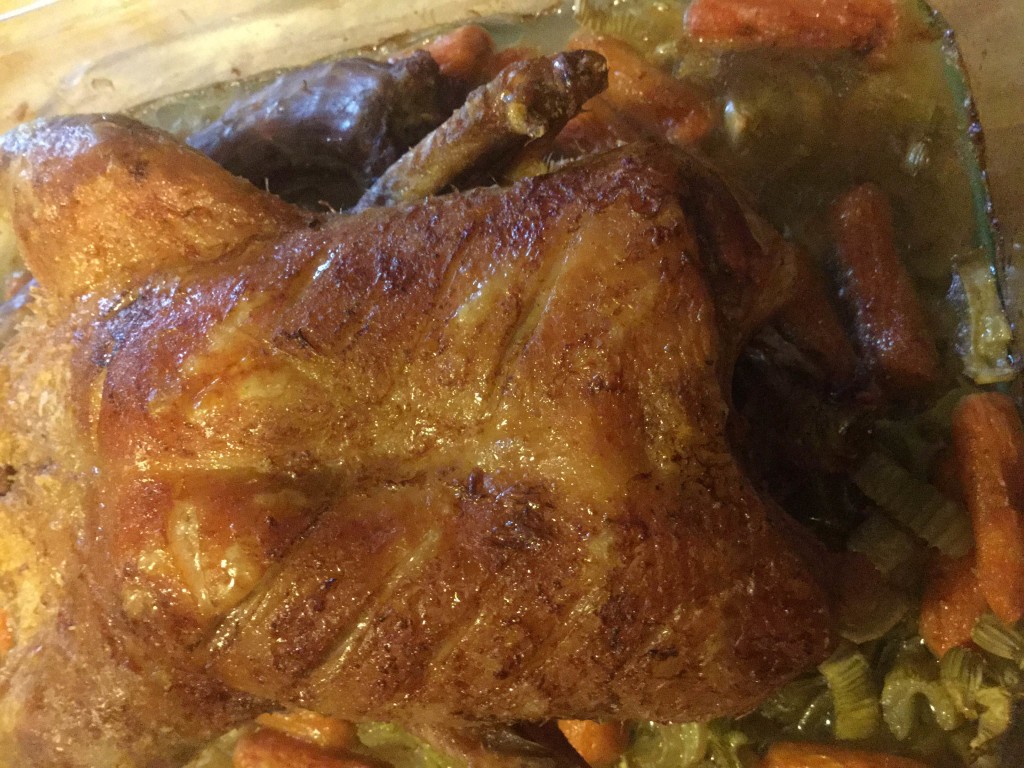
Place the duck, breast up, in a dish filled with your favorite veggies (we used carrots, celery, and onion). The great thing about this is that the veggies will soak up the duck fat and become the most delicious veggies you’ve ever tasted! Add as many veggies as you’d like… There is plenty of duck fat to go around!

duck

The finished product!

Taste Test:

The breast was moist and delicious, but it wasn’t our favorite technique to date!

The legs were a moist and very good, but not our favorite thighs to date.

The skin on the top of the bird was crispy, and my favorite skin overall! But, since the bird was not flipped during the cooking time, the skin adjacent to the veggies was not crispy!

Stay tuned for the third recipe we tried!

.:.


Pekin Duck Recipe 1: High Heat, Low Time

We’ve been experimenting with Pekin duck recipes over the last few weeks, learning about the best ways to cook our new favorite meal!We want to offer you some of our thoughts about our simple recipes, in case you are new to cooking duck and wonder how it should be done. So far we’ve cooked 4 ducks in 4 different ways, and we do have our favorite techniques! The exciting thing that we’ve learned from all this cooking, is that it’s really hard to ruin duck, short of burning it. There is so much fat that the meat never dries out the way chicken or turkey does when overcooked. Knowing this should help quell your fear about cooking duck… Just go for it!

Here is the first recipe we tried!

High Heat, Low Time: 425 degrees for 2 hours

Score the skin on both sides so that the fat will cook out of the bird and pool in the bottom of the dish. This allows the meat to stay moist but the skin to get crispy!

Cover the duck liberally with salt and garlic powder.

Flip the bird 2 or 3 times during the cooking time, spaced evenly throughout the 2 hour time period.

Cut the breast out of the bird after 1 hour and 15 minutes and continue cooking the rest of the meat for another 45 minutes.

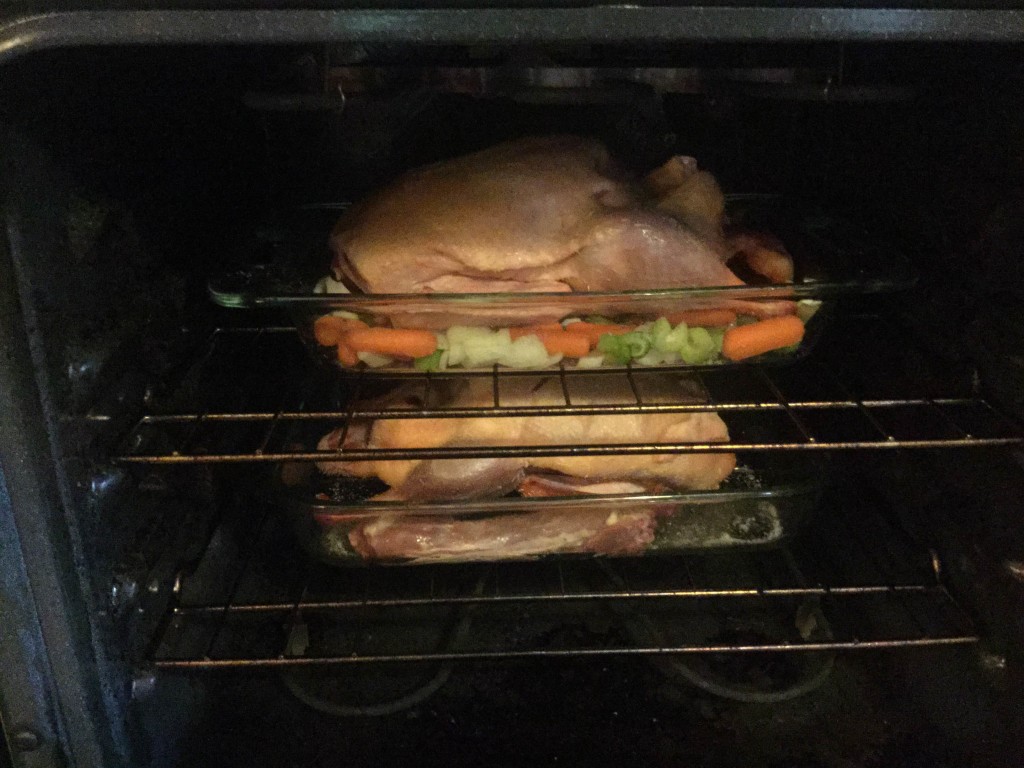
ducks

Ducks going in the oven!

Taste Test:

The breast was overcooked and a little dry. We learned that we should have cut it out much sooner!

The legs were a perfect moistness.

The skin was partially crispy, which was great for me but Jason would have preferred it crispier!

Stay tuned for the second recipe we tried!

.:.

Beginning Fresh This Fall: A Homestead Recovers From an Injury

We realize that it has been almost 2 months since we’ve posted regularly… And as I’ve briefly mentioned in past posts, the last few months have been busy and difficult.

I feel that there is finally time for Jason and I to breathe, relax, and reflect on everything that has happened.

On July 31, I was in the front yard setting up electric fencing and Jason was in the back yard processing a pig. I heard a yell and knew that something was terribly wrong. Jason yelled for help again, and I ran around to the backyard but he wasn’t there when I got there. I followed him into the basement and saw a trail of blood drops from the door to the sink, with Jason running his hand under the water.

He started to feel faint and I sat him down and looked at his hand. We stopped the bleeding and I didn’t look very closely, but I could tell that he definitely needed stitches. Our closest hospital is 20 minutes away and we drove there. We spent almost 10 hours in total in the ER and driving to and from 2 different hospitals.

Jason had been using a very, very sharp 14 inch blade for processing and he switched to his left hand to make a cut. The knife slipped and gouged his right palm and index finger. He ended up with a severed artery, nerve, nicked tendon sheath (we’re thankful the tendon was fully in tact), 13 stitches, a cast, and an August 6 surgery date.

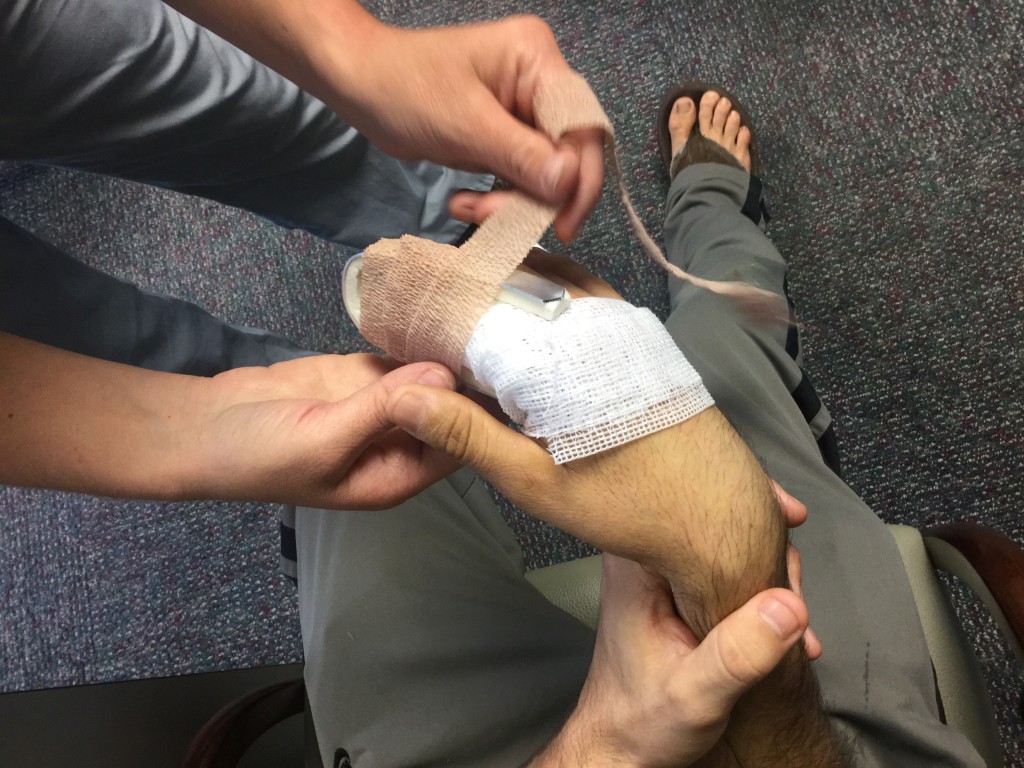
His hand was immobilized in a cast that kept the pressure off of his tendons (since they weren’t sure if the tendon was damaged until they went into surgery). After the surgery, he had to deal with a smaller cast (shown below) and the inability to move at all without feeling pain.

hand cast

Jason’s second, post-surgery cast.

His physical therapist says that he will make a full recovery, and we both consider now to be a time when things feel healed, both with his hand and with our homestead. He hasn’t felt pain for many weeks, and he has regained almost full mobility!

The homestead is now operating at a higher level than it was when he was healing (we were just trying to get through day during that time), and we’ve seen the fruits of our labors: we’ve begun to sell Pekin ducks and duck eggs. The heritage turkeys are growing every day and we can’t believe how close Thanksgiving really is!

If there is just one thing we’ve learned (and there really is more than just one), it is that the life we have chosen, our homestead life, is meant for the both of us. We need each other. When one of us is down, the other one has to try to do double (and it just isn’t possible on the scale in which we’re operating).

There is still a lot to do to catch up and get ahead and ready for winter and next year, but we’re starting to feel “normal” again.

We’ve both learned a lot about our chosen life and our partnership during the last few months, and we’re proud to say that we celebrated our 1st wedding anniversary a few weeks ago on September 27. For us, our anniversary was a great chance to think of our fresh start for this fall!

We are also going to be posting more often (let’s hope we can get back up to every day), so stay tuned for more information about new things going on around Kuska Wiñasun Homestead, like:

  • Our new dog, Coona
  • Our experience selling ducks and eggs at market
  • The new turkey house
  • Some delicious duck recipes!

.:.

Goslings Meet the Geese…

We recently moved the goslings in with the adult geese and ducks. They are still in their own separate cage, but we thought it was a good idea to go ahead and get them introduced to the other geese…

The goslings were a little bit nervous at first, but quickly realized that they were geese too! Now they usually watch the geese or stand around eating grass.

The geese were more interested in the goslings than I expected! All 4 of them went up to the babies’ cage and honked at them, then walked away and came back and honked at them again. It’s as if they are welcoming them and bullying them at the same time!

Watch the video to see what happened!

.:.

Duck Feet Soup: Medicine in Broth

Jason injured his hand about 3 weeks ago and he had surgery 2 weeks ago. He cut himself butchering a pig and sliced through the nerve, artery, and nicked the tendon sheath of his right hand’s pointer finger.

It’s been a slow road to recovery… He hasn’t been able to move around much because of the pain/discomfort and it’s always hard to do very much for yourself with only one hand in operation.

So… We’ve been looking for ways for him to heal faster. Your diet, of course, is really the most important component of healing!

And what better meal to eat than a meal made of the very organic materials that are healing? Tendons, muscles, and nerves!

duck feet

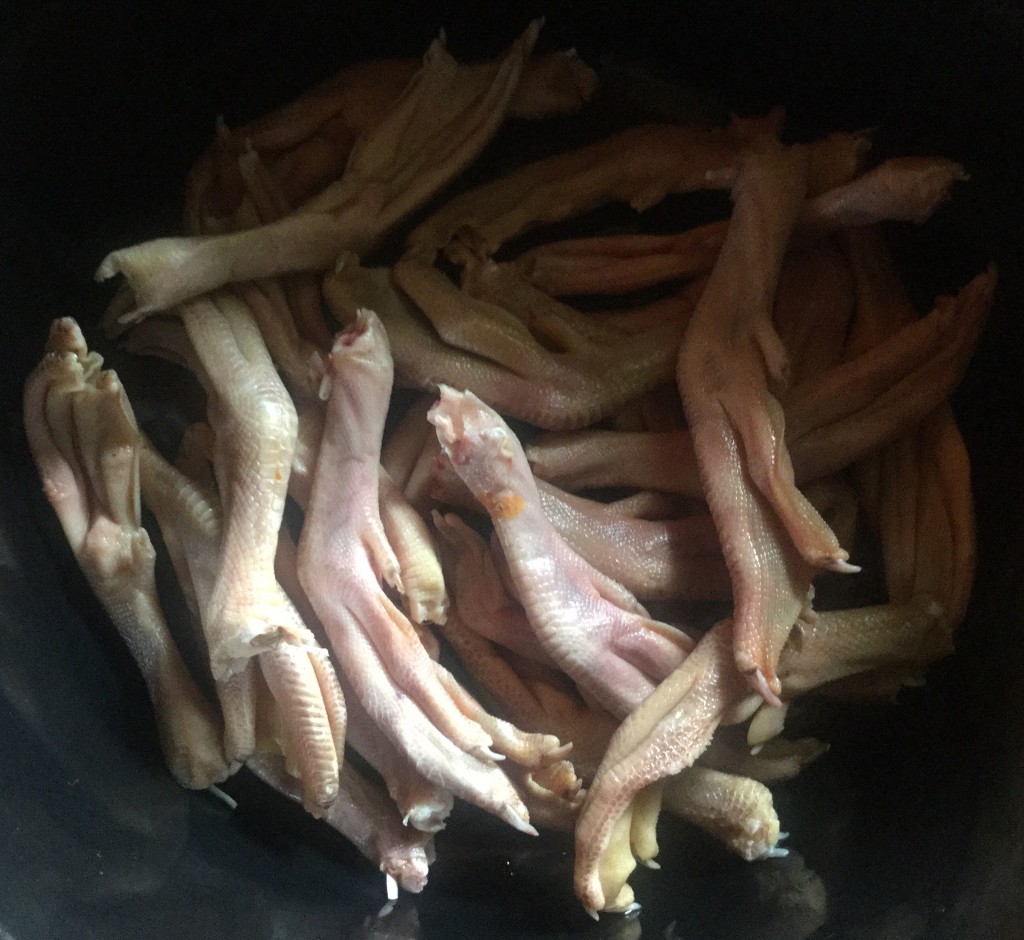
24 duck feet waiting in the pot!

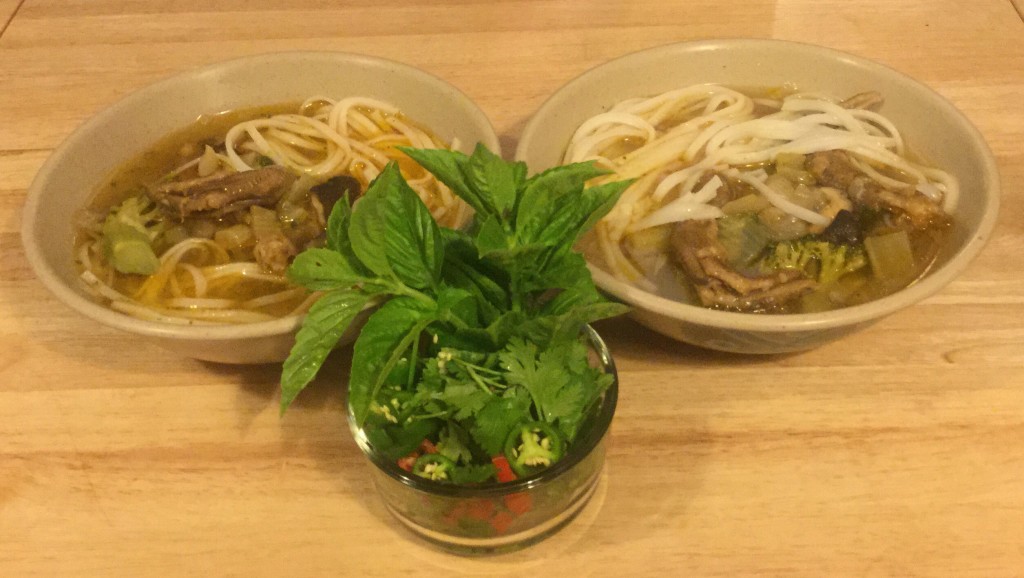
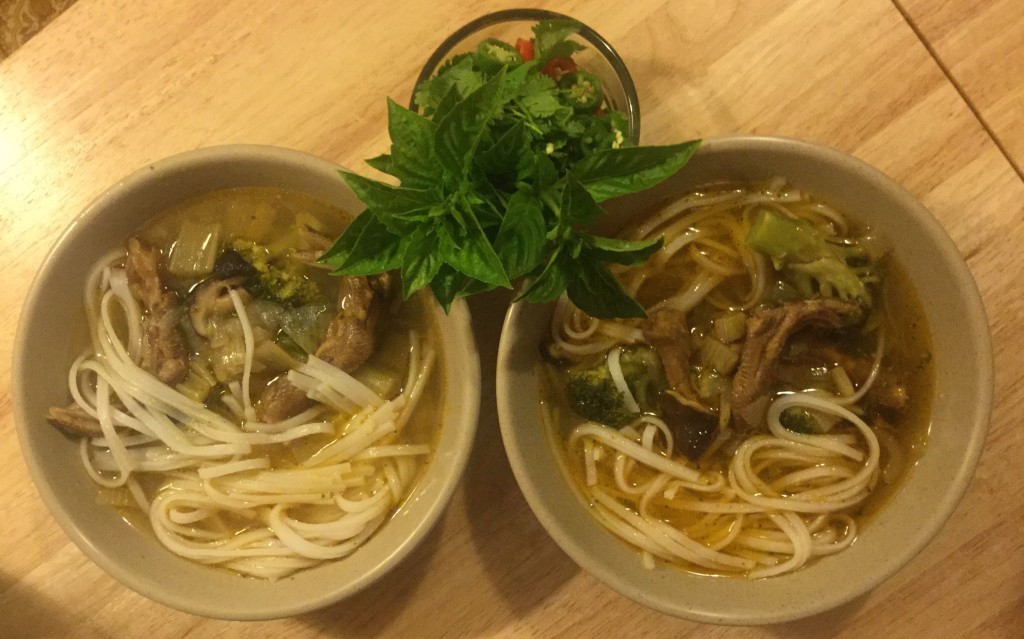
So we made the most delicious duck foot soup! We had 24 feet from our duck butchery a few months ago. We made it Vietnamese style, with spicy peppers, soy sauce, carrots, garlic, onions, celery, and tons of shiitake mushrooms! Shiitake mushrooms have numerous health benefits: they fight “bad” bacteria, viruses, and contain tons of B vitamins and many other micronutrients that are essential to life and healing. To this soup we added rice noodles and fresh cilantro and basil.

It was perhaps the most delicious meal we’ve had in months… And it’s gone now. We ate it for lunch and dinner every day until there was no more!

The feet of birds are often very fatty (unprocessed animal fat from healthy, organic animals is good for you!!!) and filled with awesome gelatin and nutrients! We moaned in enjoyment while we ate!

soup

Yummy soup!

IMG_0790.JPG


Let’s see how he heals now!!!

.:.

Ducklings and Goslings Tour the Yard

This video shows you typical duckling and gosling behavior!

Sometimes we let the little buggers (literally, bug hunters!) out for a chance to roam free. We still have to keep an eye on them because they are small enough to be hurt by a larger chicken or taken by a hawk (especially the ducklings). Today they got a solid 2 hours of freedom out in the yard, where they enjoyed chasing bugs, sun bathing, chowing down on seed heads, and drinking from random puddles of water!

.:.

Kids and Farm Animals: A Great Time!

Nothing makes our day more than having kids come visit us at the homestead. Beginning some time next month, we will be hosting a homestead tour so all interested kids and adults can come see the animals for themselves. But in the meantime, let these videos of our friend Meredith and her lovely kids, Emi and Teddy, make you smile.


.:.

Electric Fencing for Poultry

Our electric poultry fencing has been an eye-opening experiment so far…

What we’ve learned:

1.  Setting up the fencing takes a few hours each time but depending on how large of a space we make, the birds can occupy the space for weeks at a time.

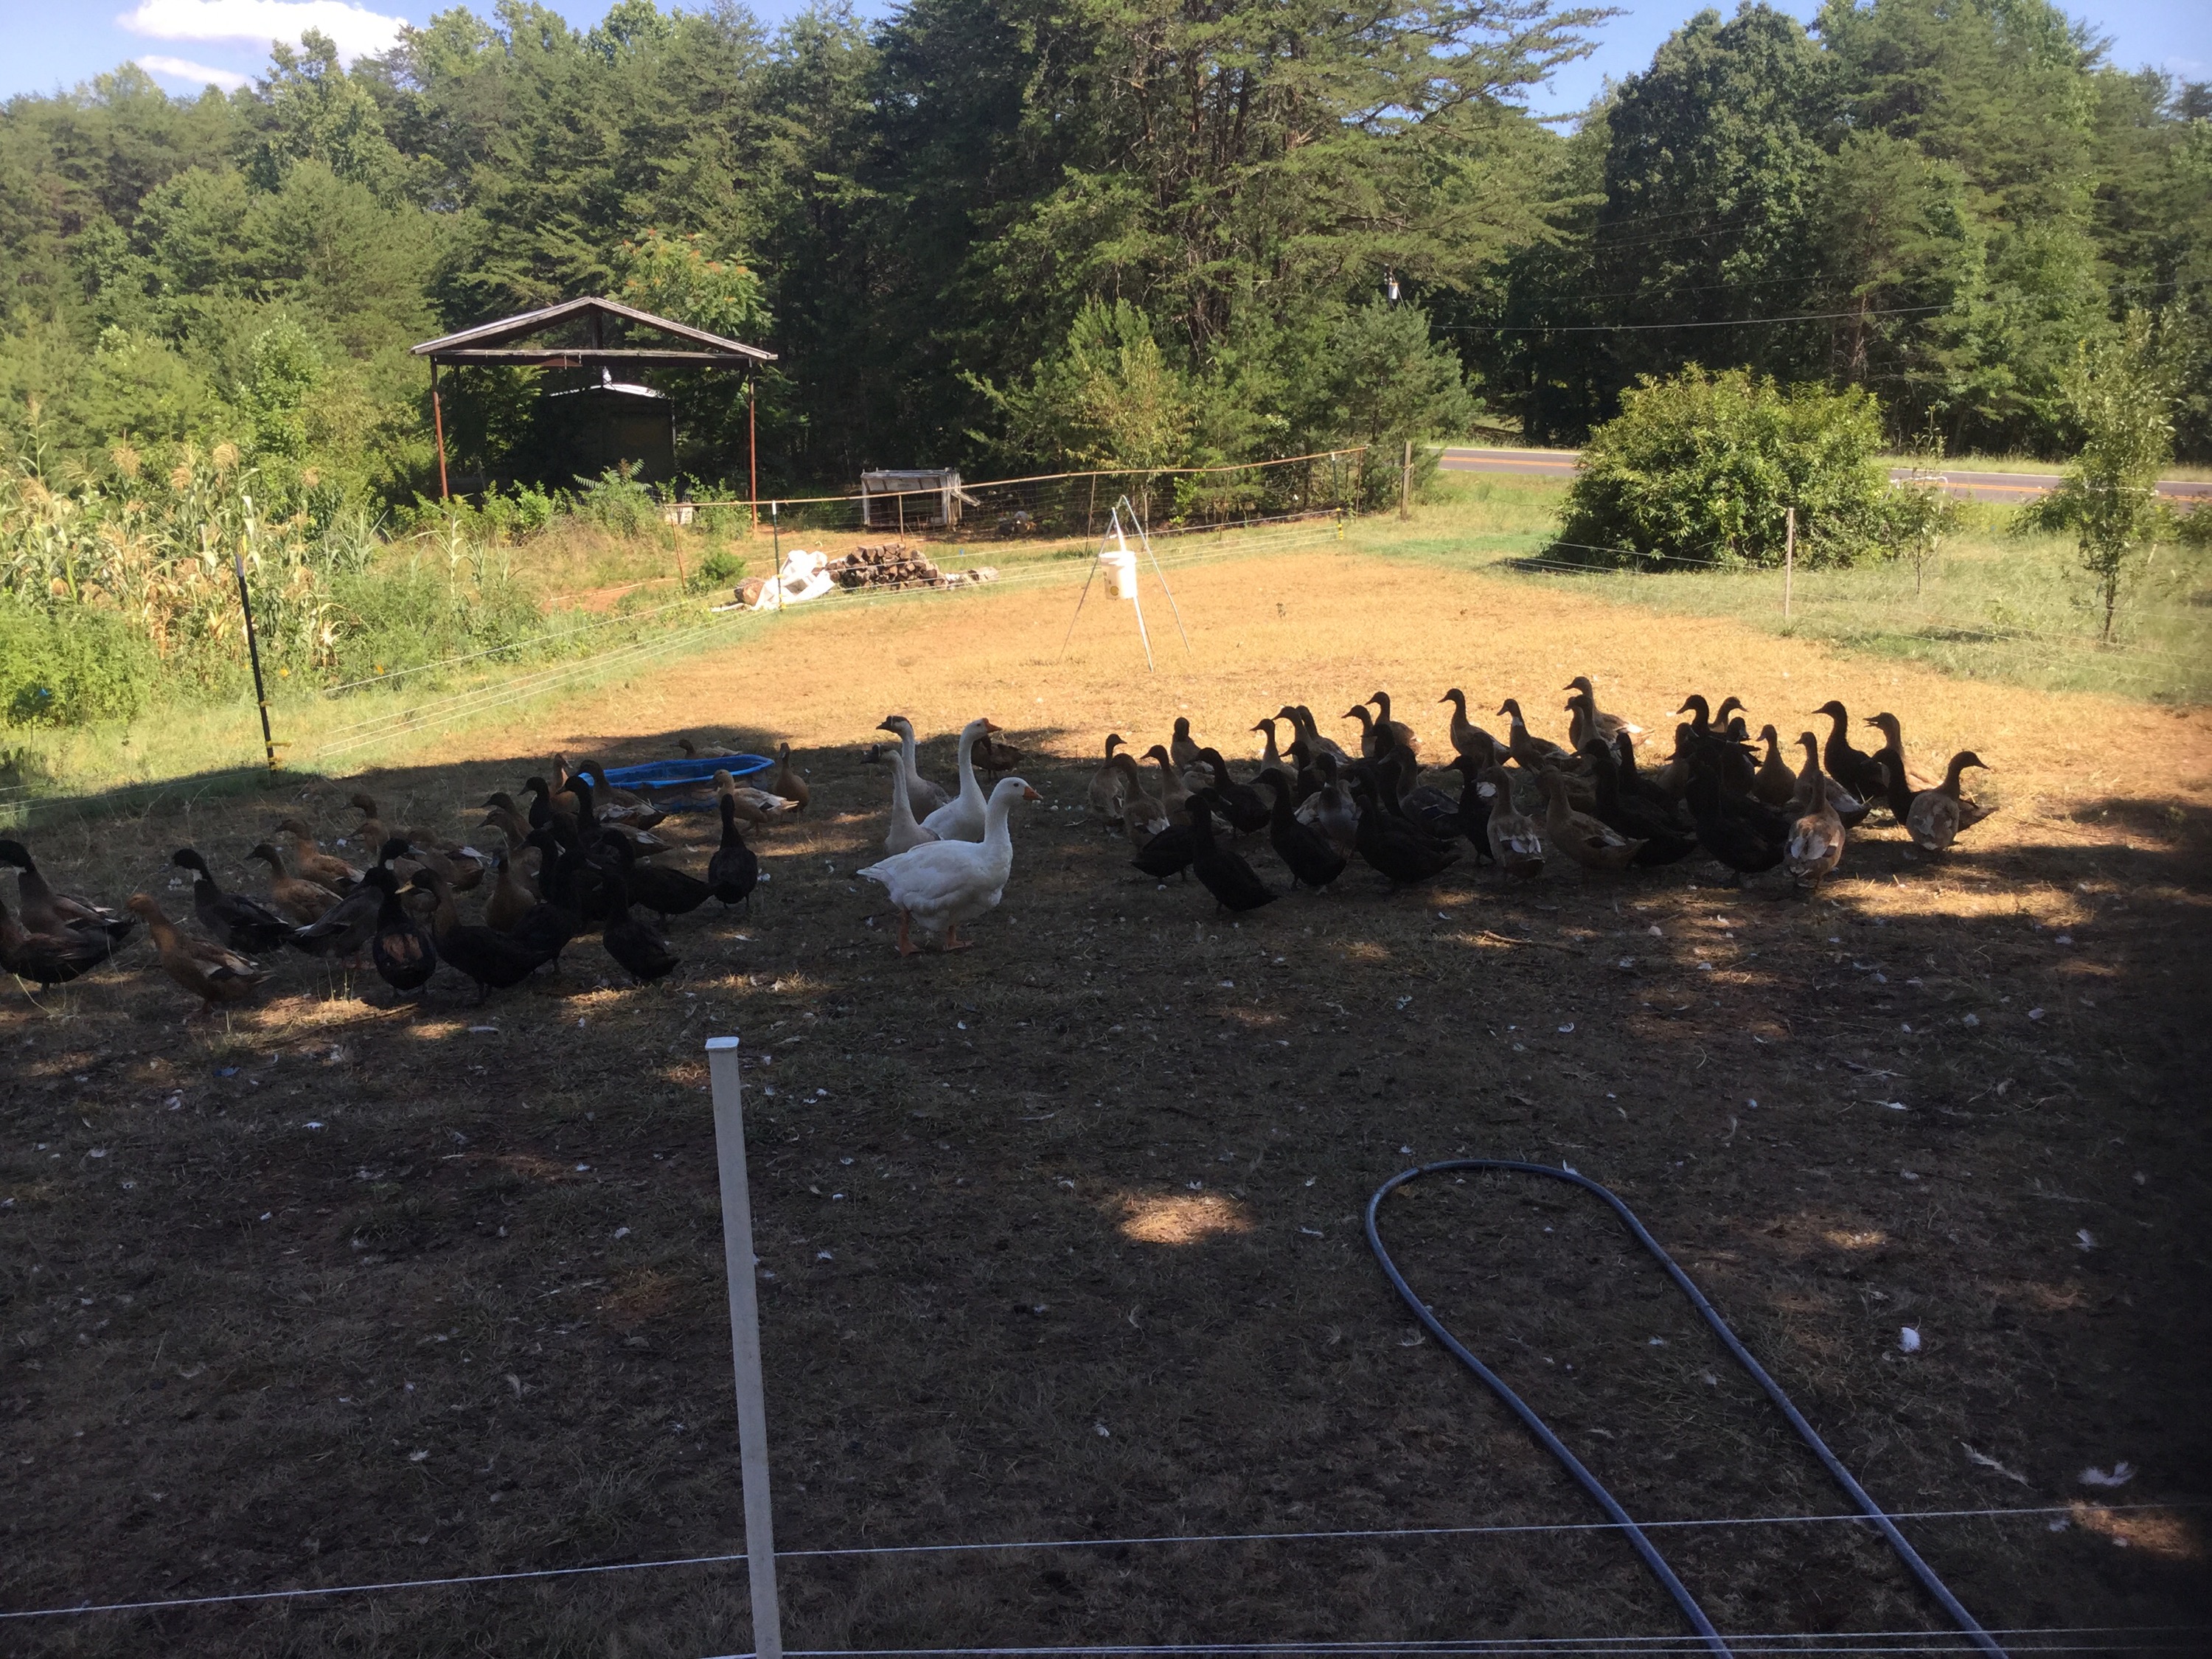
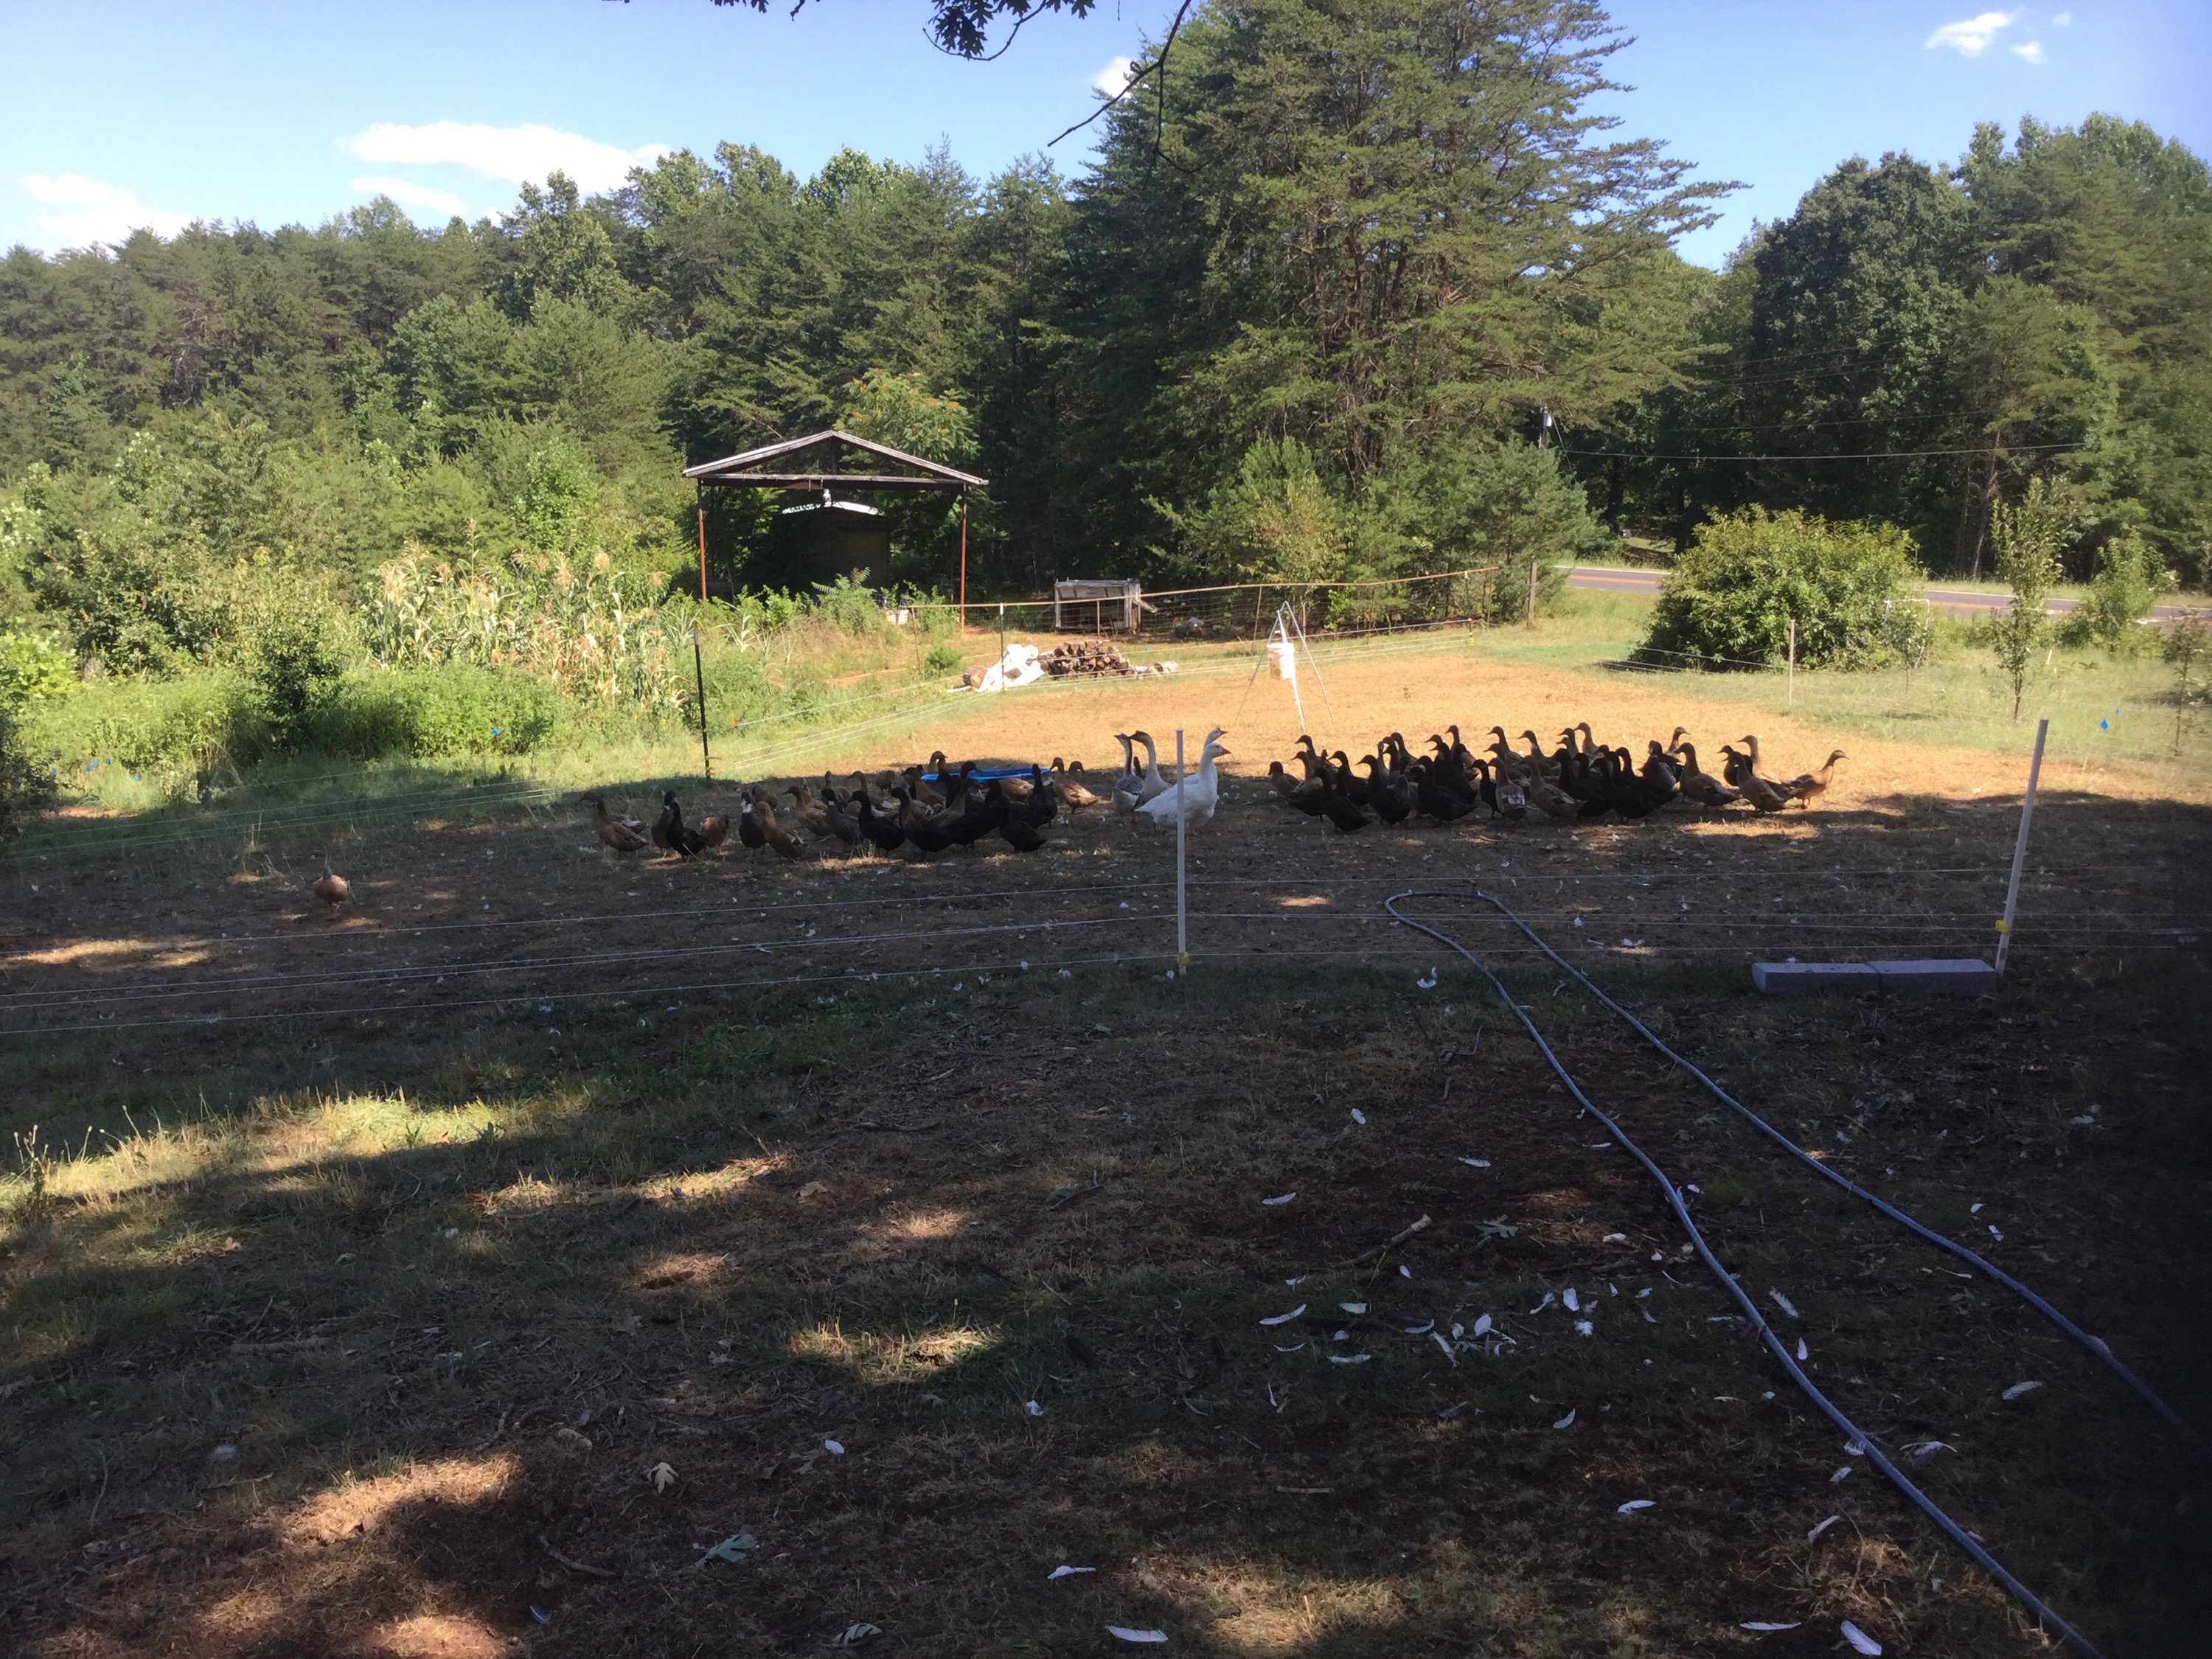
2.  The ducks respect the fence, and since getting shocked a few times, have stayed as far away from the fence as possible. Every few days a duck will get spooked, and since we have not clipped their wings, it might fly over by accident. It sometimes takes the poor duck a few hours to get up the nerve to jump back through the fence. They definitely respect the boundaries!

3.  The geese are the most respectful of all, never going over and never coming close to the fence.


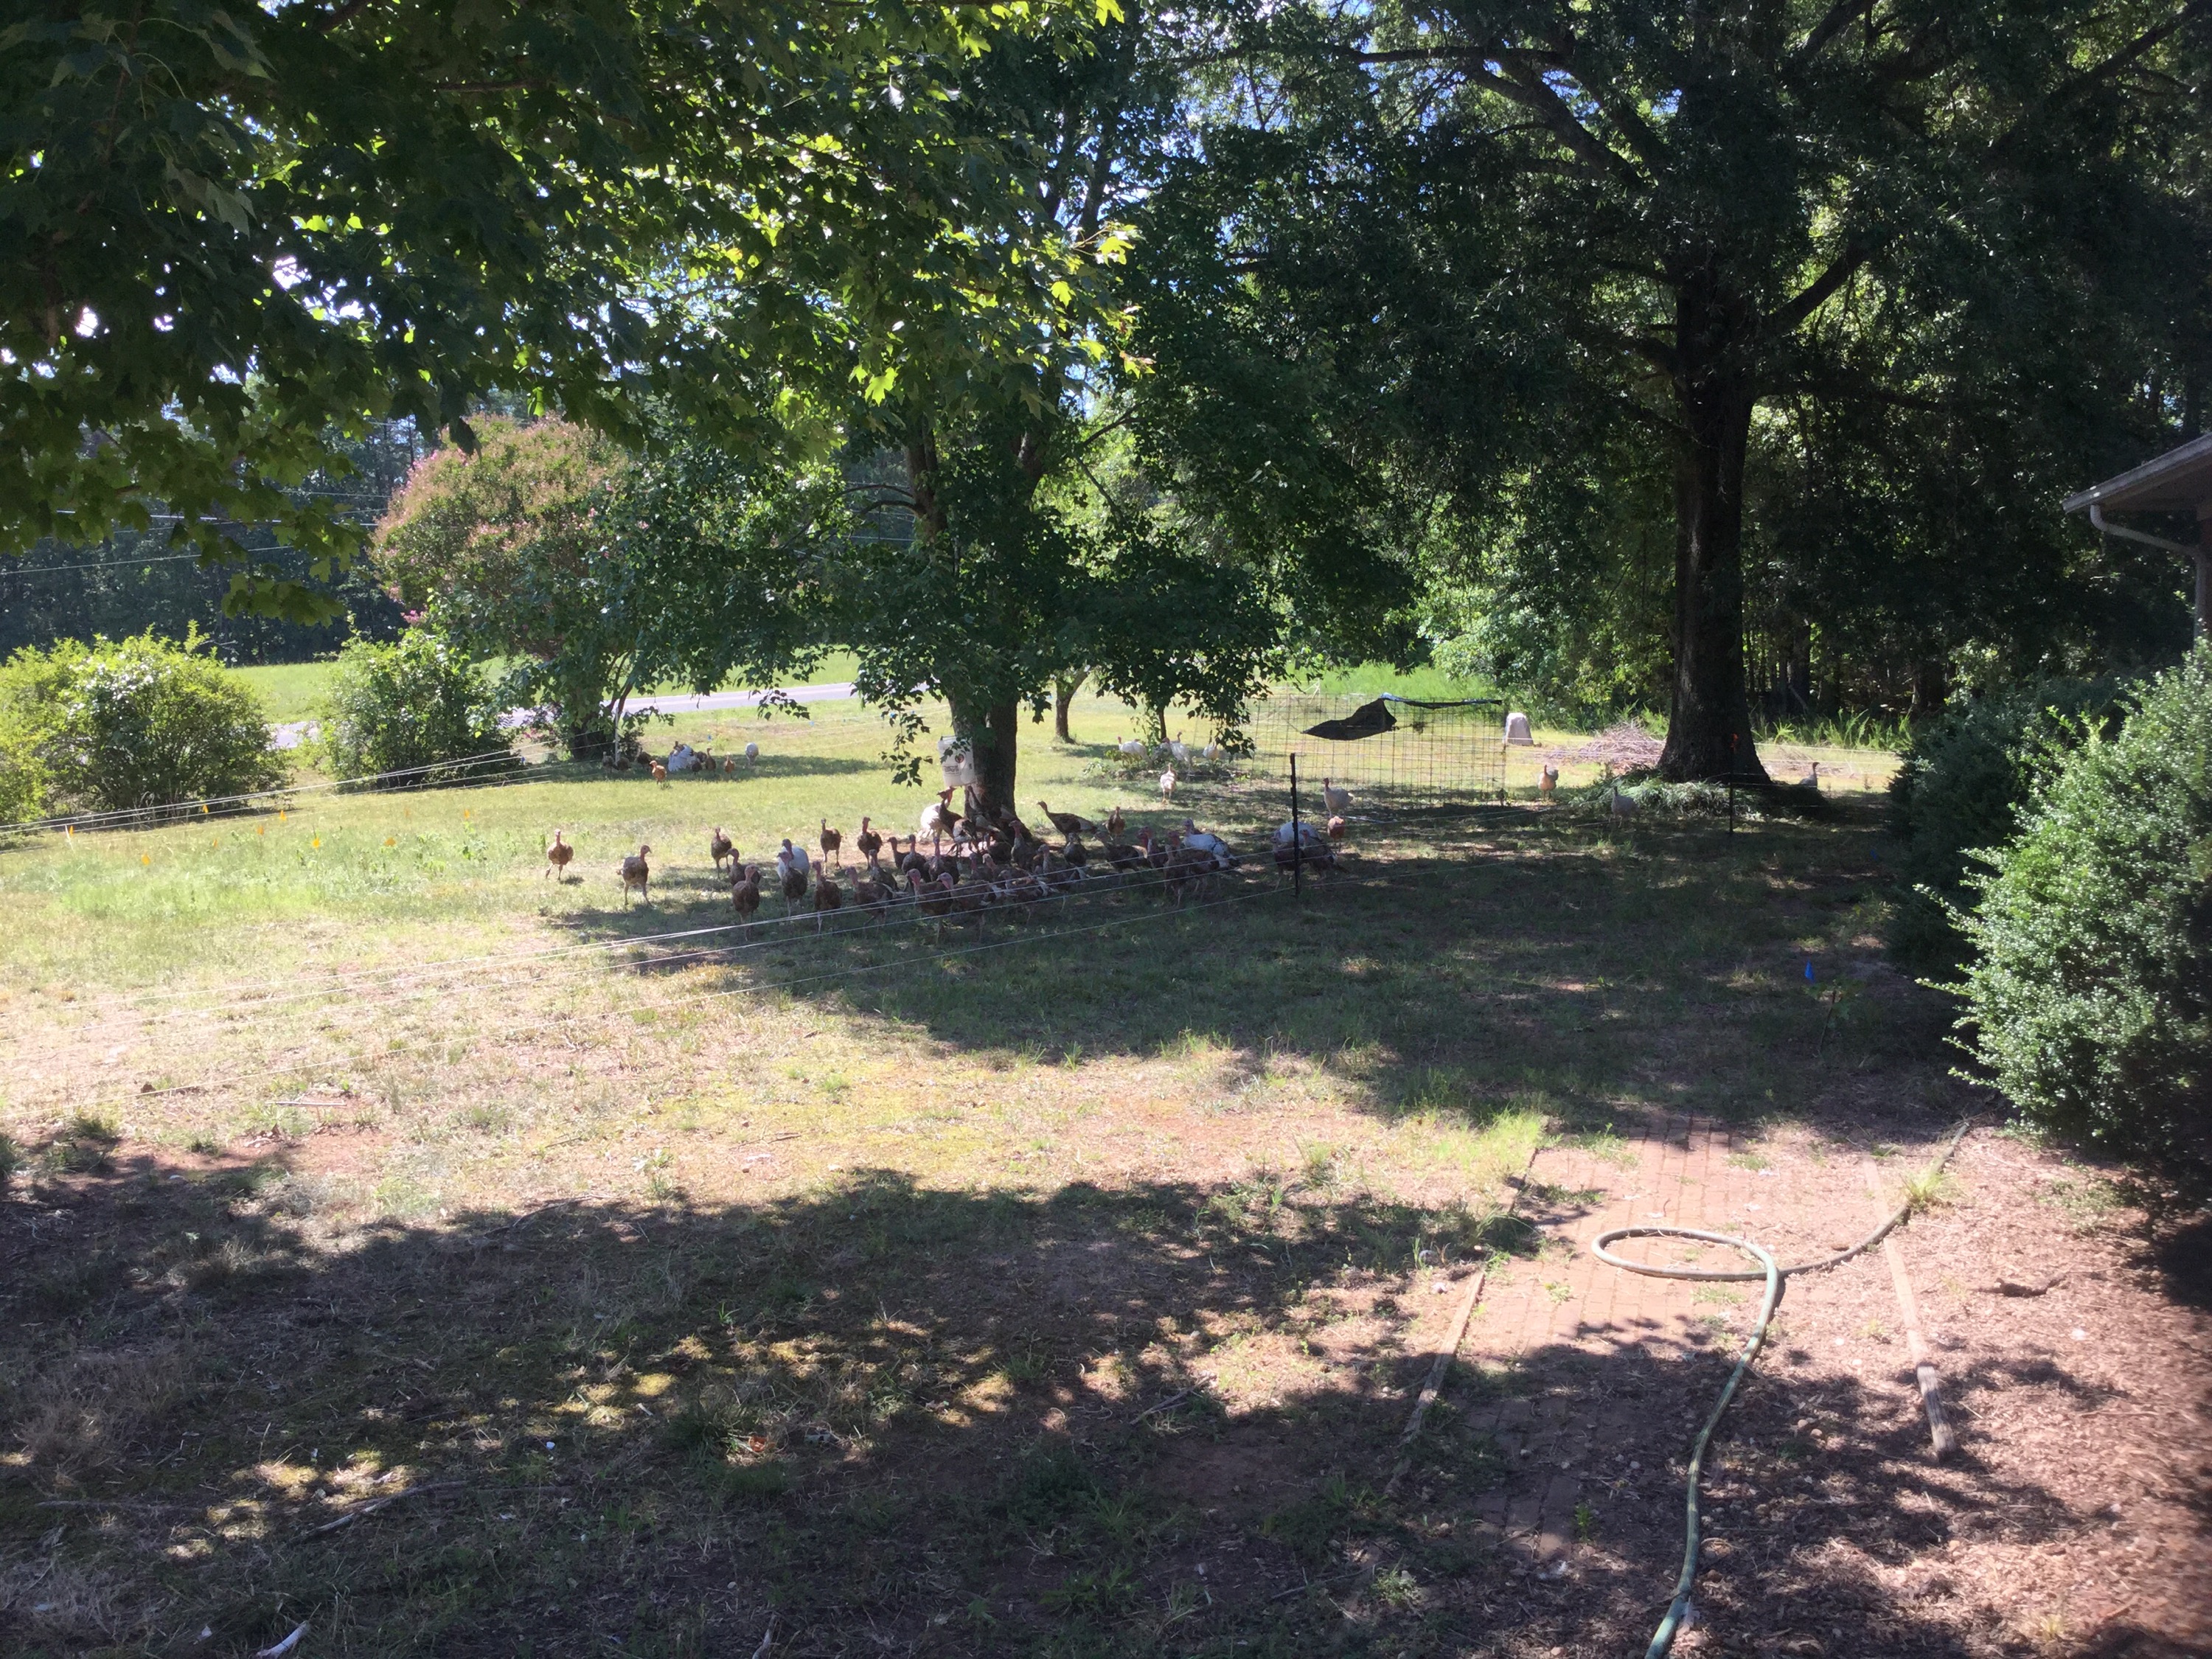
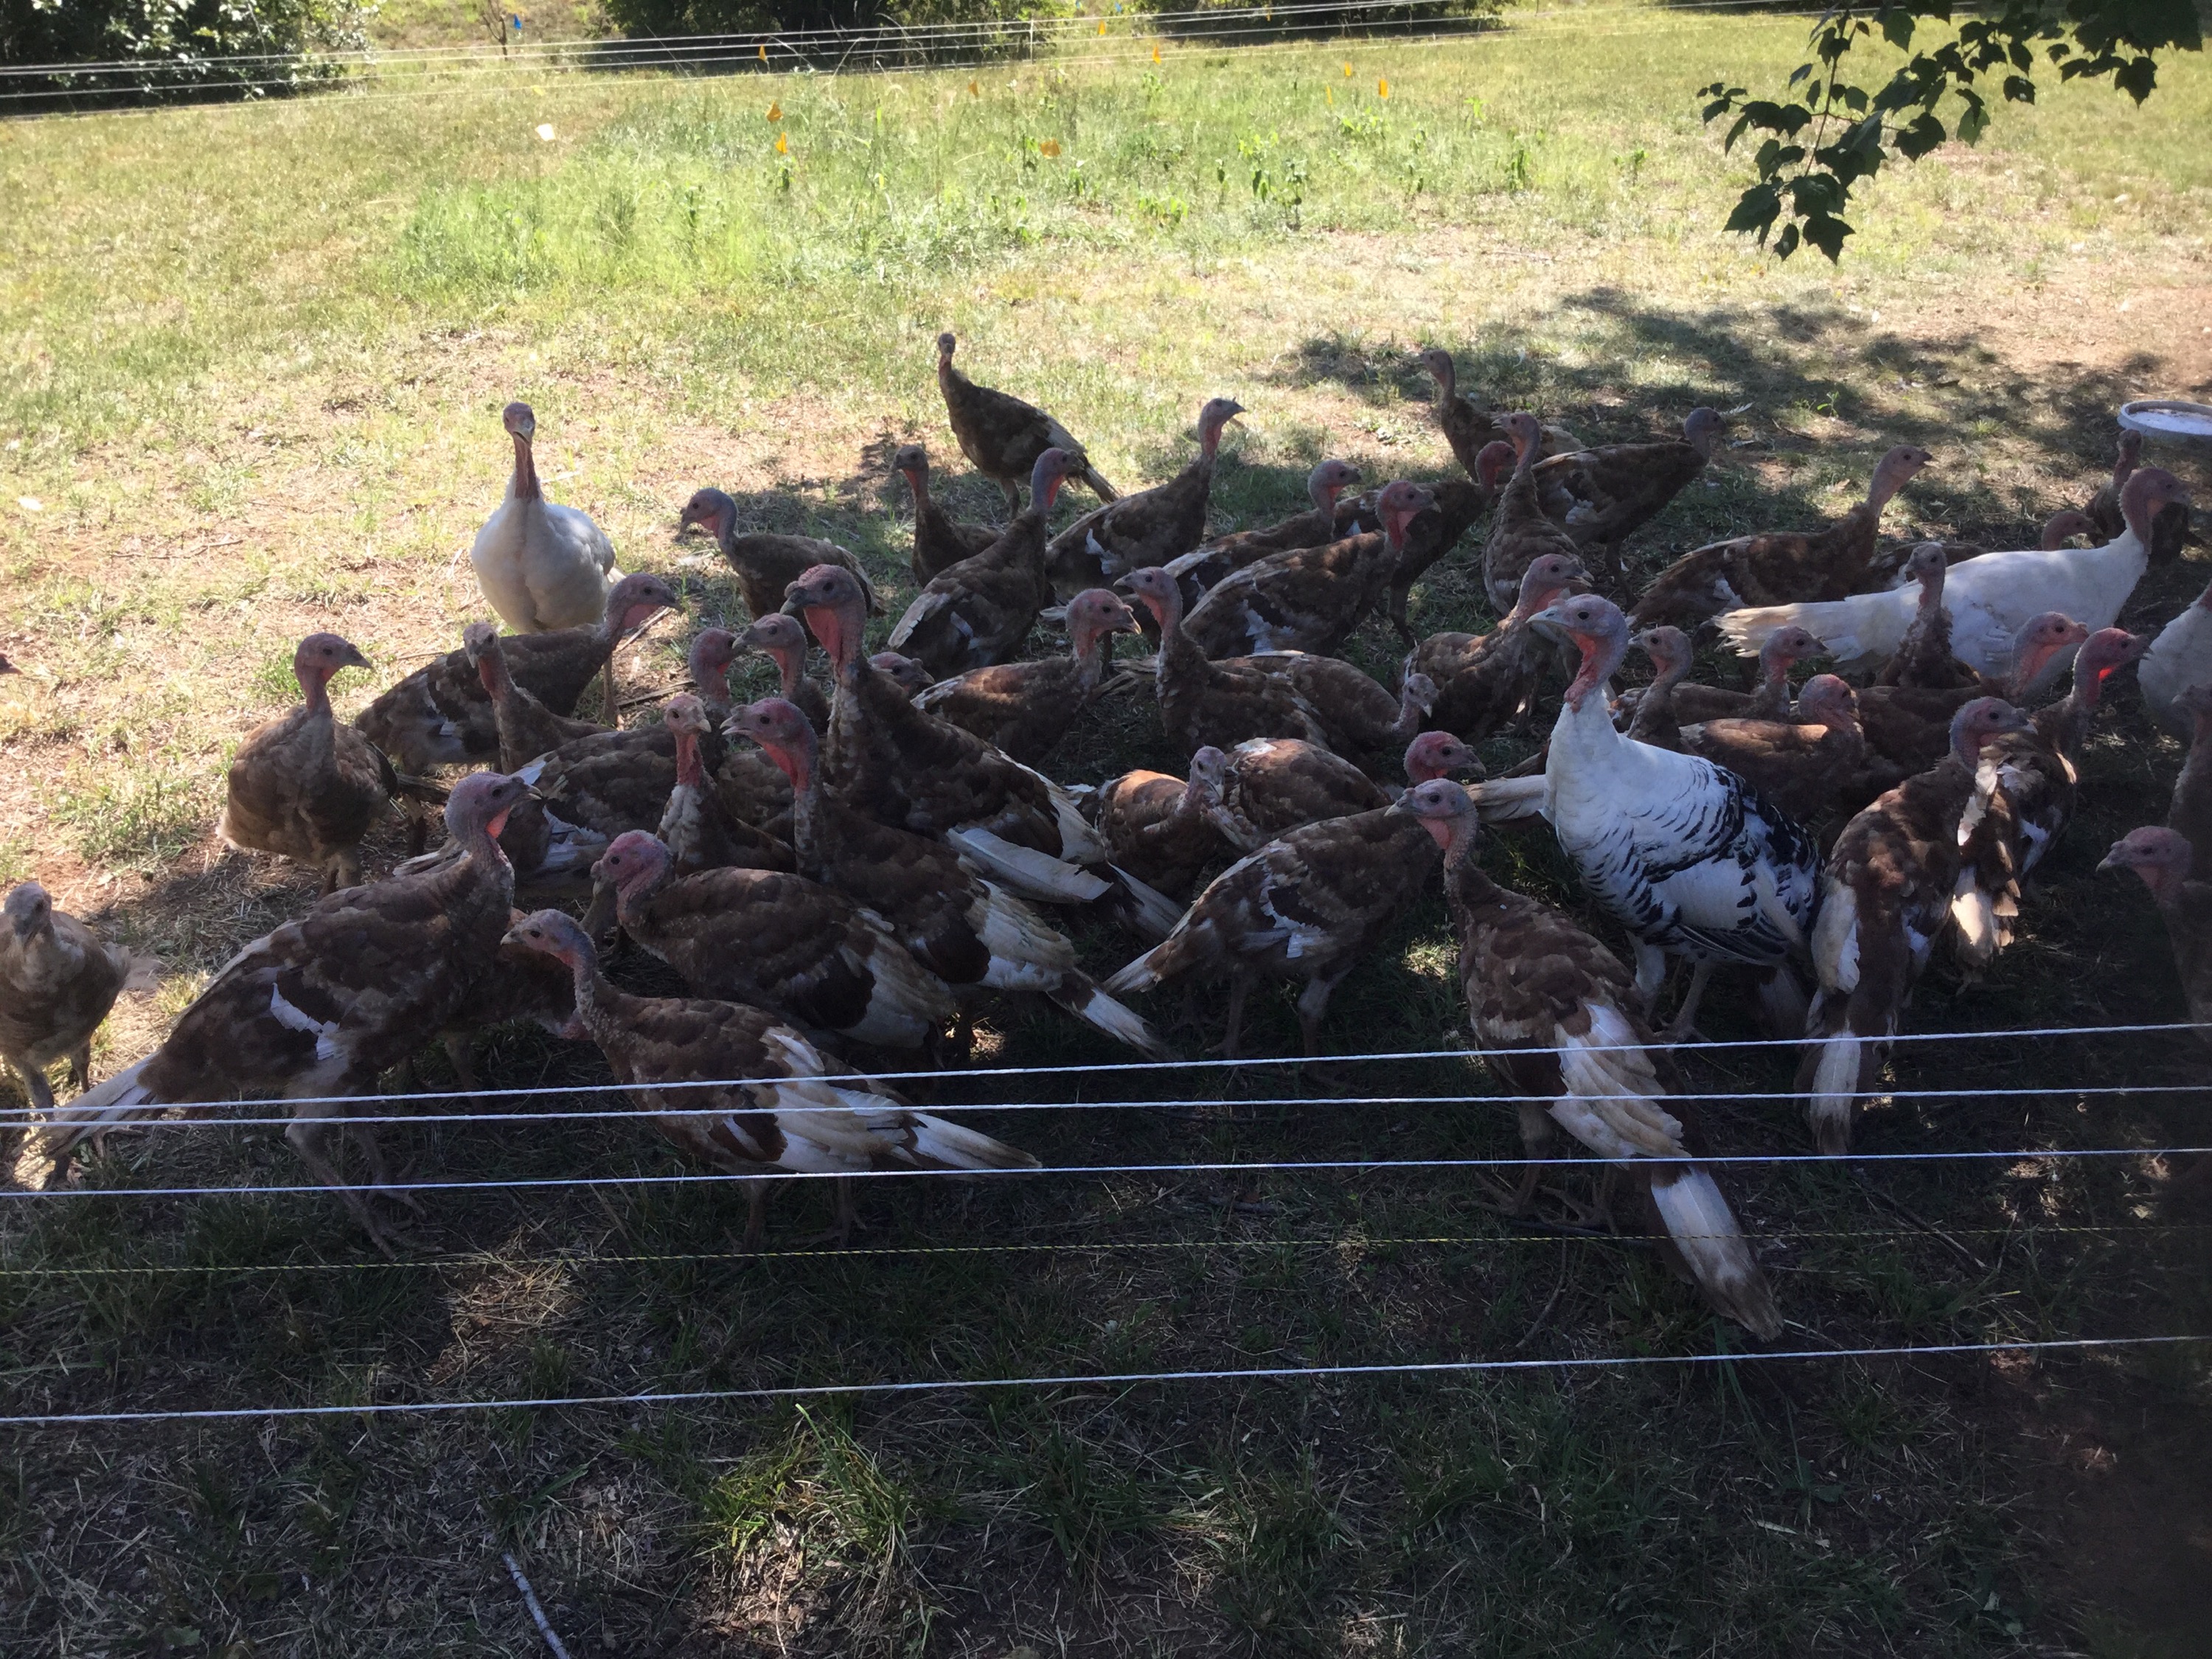
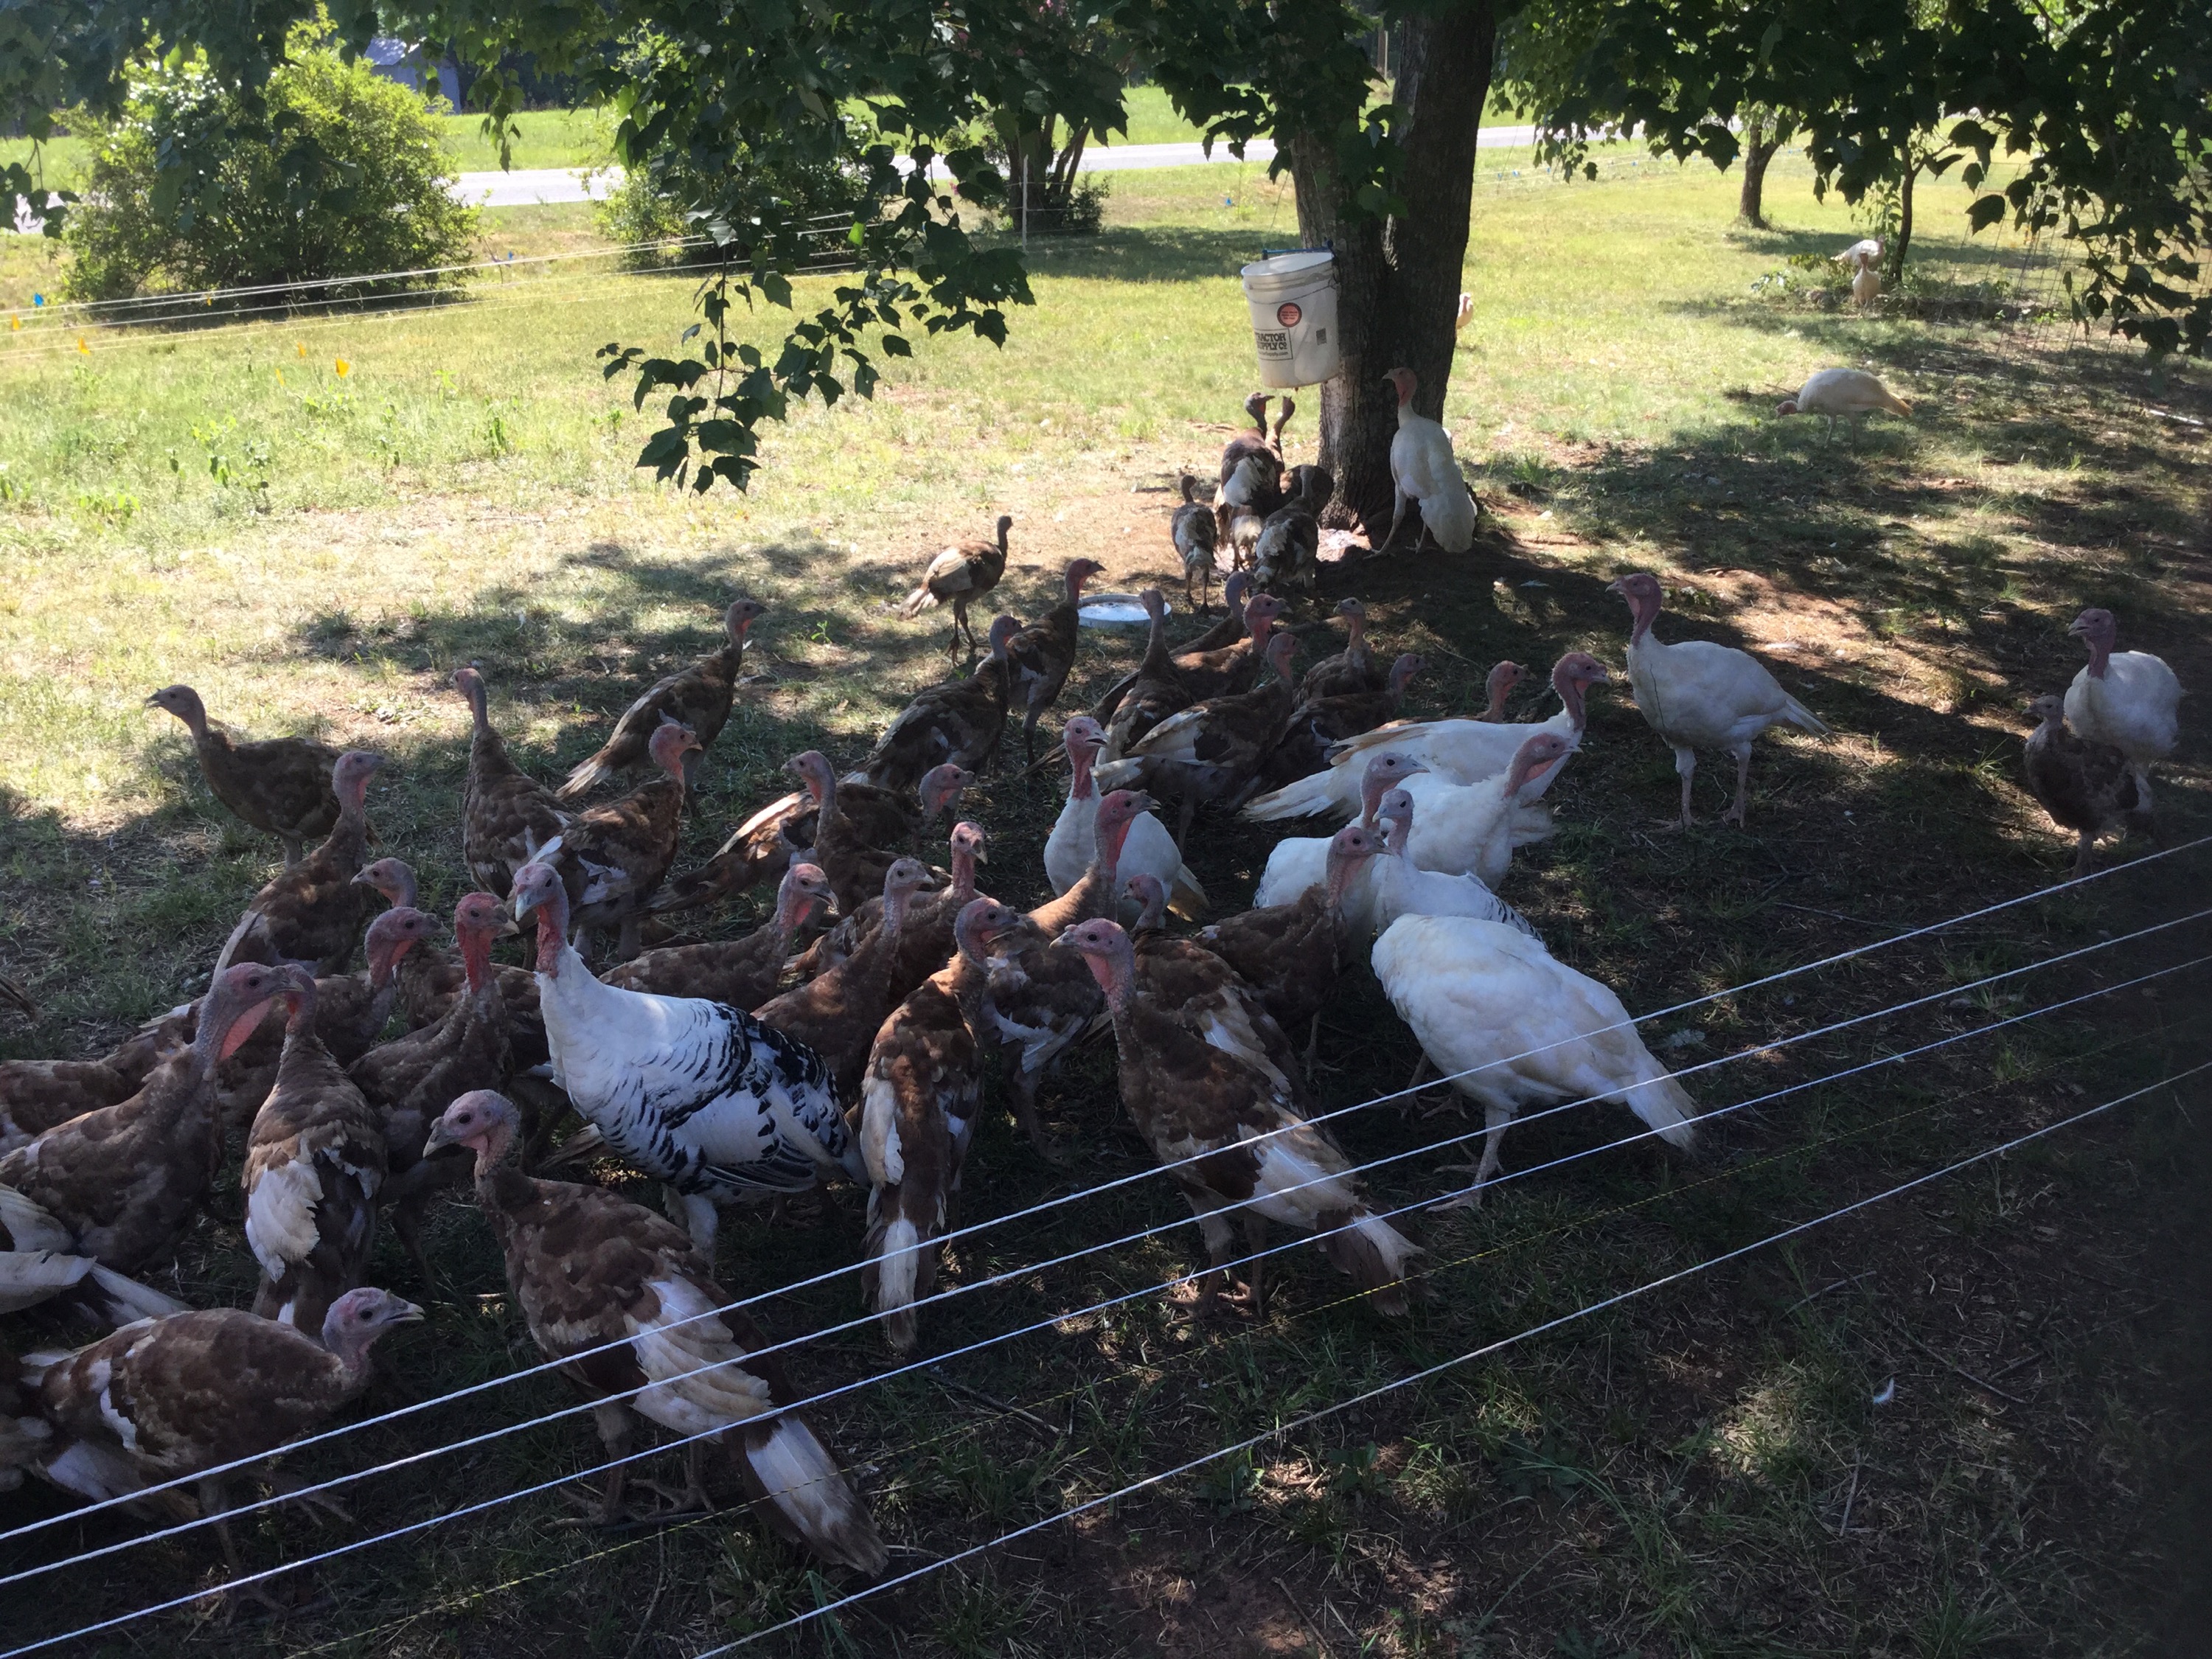
4.  The turkeys are a different story, however! They respect the fence on a hit-and-miss basis, sometimes staying inside the fence and other times taking the shock and climbing through. The most annoying part is that when they have no trouble escaping, they have loads of trouble figuring out how to get back in. We are looking into getting electrified netting to use for the turkeys in the future, but we’ll see!


The big electric-fencing-for-poultry lesson is:

Simple electrified strands work for ducks and geese, but not for turkeys!

.:.

Clipping Turkey Wings

Before you get worried, please know that when you clip a bird’s wings it doesn’t hurt them. You do not cut the skin, simply the feathers. It’s like cutting your hair.

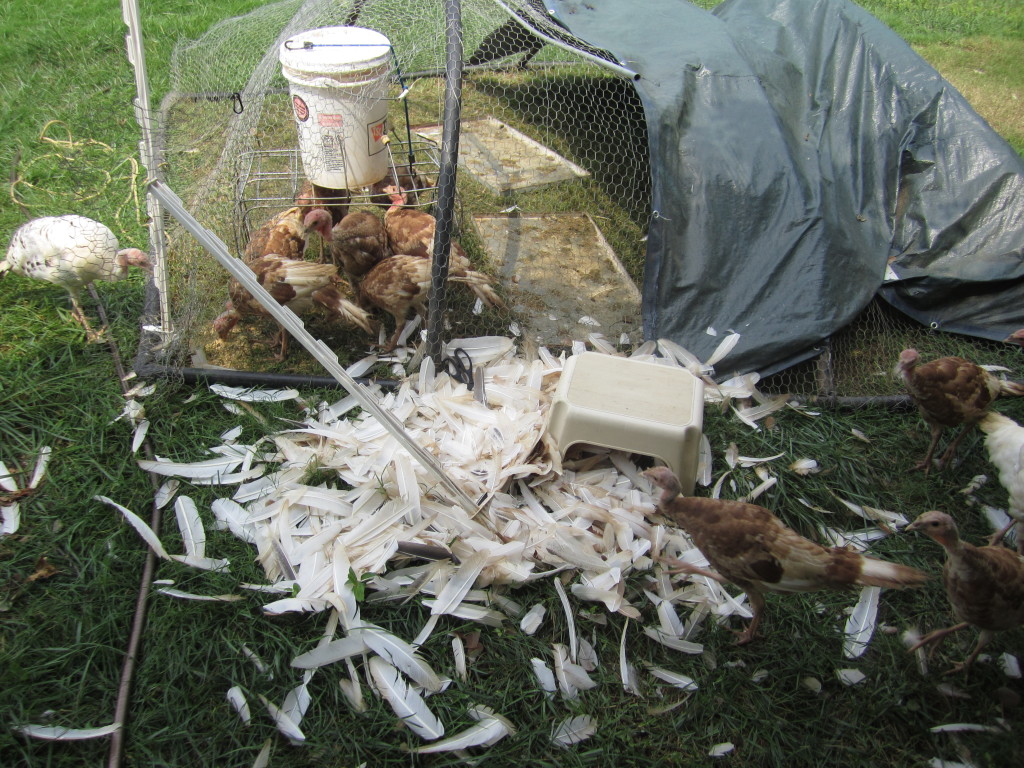
We’ve shown you a video about clipping a goose’s wings, so check that out to see how it’s done. A goose’s wing feathers are super thick and you need tin snips to get through the thickness. Turkey feathers are not as thick (right now when they’re young, anyway) and I was able to clip all 66 turkey wings by myself. My strategy was simple and only took about an hour:

  • Open up their house in the morning and put some food right by the entrance.
  • Sit on a stool right by the entrance and wait.
  • Snatch up a turkey when it trustingly walks over to snack.
  • Pin its legs between your legs (watch those sharp nails!).
  • Hug one side of its body up against your stomach (this keeps that wing from slipping loose and flapping around).
  • Lay your non-dominant forearm over their upper back, below their next and gently stretch our their free wing with this hand.
  • Use your other hand to cut the flight feathers off.
  • Let them go and watch them lopsidedly try to fly away.
feathers

The aftermath of wing clipping. And yes, I saved those feathers!

We usually only clip one wing of our birds, since it keeps them from flying just as well as clipping both. This way, they feel lopsided when they fly and eventually give up on trying to fly with any accuracy.

The reason we decided to clip their wings is because they kept flying over the electric fence into the garden and not knowing how to get out to join the rest of the flock. They also kept perching on the edge of the carport, which was making me feel homicidal!

And of course, after each was clipped, they were still trusting enough to follow me around all day and try to stand by me!

turkeys

Where are the turkeys? Standing by me, of course!

.:.

Older posts Newer posts

© 2024 KW Homestead

Theme by Anders NorenUp ↑